

No Southern-fried Southern boy wants to be called a Yankee, but we share the characteristics of shrewdness and thrift. Thus, each month we include a money-saving tip from Sticks in the Mud woodworker, Jim Randolph. It’s OK if you call him “cheap.”
I was having a conversation with Steve Johnson one day, when he said, “YouTube is full of tips on how to make your own ‘Painter’s Pyramids’ knockoffs. As inexpensive as Painter’s Pyramids are, why would anyone ever try to make a substitute?”
Your resident cheapskate was happy to supply several reasons.
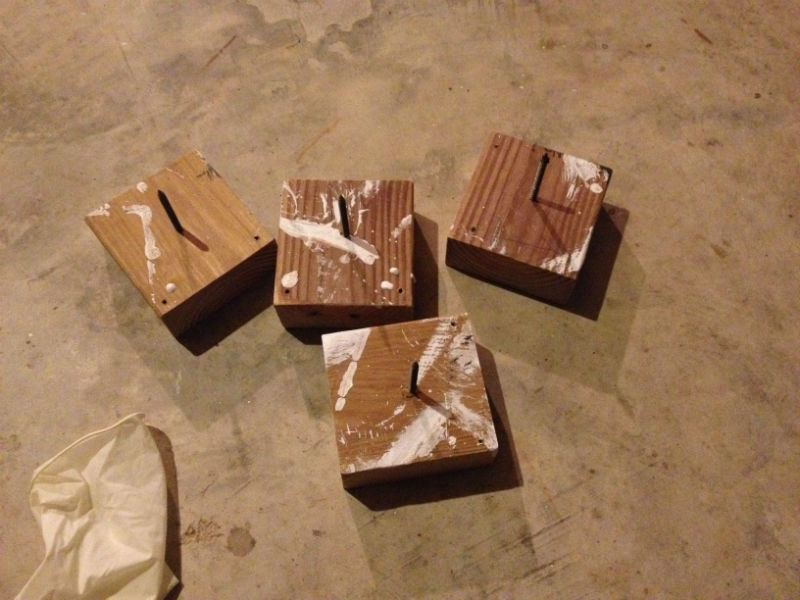
I have some that are homemade, and I made them in the middle of the night, when I had to have them right now, and there certainly wasn’t time to order them. I made four, and they worked perfectly.
One day, I needed eight. Having only four, I whipped up four more in less than ten minutes. And, frankly, at less cost than buying the real thing. Notice that I didn’t say far less cost, because how much less can one go than $5.99?
Another place a homemade work elevator is handy is in my friend Don’s cabinet shop. While I made mine with screws, his is a 10-foot-long board with nails driven through it, all along its length. While not as versatile as individual Painter’s Pyramids, it serves his very specific needs for finishing long moulding.
Here’s how I made mine. Pay close attention. You might want to take notes, or print yourself a copy of this column. It’s highly technical.
First, find a scrap of 2 x 4. You can use a larger or smaller board, depending on your individual needs.
Set a stop block on your miter saw at 3½”. You can make it a little longer if you need additional stability, but it would be impractical to make it shorter. Me? I like the symmetry of 3½” by 3½”.
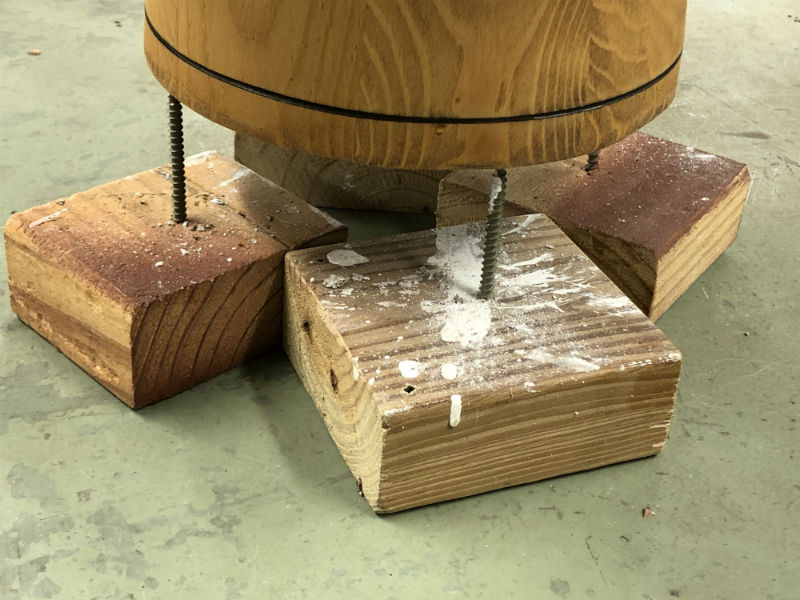
Now, find the approximate center of your base by scribing a line from each corner to its opposite. Drive a 3″ to 3½” drywall or deck screw through the intersection. Be sure your screw is perpendicular to the block, lest your support possibly throws your work to the floor. If the wood of your 2 x 4 seems brittle, you can drill a pilot hole. Just be sure the hole is tight. You don’t want your screw falling out.
If the item you’re supporting is light in weight, you can use the screws just like you bought them. However, if you’re finishing a heavy project, a sharp point can be driven into the end grain of a leg. In that case, try blunting the screw point by placing your support on an anvil and tapping the pointy end with a hammer. Wear safety glasses when performing this step, as drywall screws are extremely brittle and the point may snap off. Alternatively, you can just put the tip to a grinder wheel and take off 1/64″.
However, I won’t kick you out of the cheapskate’s club if you click here to buy some real Painter’s Pyramids. Six bucks isn’t going to break you.
Jim Randolph is a veterinarian in Long Beach, Mississippi. His earlier careers as lawn mower, dairy farmer, automobile mechanic, microwave communications electronics instructor and journeyman carpenter all influence his approach to woodworking. His favorite projects are furniture built for his wife, Brenda, and for their children and grandchildren. His and Brenda’s home, nicknamed Sticks-In-The-Mud, is built on pilings (sticks) near the wetlands (mud) on a bayou off Jourdan River. His shop is in the lower level of their home.Questions and comments on woodworking may be written below in the comments section. Questions about pet care should be directed to his blog on pet care, www.MyPetsDoctor.com. We regret that, because of high volume, not all inquiries can be answered personally.
Top 10 Reasons why Painter’s Pyramids are better than a piece of wood with a nail in it…
1. Save time – No more wandering round looking for the 4th piece of scrap wood.
2. Save effort – No cutting wood, driving nails and pulling nails.
3. Will not damage item being finished – Nails were designed to penetrate wood.
4. Safer – Did you ever sit or step on a nail in a board?
5. Costs less – Yes, you did actually pay for the wood and nails!
6. Chemical resistant – Did you ever try putting a nail in a Coca-Cola?
7. Will not rust – Eco-friendly water based finishes are in!!!
8. Easy to store – Try stacking the boards with nails.
9. Easy to mount to many surfaces – Yes, you can also drive nails into tabletops and saw horses… but this is so much easier.
10. Much cooler… When was the last time you said to your buddy “Hey check out the nails that I put in this board?”