

Welcome to “Tips From Sticks-In-The-Mud Woodshop.” I am a hobbyist who loves woodworking and writing for those who also love the craft. I have found some ways to accomplish tasks in the workshop that might be helpful to you, and I enjoy hearing your own problem-solving ideas. Please share them in the COMMENTS section of each tip. If, in the process, I can also make you laugh, I have achieved 100% of my goals.
Are you adventurous in finishing? Not me. I’m a wipe-on poly kind of guy, mostly.
But, every once in a while, I decide to venture out.
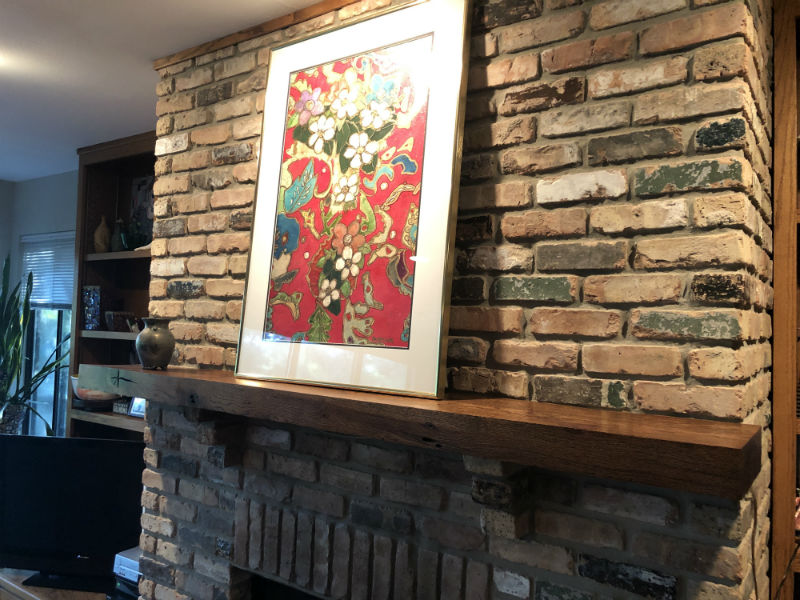
Or, as in the case of this mantle, I get instructed to venture out. Brenda said, “I don’t want natural oak, and I don’t want it to match the floors, or any other wood in the living room.”
As you’ve probably figured out by now, I’m not prone to experimentation or boldness. But, I let my hair down and went to work. I had some scraps of this same oak from the same tree and began applying straight stains and mixed stain intensities, even applying more stain when the first coat dried.
I took the resulting samples up to the living room for Brenda’s analysis. She rated them, recognizing that their look could change when finish was applied, which I did next.
As long as I was being adventurous, I decided to switch finishes, too.
I went with General Finishes Arm-R-Seal, which, yes, I recognize, is a urethane finish, but sometimes branching out is about baby steps. I applied two coats of high gloss, followed by a final coat of satin to knock down the shine just a bit. Below, I’ve pictured the result.
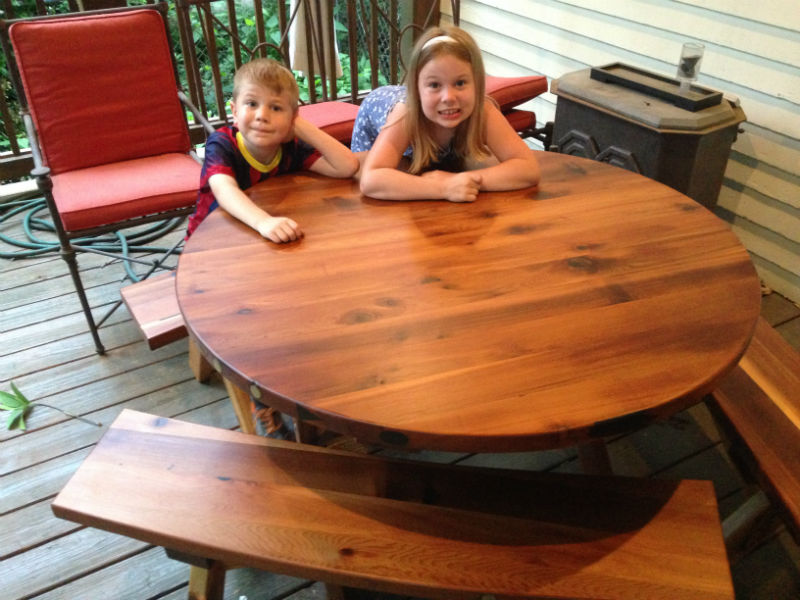
One time I got really brave and, for an outdoor piece, applied a penetrating epoxy finish. Now, that took courage. I knew if it wasn’t good it would be nearly impossible to remove. Fortunately, I liked it. I covered it with three coats of Arm-R-Seal high gloss and one coat of satin. OK, so I wasn’t being adventurous using something I’d used before.
Then, there was the time I needed to refinish the back door to our house. It was literally beginning to rot away. I got in touch with Alan Noel and he said, after I sanded and cleaned thoroughly, to use a marine spar varnish on it. I did, and it came out great.
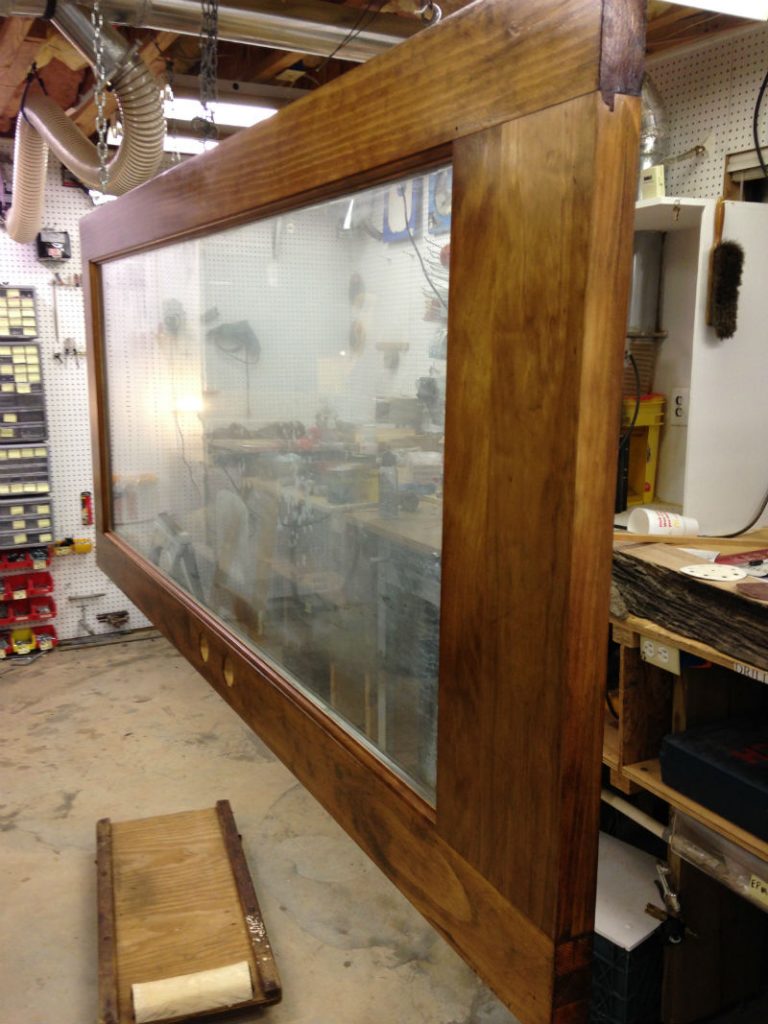
I’ve used the spar varnish on a couple of other outdoor projects since.
See? It’s not so hard to branch out. Take a deep breath and a big first step.
Jim Randolph is a veterinarian in Long Beach, Mississippi. His earlier careers as lawn mower, dairy farmer, automobile mechanic, microwave communications electronics instructor and journeyman carpenter all influence his approach to woodworking. His favorite projects are furniture built for his wife, Brenda, and for their children and grandchildren. His and Brenda’s home, nicknamed Sticks-In-The-Mud, is built on pilings (sticks) near the wetlands (mud) on a bayou off Jourdan River. His shop is in the lower level of their home.Questions and comments on woodworking may be written below in the comments section. Questions about pet care should be directed to his blog on pet care, www.MyPetsDoctor.com. We regret that, because of high volume, not all inquiries can be answered personally.
Unlike you Jim, I seem to be addicted to experimentation when it comes to finishes, especially stains. I find I do a fair amount of colour mixing, but not in the can. I will frequently add a second colour after the first stain application has dried. A lot, of course, depends on the type of wood I’m working with. And I always experiment ahead of time. Right now, I’m building interior doors out of 2″ x 12″ Douglas Fir roof rafters that were left over from our recent post and beam house build. The natural colour is a beautiful pink, but I know that will disappear with age, so I’m going darker. DF is one of those species where different grain structures seem to pop when a second colour is added. You start seeing stuff in the grain you didn’t notice after just the first colour. I should also say that I usually start with a light application of a clear stain (in lieu of an actual wood conditioner) to ensure adequate holdout of the first colour. So far I’ve built one barn door and two plank doors (each plank door has a combination penny gap and V-groove). And I think I’ve got just enough DF left for 2 pocket doors in the master bedroom. They’ll be a variation on the barn door. My biggest problem is remembering to document the final mixes I used so I can replicate the effect on a later project.
Enjoyed your article. Keep them coming.
Syd
Truth be told, all you need to add is shellac to your set and from my perspective you have all that you would even need. I feel your joy/pain. My wife is a graphic artist.
I second Joe on shellac. I never use stain. It can be “muddy”, and obscure wood figure. Try analine dyes instead. They’re easy to apply, dry very quickly, and you can mix any number of them to fine tune the color, or density you want. (For wives, etc.) So – dye for color, then shellac to pop the grain and seal, then whatever topcoat finish fits the application – indoor, outdoor, tabletop, or other furniture piece. Those could be just more shellac, spar varnish, or poly.