

Welcome to “Tips From Sticks-In-The-Mud Woodshop.” I am a hobbyist, not a professional, someone who loves woodworking, just like you do. I have found some better ways to accomplish tasks in the workshop and look forward to sharing those with you each month, as well as hearing your problem-solving ideas.
“Obladi, Oblada, life goes on, yeah. La la la la, life goes on.” Sometimes you put finish on a piece or a project, but you have to keep working on some other component of the project, or a totally different project.
Still, you didn’t put finish on just to have to re-do it, so you don’t want dust or flecks from the next task to land in the finish you just finished.
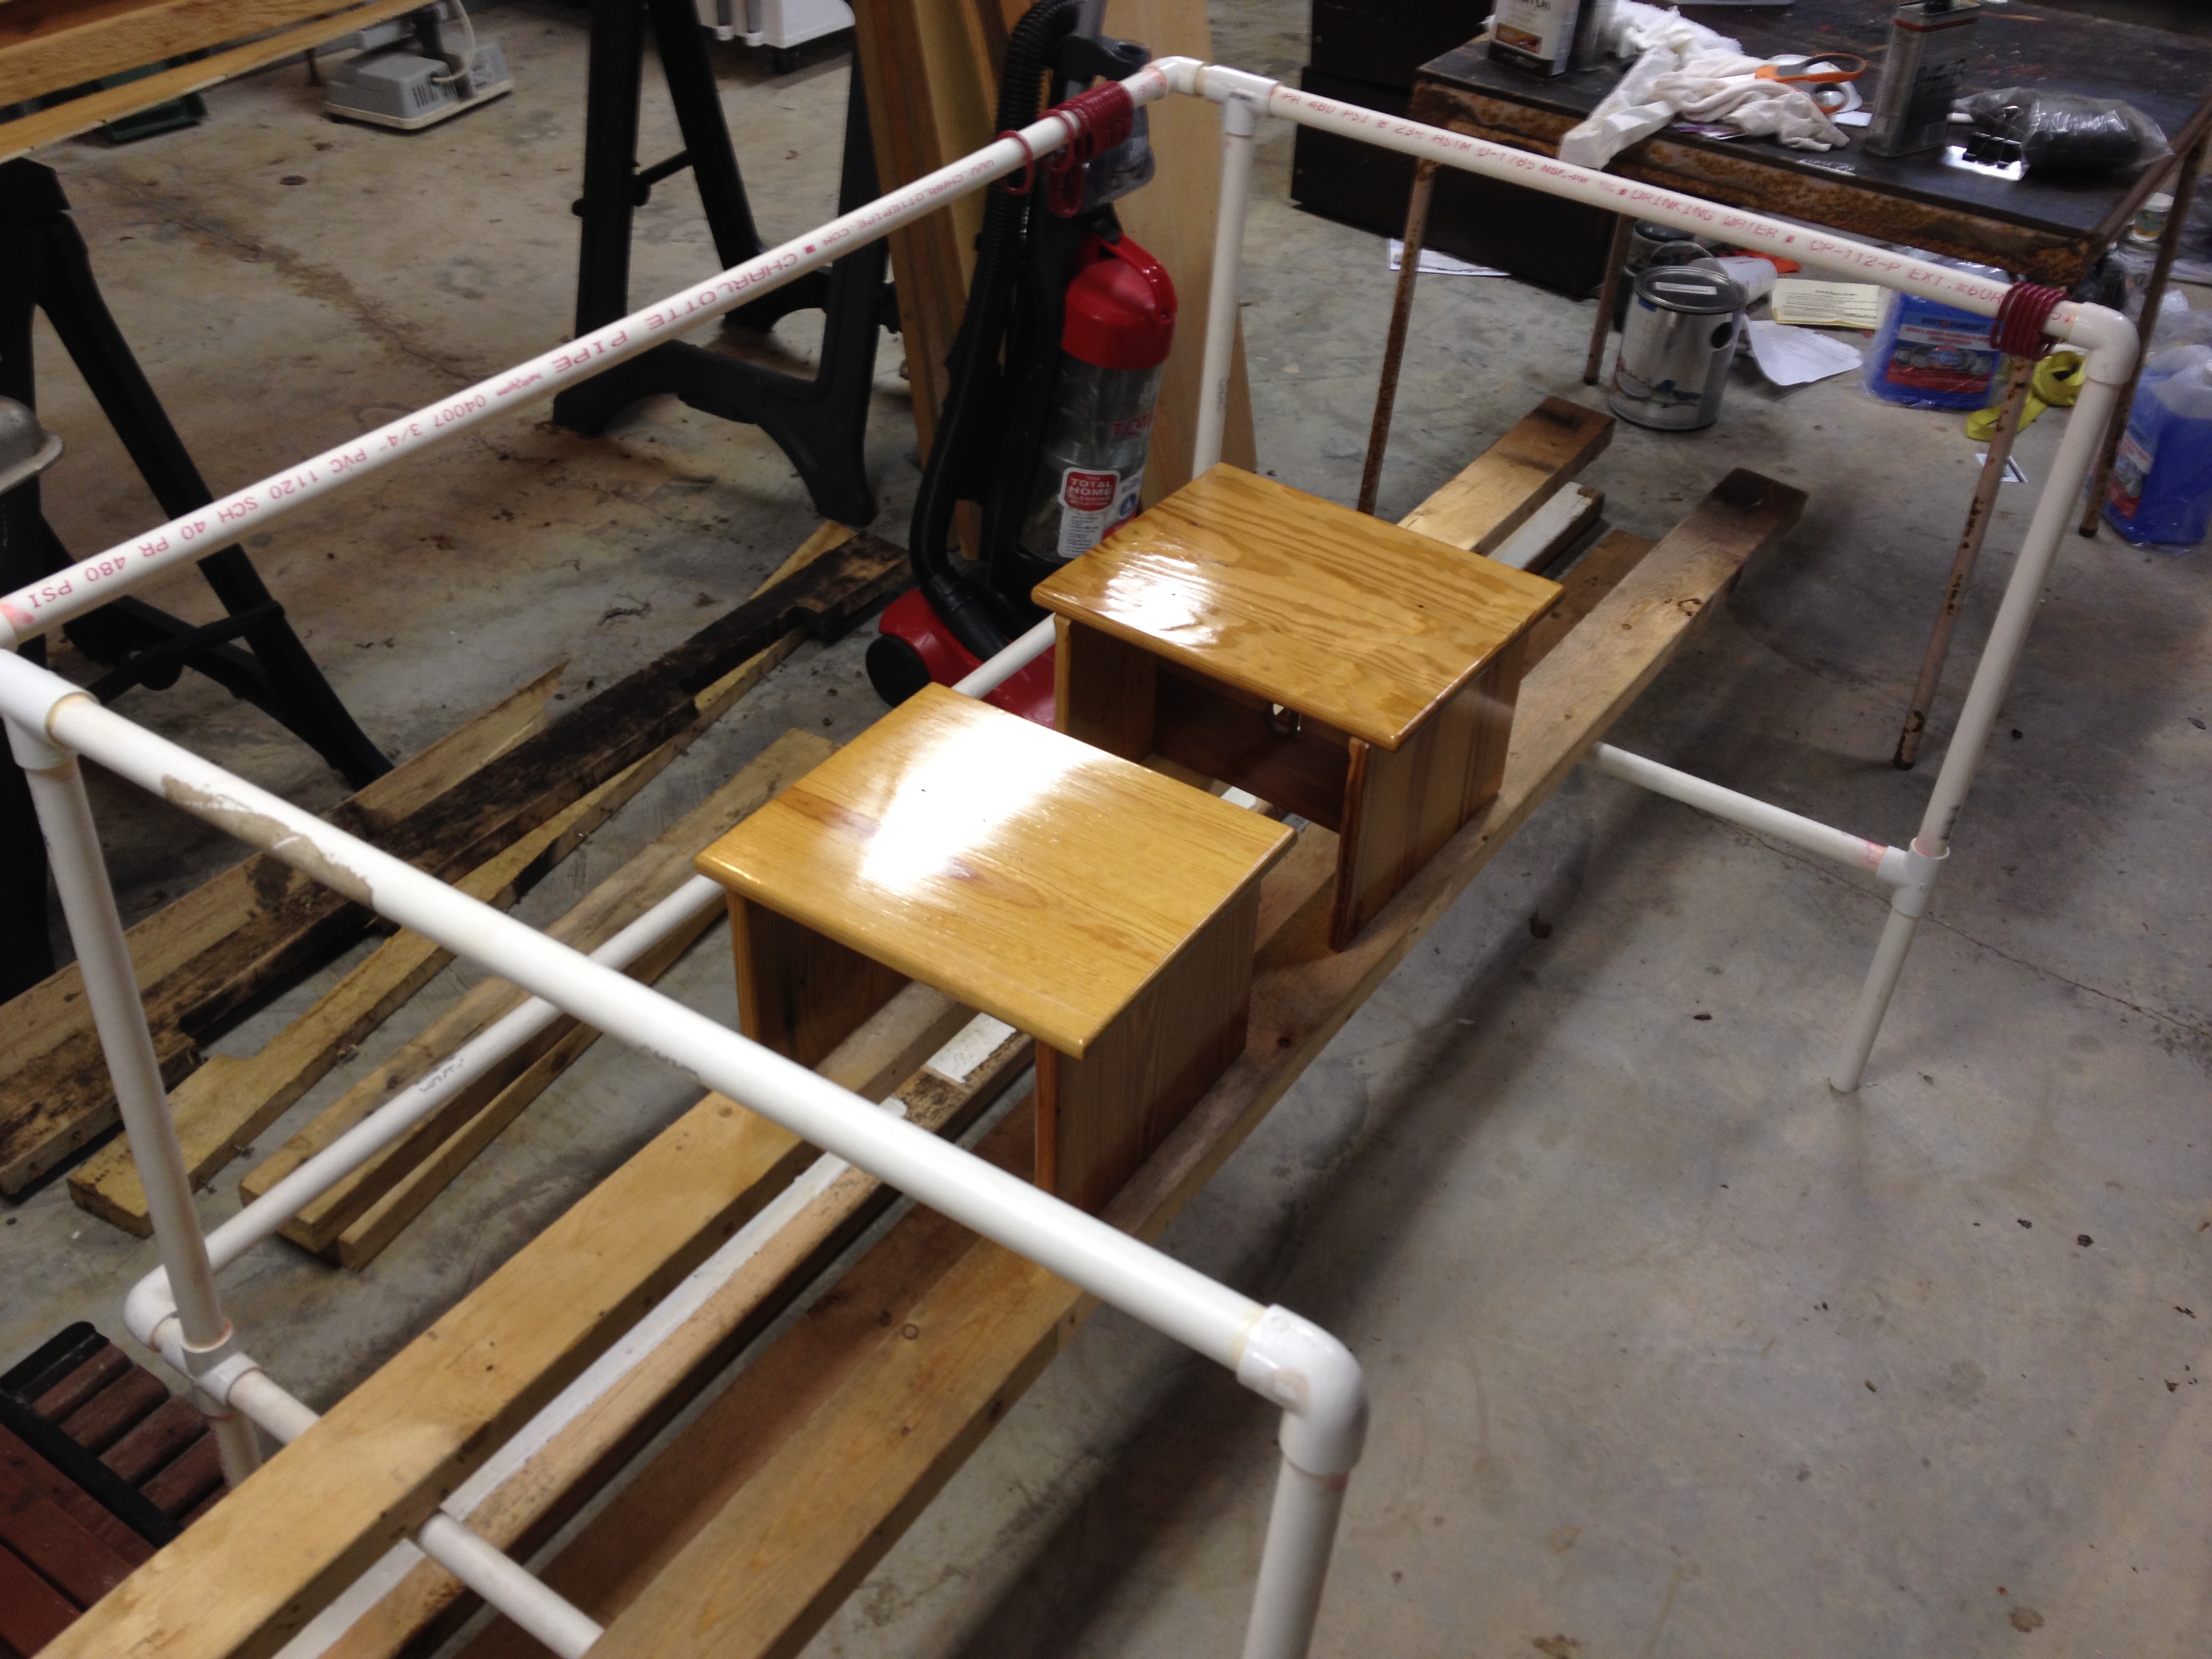
Such was the case recently, when I needed to put the next-to-the-last coat of polyurethane on these two stools, but I had sawdust to make when I finished.
Fresh polyurethane. Is there anything stickier? Anything floating in the air around your freshly-applied finish is going to end up in that surface, unless you protect it.
Now, you could go for the ultimate solution and build the nice enclosure Steve Johnson made (click here to access the video series).
As you might have guessed, mine is less elaborate and, well, cheaper. But, not by much, as Steve really used low-cost components for his booth. I think there’s hope for the boy yet!
Mine amounts to a simple little tent in two basic forms.
The first starts with a PVC stand you’ve seen before. It’s my wife’s shower-curtain stand that surrounds her pottery wheel and prevents clay from being slung all over. When she’s not using it for that, it’s my drying rack for used paper towels. Then, a few of the spruce studs I found on the roadside (click here to read the story). Last, a painter’s plastic dropcloth. Beware: if the plastic has been used previously, be sure to shake it clean (well away from your project) prior to spreading it over the support.
Voice of experience.
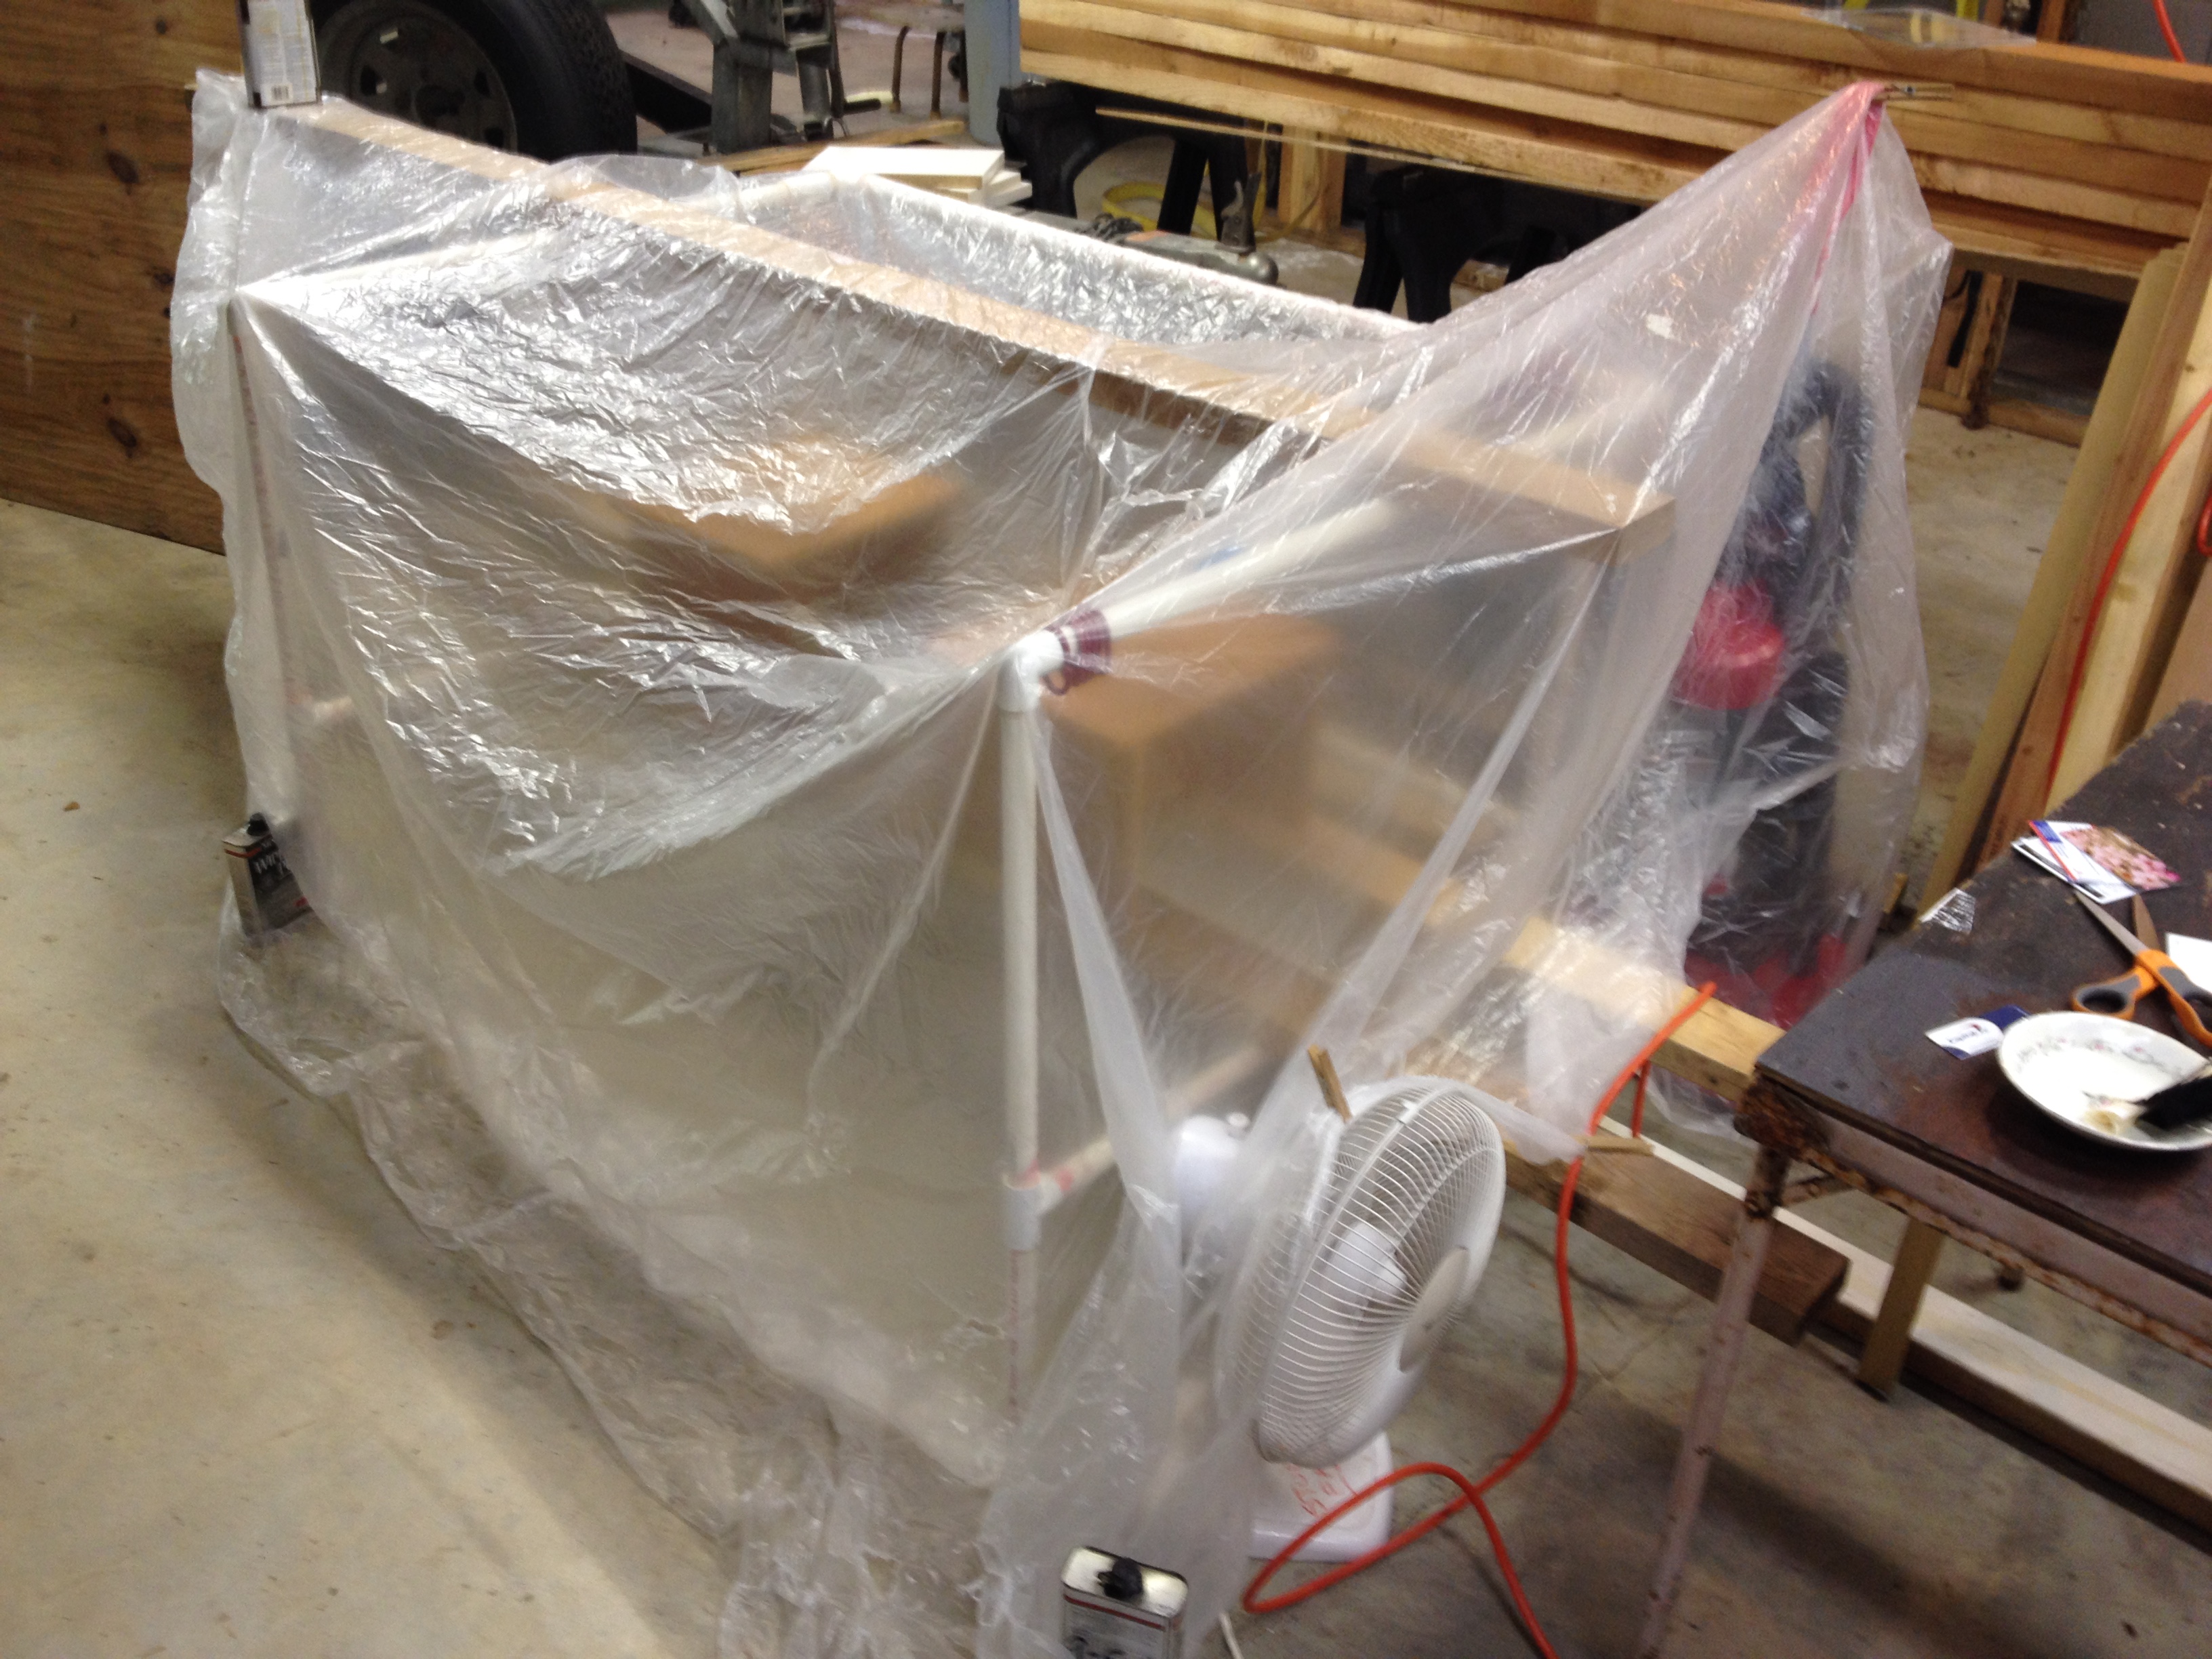
When the time came to do other things in the shop, these two little birthday stools had to have protection from any dust, dirt or other foreign material I generated. I was already on a deadline and didn’t have time for a do-over. A PVC frame I already had, a plastic dropcloth I already had, and some 2x4s to keep the dropcloth from sagging into the finish, and I was set. I even put a fan in one corner to circulate air for finish off-gassing, to be turned on after I stopped generating dust.
Once your plastic is clean and spread, ensure it’s not going to touch your project by pulling it taut and anchoring the edges. I used some metal cans. Once the film is mostly dry you can begin to use a slow-turning fan to move some air. Remember Alan Noel’s admonition: finishes don’t cure without air movement. With a little effort you could incorporate an air-conditioning filter into the plastic “wall.”
In a different project I used a related technique. Using decorative colored epoxy in the edges of a table I’m making for our youngest grandchildren, I needed a way to keep debris from falling into the wet epoxy while I continued to work on other components in the shop:
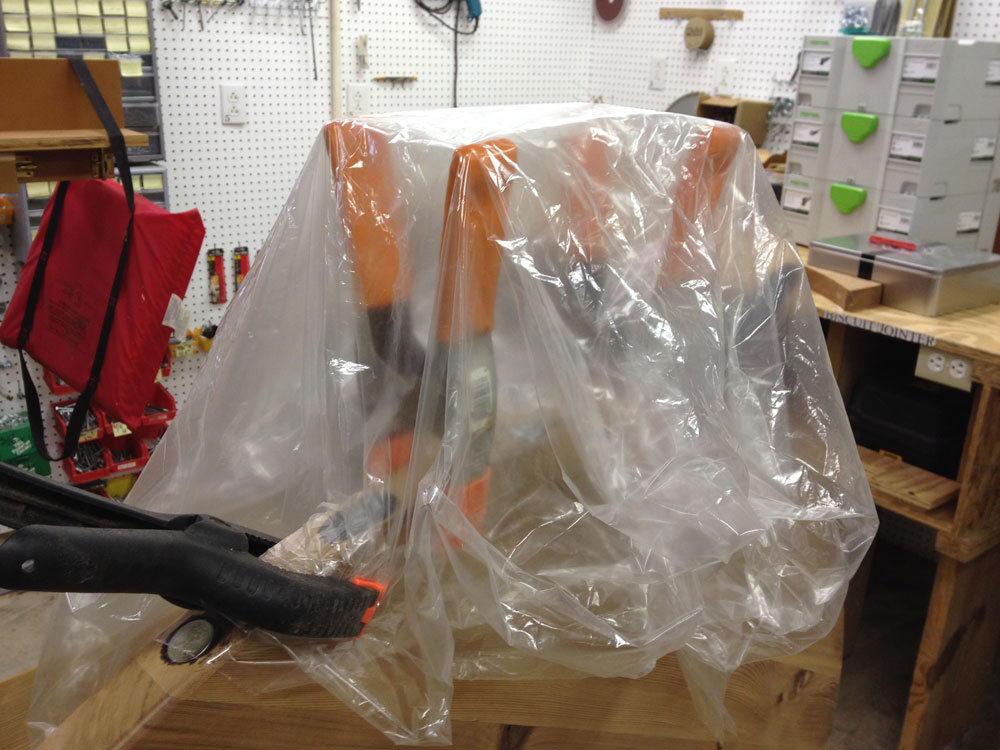
While the epoxy was wet I let these spring clamps form a frame for a plastic tent. Two more spring clamps held the plastic tight, so it wouldn’t sag into the epoxy
(A network news reporter recently suggested using obladi oblada as a “cryptic” password. I don’t think it would be considered “cryptic” among us baby boomers.)
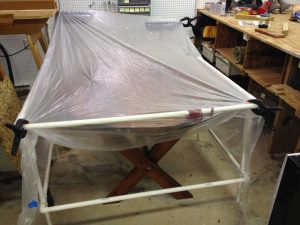
Here is another place I used my wife’s PVC frame for dust protection. It was a good height for this table, but not as deep as the table is wide, so I used a couple of roller stands to support the opposite side.
Jim Randolph is a veterinarian in Long Beach, Mississippi. His earlier careers as lawn mower, dairy farmer, automobile mechanic, microwave communications electronics instructor and journeyman carpenter all influence his approach to woodworking. His favorite projects are furniture built for his wife, Brenda, and for their children and grandchildren. His and Brenda’s home, nicknamed Sticks-In-The-Mud, is built on pilings (sticks) near the wetlands (mud) on a bayou off Jourdan River. His shop is in the lower level of their home.Questions and comments on woodworking may be written below in the comments section. Questions about pet care should be directed to his blog on pet care, www.MyPetsDoctor.com. We regret that, because of high volume, not all inquiries can be answered personally.