


The spokeshave can be a very valuable tool to have in your kit, and I have a technique of sorts that you may wish to try, especially if you are struggling or have ever struggled with this tool.
Before I share the tip, lets briefly go over a few things that in my mind are mandatory if you expect to get a good result from the spokeshave.
First, the blade needs to be as wickedly sharp as you can muster, but this doesn’t mean you need to spend 10 hours at the sharpening/honing stones. I hone the bevel first on a 1000-grit water stone, using my Lie-Nielsen Honing Guide, and stop as soon as I can feel a burr on the back of the blade. I shift over to my 8000-grit water stone and take a few passes on it, stopping when the cutting bevel is polished like a mirror. The back of the blade is handled without a honing guide, but I rest the portion farthest from the cutting edge on a thin ruler that I place on the 8000-grit water stone. This slight elevation focuses the stone to work out at the cutting edge. You can stop on this side when you feel the burr is gone, and you have a mirror-polished band at the cutting tip.
With this, we have what is awfully close to a razor sharp blade, and takes all of a minute or so. To set the blade to a good starting point, I like to rest the sole of the spokeshave on a board I know to be flat and insert the blade so the cutting edge is also touching the board. Some like to apply a little pressure on the back edge of the blade, while applying pressure with the thumbscrews or screwdriver (or possibly other methods), depending on your spokeshave. I don’t usually apply this pressure, as I’d rather start with a shave that isn’t cutting, than start with one that cuts too deep.
So that is the basic setup.
With my spokeshave setup exactly as I described above, I was working on a piece that had some reversing-grain the other day, and I had what I’ll call a couple of struggles. I got a great surface on all but a couple of little spots, but when I went in to clean those up I started to get some chatter which left some parallel wavy lines on the surface. I tried everything including skewing the spokeshave to the point where the body was almost perpendicular to the standard orientation, but this didn’t resolve all issues. I decided to change my approach a bit, and I tried to add absolutely nothing extra to the weight of the spokeshave while I was using it. I was using a super-light touch, and I noticed it was providing a nice smooth improved surface, but there were still a few little blips.
I tried one last thought, which was to just barely keep the “toe” (spokeshave body section just in front of the cutting edge) engaged with the wood, but an almost imperceptible lift of the rear of the tool. I found I was able to micro-adjust my cut from the full cut, to nothing at all, based on how much of this little lift I employed. I kept my thumbs on the “toe” area, which seemed to make the control that much better.
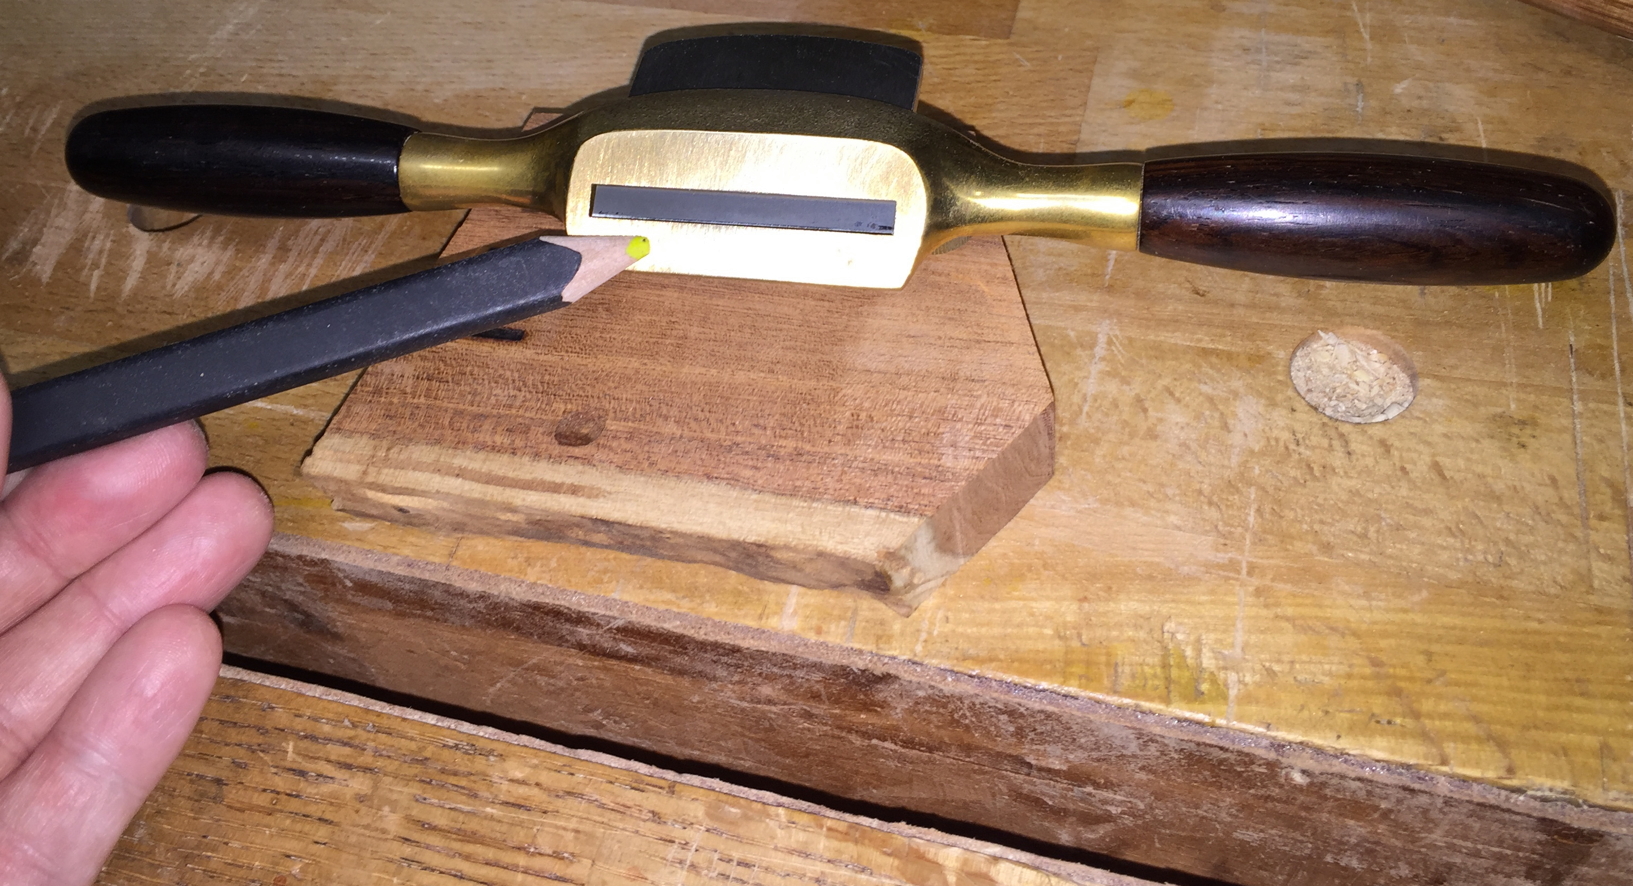
Touching a colored pencil against the “toe” of the spokeshave.
This is a very touch-oriented technique, as you can probably tell, but it was like I had some crazy magic going on. The surface was as close to flawless as I can recall obtaining with my spokeshave, even on my previous “best day.”
I expect I’ve probably “used” this technique before, without having the conscious aspect that I do now. I find it interesting that we can perform a certain task, at a decently high level, but really not completely understand how we accomplish this. While this isn’t really a great analogy, it might be like trying to teach someone to throw a baseball, which to many seems like a “so what” statement. If you ever coach really little children, you might find out just how much thought it takes to convey all of what is going on during a throw.
I hope you enjoyed this article and find it helps you obtain better control and results from your spokeshave. Please let me know if you have any questions or comments.
Lee Laird has enjoyed woodworking for over 30 years. He is retired from the U.S.P.S. and worked for Lie-Nielsen Toolworks as a show staff member, demonstrating tools and training customers. You can email him at LeeLairdWoodworking@gmail.com or follow him on Twitter at twitter.com/LeeLairdWW