Do you have “project creep” every time you start a new job? It seems that I do. What started as a new top for my wife’s cheap bedside table turned into two new pieces of furniture.
CLICK HERE to read how that happened.
Project creep is also known as “as long as we’re doing this we might as well…” A task starts out with a certain scope, but that vision gets expanded into additional components along the way. The present job (
click here to read about it) started as handrails for our lower deck, but turned into much more.
When I was but a pup of a carpenter, one of my mentors, Jack English, taught me how to make a half-lap joint with a circular saw when you can’t use a dado blade. In this case, I was working with 20′ 2x4s and I had only 13′ of open space from the radial arm saw to the farthest wall, so quick and easy dado blade cuts were not an option for me.
The technique is simple, and most of you have probably used it: Using a circular saw, cut kerfs through the area you want to lap, being very careful not to cut too deep and keep your shoulder perfectly square. You can always take off more wood, but making spacers for a half-lap joint made too deep is both difficult and unsightly. The closer the cuts are to each other the “finer” the cleanup will be.
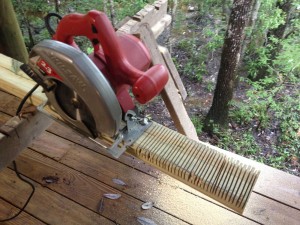
An accurate depth setting, or, better yet, a slightly conservative setting, and you won’t be throwing away so many boards. Make the kerf cuts close to each other for a faster, easier cleanup.
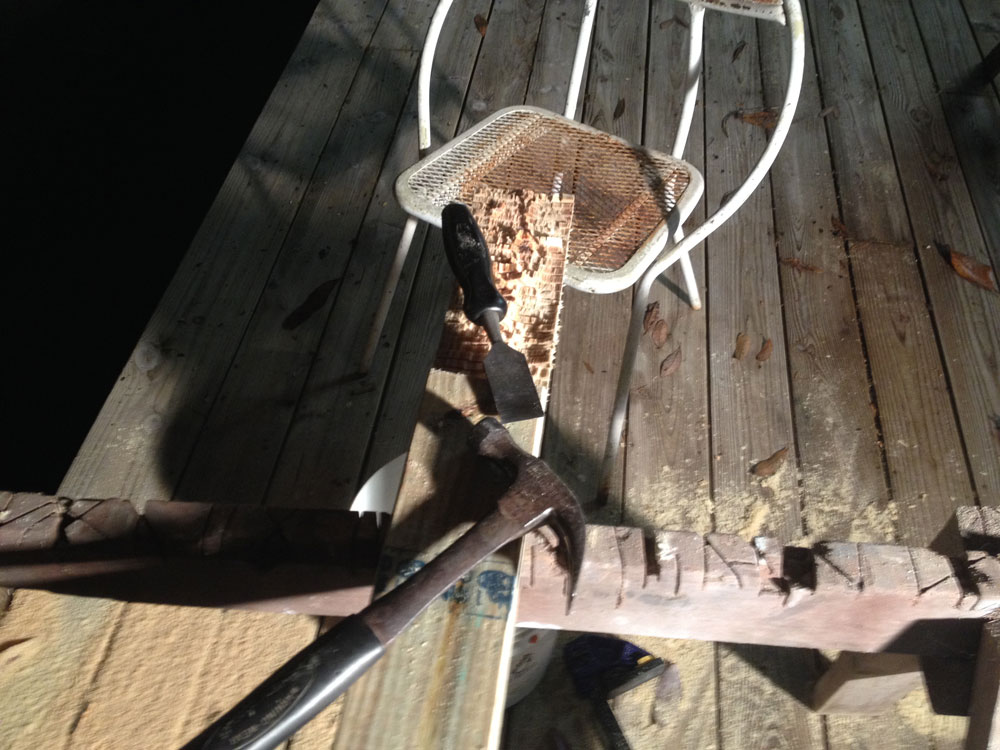
At this point, if you smack the remaining wafers of wood with your hammer, you’ll have a jillion little pieces to pick up from the floor, and lots of remaining wood in the joint to remove as you refine the joint.
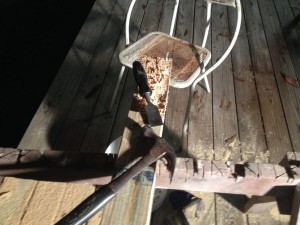
For demonstration purposes I used the hammer-only technique here, and you see how much material still needs to be cleaned. That’s because the only part that breaks off is close to the hammer head. Also, pine has a lot of knots, so this treated pine adds an added factor that the knot wood won’t break off cleanly. Yes, it’s dark, but I’m not averse to working deep into the night, if I’m having fun. I’m also not averse to sitting down to put myself closer to the work to gain a better angle for driving the chisel.
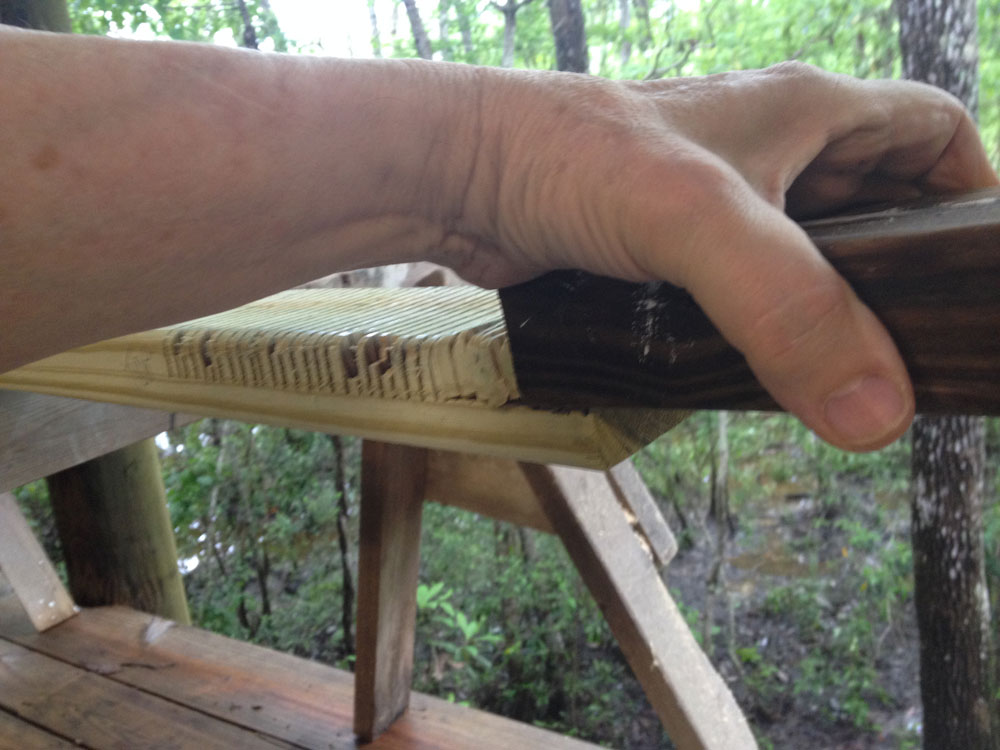
Instead, take a board the same width as your joint, put the end grain against the first wafer, angle it down a little toward the joint, then hit the board with your hammer or mallet.

A little bit of a downward angle and a series of good, smart smacks gets the process started.
Keep driving the wafers forward toward the back of the joint, piling up like a squeezed accordion.
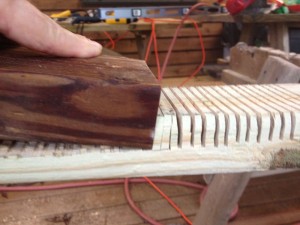
Drive like a defensive tackle and keep compressing those wafers. Each one will help dislodge the next and keep the pressure down low on your cuts, leaving you less to clean up.
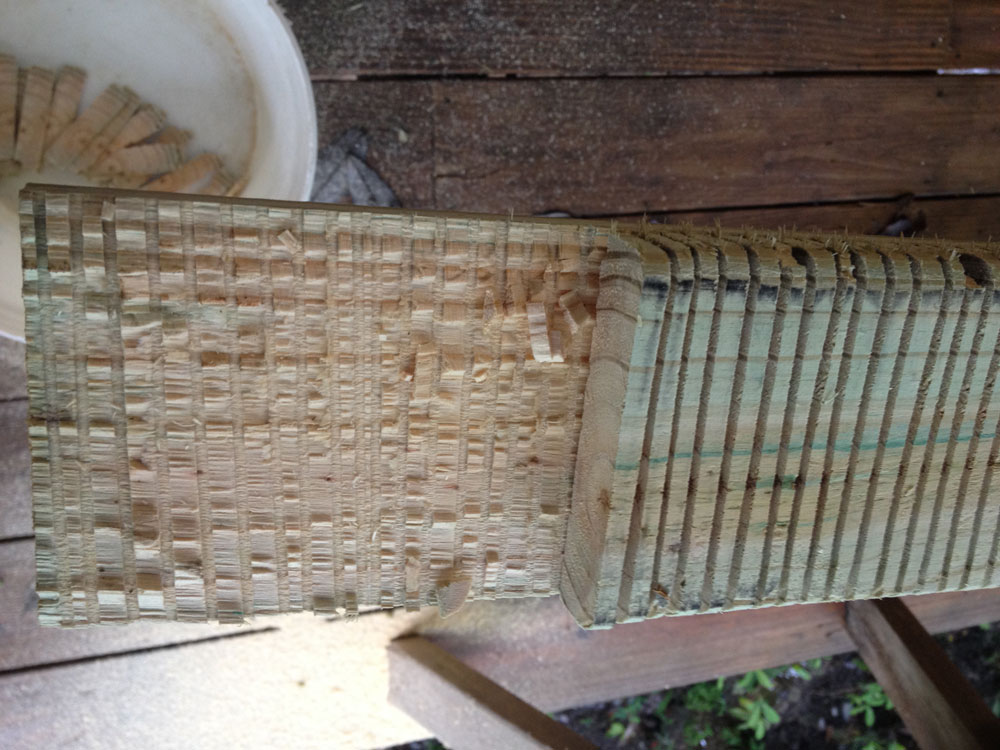
Unless you’re unlucky enough to have a knot in the joint, you’ll have very little cleanup to do. A sharp chisel makes short work of the remaining debris.

As you see, there isn’t a lot of work left to be done.
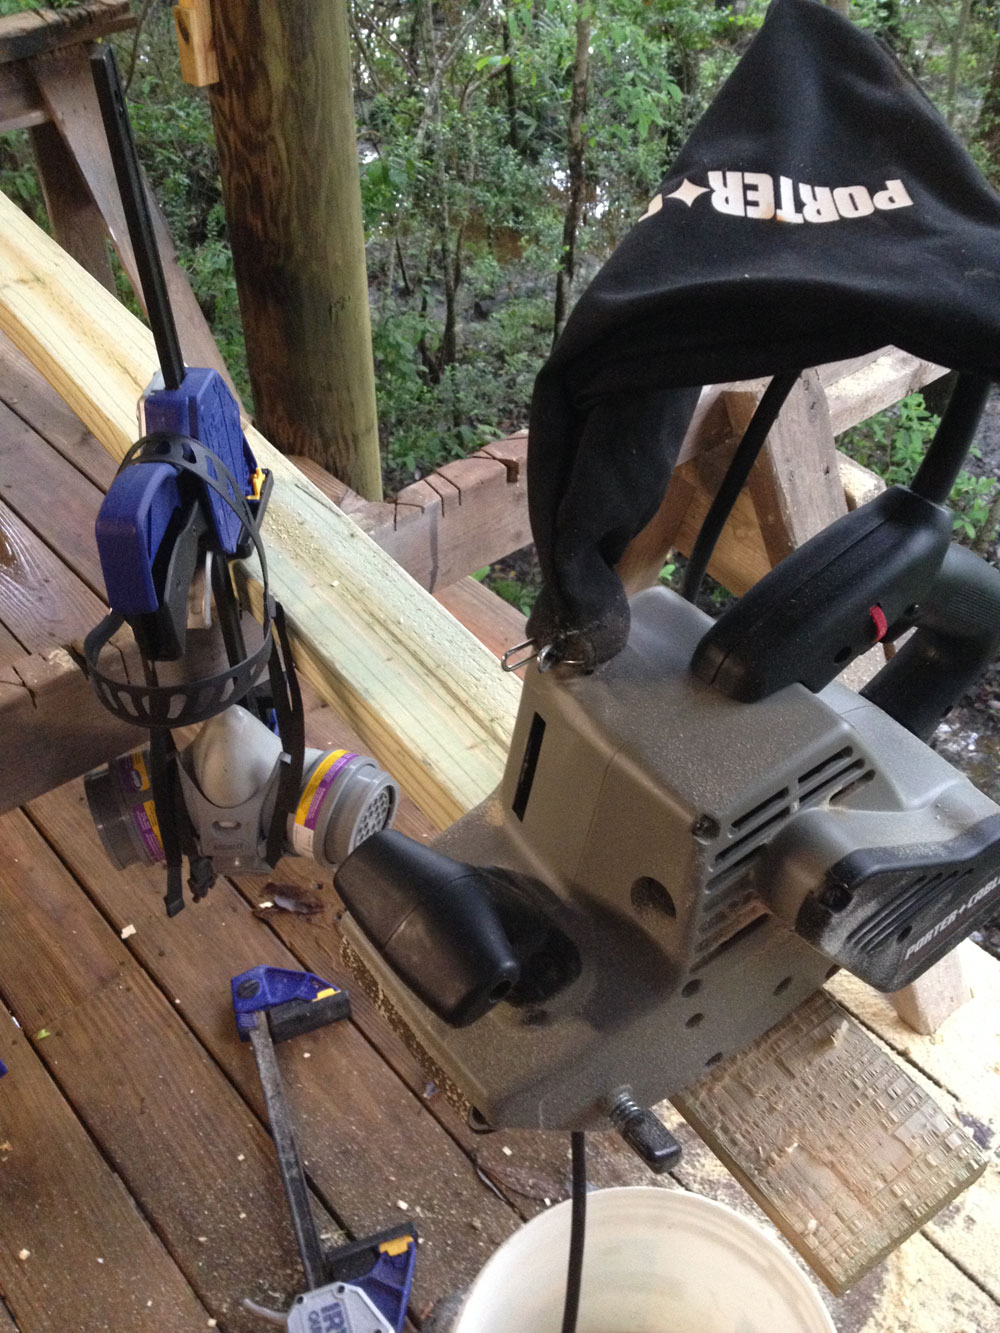
Want to make even shorter work of it? Fire up the belt sander. If you sand the joint smooth instead of chiseling, I recommend being a little more conservative with your initial saw setting for depth of cut, and lots of test fits. It doesn’t take an 80-grit belt very long to go too deep in this scenario. Just be sure to keep the sander flat in both planes, or your joint will be trashed. Any remaining fine-tuning with your chisel won’t take more than a few minutes.

I made each of these joints the width of the piling it was adjacent to, so some were 7″ and some were 10″. While most traditional half-laps are the same length as the width of the board, 3½” in this case, there are no rules, and I wanted lots of strength and screws attaching the boards to the pilings to go through the joints.
Joints were going well, and all of the vertical 2x4s were up and the half-laps looked quite good. Then, I began to think…
Thinking. That should have been my first clue that project creep was on its way. “These are good joints, but how much more visible will the horizontal components of this handrail be? Enough to make a way to use the dado blade for an even prettier half-lap joint?”