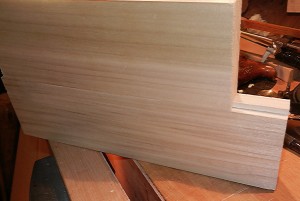
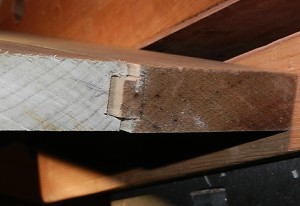
In an earlier article, I mentioned how I had an alternate method to create tongue and groove joints with a backsaw, but recall I did suggest this option is really for those with good or better than average sawing skills. I just re-read my earlier article, and have to admit the four cuts I mentioned are only for the tongue. The groove will still require some additional work, including something to evacuate the wood for the groove, like a chisel or more preferably a router plane. One last pointer for this method, is to use a saw where the handle does not hang below, or even close to the teeth. This will limit your access on boards over twice the length of the saw plate. So let’s get started.
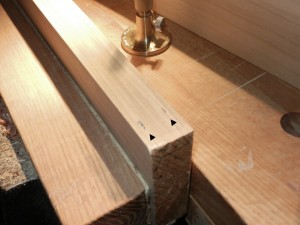
First determine what you’ll use to remove the wood from the groove section of this joint. This will ultimately determine the minimum size of the groove. I even go so far as to place the evacuation tool on the wood, where I’ll create the tongue, and with it centered, make a small pen or pencil mark on each side of the cutting tool.
Next get your marking gauge, and set it so the cutter is on the mark, with the fence against the face of the wood. Before beginning to mark, check the gauge setting against both marks. If the marking gauge is outside of the second mark, use your current setting. If it is inside of the second mark, change the gauge so it references from the second mark. If you originally centered the evacuation tool well, then both marks will be the same, but it’s not critical, even though it helps to be somewhat close.
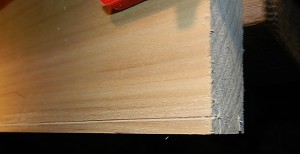
Once set, make a light mark with the marking gauge fence up against both faces. Come back and take multiple passes until the gauge line is fairly deep. Determine the planned length of the tongue, and mark similarly the depth on the two face sides and both ends.
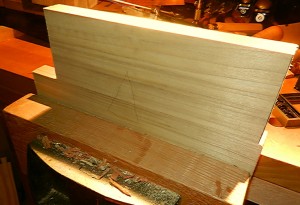
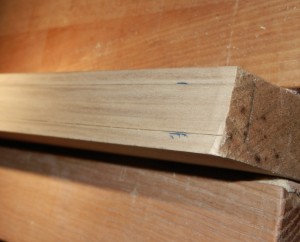
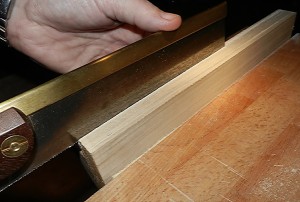
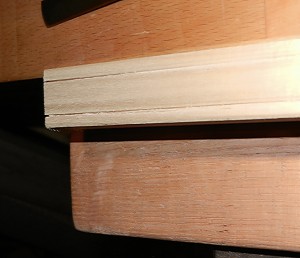
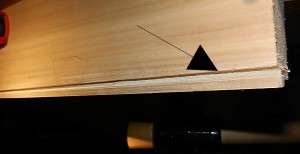
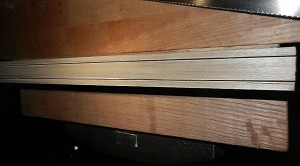
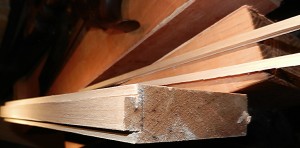
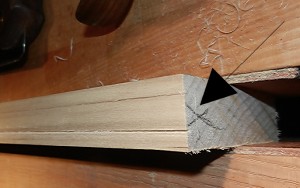
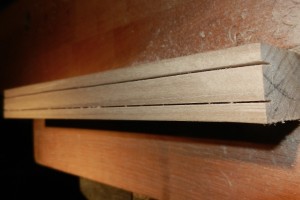
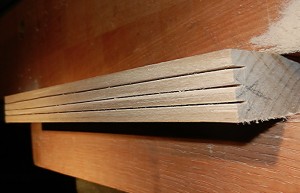
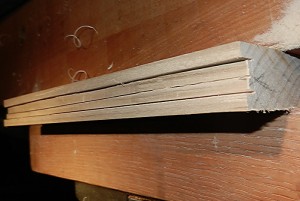
If you’ve set your marks for the tongue wide enough so you will have some extra width in your tongue, you can just place your saw into your gauge lines and slowly work from each end, working towards the middle. Once the saw is tracking the full length of the board, you can make full strokes. (If you don’t think the tongue will have the extra width, use a chisel to remove a small wedge just outside both gauge lines, creating a channel for the saw.) Repeat the same sawing process on the opposite side of the tongue, until you’ve reached the full depth on both sides. Now, flip the board onto one of the sides, and using the saw, follow the marking gauge line to full shoulder depth. Repeat on the other face side.
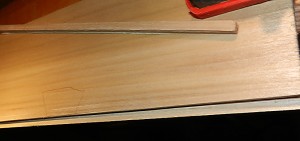
Now it’s time to mark out our groove. If both joining boards are the same thickness, I base the groove width directly off of tongue thickness, minus just a bit. Truly, I never measure this difference, but once the marking gauge is set to reach a side of the tongue, adjust the micrometer no more than 1/8 of a turn deeper. Mark the groove board from both face sides, lightly at first, then deeper after the line is established. Saw the gauge lines to full depth, and then make one more saw kerf down the middle of the waste, again to full depth. I like to use a narrow chisel to work away some of the excess wood, making sure to pay close attention to grain direction. This is not the time you want to accidentally dive too deep, and have the grain catch for a huge split.
Now I like to move the board into my face vise, and set the edge even with the bench top. I use the bench as my reference surface for my router plane, so all the weight of the plane is over the handle riding on the bench. Set the depth of cut by moving the iron up to the board to see how much you want to take in a pass. Shallow passes can take a while, but they usually don’t cause any problems. If I have a 1/4” or more to evacuate, then I’ll take a shaving similar in thickness to my fingernail. As long as you watch the grain direction, and make sure your board is level in the vise, you should be fine. This is what I did with this piece, but you might want to take a more cautious route. Continue this process until all of the excess wood is removed.
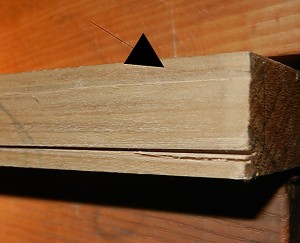
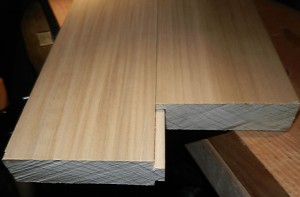
Check the fit of the tongue and groove. If everything fits great, thank your lucky stars and move on to the next part of your project. If not, don’t worry. We can fix anything! If the tongue is too thick, use the router plane, referencing the plane off of the face side of the board. This allows you to accurately remove very small shavings of wood, ultimately finding the perfect fit. If the fit is too loose, then another method is in order. In this case, you’ll glue some very thin pieces of wood onto both sides of the tongue. Since you’ll again use the router plane to make it fit perfectly, it’s a good idea to pay attention to the grain direction of the glued-on pieces. Wait until the glue dries completely before trying to size the tongue. Once the glue has dried, take extremely thin shavings until the fit is to your liking. This potion of the fitting is based on the width of both the tongue and groove. If the tongue happens to be too long, just trim it back until it is the correct length, again with very small increments.
This method of making tongue and groove joints is doable, but you do have to take your time. Rushing can cause all sorts of problems.
Lee Laird has enjoyed woodworking for over 20 years. He is retired from the U.S.P.S. and works for Lie-Nielsen Toolworks as a show staff member, demonstrating tools and training customers. You can email him at lee@lie-nielsen.com or follow him on Twitter at twitter.com/is9582


