I’ve recently been working on building a copy of a Les Paul solid-body electric guitar. During the build, there were a number of holes to drill, and some required a fairly high level of precision. Specifically, the two holes for the tailpiece and the two holes for the bridge.
Both the tailpiece and the bridge directly handle the pathway of the strings for the guitar. Because of this, there are a couple of factors at play. First, the two holes need to be the correct distance apart, so the respective component (tailpiece or bridge) will fit onto the studs after they are screwed down into the installed bushings. The second, which is equally if not more important, is the exact relationship to the string path, from the nut down the fingerboard, of these pieces. If they are drilled slightly to one side or the other, the strings will be offset on the fingerboard, and the guitar will be useless.
I strung a piece of red thread from the tailpiece (outer two holes) up through the nut, to the respective tuners. This allowed me to find the correct location to drill. I marked the position from the opening on the tailpiece, where the connecting stud will reside. The back half of this is a half-circle. The bridge has a complete circle, as it sits down onto cylindrical studs.
So, how am I finding the center of these marked points? Well, I didn’t think of this trick until I’d already drilled the holes for the tailpiece, which went together, but just barely. I marked the location for the two studs, but missed dead center by about as much as would allow the parts to go together! This is actually what inspired this tip.
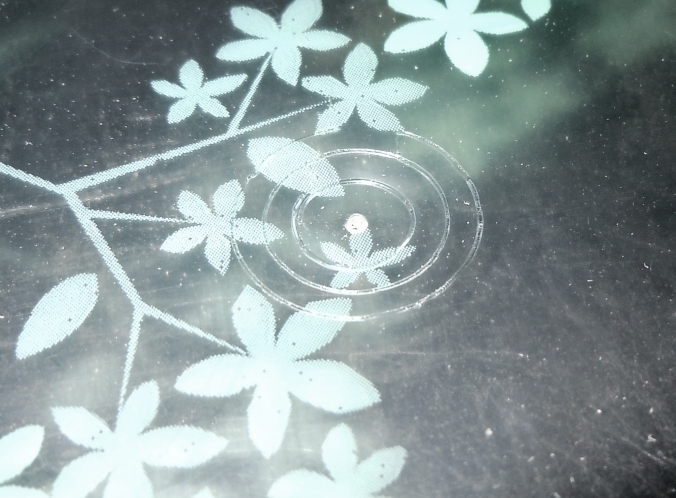
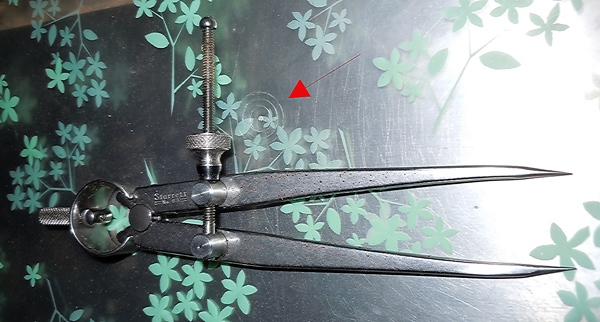
I took an approximately .008″ (or .2mm) thick sheet of somewhat transparent plastic, and a compass with very sharp pointed legs. I put the plastic onto a piece of MDF, and then pushed one compass leg through the plastic until it was contacting the substrate. This was my center-point. Next I moved the other leg to multiple positions, and at each position, rotated the compass, pressing heavy enough to leave a scoring mark all the way around, but not enough to cut through the plastic.
What I ended up with is a center-point through the plastic, with multiple circles all circumscribed around each other, with one single center.

I laid the plastic down over the circles for the bridge for which I wished to find the center, and positioned one of my scored circles so it was either slightly outside or inside the circle I’d drawn on my guitar. Once I positioned the plastic so the two circles had an equal spacing all the way around, I used one leg of the compass (I found opening the compass very wide prevents the opposite leg from getting in the way, and possibly causing the marking leg to lean away from center) to push through the existing center of the plastic. This marked the wood with a small hole, very close to dead center. I drilled the holes at my drill press, and with this technique, the bridge fit exactly as intended.
Overall, I found that this technique was very easy to use, and it provided wonderful results.
Lee Laird has enjoyed woodworking for over 20 years. He is retired from the U.S.P.S. and works for Lie-Nielsen Toolworks as a show staff member, demonstrating tools and training customers. You can email him at lee@lie-nielsen.com or follow him on Twitter at twitter.com/is9582


