

New Chisel Preparation
In my last post, I discussed Stanley’s reissue of their famous 750 socket chisel. In today’s post, I’ll go over how I prepped them for use in my cabinet shop, and I’ll give you my first impressions of them.
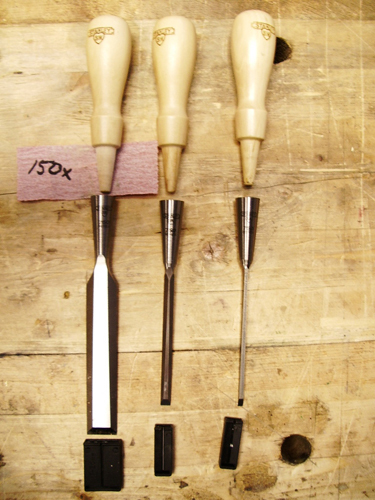
After I got the chisels out of the box, I visually inspected them. The machining, although not as refined as the Lie-Nielsen version, is certainly clean with tight milling marks as opposed to the haphazard sanding swirls you find on economy tools. More on that later. I found the hornbeam handles nicely turned and defect free.
Because socket chisels are prone to loose handles, I removed the handles to sand their tapers for more friction in the sockets. Handle removal is easy. With the edge protector on, firmly grip the blade and lightly rap the handle on a piece of soft wood. It should come off with little effort. Some light sanding with some 150x paper removed the factory finish from the taper ensuring enough tooth to grip the interior of the socket once the handle was driven home.
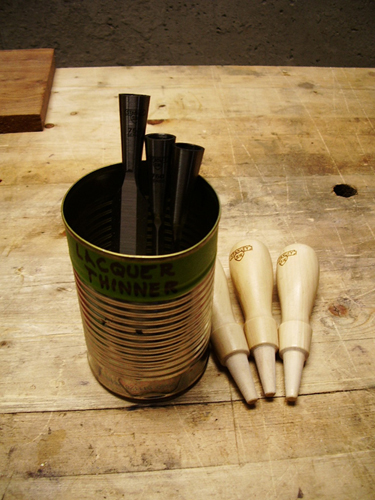
With the handles still off, I removed the shipping lacquer from the chisels by soaking them in a soup can full of lacquer thinner. Five minutes was all it took to dissolve the film. A quick go with a Scotch-Brite pad buffed away the last bit of residue.
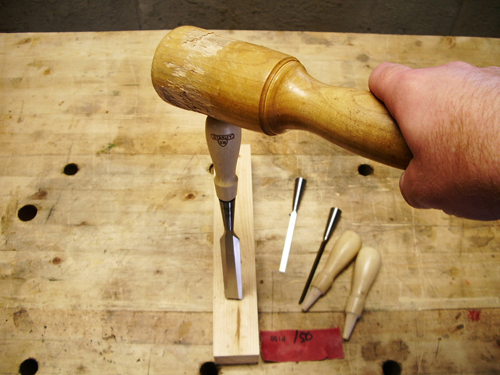
There are many ways to reseat a socket chisel handle. My technique is simply to place the cutting edge of the chisel on a piece of softwood and give the top of the handle a good bash with a wooden mallet. No more to it than that.
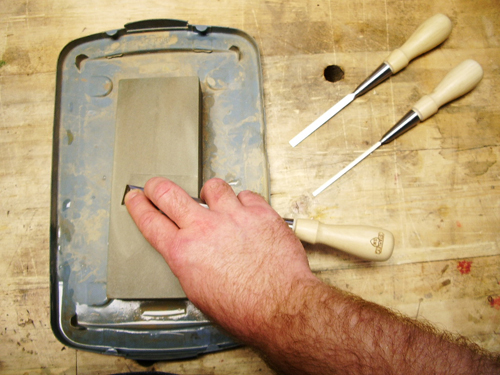
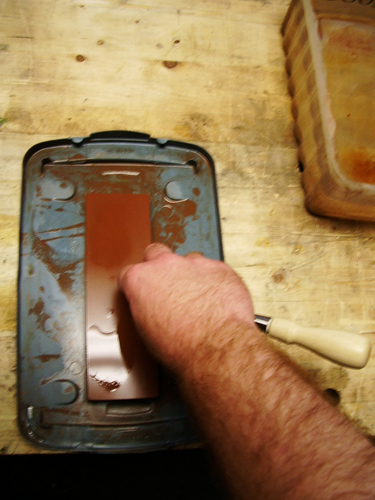
I chose to flatten the back of these chisels with my 200 grit Japanese waterstone. Of course you could use sandpaper on glass, a diamond stone or any other abrasive you like. I was pleased to find that the 3/4″ chisel only took 2-3 minutes to remove the factories milling marks and to get the tool’s back flat to my satisfaction. The small sizes took slightly less time. Nice.
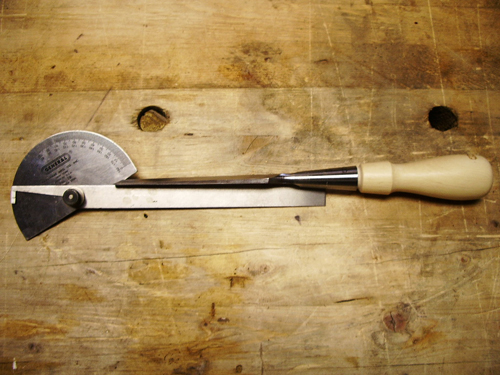
As for coarse sharpening and bevel shaping, I like a slow speed grinder (around 1750-2000 rpm’s) with a 60 grit aluminum-oxide wheel. The wheel pictured happens to be a Norton Blue wheel. The bevel angle from the factory came in at 30 degrees. Right where I like it.
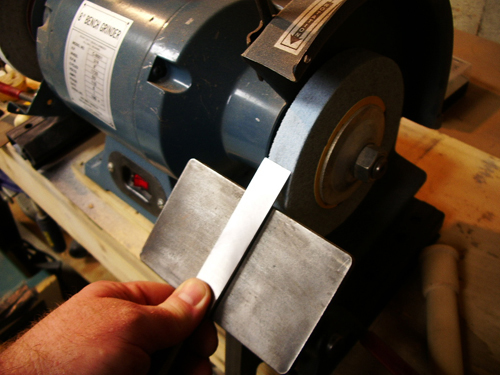
So, I eyeballed my Wolverine Jig to set the center of the bevel tangent to the wheel, and started to grind. Now, let me say here that it is not necessary to do any power grinding. A good honing guide and a coarse diamond stone, water stone or sandpaper will certainly do the same thing. The point is to remove the factory milling marks, quickly adjust the bevel angle and move on to the next finer abrasive. I promise the woodworking police will not come knocking if you have another method.
I removed the grinding marks from the bevel and the 200 grit waterstone scratches from the back with a 1000 grit water stone. I honed the bevel and polished the back with an 8000 grit waterstone. That’s it. I found these chisels tuned up much faster than all but the most expensive brands I’ve come across. I spent no more than an hour preparing all three chisels. Now my standards are purely practical. I didn’t bother to make them pretty only functional. I need to get to work and push some product out the door after all. You may choose to spend more time fettling your chisels. This may include but is not limited to grinding the side bevels closer to the back (called stoning) and polishing out the factory machining marks from the top and sides. By the way, these chisels took a fine edge as you’d expect. Check back tomorrow and I’ll tell you how that edge held up in the final post of this series.