

Now that the top is cut to final dimension, I’ll set it aside and start work on the base. I’ve got some great crotch walnut for the main section of the leg.
I like to keep things symmetrical and consistent for the whole table, but I also want to use the existing grain pattern where I can. So, I use a piece of glass and trace the grain curve and check it against all 4 cuts (two outside per leg) and take a sort of average or check where it will fall.
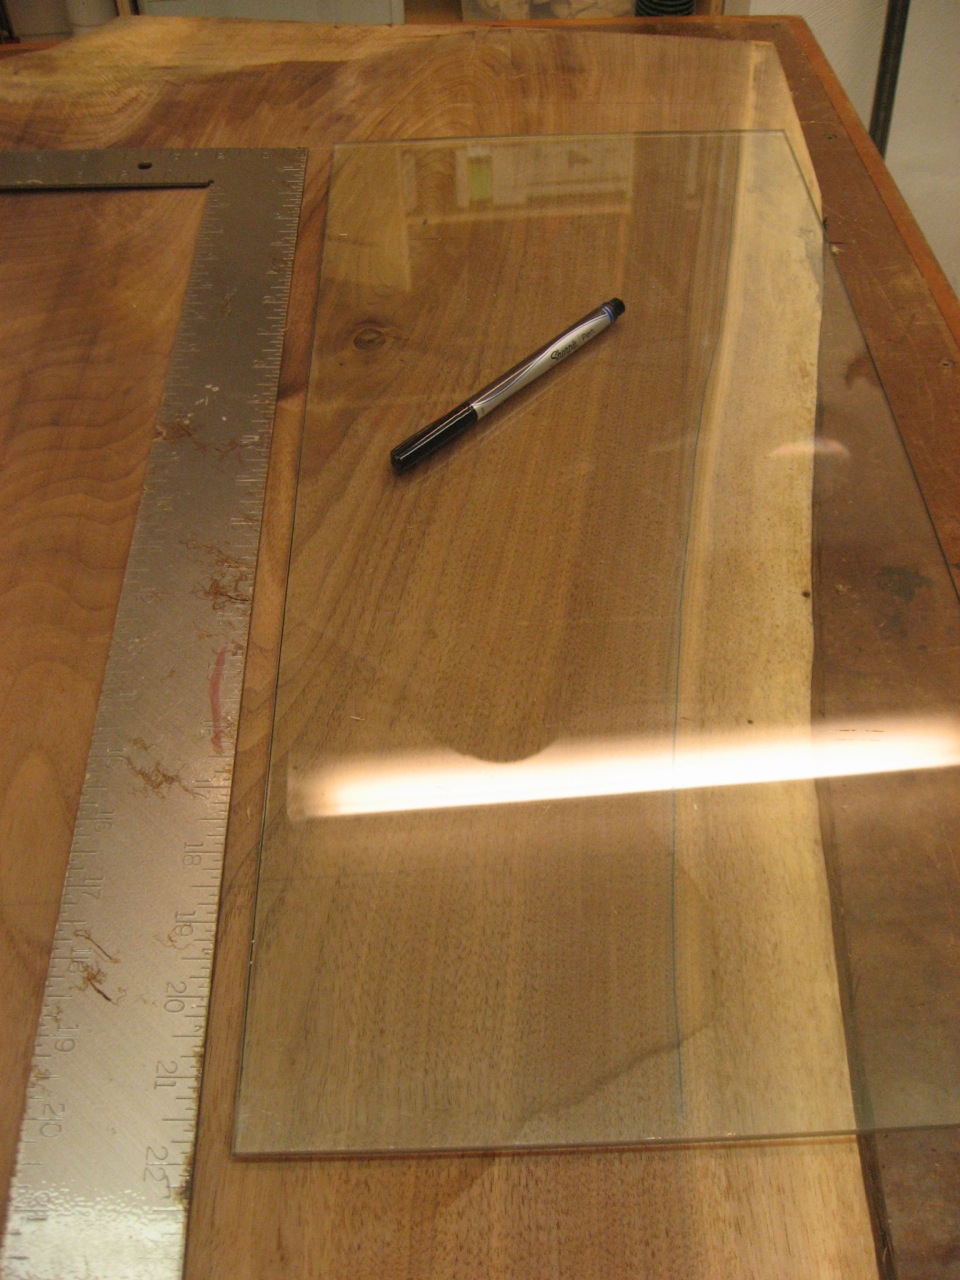
Drawing the curve of the grain
Once happy, I trace that onto a piece of 1/2″ or 1/4″ MDF to make a template. First, rough it out on the bandsaw, staying just outside of the line.
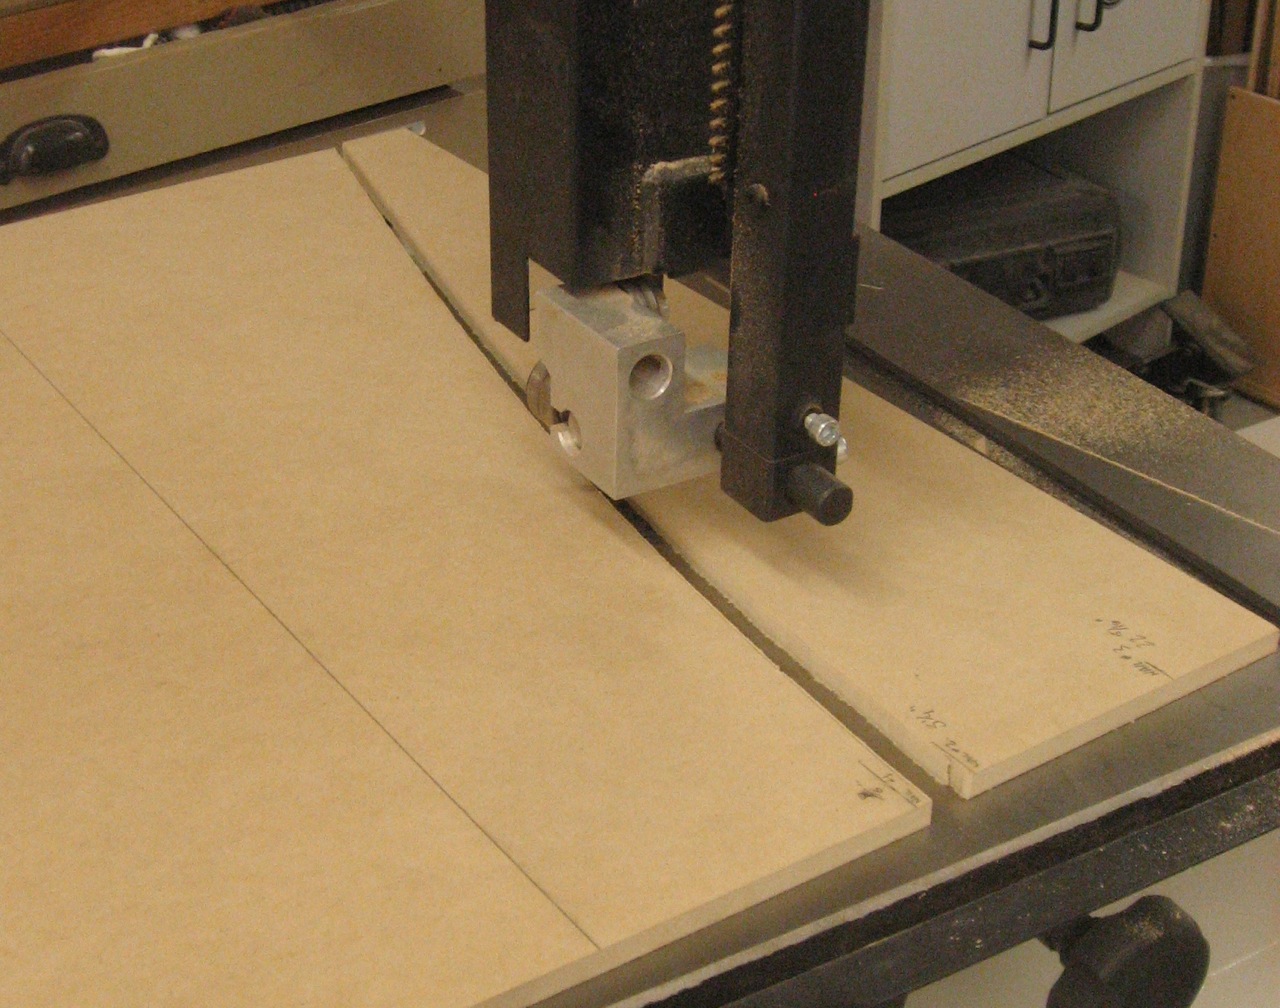
The bandsaw roughs out the template curve
I use a spindle sander to cut right up to the line.
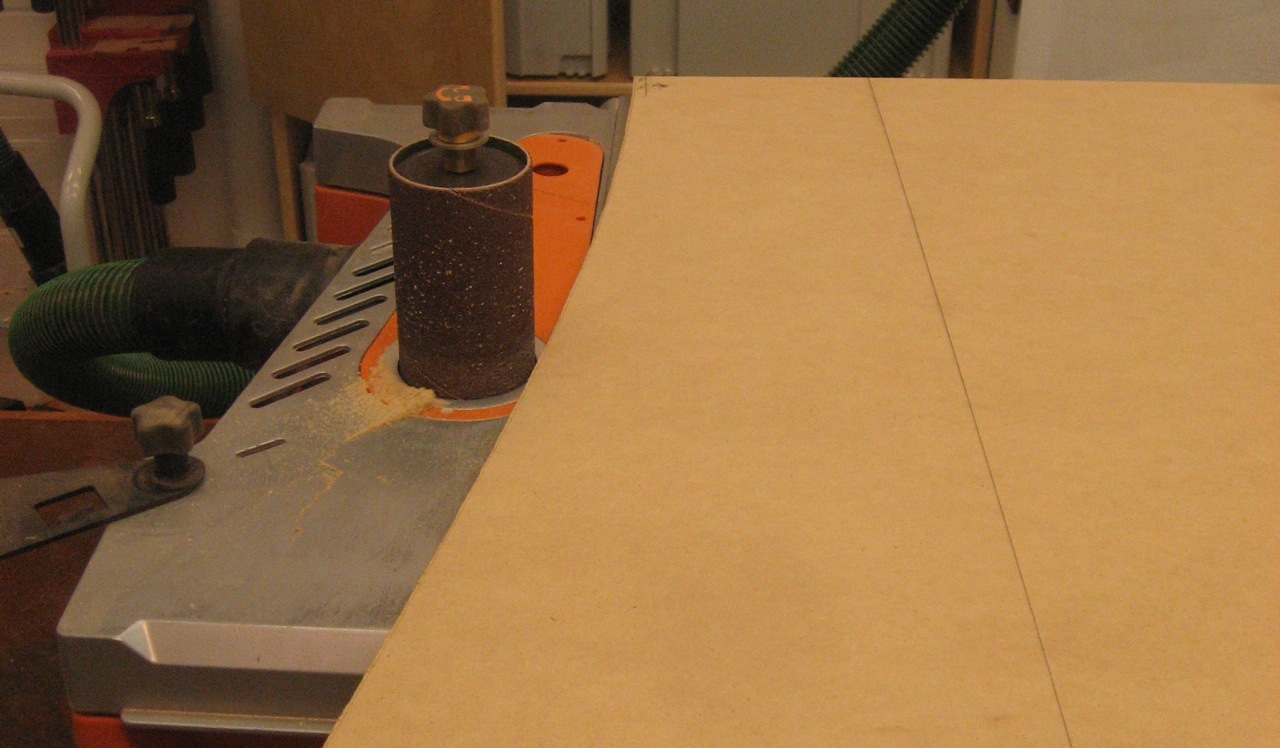
A spindle sander cleans up the edge
The sander leaves “divets” all along the edge. I go back and clean those up with either some rasps first or skip straight to a flexible sanding pad.
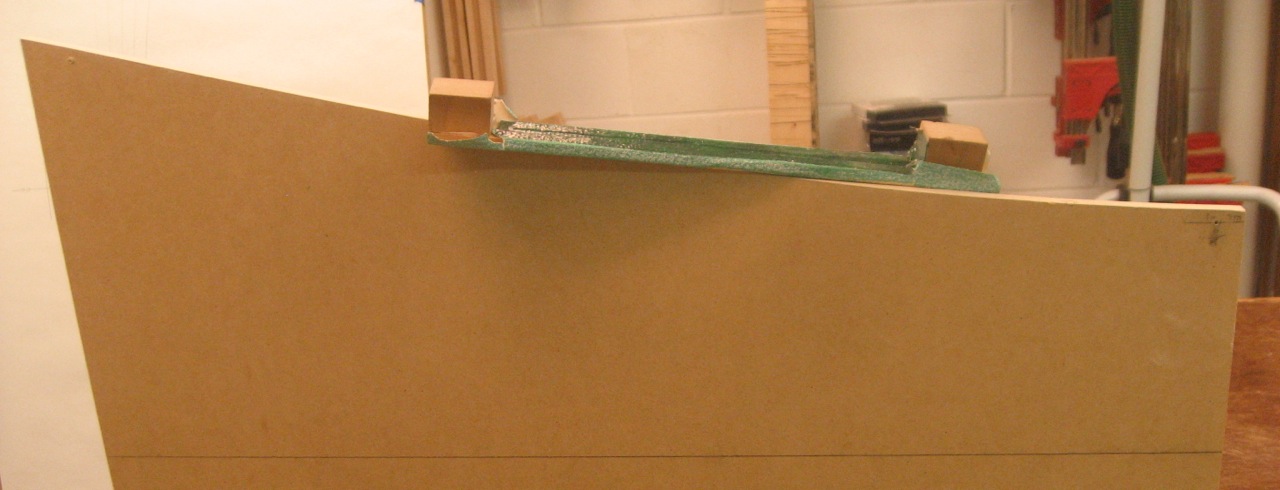
A flexible sanding pad gets a consistent, smooth curve
I’ll use this same template to make all 4 cuts. The top and bottom edge are kept square so I can use them for reference edges.
[…] Woodworking Tips, Workshops & Instructors Oct 092012 When I created the curved template for the legs, I actually bent a thin strip of wood around nails to get a very consistent curve that […]
[…] Instructors Nov 012012 I’m ready to final-size the legs which means using the template I created awhile ago. I first traced the curve onto both sides of the workpiece. Then over to […]