

To read Part 1 of Terry’s Benchcrafted Leg Vise installation, CLICK HERE
I am still working on my Benchcrafted Leg Vise. Going a little slow what with Thanksgiving, Christmas, and traveling to my son’s wedding up north, but the vise is probably further along than it seems at times.
Since the last update I have mounted the vise to the right rear leg of my bench by cutting a hole in the tool tray and running the vise leg up through the bottom of the tray flush with the back rail. I will attach it to the bench leg below and set a couple of screws through the rear board of the tool tray into the top of the vise.
I spent a lot of time reading the instructions and making sure I had a good layout for the mortise slots for the criss-cross and the screw hole for the vise screw. I only had one piece of thick walnut lumber for the leg and I did not want to screw that one up. You will need a deep slot for the criss-cross to drop into, and a wider mortise at the top of the slot for the bracket which holds the criss-cross. This slot is 1-7/16 inches deep which is why they recommend you use 2-1/2 inch thick stock. Simple 4/4 stock will not do and the legs need to be at least 4 inches wide for the Retro. You can glue up stock using 8/4 plus a 4/4 and put the joint on the up side so you cut the mortise through the glue line and the brackets are mounted in solid material.
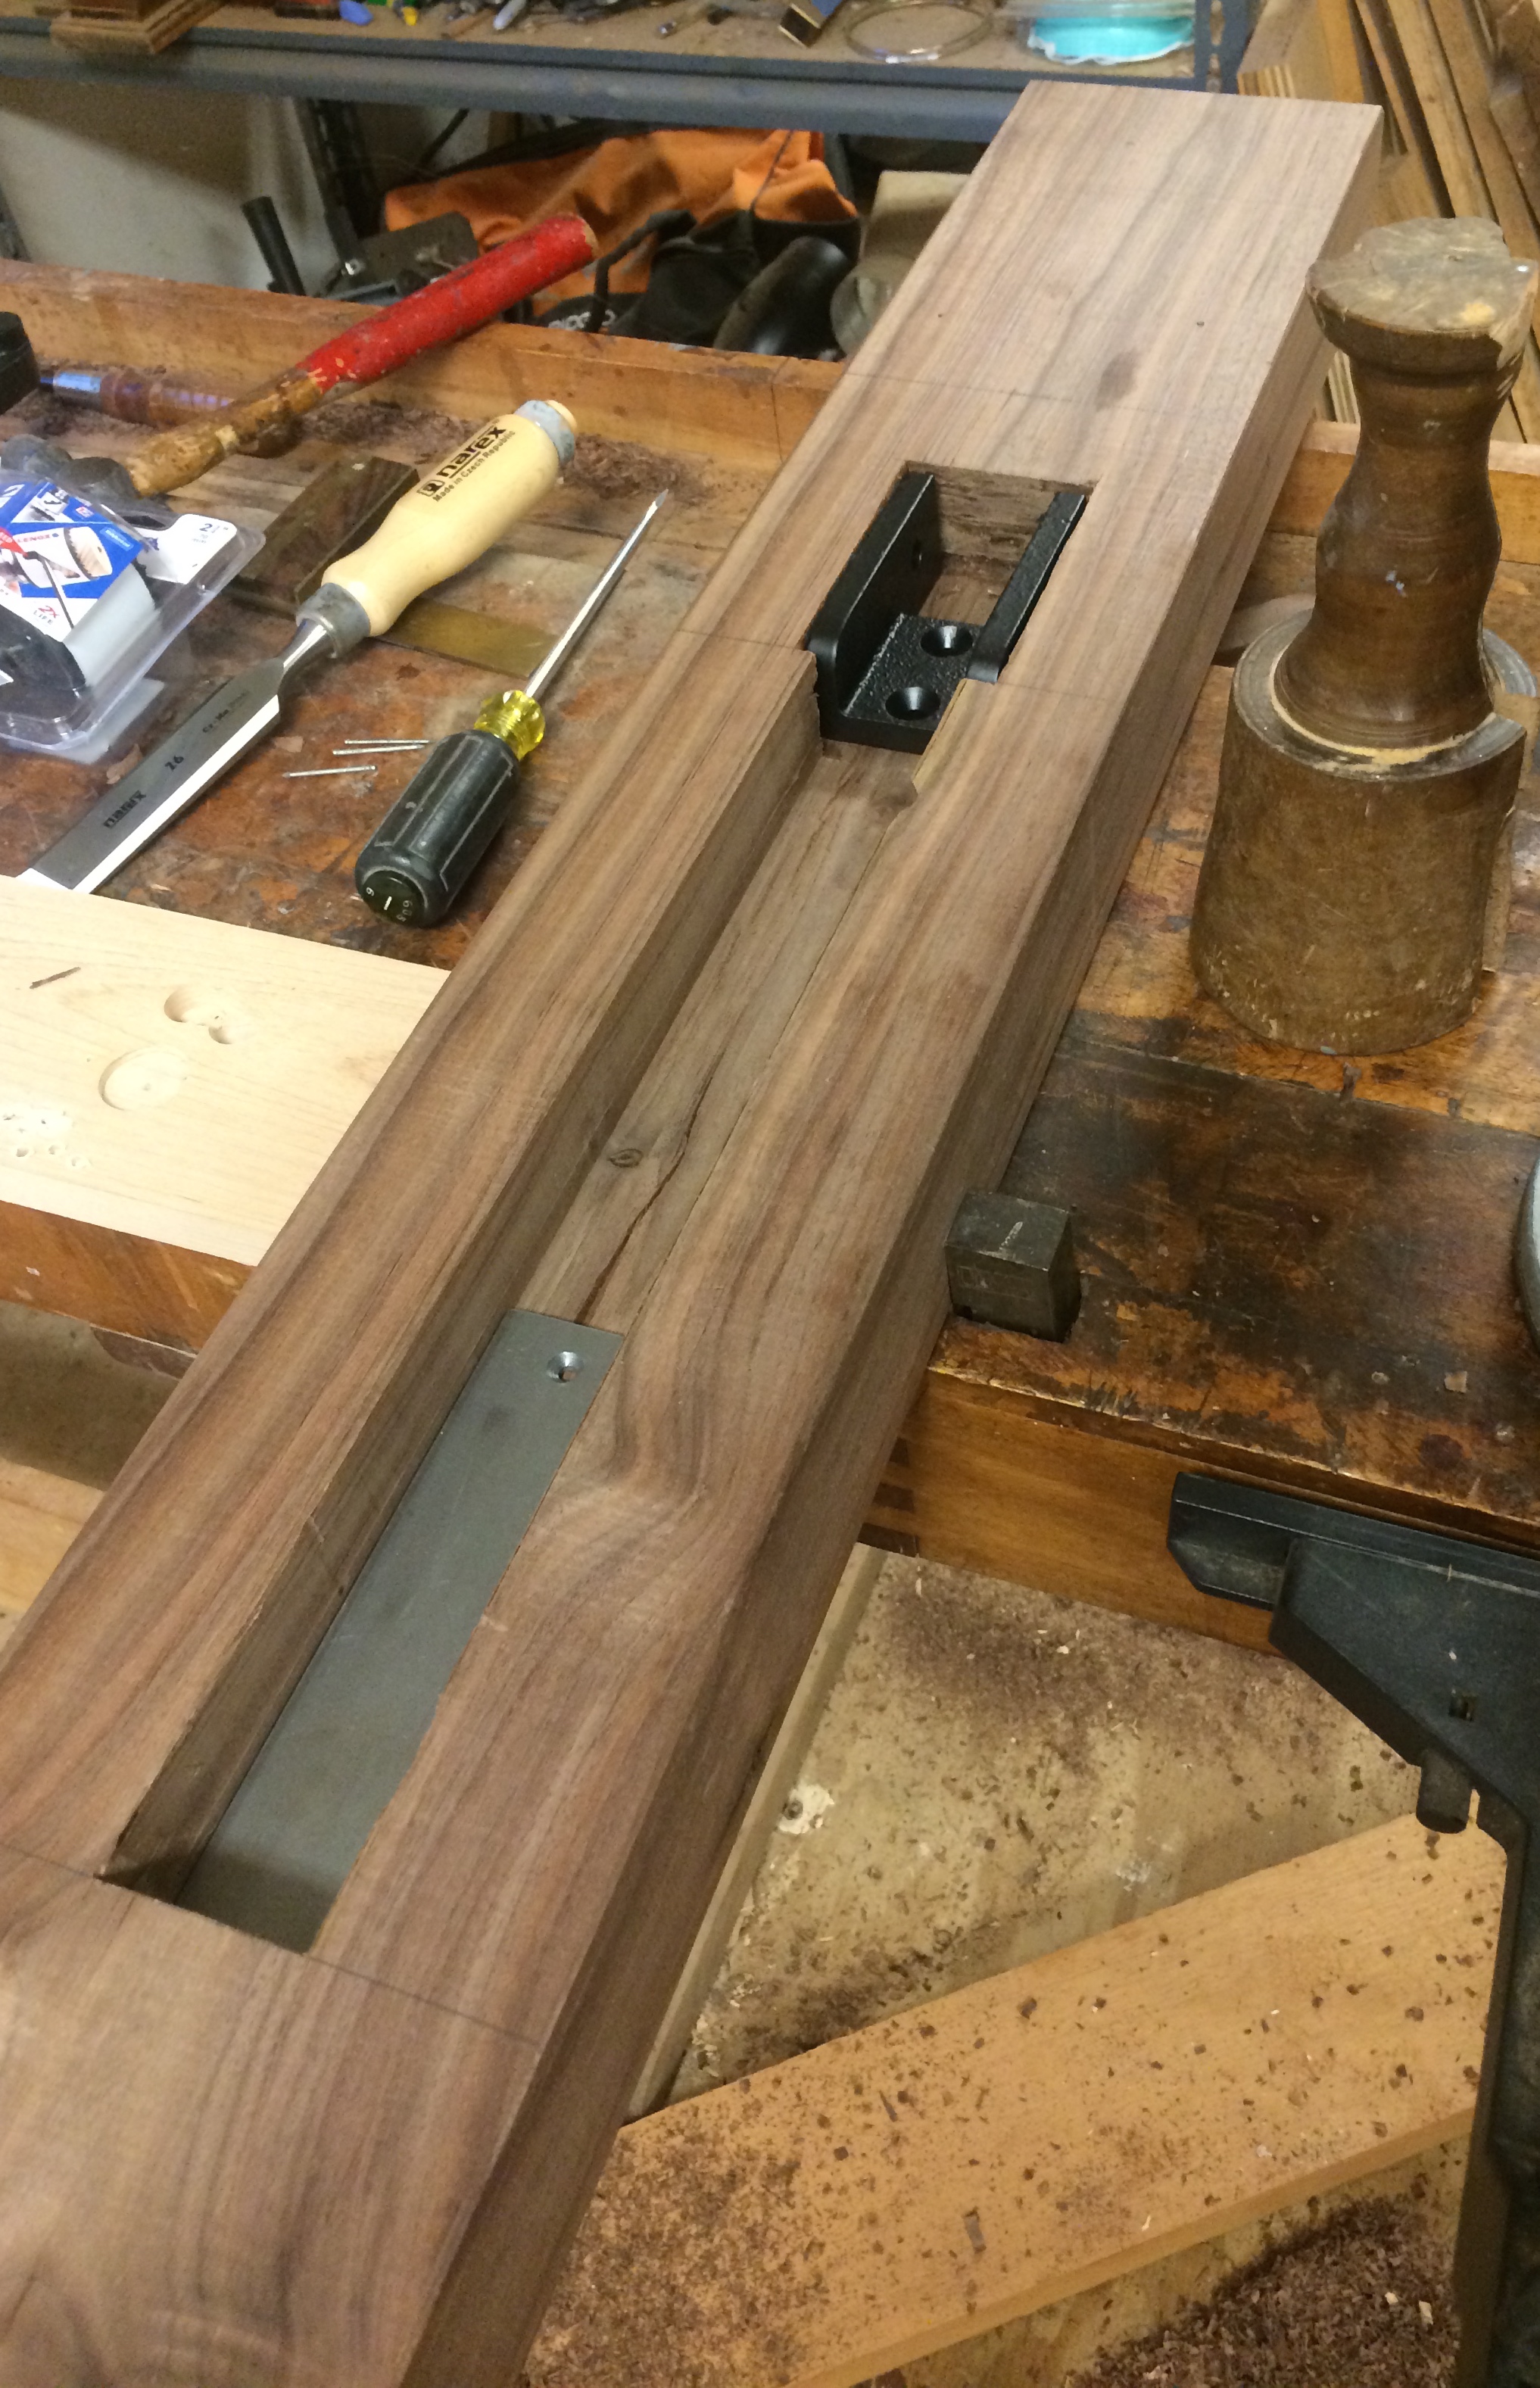
Leg with Mortise
I ended up going to the local big box for a couple of odd (for me) tools. I needed a spade bit with a 1-1/4 diameter, a hole saw at 2-5/8 diameter, and a 5/16-18 bottoming tap. Taps are not something I normally keep, and tapping a screw hole in wood is outside my experience. But hey, I’m game, so I headed to the store to get what I needed. I asked three clerks and searched all over the tool section until I finally happened to ask the right guy. He pointed me toward the display stand right in the aisle labeled “Tap and Die Sets” by Irwin. It came in a set with the proper drill bit and cost just a few dollars. I also needed a longer straight router bit to reach the full depth of the mortise.
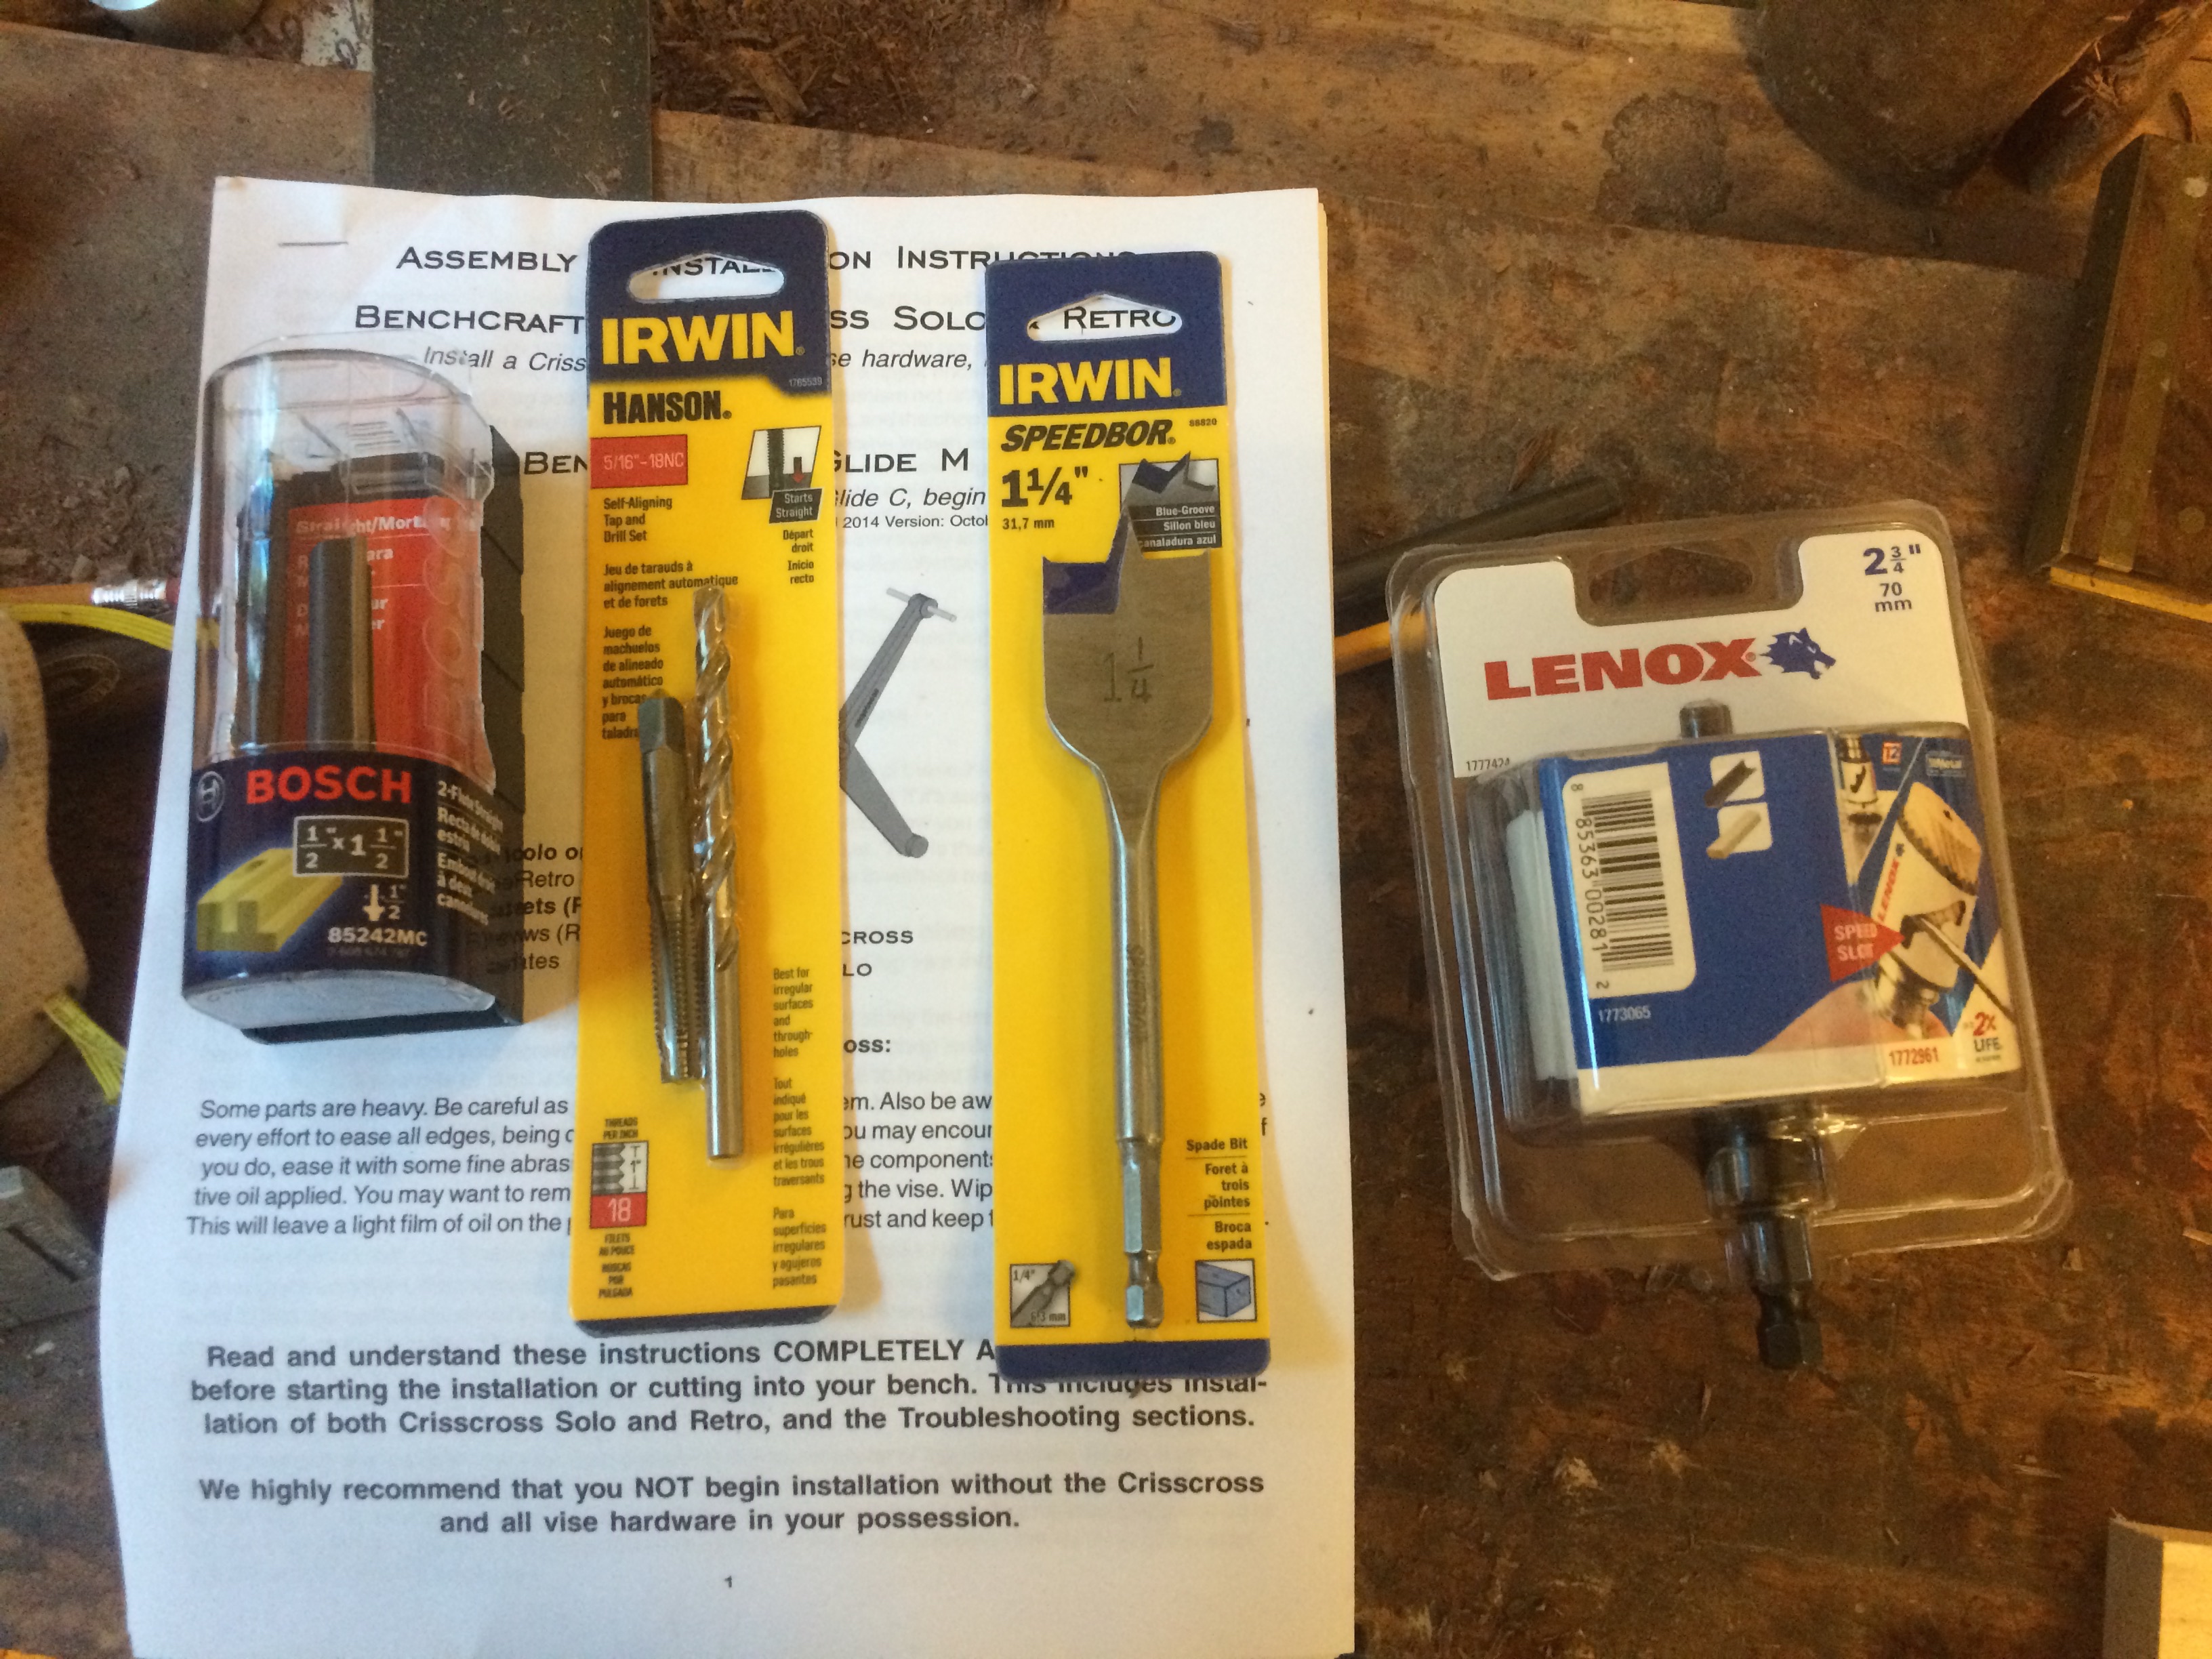
Additional Tools Required
I paid lots of attention to the layout for the criss-cross and its bracket. I used my router with a fence to cut the mortise and then cleaned it up with chisels and a mallet. I tested out my new tap set on a scrap piece of walnut and then marked the spots and drilled pilot holes to mount the brackets. Time will tell, but when I put the screws into those wooden threads, it tightened up like I have not seen in a while. You need to give it a try. They offer extra directions in the download from the website, so it is easier than you think.
I cut a hole to fit in the bottom of the tool tray, unscrewed the bench from the shop floor and slipped the leg into place, complete with bracket and half the criss-cross. I glued up the chop from some old African Mahogany (nasty wood if you have never tried it) lying around the shop and cut the mortise in it. After mounting the bracket and the other half of the criss-cross, I put it together temporarily and it appears to work like a champ.
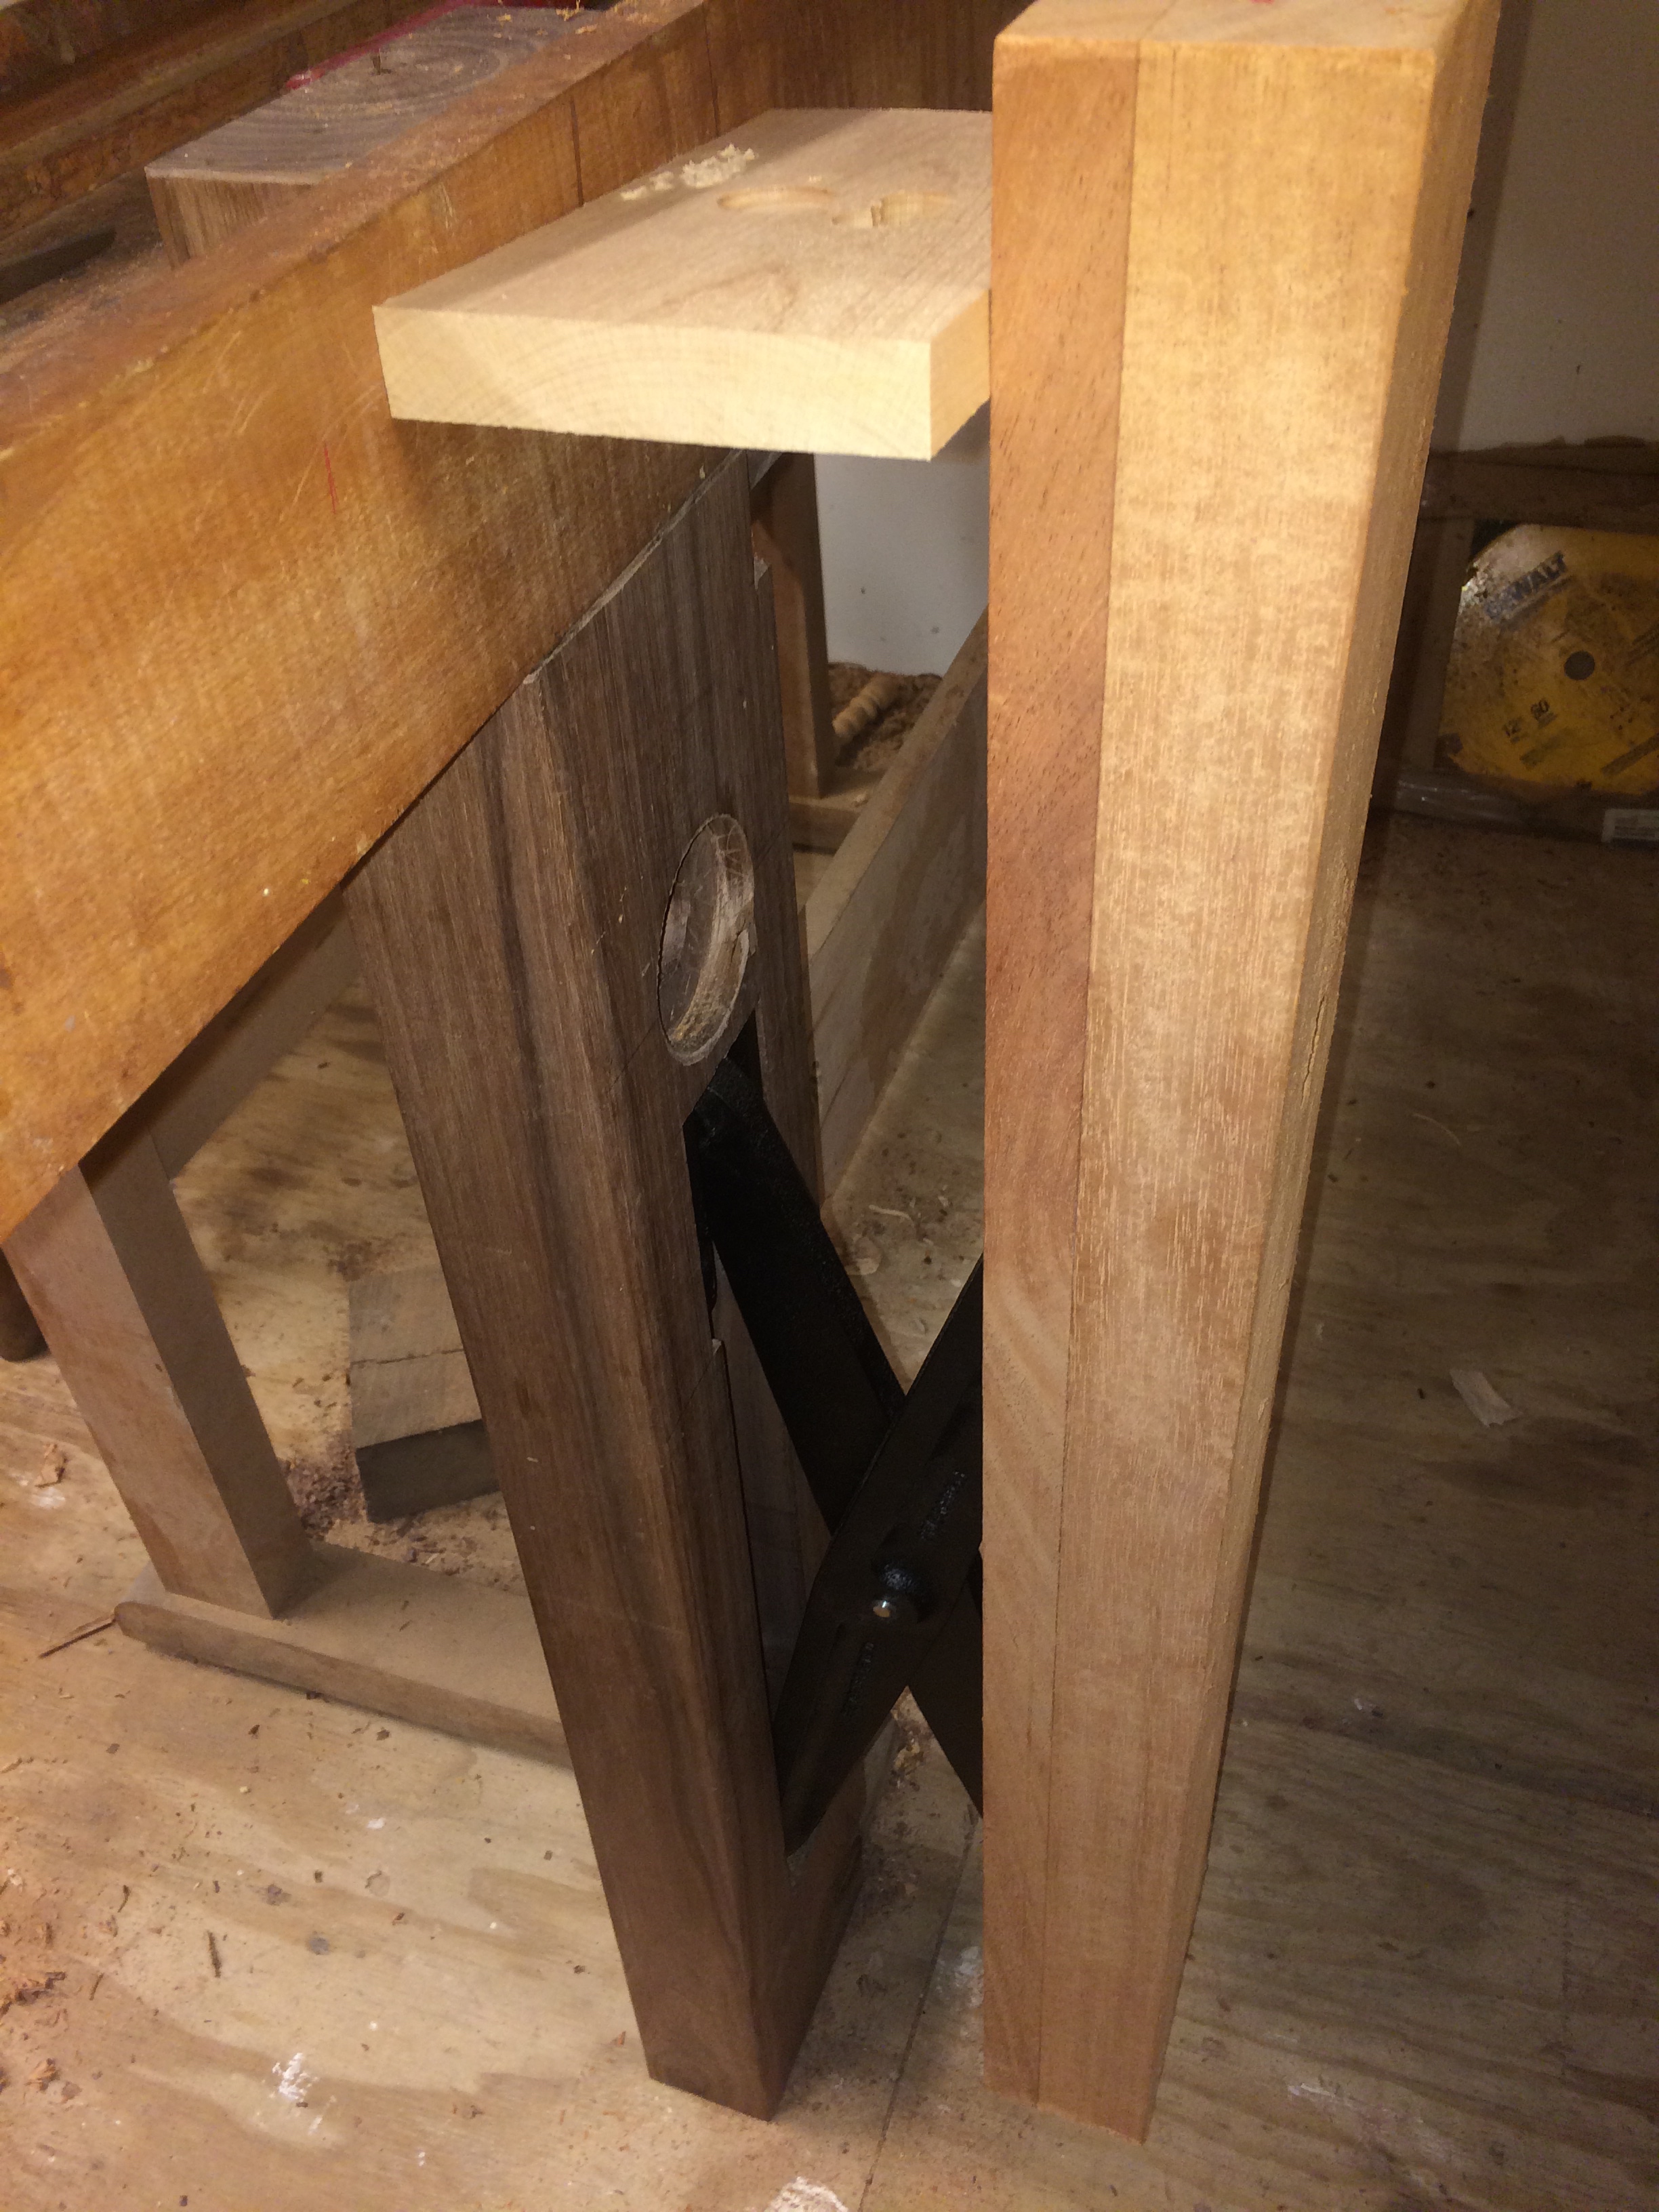
Glued-Up Chop with Temporary Mount
The next step is to mount the screw and nut and add the hand wheel to the chop. Once I get it all aligned and tested according to the directions from Benchcrafted, I will add some shaping to the chop, trim the top flush and get some finish on it. Note the small gap at the bottom which is built into the crisscross so the top will grasp thin pieces of wood.
Little more work to do and then I think it is going to be all right!

Mounted with Glide Wheel “C” Waiting for Final Trim