

After seven hours around a lathe, three blocks of wood, a refresher course on angles, and one accidental projectile [no one was harmed in the making of this article], I am excited to have taken my first spin at woodturning.
The setting for the course, Beginning Turning, was the shop and classroom situated on the top floor of Highland Woodworking. With wall-to-wall tools, goggles, machines, and examples of woodwork, the room itself makes you want to get your hands busy, which is what we did almost immediately.
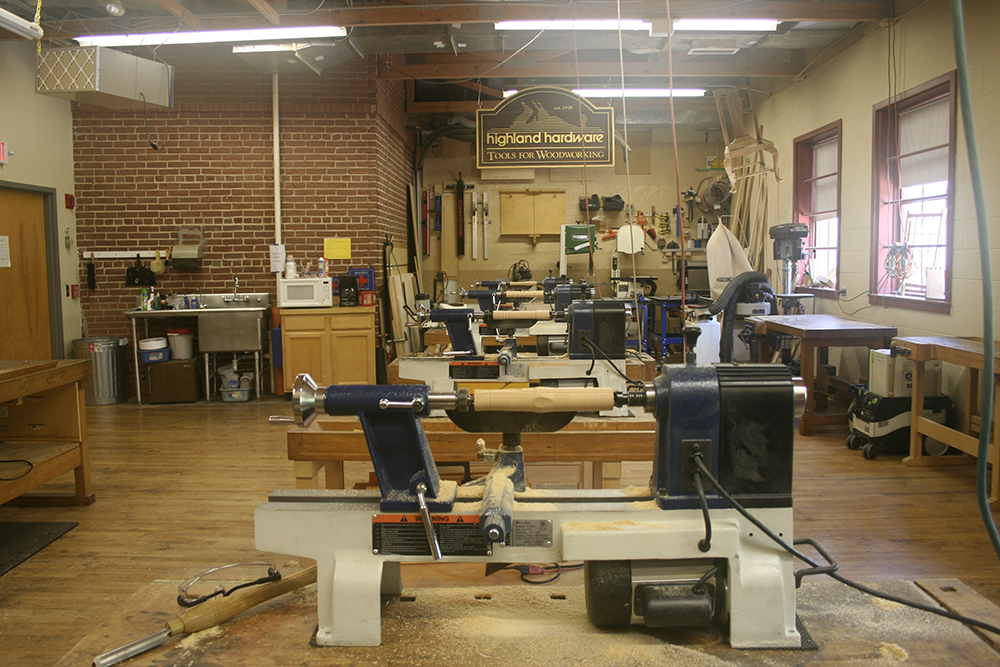
Our classroom and shop for the day
Hal Simmons, our instructor for the day, kicked off the class by introducing his own woodworking history. Having taught since the 1990s at Highland and with a background as a Red Cross disaster response volunteer, I felt we were in good hands to safely fire up the power tools.
The first step for us was going over the basics of the lathe, from the different types on the market to how to adjust the speed. Our small class of four included eager students with a variety of backgrounds, from someone interested in getting into pipe making to one who was gearing up for a chair making course. Because of this, we had a range of goals and different experiences, which Hal tried to tailor his turning tips towards.
After reviewing tool names and basic safety, particularly with where to position oneself while working on the lathe, we began by setting up blocks of scratch wood and using a spindle roughing gouge to bring them down to workable cylinders. From there, our focus was on learning about the different shapes – coves, beads and planes – that we could create.
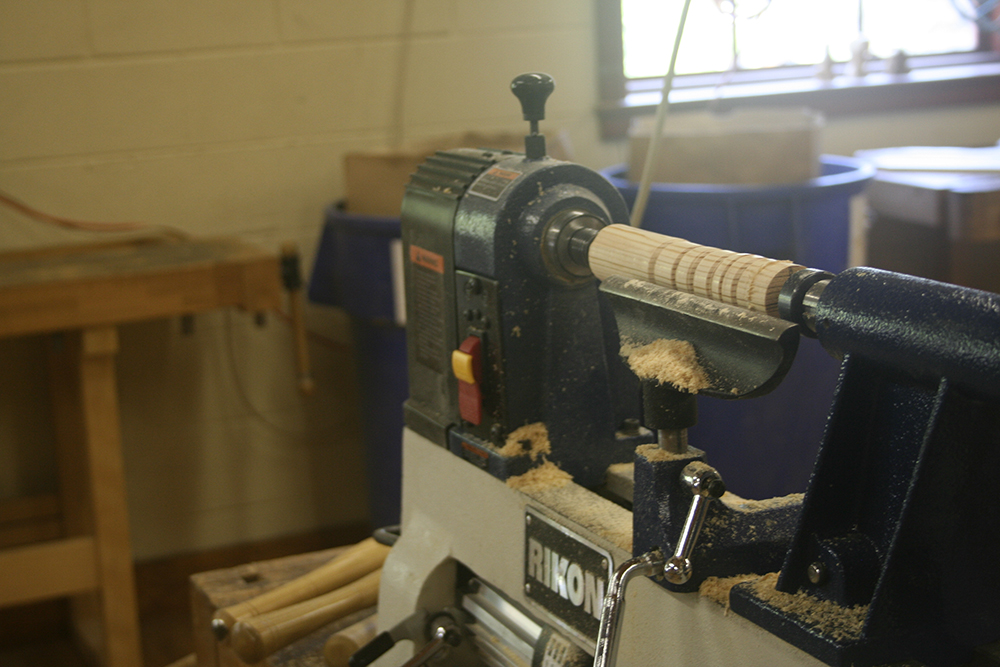
Practice piece
For me, one of the lessons that stood out was in how to handle the relationship between the tools and the lathe. Instead of putting in force, Hal described letting the machine do the heavy lifting and being there as a guide. For anyone who has sat with a sewing machine, as I often do, this is a remarkably similar mantra. When you first learn to sew, there is a tendency to push and pull the materials through instead of letting the foot of the sewing machine do its job. While the parallel between the lathe and sewing was a helpful point of reference, it did not necessarily make it easier to train my muscles for the turning tools though!
In particular, creating coves (concave shapes), proved difficult for me, but with a class of only four people, I had plenty of help in getting the angle between myself and the tools corrected and adjusted until I was able to work on our projects for the day: turning a honey dipper and then a spinning top.
What I enjoyed about each new step we learned though was the emphasis on a process. Not unlike the work I did with saws in high school, it is nice that there are steps that you need to follow in turning. For example, beads were made by “opening the flute,” “rubbing the bevel,” “engaging the cutting edge,” and then lifting and rolling the tool until the flute appeared closed.
For me, this simple procedure made it easier to tackle than, say, clay sculpting or drawing where a certain amount of disorder is needed before creative pictures or pieces can form. While it takes a bit to see where the end turned product is going, it is nice to be able to have a structure to follow as a complete novice.
Beyond the structure, another advantage to turning as a beginner class is that the machine itself lacks some of the intimidation that can come with a table saw or bandsaw. While just as much care needs to be taken around each, there is less of a fear factor to jumping in with the lathe than in overcoming some of the nerves of having a rotating blade in front of you.
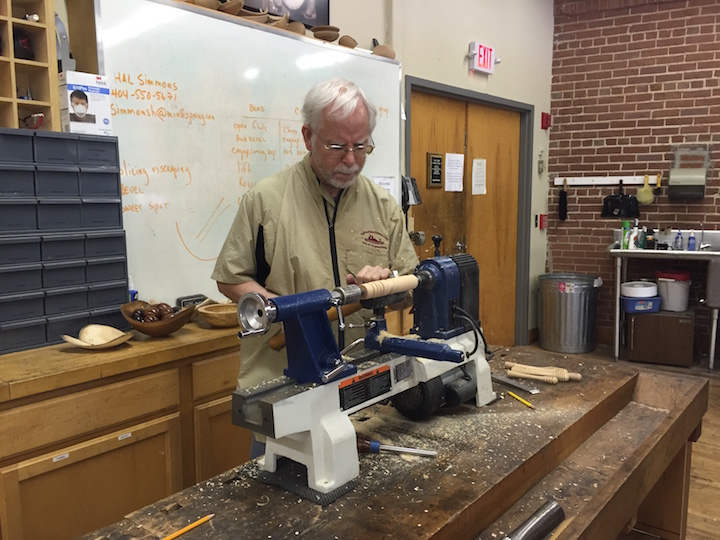
Demonstration
In learning our way around the machine, Hal demonstrated each new cut or process for making an object and then let us take over at our individual paces (my pace being pretty slow) and individual work stations – each equipped with a lathe and tool box. From there, we got the hands-on help needed to go from making wonky cuts to clean looking pieces that began to resemble the elegant samples.
What I did not expect during the day and during the hands on class was a bit of a history lesson along the way. Hal managed to tie that in though, explaining how the 45 degree angle of the skew tool is a descendant of the French guillotine and describing the historical changes to the clutch, which we needed for the small, delicate spinning tops.
I just recently began reading Malcolm Gladwell’s book, Outliers, which discusses the need to put in 10,000 hours of practice to achieve mastery in a field. While seven hours is a fractional step in that direction, it was definitely a great taste of turning, and Hal provided advice on how to take what we learned a step further. His suggested practice is simply taking a piece of wood and forming a line of coves and beads each day to build up the muscle memory for crafting designs.
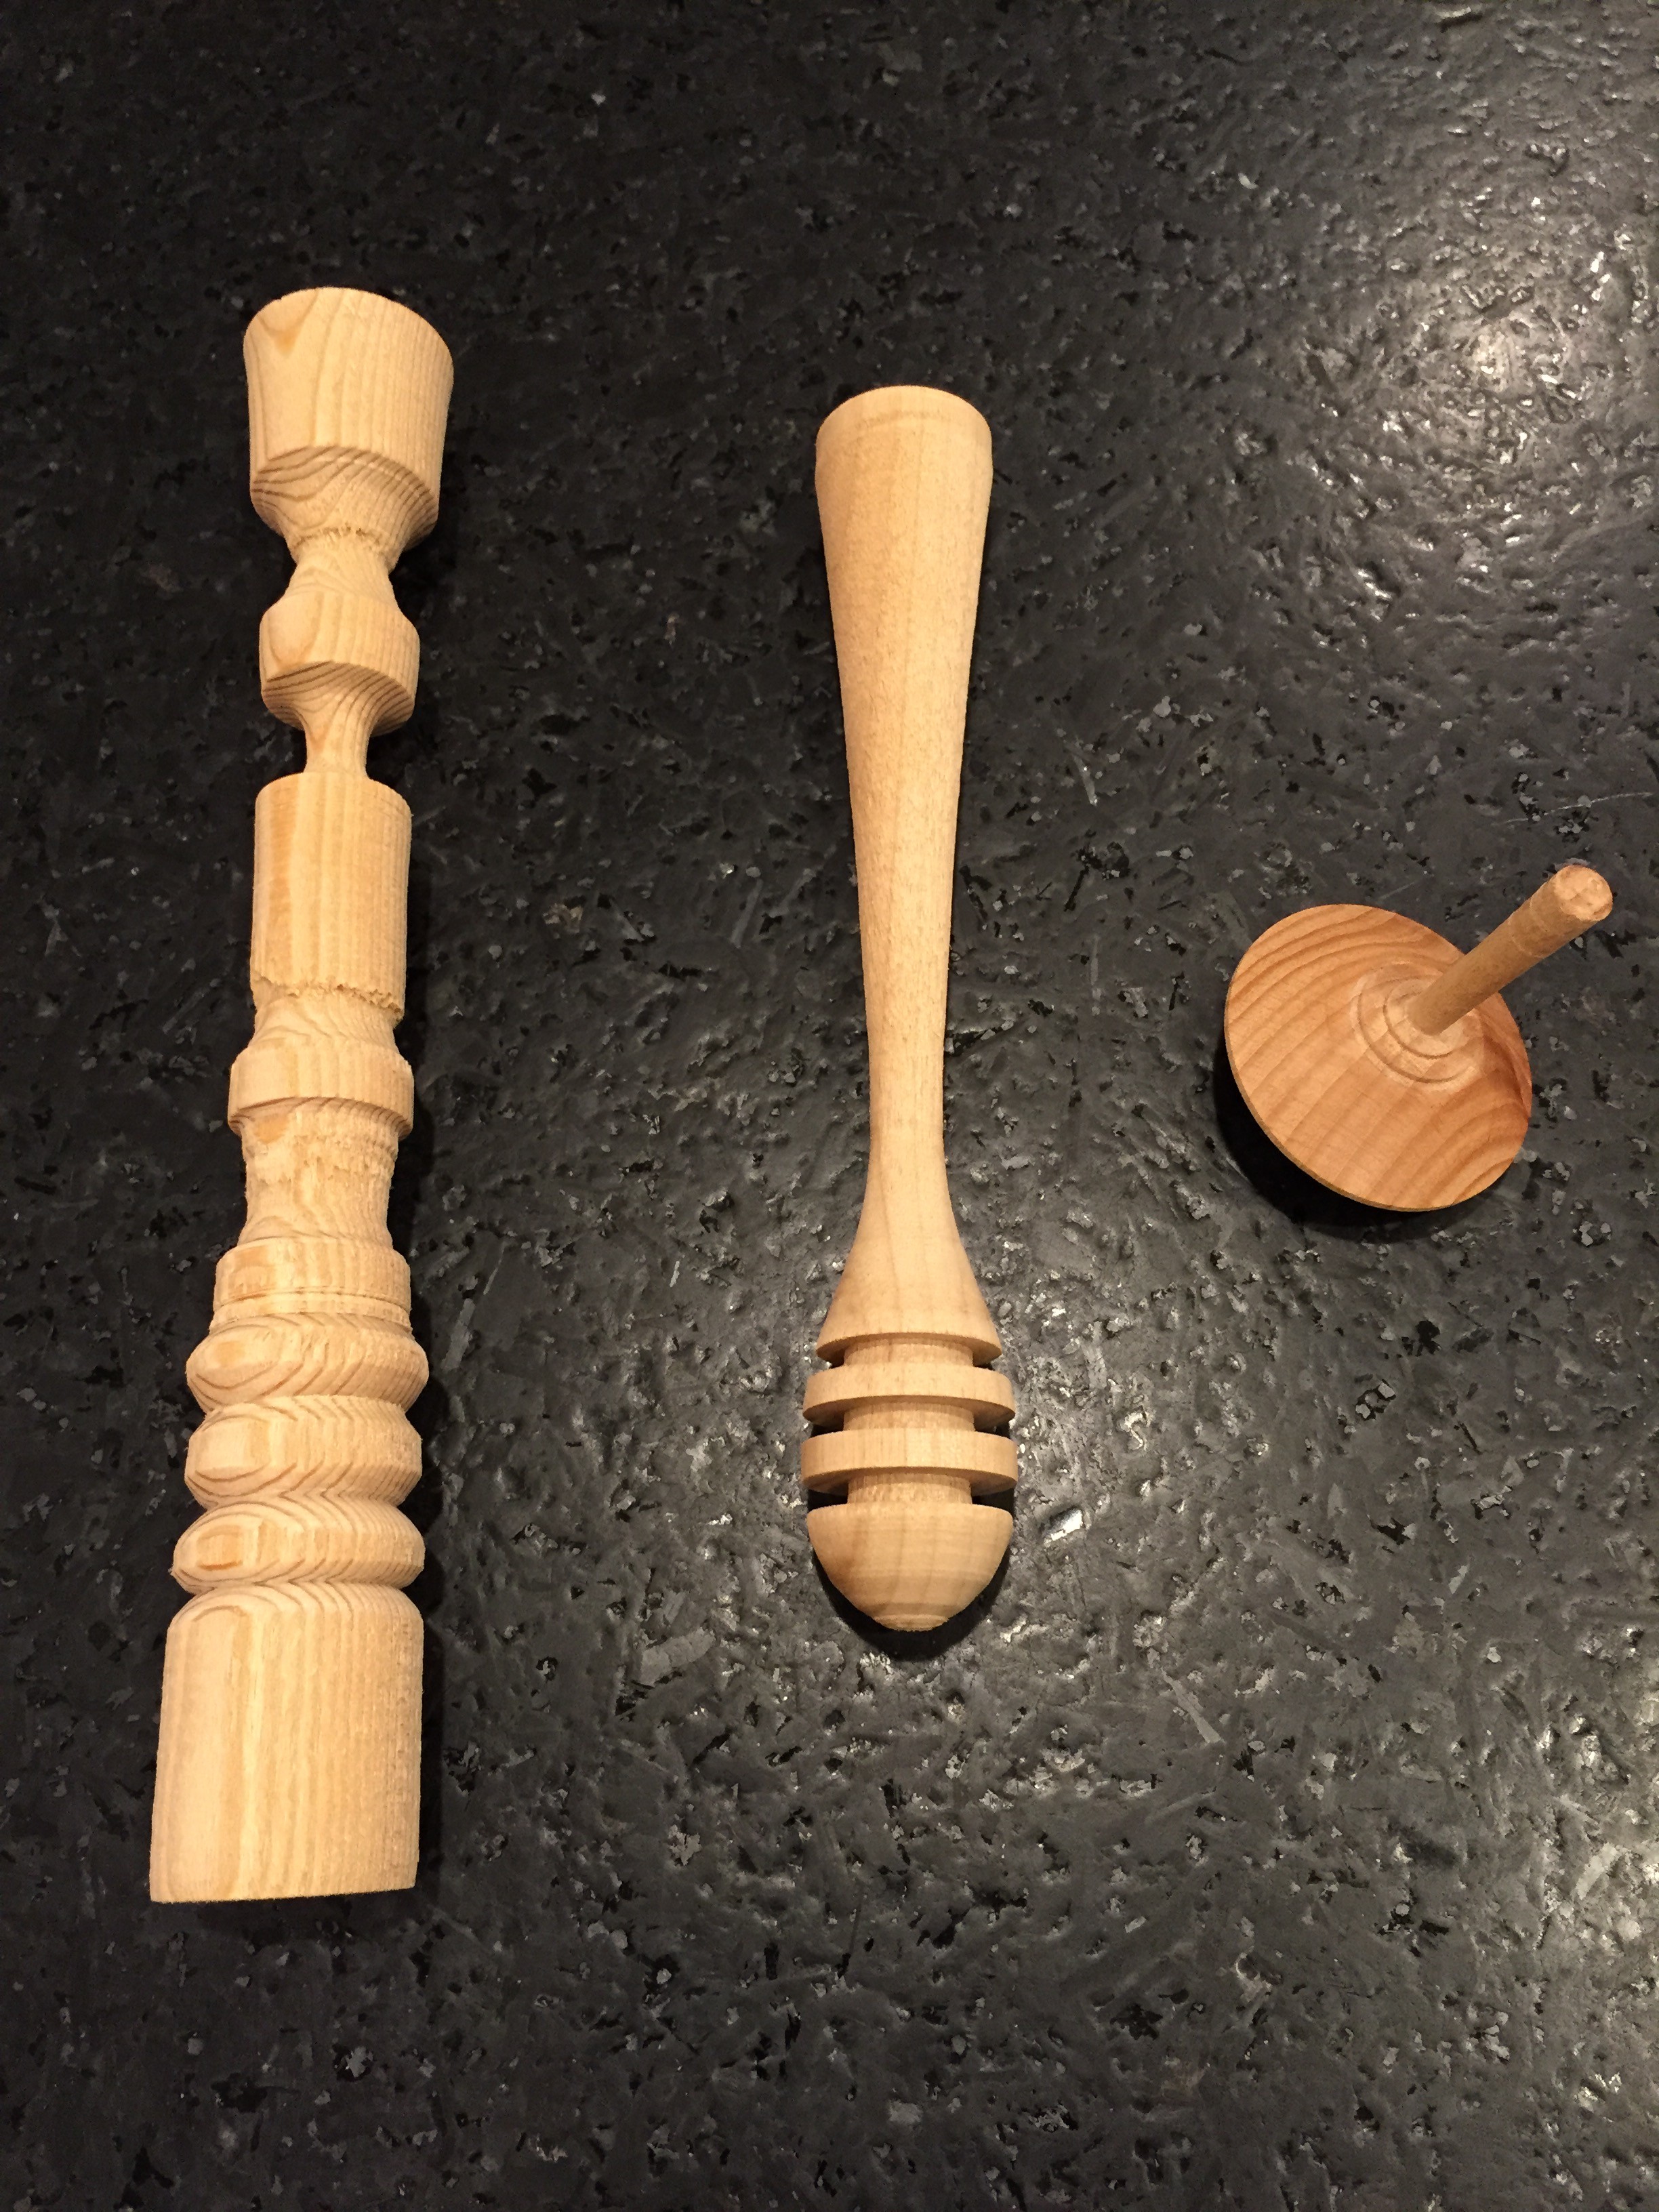
Completed honey dipper and top alongside practice piece
If you are looking to try some woodworking where you can end with a tangible product and also see the direction in which you can carry the skills, then turning is definitely for you. Even if you may not have a lathe at home or access to one elsewhere, I had the chance to come out with a greater appreciation for how items that have always been around me are made and the work that goes into handcrafted objects. Understanding how to really work with a piece of wood to create something new comes with a sense of gratification not available in an IKEA showroom.
CLICK HERE to read the August 2015 issue of The Highland Woodturner.