

Basic Bowl Turning at Highland
Class starts early on a Saturday morning with everyone sipping coffee and chatting amicably, the group of us ranging in skill level from those who have been turning for a while to folks who have never held a woodturning tool before. The classroom at Highland is a great place, all old wood with various projects and tables stacked here and there; the atmosphere in the room is one of eager anticipation.
When our instructor, Phil Colson, arrives he greets us all warmly and we do the standard introductory spiel, once around the room telling a bit about ourselves and a bit about why we are here. Once introductions had been made we begin the class itself, starting with a tour of the lathe, an overview of the basic tools we will be using and the theories behind turning a bowl. We discuss the roughing gouge, spindle gouge, bowl gouge and so on.
Phil sketches a simple bowl design on the board and illustrates how best to approach the tools and the work itself. After the explanation comes the practical instruction, and we all gather around Phil”s large shop lathe while he demonstrates a few basic techniques, some do’s and don’ts and other pieces of information we will need to make our bowl. For instance, how best to hold a roughing gouge and introduce it to the spinning piece, allowing the bevel to rub before engaging the cutting edge of the tool.
Finally, after a coffee break, it is time to get our hands dirty. Using some cut off pieces of 2×4, Phil has us in front of the lathe learning how to round the stock with the roughing gouge and how to introduce the tips of the tools to the pieces we were making. We practice forming beads and coves using the spindle gouge and discuss the use of the skew and parting tool. There are plenty of hands on opportunities for instruction as Phil moves through the room. He offers tips and pointers and will correct someone’s stance or hold on a tool when the need arises. The class itself provides all the tools and materials needed, though you are encouraged to bring your own if you have them. Not only do you learn the proper use for the various woodturning tools, the instructor also covers the basics of sharpening, a vital skill for any woodworker. A sharp tool is far better to use than a dull tool.
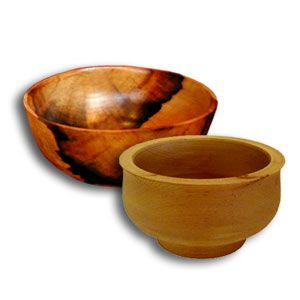
Time passes and we all became more familiar with the use of the basic tools. After a bit more instruction at the blackboard and some conversations about bowl form and design we begin the true point of that day’s class, turning our first bowls. We utilize the bowl gouge for most of the work, shaping the outside, sanding and then turning the blank before hollowing out the bowl itself. I won’t bore you with the details, nor will I deprive you of the adventure of discovering turning for yourself. There is something magical about taking a rough piece of wood and creating an amazing piece of functional art all in a matter of hours.
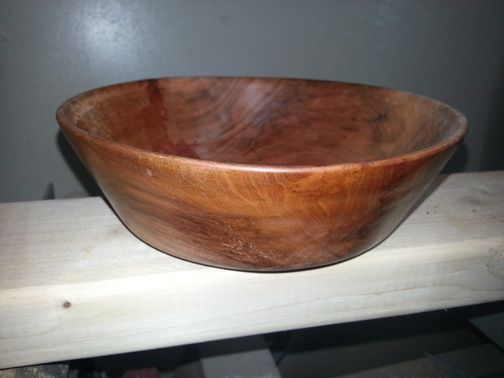
My first bowl
With the tools, instruction and materials provided by Highland Woodworking and this class you are bound to have an exciting new passion in your life. This class was my first personal foray into the world of woodturning and I have been diving in ever since. I highly recommend any of the classes at Highland but if you are interested in turning, a wonderful place to start is the Basic Bowl Turning class.
Matthew York has been a woodturner since 2004 and has been interested in woodworking since he was a teenager. He currently lives in downtown Atlanta and has a small shop in his basement. He is an avid woodworker and is always available to talk about the craft. He can be contacted at fracturedturnings@gmail.com or visit his website at fracturedturnings.com. You can also follow him on twitter at @raen425