

I used a small trim router with a 3/32″ straight bit and template guide in order to make the grooves for my inlay. I would simply clamp my template to the material and run my router tight to the template – pretty straightforward stuff once you have the design, templates and material made!
Here you can see the template still in place and the inlay glued into the groove.
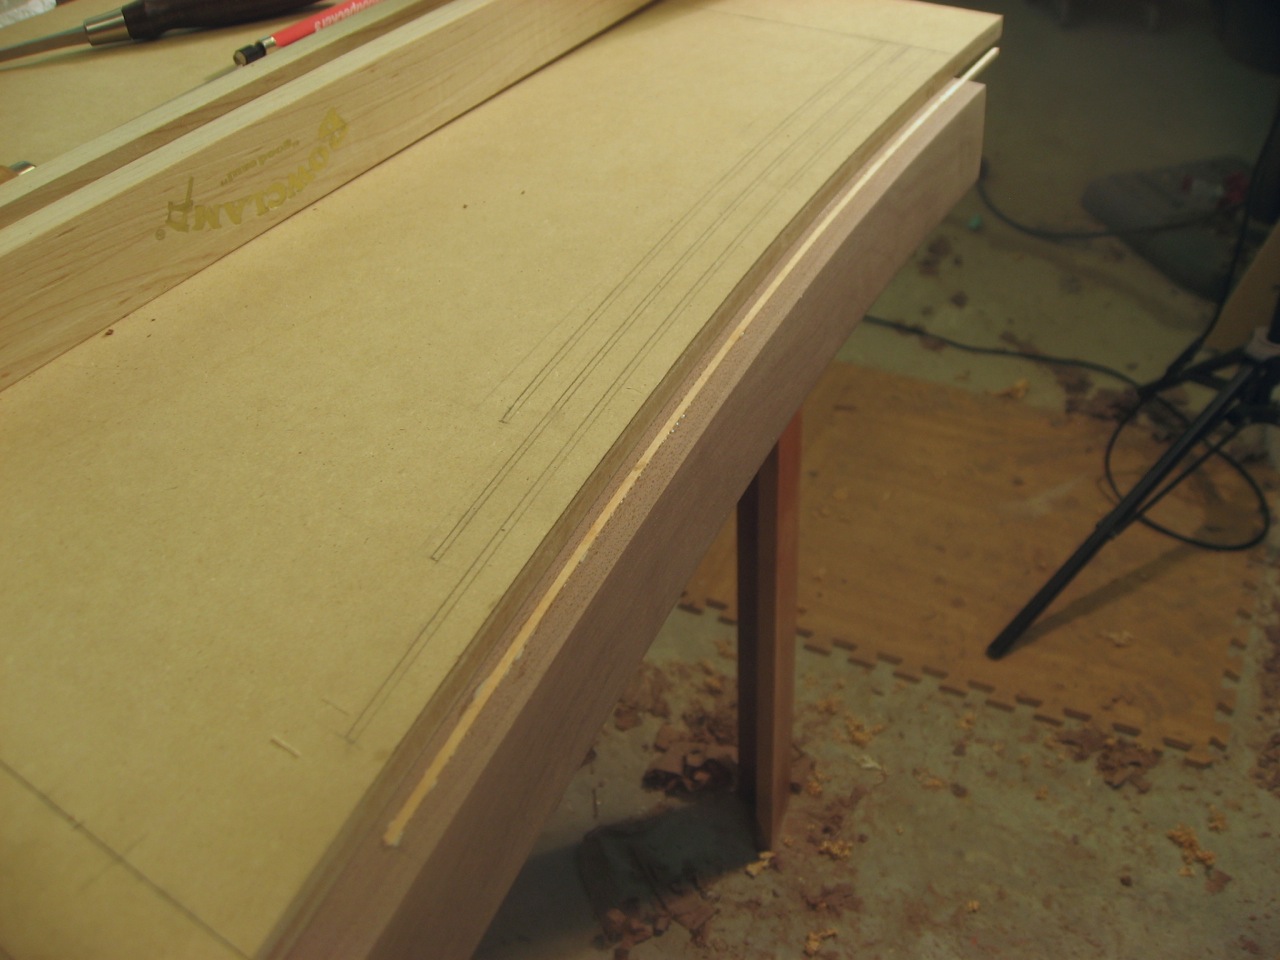
Template clamped, groove routed and inlay glued in place.
I’d square off (actually at a slight angle) one end of the inlay material to match the stopped groove. Glue was squeezed from a small syringe into the groove and then I’d shove in the inlay using a small wooden seam roller.
I left the inlay proud by maybe 1/32″ or so with a bandsawn face up.
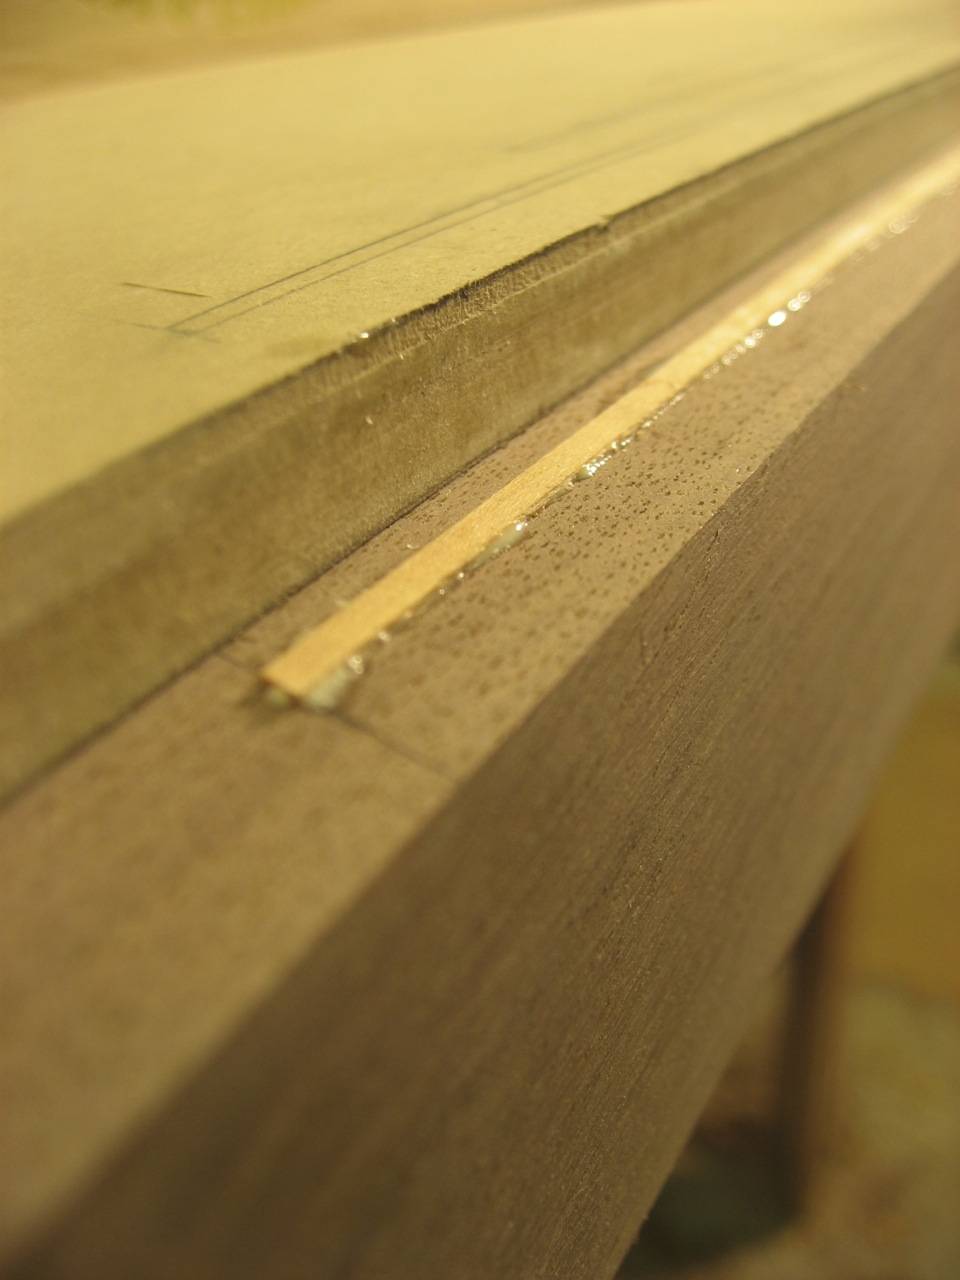
Cherry inlay glued in place, about 1/32" proud
From there it’s easy work to smooth out the small strips once the glue is mostly (or fully) dry. Here I used a really nice Hock Block Plane to do the work!
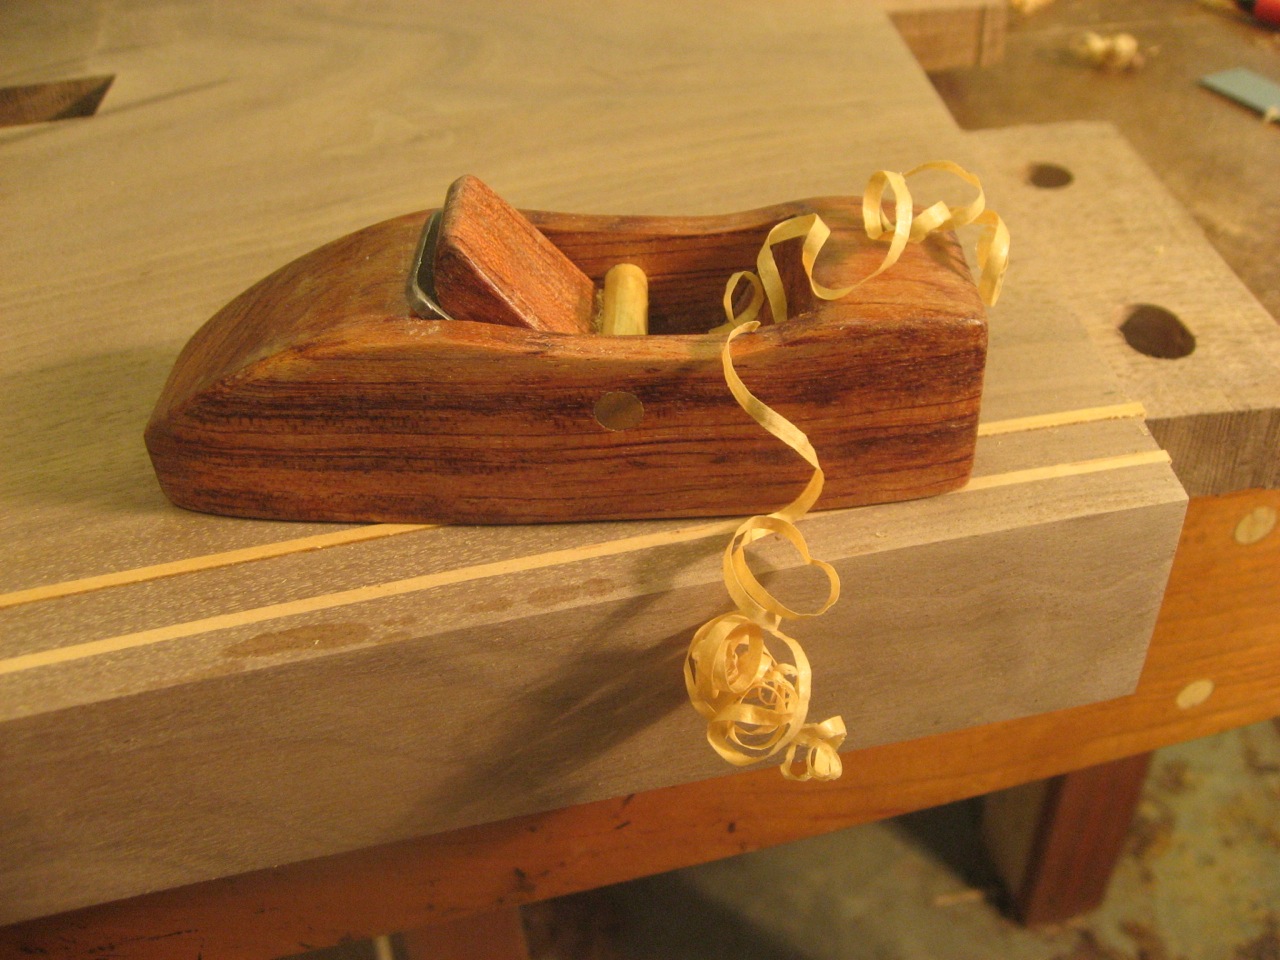
Using a Hock Block Plane to smooth down the inlay