

The underneath supports on this dining room table are cross grain and attached with elongated screw holes towards the outer edges. I drilled out the elongated clearance hole with a Festool CXS drill, just poking multiple holes quickly. I used a chisel to square the outside edges to pop in a cover later on.
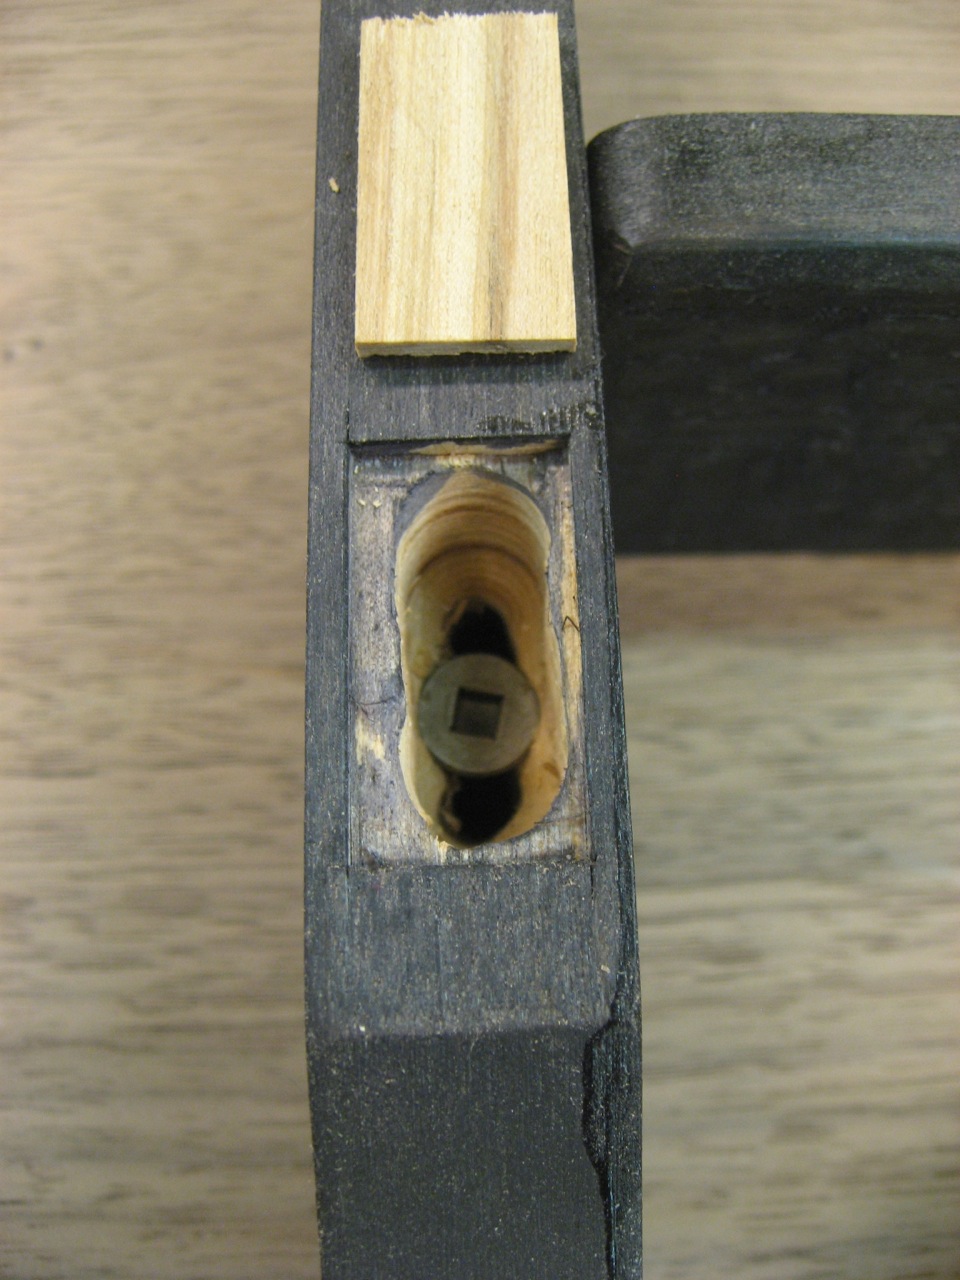
The elongated clearance hole has square edges to match the patch
All the pieces were stained black early on, so after banging in the small cover piece, I have to match it.

I bang in the wood patch with a hammer; very tight fit.
First, I pare it down with a few strokes of a sharp chisel.
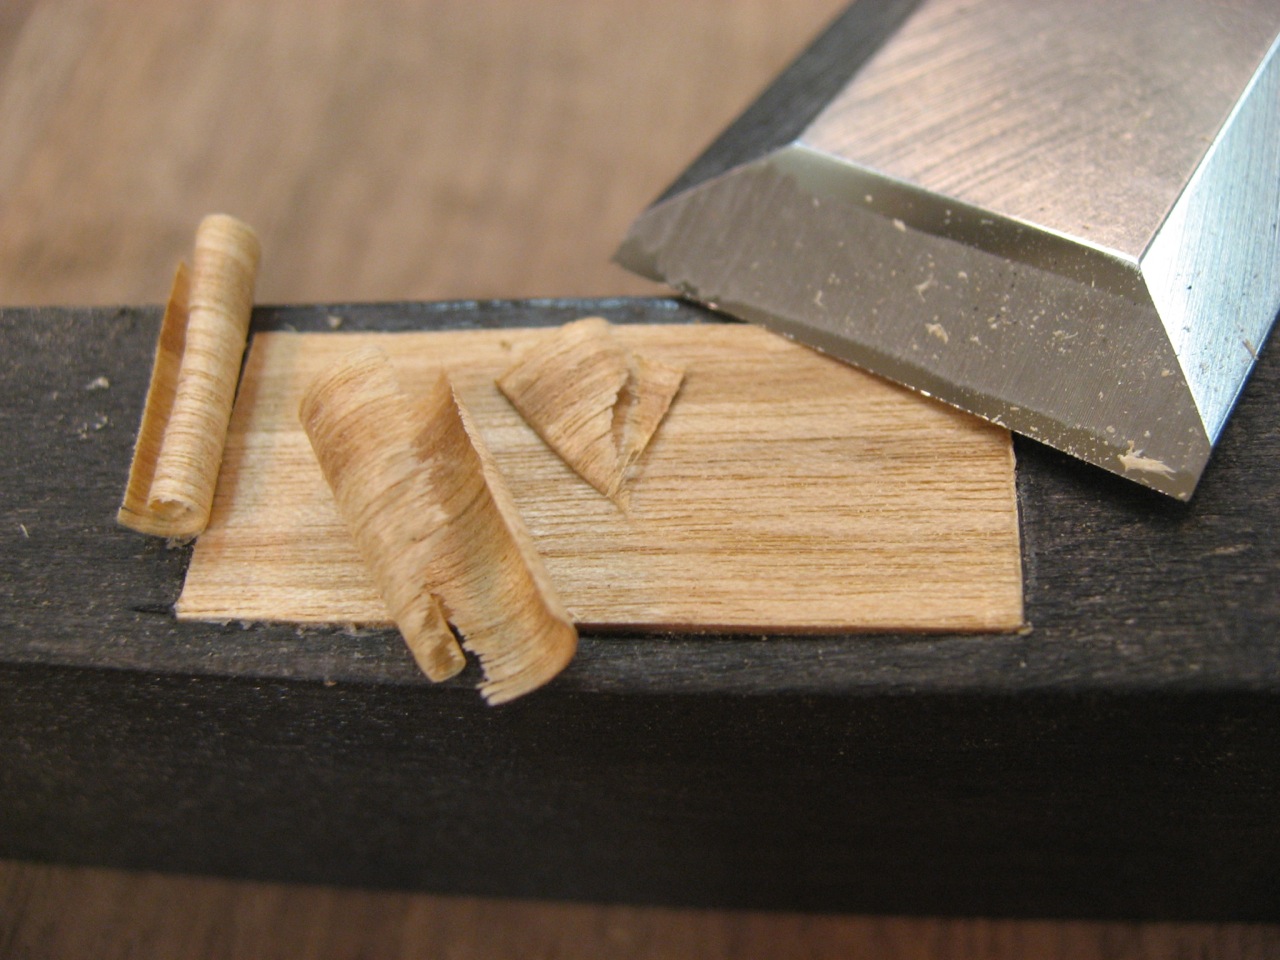
Pare down the patch with a wide chisel
Finally, I use the same coloring process as the rest of the supports. A couple coats of black dye, followed by black-tinted shellac. Pretty good match, will clean it up during the final finish process.
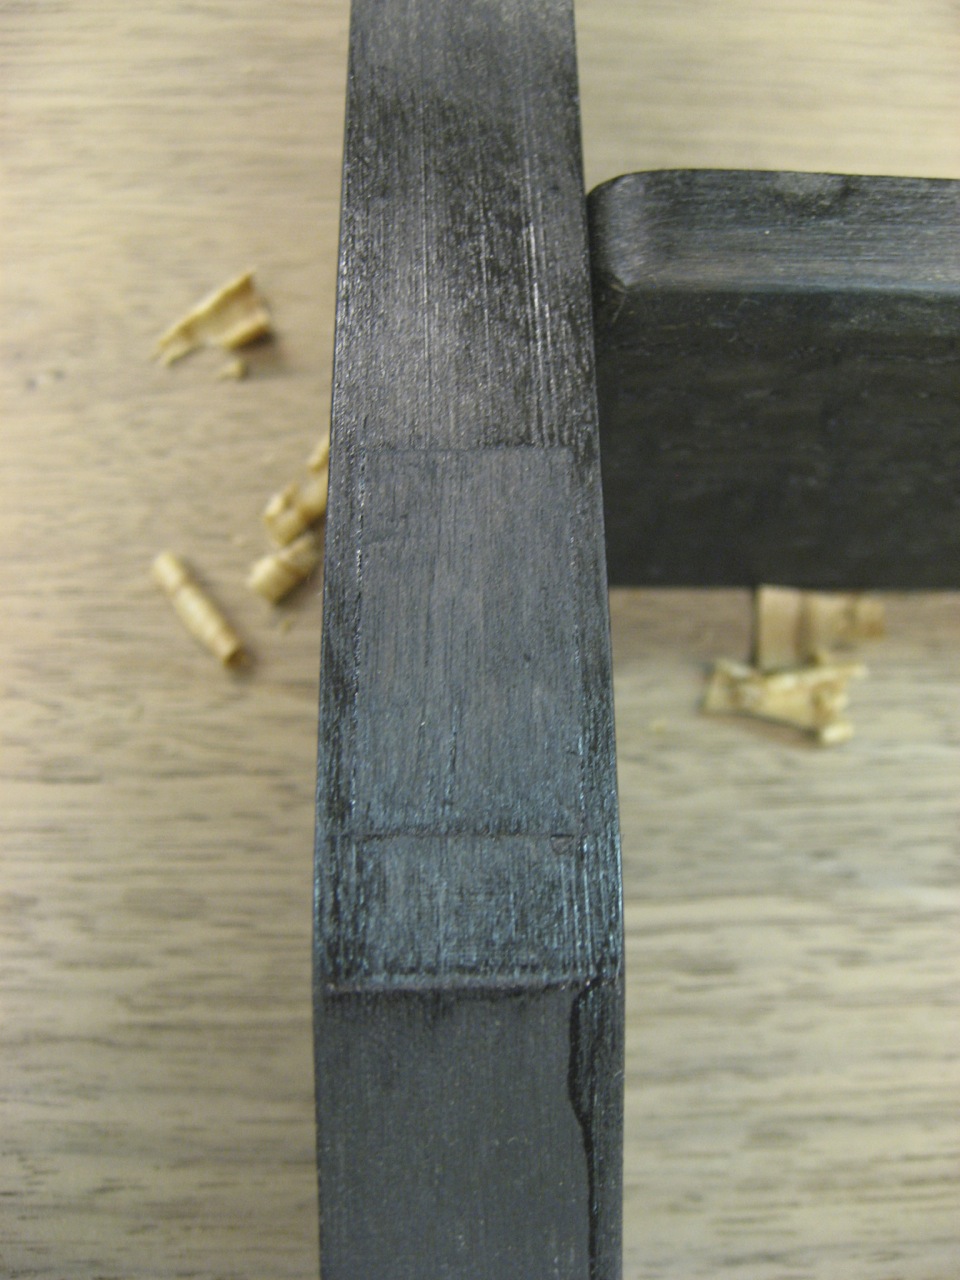
Patch glued in and tinted to match
The patch appears to have been glued in place. Does this mean that the owner will never need access to the screw for tightening sometime in the future?
Steve
Steve — great point! Yes, it’s completely covered so there is no access for future tightening. You’re right that in some number of years, it would be nice to have access to this screw to re-tighten. Something to think about.