George T. (Terry) Chapman

Terry Chapman is a Professional Engineer (Civil) and Land Surveyor who lives south of Atlanta. He has done woodworking for many years and particularly enjoys bowl turning and making Windsor Chairs. He currently works as Site Development Manager for a local affiliate of Habitat for Humanity and has one son who pastors a Church in Connecticut. You can email him at cdeinc@mindspring.com.

Jun 042013
 

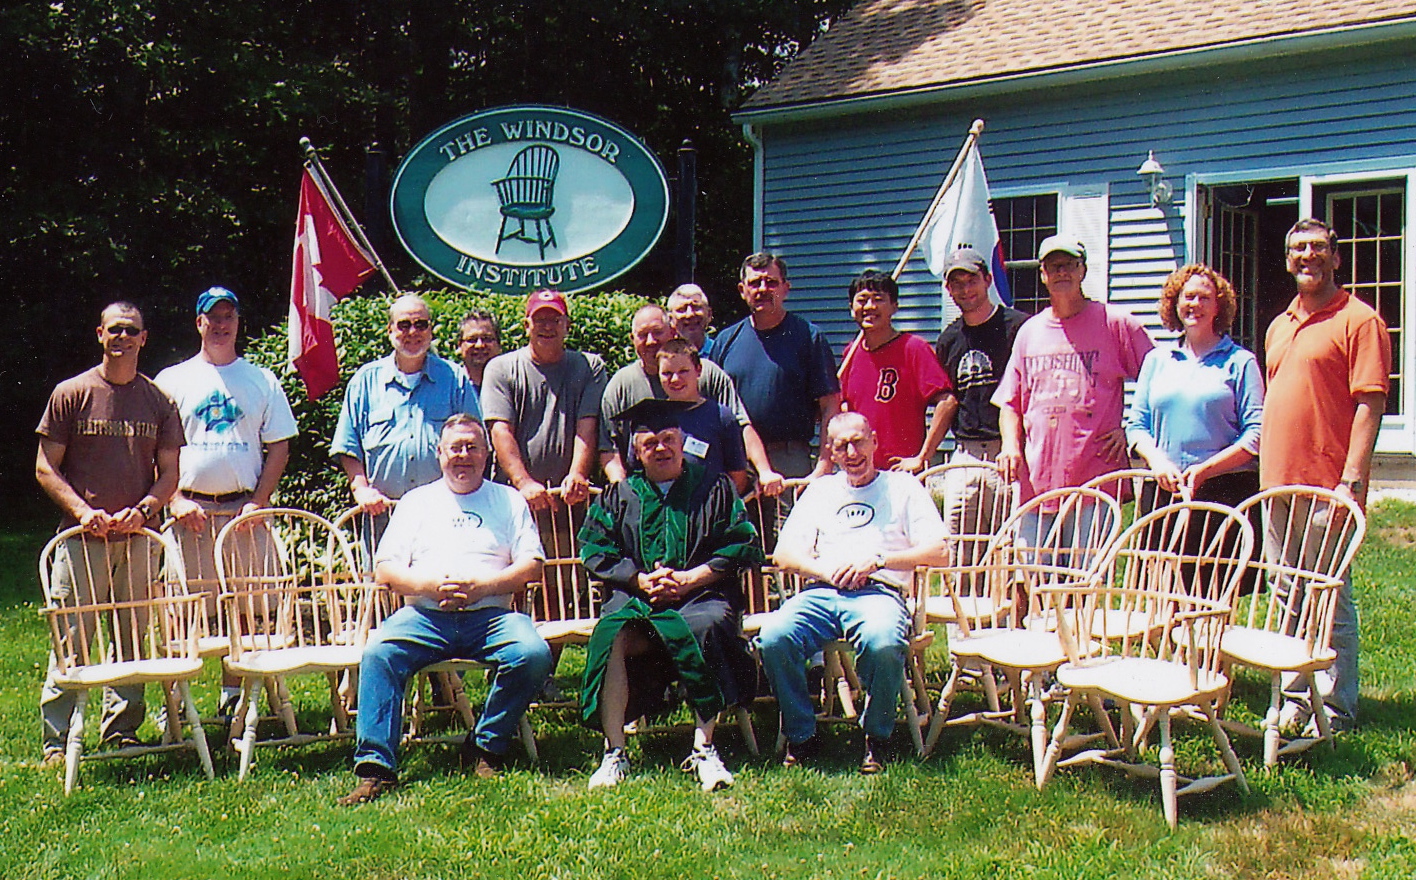
I’ve been up north for a week working on a chair with Mike Dunbar at The Windsor Institute in Hampton, NH. I left Atlanta early on a Sunday morning and flew to Manchester, then drove about 45 miles south near the short coast line of New Hampshire. The Windsor Institute is a beautiful spot with a shop with room for 16 work stations. It is beautifully set up for making chairs and Mike, his wife Sue, and his assistant Don have this process down to a science.

Mike has a system where you must build a sack back Windsor as a prerequisite to any other chair, and then when you have built a certain number (six, I believe) of other chairs, you can obtain Royal Orders. I took sack back about three years ago so this time I was to build a Philadelphia High Back Windsor. Now usually I am pretty comfortable in a woodworking class and I can generally keep up, but when I got to this class, all but two of us had name tags beginning with “Sir”. I started to get a little worried and soon found basis for my concern. These guys were good and much experienced. I think one guy just waved his hands over the bench and the chair fell together. I never actually saw him make anything but he was always ahead of me.

Mike runs a class by making his own chair as a demo. He will perform a particular procedure on his chair and then the students try to duplicate his work on their own chair. Turns out the ratio is more than two of our hours to his one hour of work. He is so good at what he does and so efficient at it, that even this experienced bunch of chair makers had to work at it. And I was sweating it.

Steaming the Crests

Steaming the Crests

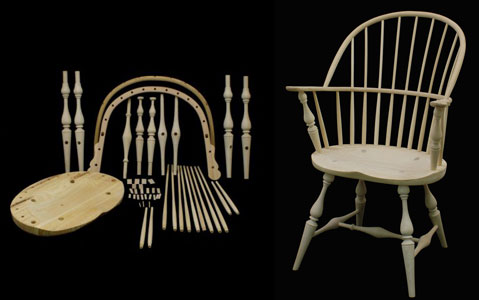
Everyone had already made the back spindles and brought them from home since there is not enough time within the class schedule for making them. We started early on by smoothing and leveling the seat blank and then having it cut out to the pattern. Next we made the the crest rail and carved the volutes on the ends and shaped the top of the rail before we stuck it in the steam box. People who have never tried steaming are always amazed to see how pliable a piece of wood can be when steamed only about twenty minutes. We pulled the crest out of the box and clamped it up in the pre-made forms and set them aside to dry for a few days while we raced ahead on the rest of the chair.

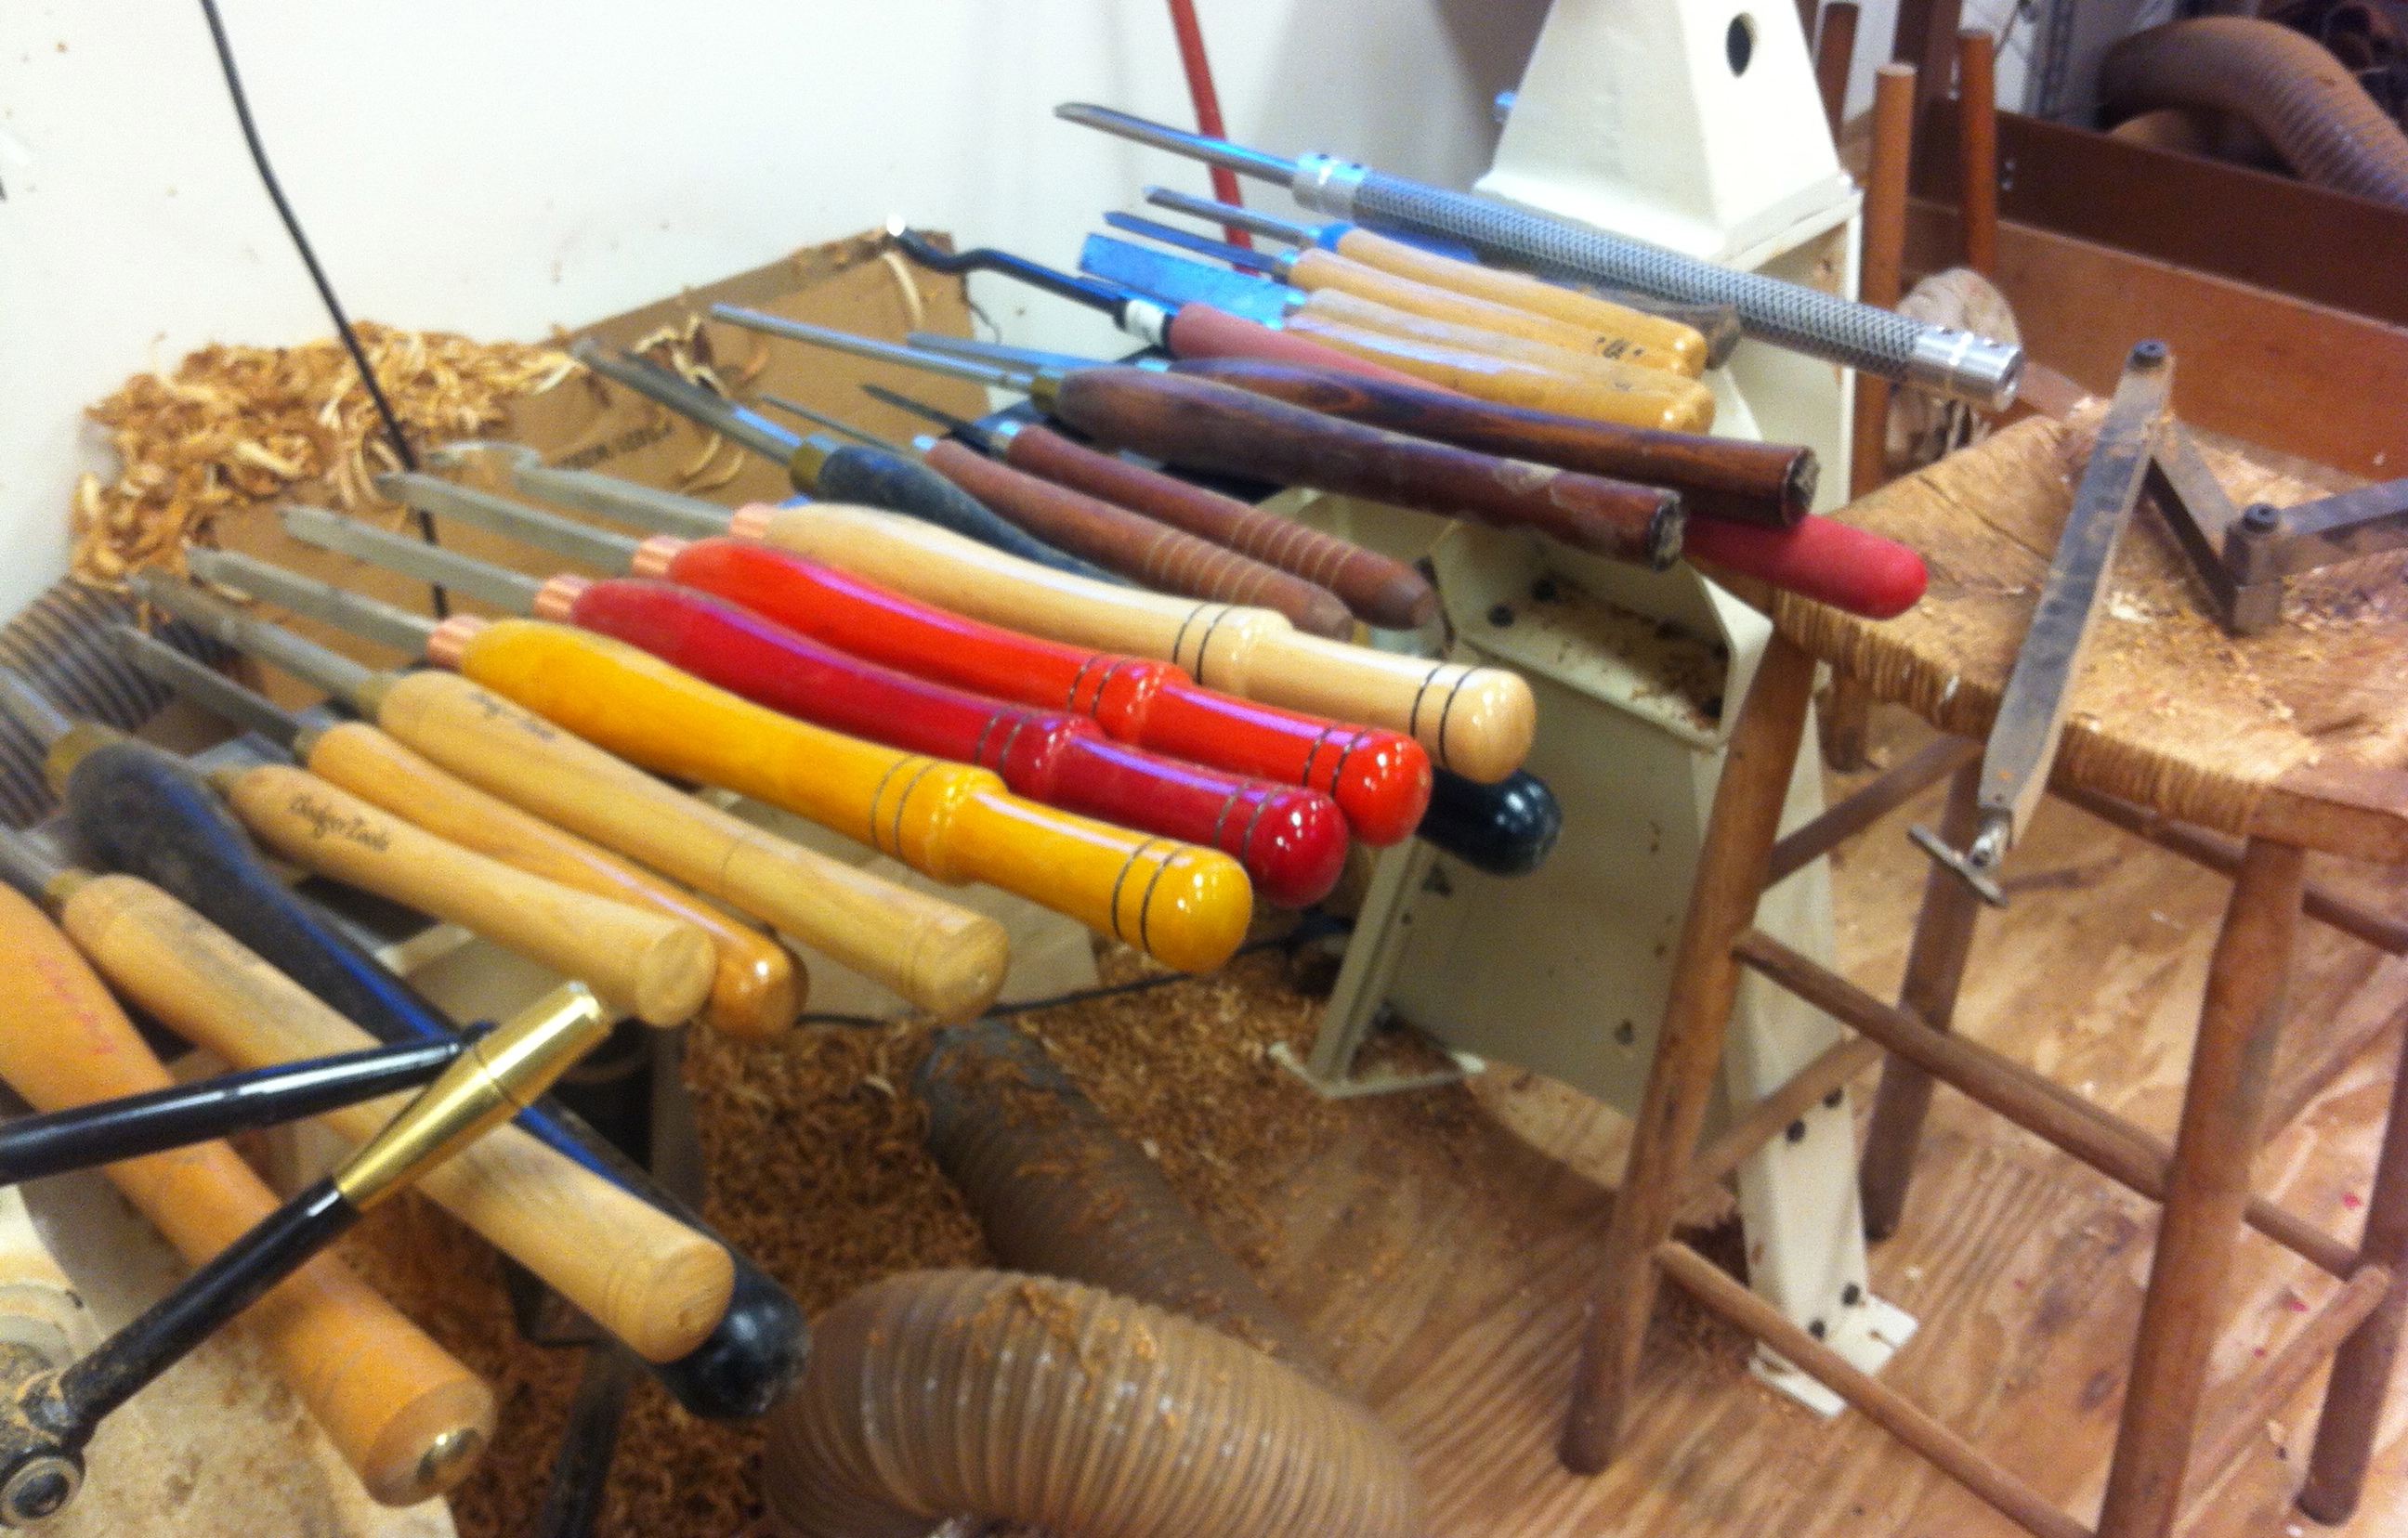
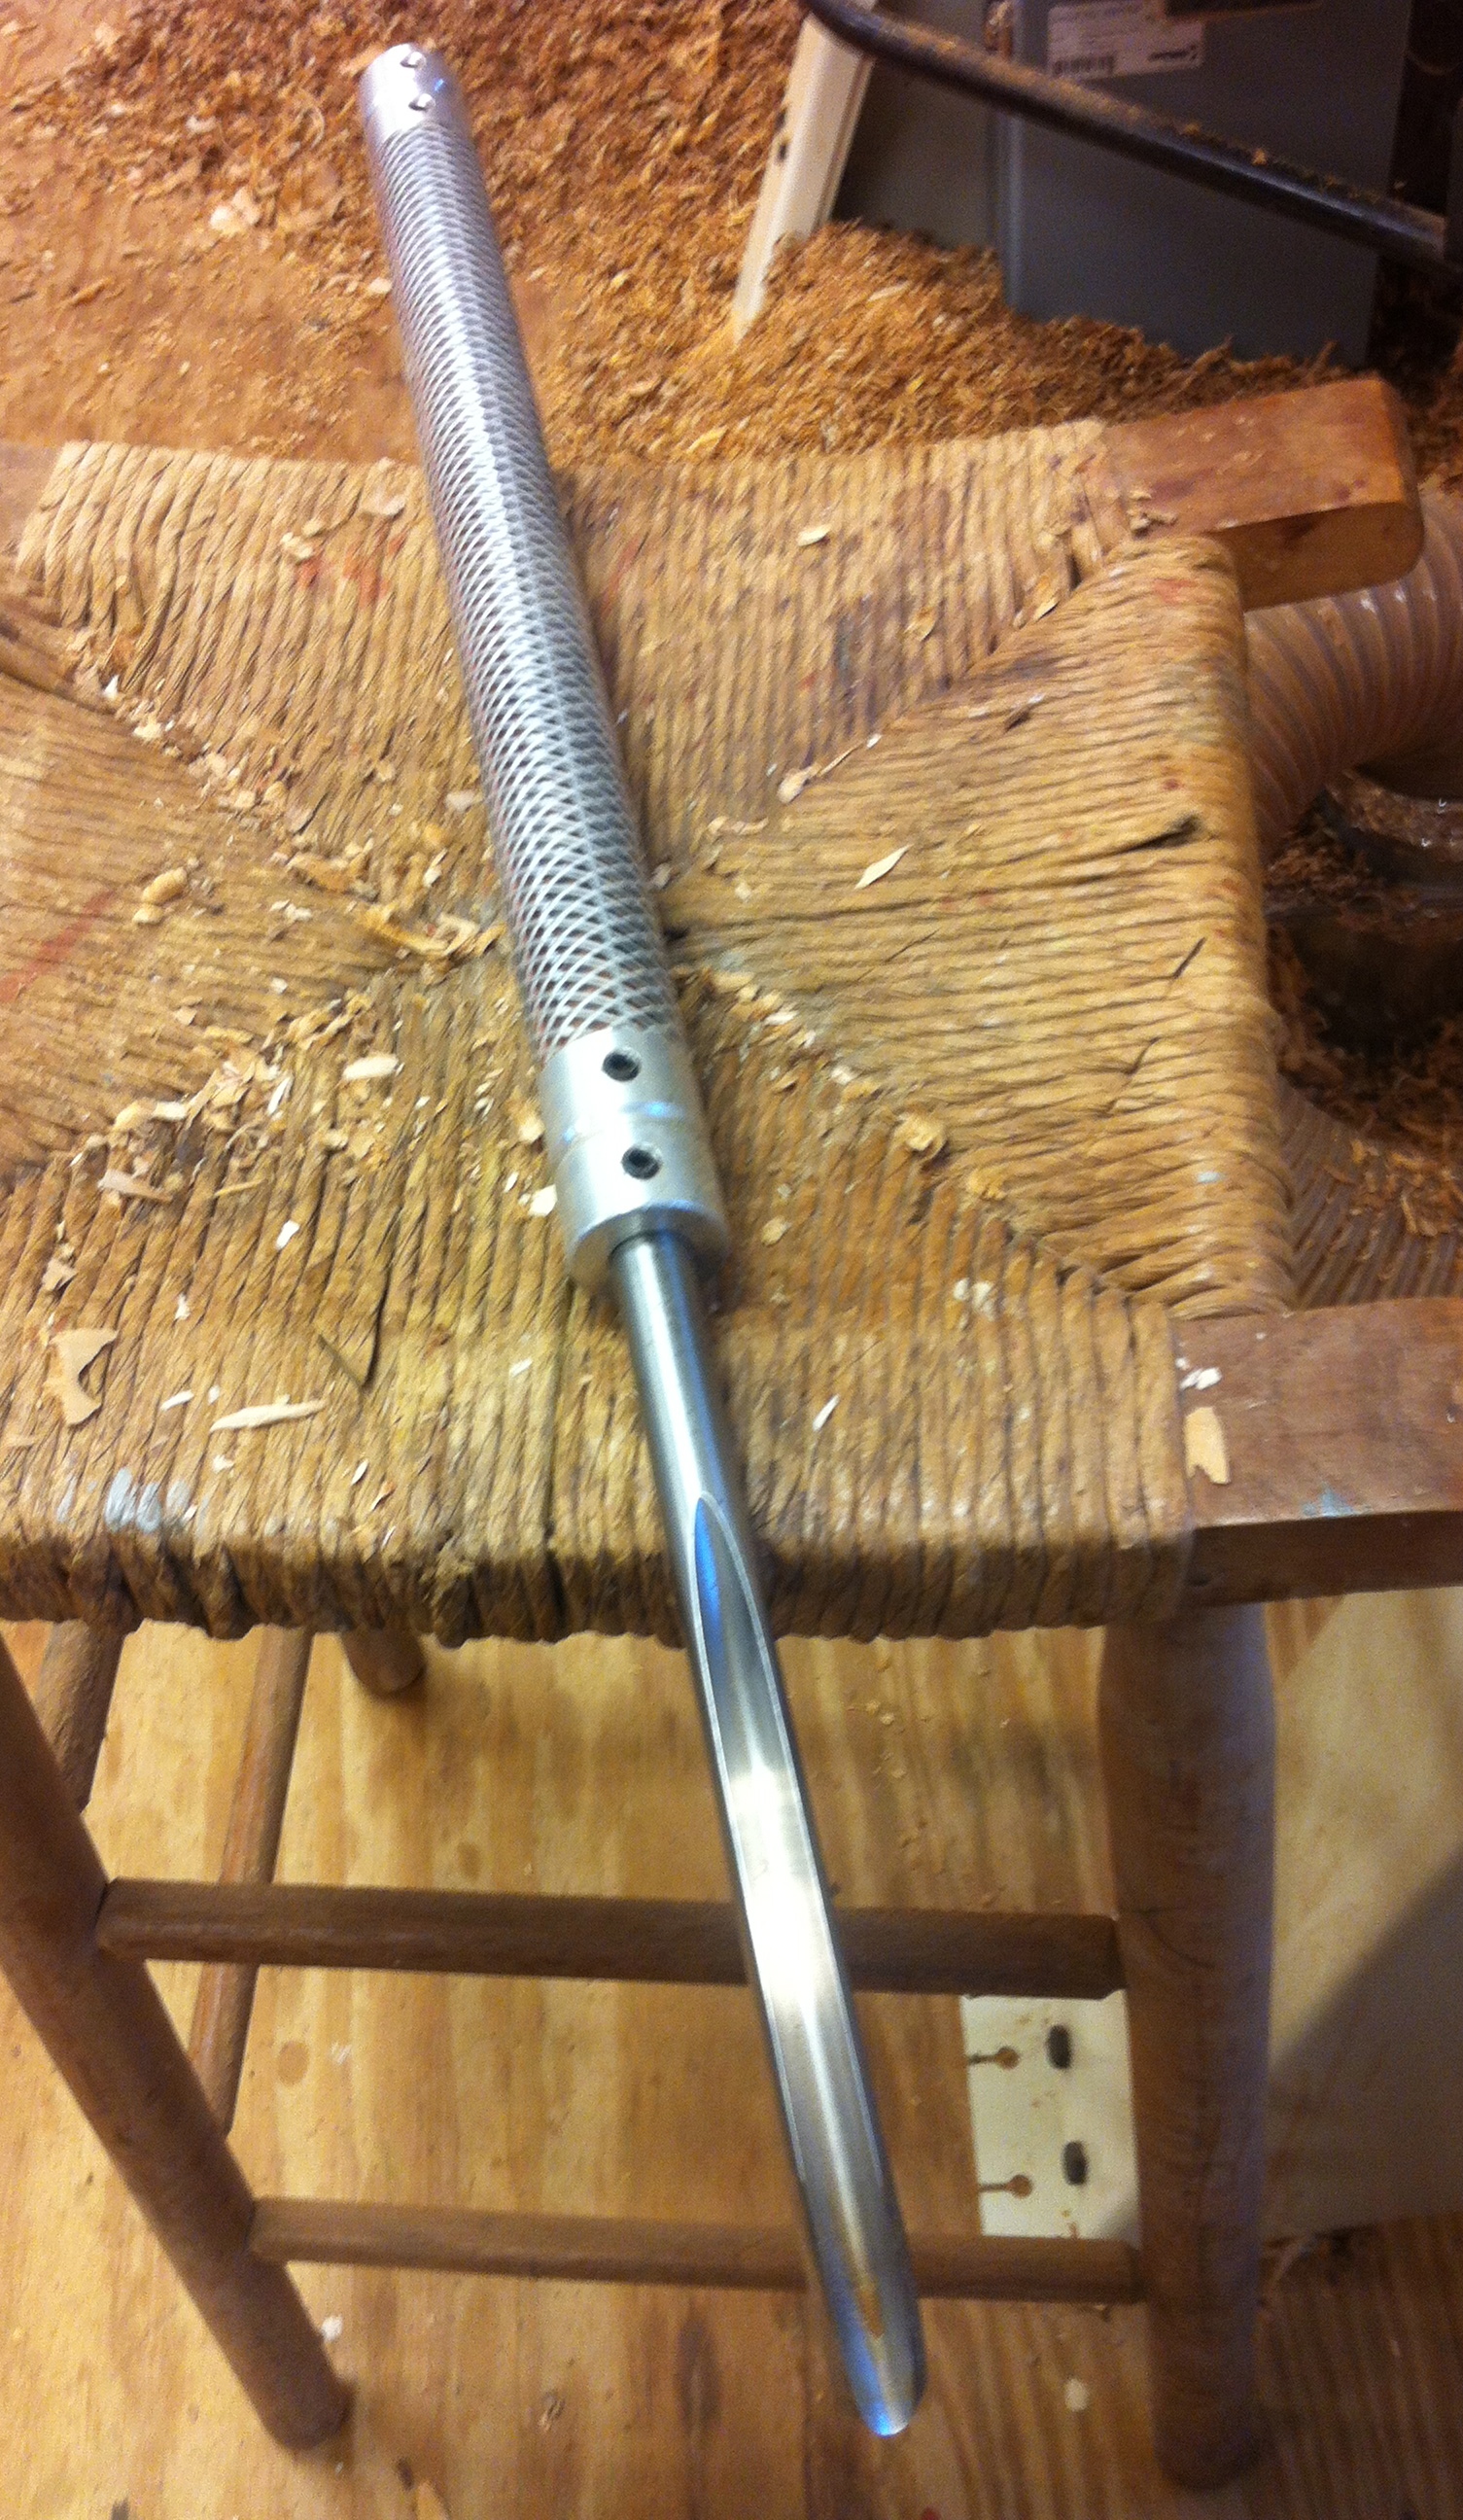
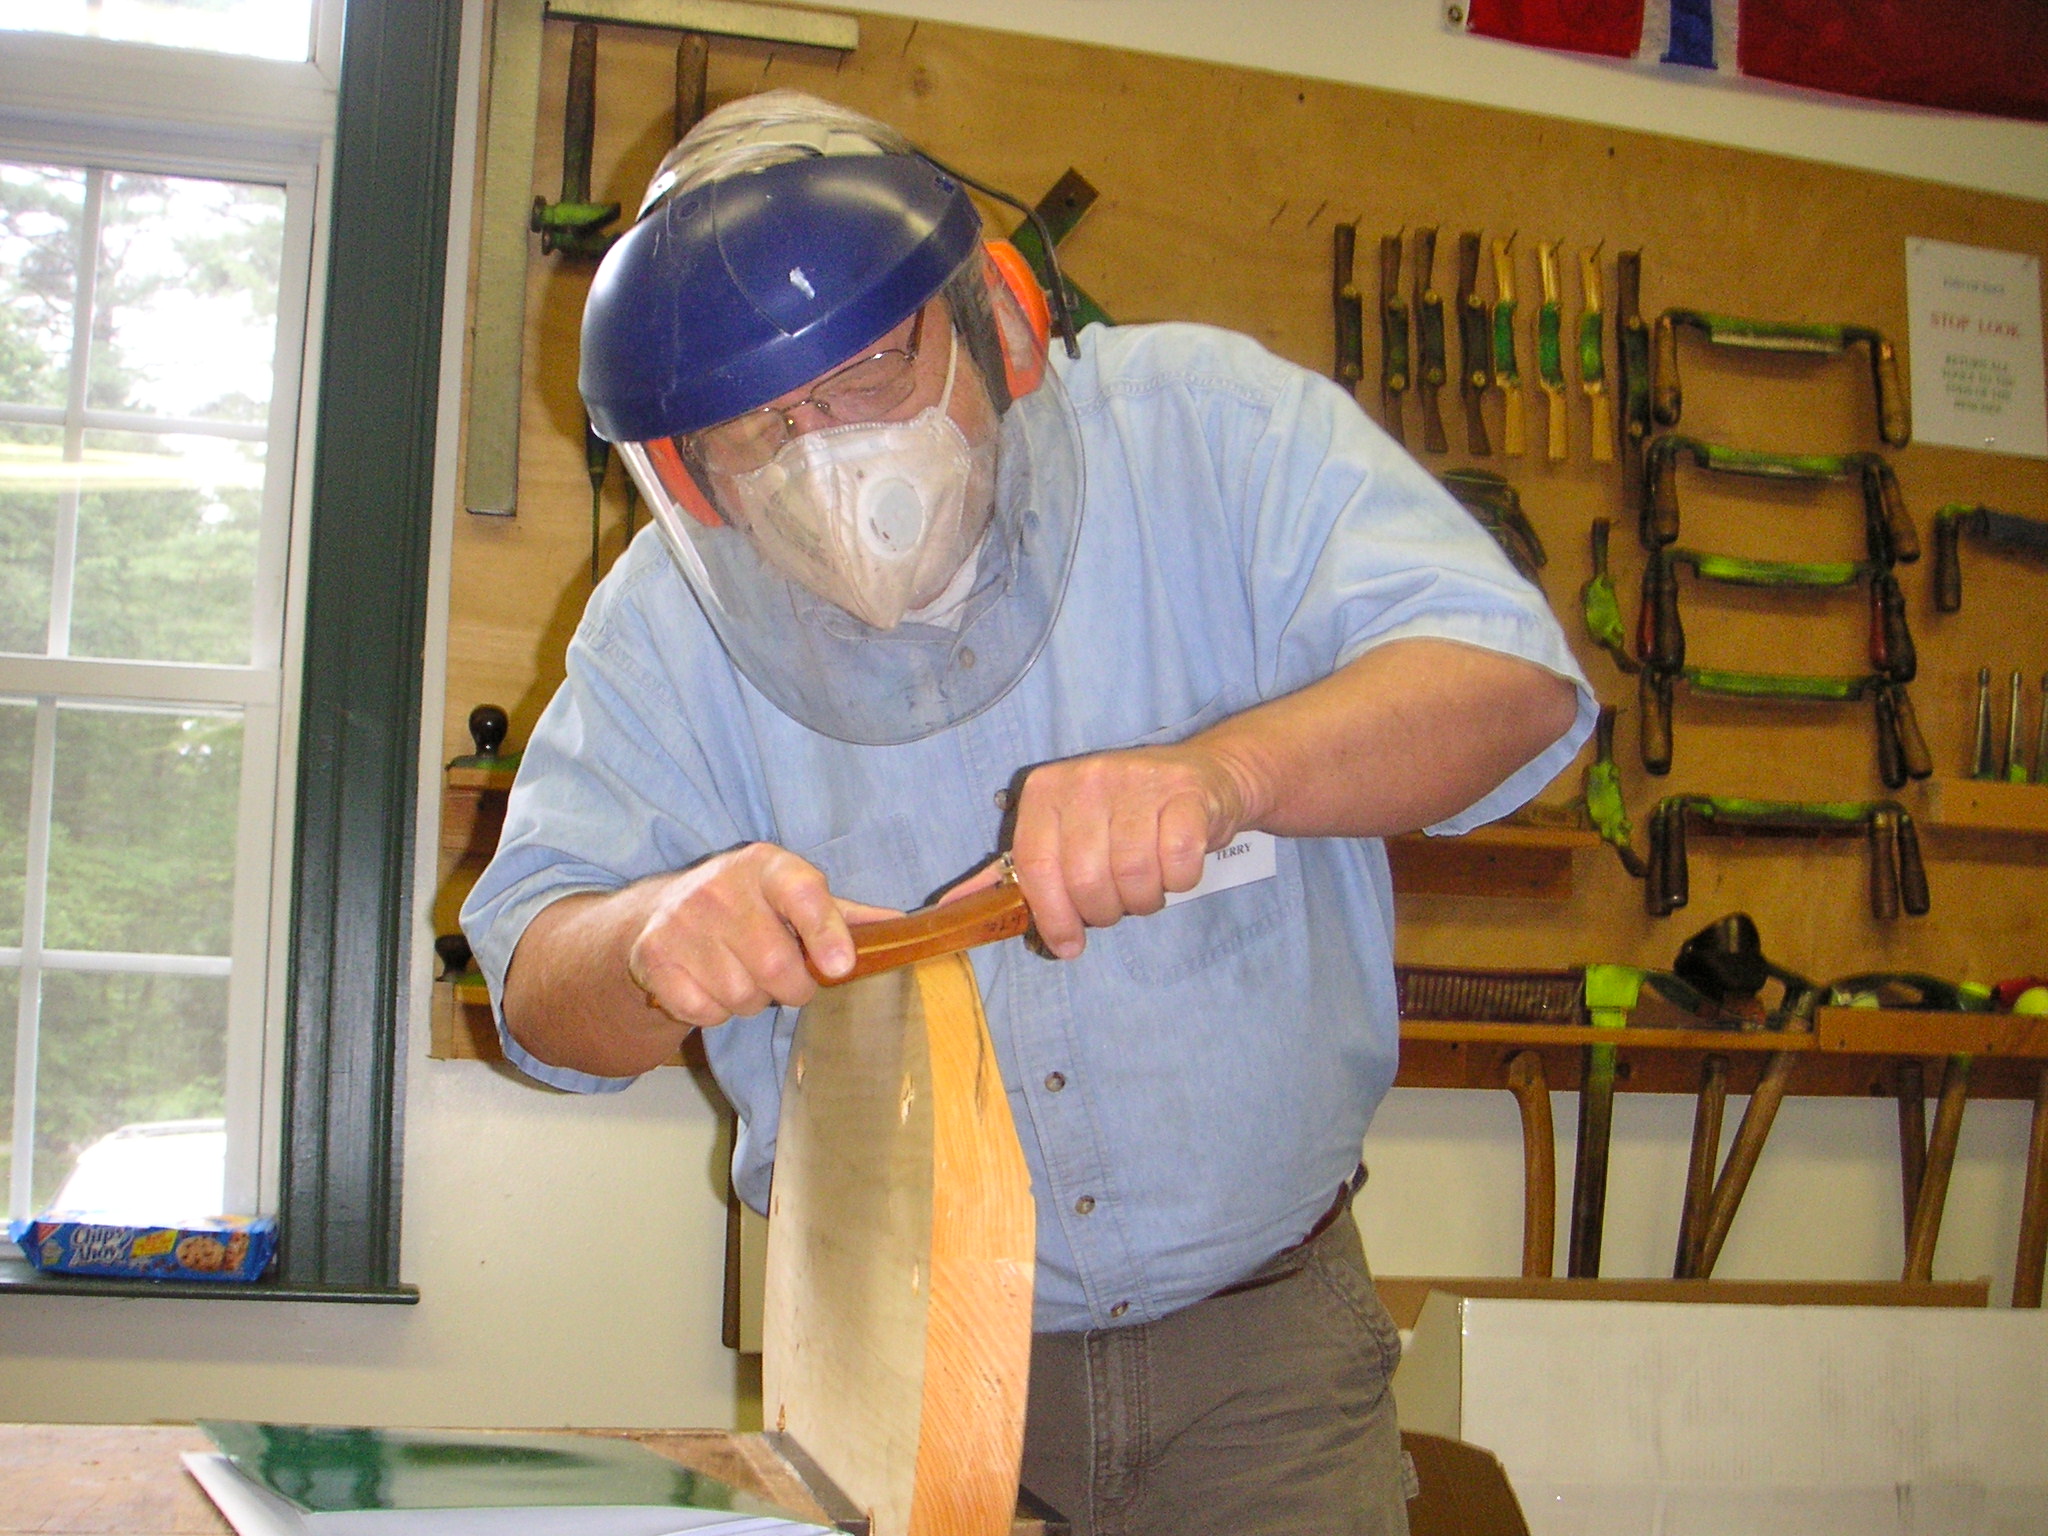
After we traced the pattern onto the seat blank, we started shaping the seat itself. This exercise started with a circular saw cut for depth and then an adze, a scorp, a handheld compass plane, a travisher (when have you ever used that word in a casual conversation?), a spoke shave, a draw knife, and lastly, a short break to get your breath back cause the room was starting to spin a little bit and we needed to open the windows to get some air.
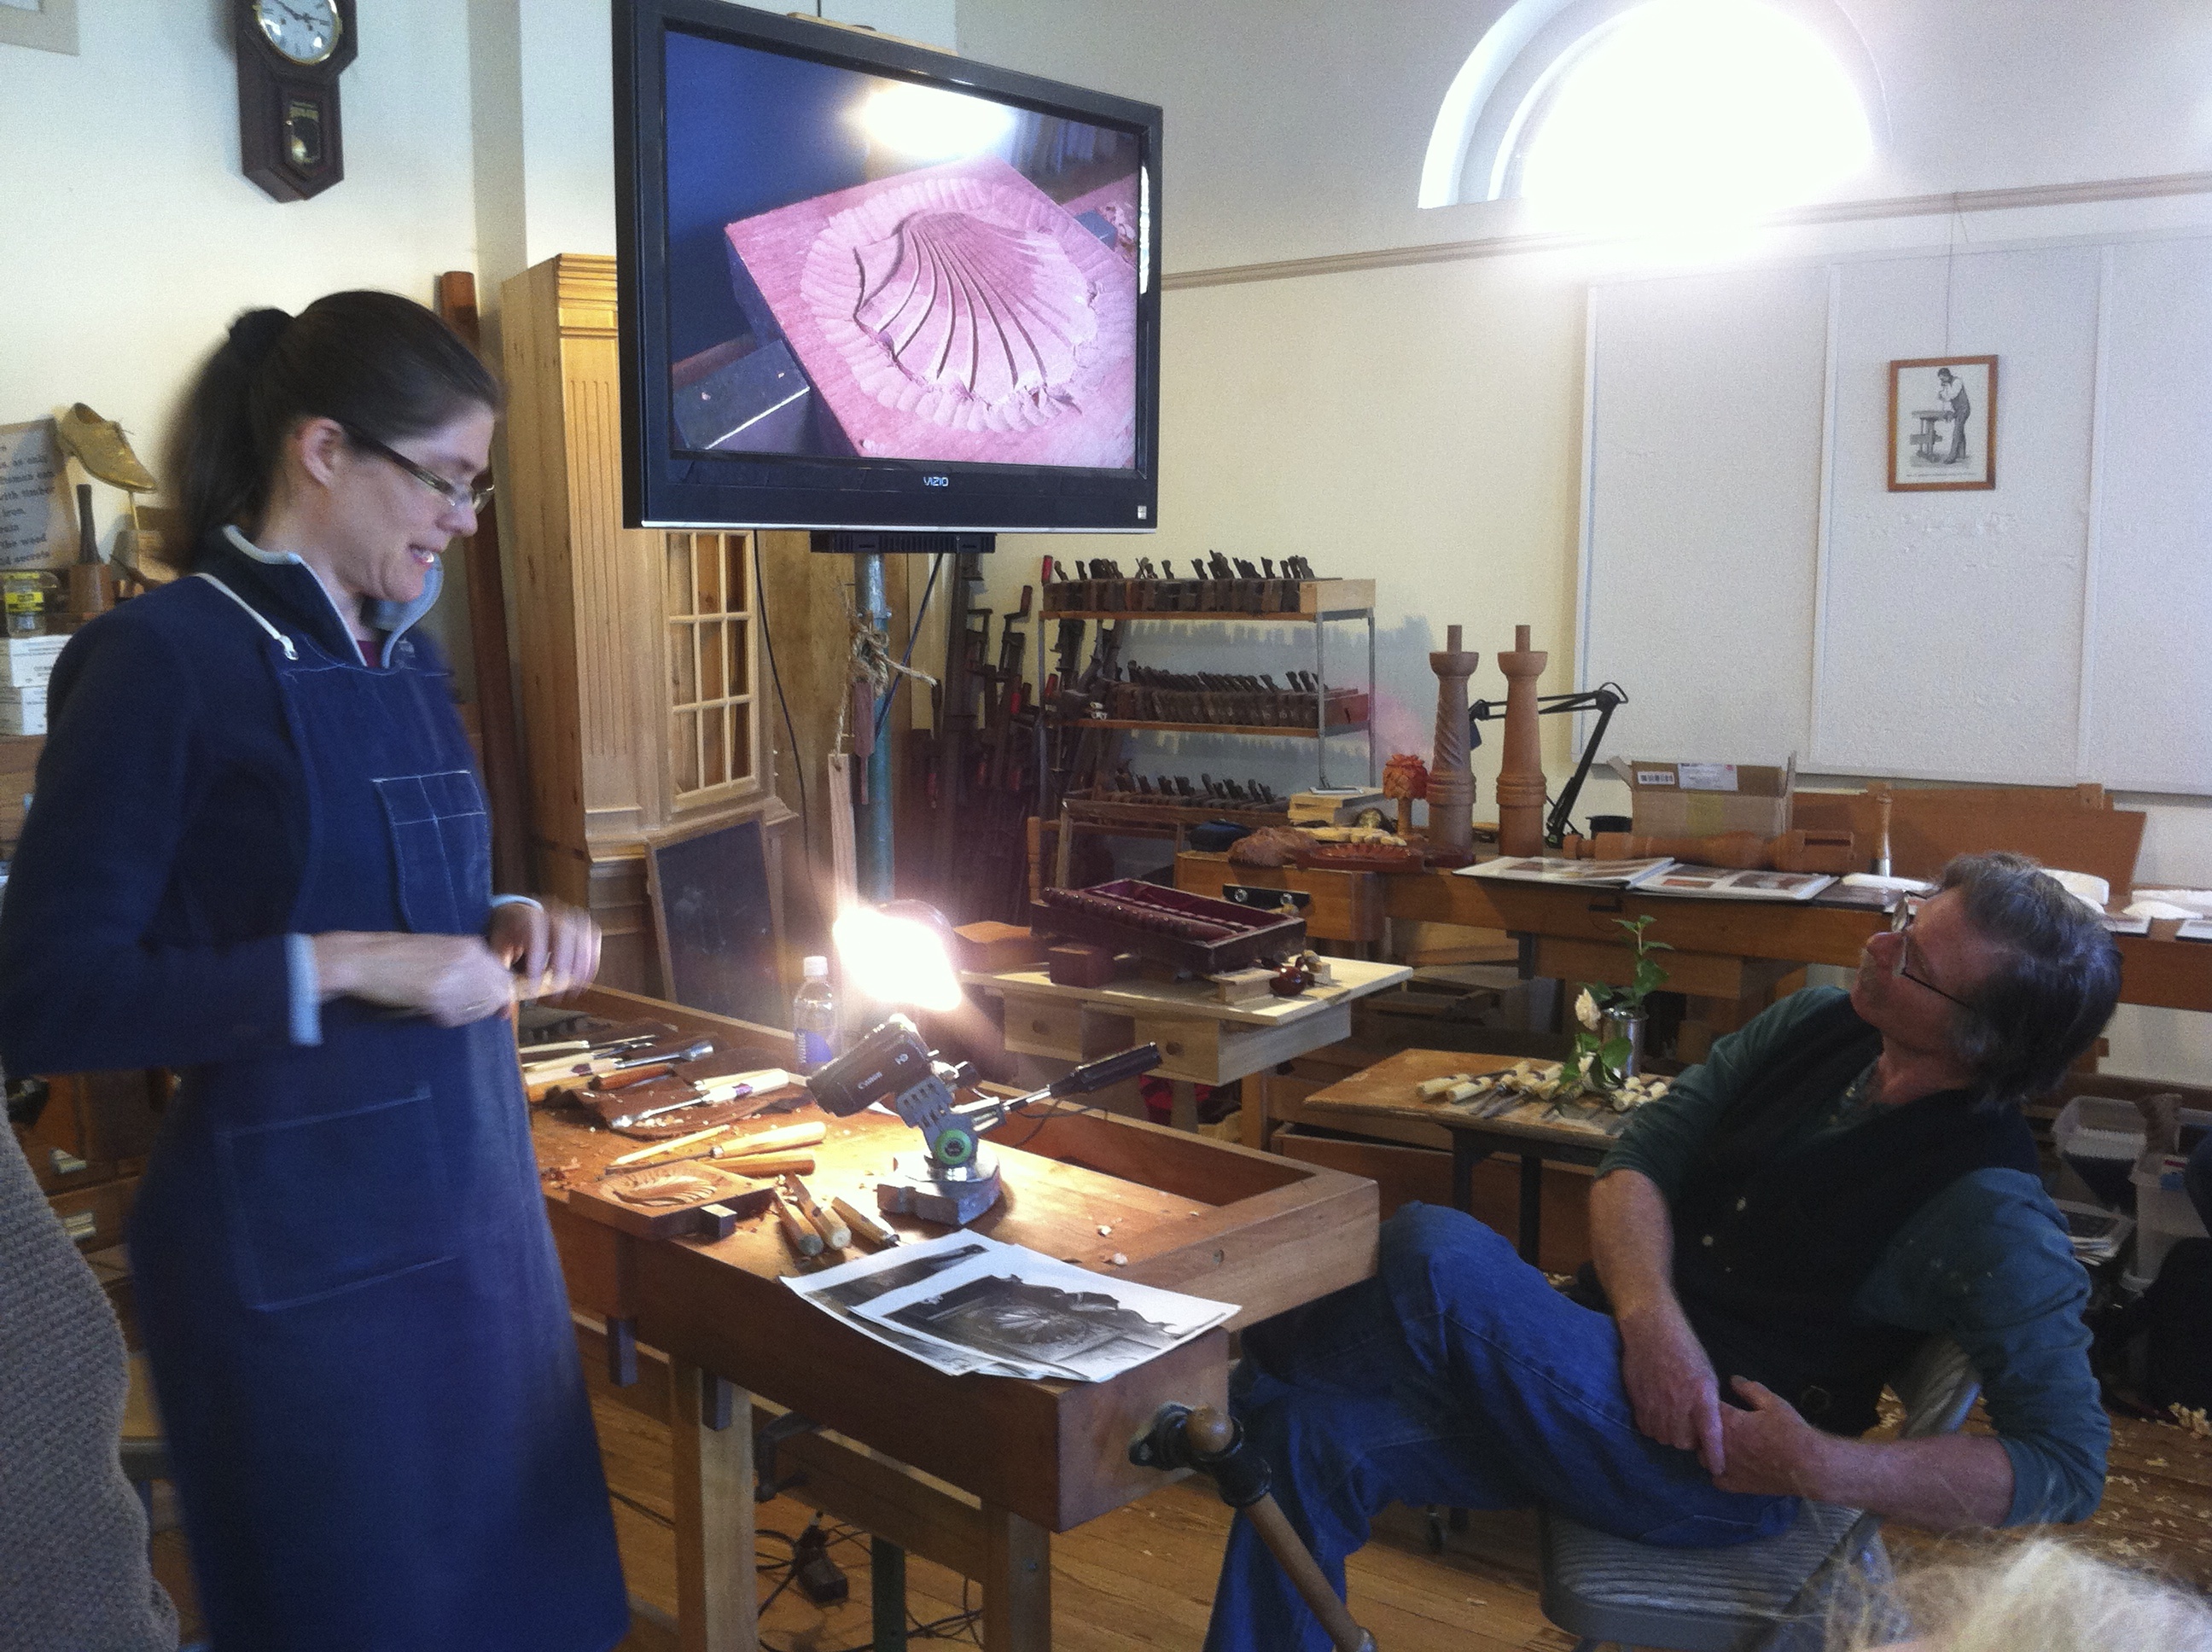
The Master at work.

The Master at work.

One of the things which always fascinates me about chair making is the lines of sight drawn on the seat. They are taken from those ancient sea current and wave maps the Polynesians used to navigate the South Pacific to find those little tiny islands where they live. It is amazing to me how maps from the South Pacific can be used to get the angles for the legs of a chair seat. After we used the Map to drill pilot holes we reamed a tapered hole for the leg to fit it into and adjusted the angles to make the chair sit right. It turns out making a chair correctly has some of the basic principals of roadway design, as I learned in my previous life as a civil engineer. To wit: Pleasing to the eye, soothing to the bottom — applies to roads and chair seats alike. I love the shape of the seat and the way the legs project all the way through the seat and are wedged into place; and every time you sit on the seat, it tightens the connection; and the legs are held in place with only a little Elmer’s white glue and that wedge.

The Wall of Shame Seats broken, spindle cut short, seat shaped upside down.  Shame, Shame!

The Wall of Shame
Seats broken, spindle cut short, seat shaped upside down. Shame, Shame!

You better put the wedge in cross grain or your seat will end up with your name on it hung on the Wall of Shame in the corner of the shop and even your own Mother will laugh at you every time you come to visit –”Ha! Mike got you didn’t he?” I am very tempted to leave the tool marks and the Polynesian Map on my chair seat when I finish it. The seat “in the white” may be my favorite part of the chair.

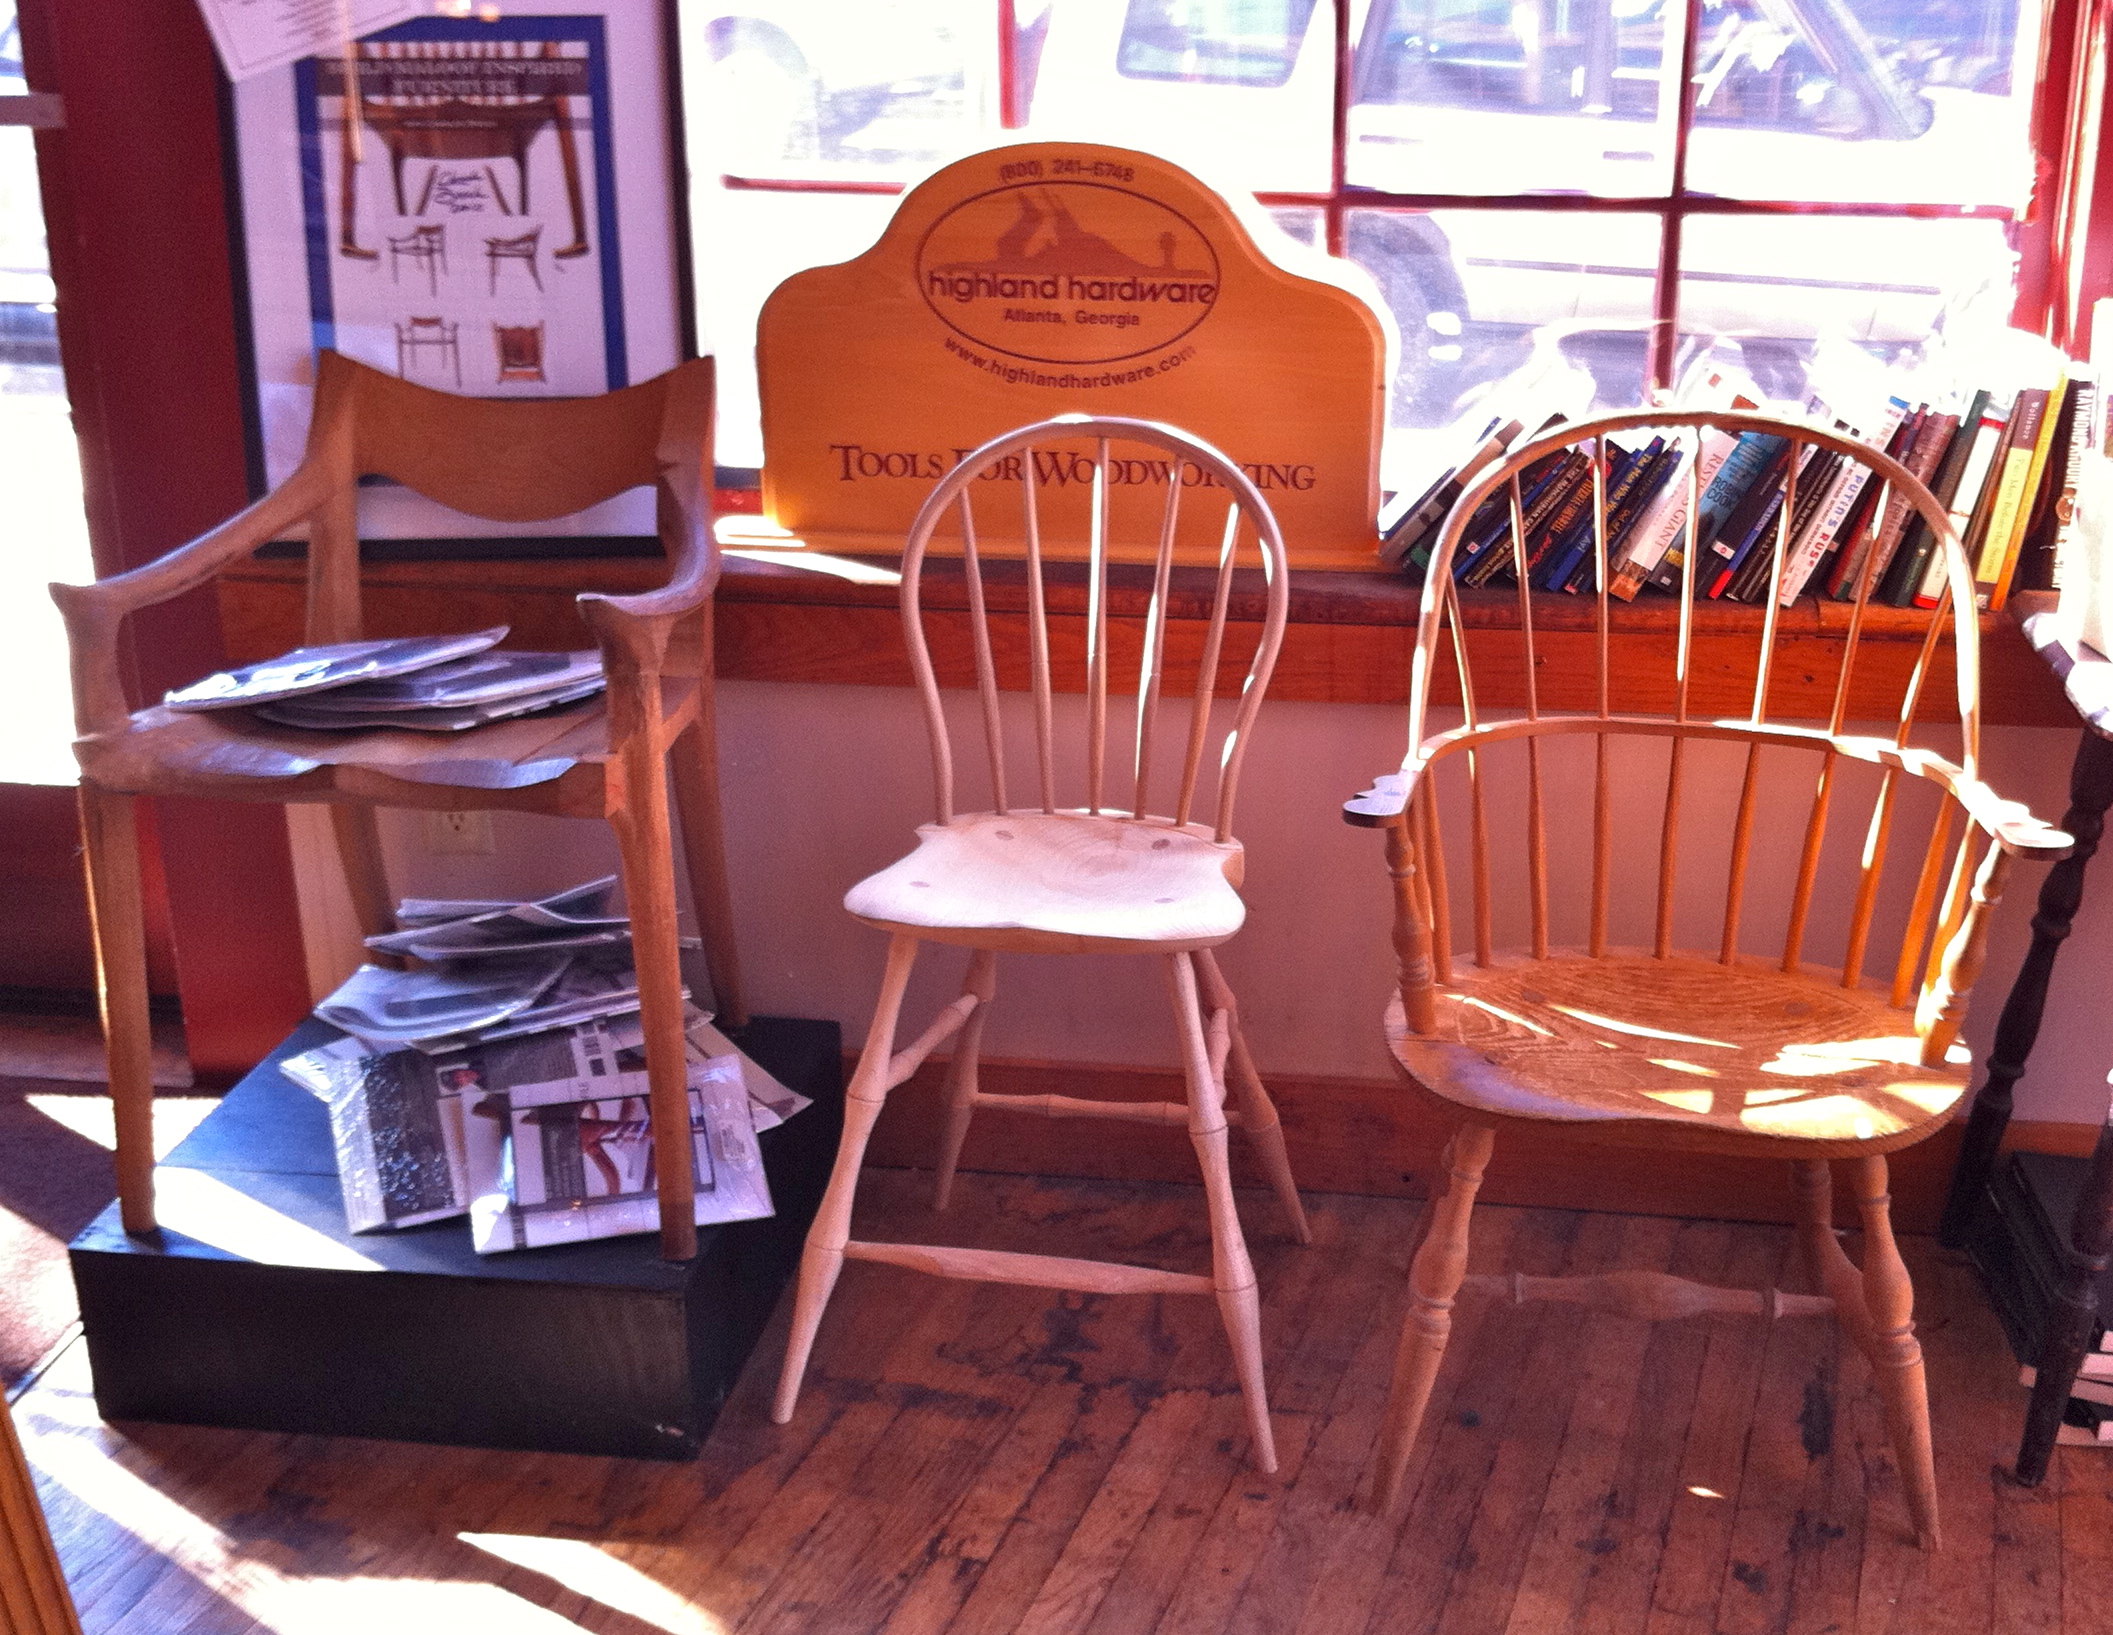
The Chair Seat “In the White”

Somewhere along about the second or third day, me and the other non-Sir in the class were raised to the level of Master Chair Maker. We learned the secrets of our rank and how to recognize a fellow maker in any situation including the secret distress call reserved to chair makers. I felt very honored.

It takes a long time to tell, but as I recall, this narrative only took us to the end of the first day. We still have a long way to go, but I will continue next time.

Apr 162013
 

The other day I was looking at all the turning tools I have. Over the years, I have tried a lot of turning tools and I don’t care for most of them.

Woodturning Tools

Woodturning Tools

Look at the picture and you will see around 22 tools and I had to wipe a lot of dust off some of them to make the picture. There are all kind of tools from old Craftsman tools to some really modern stuff to the Elbo Hollowing Tool lying on the stool. In fact, I do about 90% of my work with one tool and that is the one on the far end of the lathe bed. I really like the 5/8” bowl gouge set in a changeable handle. I use Oneway’s Sure Grip Hosaluk 17-1/2″ Tool Handle from the High and I love the thing. I put the Oneway Mastercut 5/8” Bowl Gouge in the Handle and the whole rig weighs close to three pounds. That solid weight makes it very easy to hold steady and almost all vibration from the cut is eliminated. I can knock out a bowl in short order with this tool and I recently bought a new gouge since I have about ground the length off my old one.

blogtool

A few years ago when I went to the Master Class on bowl turning with Mike Mahoney at the High, I took some of my turning tools to the class. Mike scoffed at the cutting edge I had on my bowl gouge. I had learned to make that “fingernail grind” shape from the instructions that came with the Oneway Wolverine sharpening jig. Mike has a way of sharpening which uses the grinder platform set at the angle he likes and which I have adopted. He adjusts the platform to about 15 degrees and then sharpens freehand from the platform. Once you learn how, the process is quick and easy and I have gotten where I can do it in less than a minute. What I see many beginners do is buy all the sharpening jigs and fixtures they can get their hands on. That collecting process is good for Highland, but makes your sharpening life more difficult in the long run. How much simpler to start the grinder, put the gouge on the grinder table freehand and in a short time be done. For you beginners, if you have never turned with a sharp tool you have no idea what you are missing. Find somebody who has a sharp gouge you can borrow so you can see what it feels like. Come on down to the shop and I will be happy to loan you one of my gouges for a bit. Here’s a hint: If all you see are small chips and sawdust coming off the gouge, you need to sharpen. If you are turning green wood, you should be seeing a continuous stream of beautiful long curls flying up into the air. In fact, look back at the top picture and note the long shavings on top of the box behind the lathe. That is the joy of turning and what turners live for.

How many turning tools do you have and which is your favorite?

Apr 092013
 

Going back to New Hampshire next month to make another Windsor chair with Mike Dunbar. I enjoyed the trip a couple of years ago and I really like the chair I made while I was there. And since my son moved to Connecticut last fall, I can drive about two hours to his house for a visit on the way back to Atlanta.

Our Chair Class  July 2010

Our Chair Class July 2010

This time I am going to make a Philadelphia high back Windsor chair. Mike requires a sack back chair as a prerequisite to his other classes. Making the high back should be a challenge since last time the sack back took every bit of the full week we had scheduled. This time we have to get some stock and make seven spindles to specification ahead of the class. This will be my third Windsor, the last one being the child’s Windsor with Peter Galbert at a class at the High. It is still in the Store by the way — a highlight of my woodworking career. Go by and look at it next time you are at the Store. My name is on the bottom — they let me sign it.

Maloof on the left, Dunbar on the right, and (dare I say it) Chapman/Galbert in the center.

Maloof on the left, Dunbar on the right, and (dare I say it) Chapman/Galbert in the center.

Making a chair with Mike is fun. His shop is beautiful and well equipped, but I think he may have missed the classes on education technique and psychology. I say that because he has a Wall of Shame at the top front corner of the shop. If you really screw up a piece of your chair, he nails it up on the wall and puts your name on it as a warning to future students. Kinda like you might put a fake owl in your garden to keep the crows away. Course on the other hand, if you see another way to do something he is willing to listen, as evidenced by the tools you can buy on his web site which are named after the student who suggested the new method or technique. Maybe he actually did have some of those classes.

Spoke shaves are noisy, dusty and throw off lots of chips.  Safety first!!

Spoke shaves are noisy, dusty and throw off lots of chips. Safety first!!

I was watching Curtis Buchanan’s introductory video for his chair making studio and he has the most delightful illustration of what a Windsor chair seat is supposed to look like. I am a civil engineer by trade

and I have dealt with topographic contour maps my whole career. The shape of the seat of a chair is subtle and difficult and must be made by hand and if you have never seen one done right, it is not an easy task. Curtis has what is unabashedly a commercial on his web site. In fact, I laughed when he says at the beginning “This is a commercial and if you don’t want to see me sell you something, turn it off”. I like that. But anyway, he wanted a way to convey the subtle shape of the seat, so he made a seat blank of glued-up eighth inch thick plywood painted black, and then he carved the seat out of it same as he always does. The result is the edges of the plywood show up as black contour lines at a one eighth inch vertical spacing (contour interval for all you topo geeks) running all over the seat. I read it instantly and I love it. Go click on the video and look for the topo seat map at about 3:40.

Did you know the High sells many of the tools needed to make a Windsor chair by hand? Whether you need a drawknife, a froe, a scorp, a travisher, or a compass plane, the High has all of them. And if you don’t know what those things are or how to use them, go take a class whether it be from Curtis Buchanan, Peter Galbert, Mike Dunbar, Elia Bizarre or anybody else who makes a good chair. And if you don’t have time for a class,

Chair Kit -- Make your own!

Chair Kit — Make your own!

Then try the Windsor chair kit from the High and make one yourself at home. Look through the listings at all the chair tools, kits and plans we sell and pick one. You know that many say if you can make a chair, you can make anything! What kind of chair will you make?

Mar 292013
 

We woodworkers are a strange bunch, but Mary May the woodcarver said something that made me feel a little better about my woodworking strangeness. Mary said when she was learning to carve, she would watch a movie and find herself trying to decide which gouge would fit the curve of an actor’s nose. I mean you never know when someone will ask you to carve their face and you need to be ready. That made me feel better, because I sometimes find myself bored with a movie looking at the furniture in the background to see if there is something I might like to make.

I love to watch how the movies and TV depict various professions. For instance, in the first Indiana Jones movie, Indy was using a surveyor’s level to try to find something on an archeological dig before the Nazis caught him. I am a Land Surveyor, and first of all that is the wrong instrument — he needed a transit with which you can turn an angle. The primary use of a level is to determine relative elevations. But even with the wrong piece of equipment, he was still using it upside down. All they had to do was call me and I could have told them it was wrong.

I seem to remember Kevin Costner playing a boat builder in “Message in a Bottle” where his character did something stupid with a table saw. Never got to see that one but I have heard people say it was a disaster waiting to happen. Every woodworker who sees him start to do it would know he is about to get hurt.

I love “NCIS” on TV and the main character Gibbs is always building something in his basement. For several seasons he was working on a boat and I wondered who actually made the boat. I don’t know if Mark Harmon/Gibbs is a woodworker or not, but if you Google the question, there is a company in California which furnished the basic boat frame for the show. Only a few people like us woodworkers would have noticed that the boat that came in is not the boat that came out. http://www.glen-l.com/glen-l-design-featured-on-ncis/. Someone asked how he got it out of the basement, and the answer was they just moved the cameras and lights out of the way and rolled it out.

Of course, the classic one is Mel Gibson at the beginning of “The Patriot” tossing a Windsor chair across the barn because it kept falling apart on him. Turns out the D.R. Dimes Company, an old line American Furniture maker, built the chairs used in the movie. According to the website for the company, the movie producers contacted a dealer to approach Mr. Dimes for some chairs. When he found out that the chair was going to be broken in the movie, he at first refused to sell it to them because his chairs do not break. The dealer finally managed to find enough chairs to satisfy the movie people and sold them about two dozen pieces for around $20,000. When asked if the movie got a discount, both parties had refused. To quote one of them, “Mel Gibson was getting $24 million for the movie, I can get $650 for my chairs.” By the way, if you have built a Windsor, you will appreciate the fact that they had to take the chair apart beforehand and then leave it loose with some parts sawn mostly through, just so it would fall apart when he threw it against the wall.

SawStopSo what would make a good movie about woodworking? Something about a woman with hair the color and as curly as wood shavings off a cherry bowl blank, using a SawStop table saw with a Forrest I 60 carbide tooth blade, who sweeps the shop floor and waxes the saw table before she leaves the shop to wash the pickup and fix supper before I get home. Change that sentence around as you need to. Good luck with that!!

What would your ideal woodworking movie be like?
Feb 282013
 

CLICK HERE to see Part I of Terry Chapman’s visit to The Woodwright’s School.

And then on the second day, we all came back and started again.

We were still working on the camellia blossom in low relief and trying to make that look as good as we could. What I found out was that I like real life style carving. I want stuff to look like stuff. What Mary kept telling me was that it is a “representation” of real life. When you carve stuff as a representation of stuff, then there are tricks to fool the eye to make stuff look more like stuff. Read that sentence again, Rufus. I mean a real camellia blossom is what — inch and a half tall? Our carving is sitting up maybe an eighth of an inch above the background, so you have to use tricks to make it look good. (She was making fun of engineers who are very literal, that is until she found out I am one. Explains a lot of things.) The example she gave is Washington’s head on a quarter. Look at the outer edge and you will see the edge is rounded rather sharply, and it is that rounding which gives the appearance of much more depth than is actually there when you look cross-wise across the face of the coin.

Low Relief Camellia (Mine – Not Hers)

Later in the day, we started a shell, just like the ones on the gas station signs. This time she had a piece of mahogany for us to try. Basswood is nice and even and soft, but few things will endure when made out of basswood. We needed to move to the real world. (Get it?)

We traced a pattern on the mahogany and went at it. Mary makes it look so easy. She takes that little vee gouge and just makes about two sweeps and cuts the smoothest little curve just the right depth. She has callouses on the outside edge of her palms just below her wrists where she pivots her hand to make a smooth curve with the tools. I watched her do that and thought, boy, that is so simple, anybody can do that. Ha!! Anybody can’t do that! First of all, her hands and wrists are so strong, she makes it look absolutely effortless. Second, her tools are so sharp, that even the mahogany cuts like buttah. I noticed early in this class she is much more careful around her chisels than I feel is necessary around my chisels. Hers are sharp!

We started digging out around that shell and then we needed to carve little valleys on all the little lines to make the shell. My gouges are too big for the task, so I had to borrow a couple and then make do with the rest. It is very easy to make the whole thing “muddy”. I could put a picture of her shell right next to mine, but I will not do that — man’s got to have a little self-respect, you know. But if you could compare the two, you would instantly see that my edges are not well defined, my grooves are not symmetrical, my ridges are lopsided and my mollusk drank too many sugary soft drinks as a teenager. On the other hand, if you don’t see them side by side, than a man riding by on a fast horse at dusk would say mine is not too bad.

My Mollusk

Here’s what I learned: Roy Underhill is a very smart and well-educated man and a marvelous woodworker. He walks just like he does on TV. Mary May is top of the line and very talented. She could strangle you with her bare hands. Her classes are excellent.

I can recommend her classes and The Woodwright’s School. Watch for Mary’s class at the High later this year. You will like woodcarving.

Feb 192013
 

I drove up to North Carolina this last weekend to take a class at The Woodwright’s School. Master Woodcarver Mary May was there to teach and I can recommend the whole experience to you.

Pittsboro is a small town in a rural part of North Carolina about six hours by car from Atlanta. I drove up on Friday for a weekend class and when I found the town about 7:30 pm, it was rocking. All the eating places were open and there was not a parking space to be had on the main street. It turns out Chapel Hill is about 20 miles east and the little town is really popular with the college students. You could call it a bit of an artist’s colony, I suppose, since for example, there is an old house just down the street with all kinds of brightly painted metal objects and sculptures all over the yard and the porch. The roads in and out of town are filled with pottery shops. All the old service stations are now restaurants, and there are all kinds of shops up and down the main street. The Courthouse is in the middle of a roundabout in the center of the main street and it is a lovely little town.

The Woodwright’s School, owned and operated by Roy Underhill, is right on main street in an old dry goods storefront. It is just perfect. If you have been a fan of The Woodwright’s Shop on public television for the last thirty years as I have, then you will feel like you walked onto the TV set. Many of the antique and foot-powered tools and many projects from the show are sitting in the front windows. My bench had probably thirty jointer planes on the shelf underneath. Roy has a lot of tools.

Our instructor, Mary May, is a Master Woodcarver from Charleston, South Carolina. She has done the traditional apprenticeship thing and she is a classical woodcarver. Mary focuses mainly on carving antique furniture reproductions and architectural decorations. We asked if there was anything she did not choose to carve and the only thing she could think of was the potential client who wanted his children’s faces carved in a huge chocolate bar. Mary offers online classes and videos and teaches at various schools around the country, including I believe she said, a class at the High later this year. You can go to her website to see more.

Mary May and Roy Underhill

Early on Saturday morning, nine suspects showed up with our sundry carving tools. The first thing we did was hike the benches (all the benches from the High, by the way) up to a height suitable for carving — you know, the old bench top at the elbow trick. That turned out to be a good move since you can see the work and you can get your arms and shoulders into the job. Instruction started with a couple of hours on sharpening and I am proud (I guess) to say I was able to furnish a perfect example of a completely dull and misshapen vee gouge for Mary and Roy to use as a demonstration. In fact, Roy took the vee gouge and spent the next hour reshaping and sharpening it to make it really useful. I told him I would never be able to use it again — I was going to frame it.

Our first task for the instruction was to carve a doughnut in relief in a block of basswood. Mary does this to demonstrate the importance and to gain experience in the difficulty of getting the tools to go through the grain smoothly. Try it and you will soon see the problems, since the grain changes eight times if you are lucky and have a smooth grained block of wood.

Lunch was at the old drugstore next door and it was excellent. We all went over and ate together and then after lunch we had a little time for the used tool store upstairs.

After lunch, we started on our next project and spent almost a full day on a low relief camellia blossom which Mary first created from real life. But that is a topic for my next post.

Feb 132013
 

I have always been fascinated that there are only seven story plots for movies, fiction, TV and all. Sometimes when I’m watching a movie, I have this deja vu feeling all over again and that’s probably why. Here are the seven plots taken from a book by Christopher Booker.

Sad to say, but you will never again be able to watch a movie without classifying it with this list:
1. Rags to Riches
2. The Quest
3. Voyage and Return
4. Rebirth
5. Comedy
6. Tragedy

But wait, this is a woodworking blog, so how does this relate to woodworking? It does, and here’s how.

Megan Fitzpatrick was recently named Editor of Popular Woodworking Magazine and is taking some grief from her buddy Chris Schwarz about it. Go read his blog interview with Megan and see what kind of grief (“So one of my favorite internet comments about your promotion was this: “Great, now it can be a mediocre magazine with a feminine touch.” How does that make you feel?”). After a great discussion about garden gnomes and heart shaped cutouts, Megan goes off to be the Editor and I alone am left to tell the tale.

I usually read two woodworking magazines — Fine Woodworking and Popular Woodworking Magazine. I feel for Megan because I think there are a limited number of topics in woodworking magazines — in fact, seven may do it. Think about it, you see articles on jigs, furniture, sharpening, drawing, tools, joints and wood. Every article you see may fit into one of these categories (except, “I just nailed the top of a baby food jar to the bottom of a shelf and I can put screws in the jar and still see them). In fact, Fine Woodworking for December is sitting here on my desk and the cover lists lumber, built-in, jig, tool test, Shaker style, tabletop. I think it has all been done before. If I were going to try to write an article for Megan to publish, would simply go back say 20 issues, pick a topic, take some new pictures and do it all over again. Some would want to call that plagiarism — I could argue history. But unless someone does it, there is no magazine. Seven topics. Is there nothing new under the sun?

Course in music there is only ABCDEFG — right Mozart?