George T. (Terry) Chapman

Terry Chapman is a Professional Engineer (Civil) and Land Surveyor who lives south of Atlanta. He has done woodworking for many years and particularly enjoys bowl turning and making Windsor Chairs. He currently works as Site Development Manager for a local affiliate of Habitat for Humanity and has one son who pastors a Church in Connecticut. You can email him at cdeinc@mindspring.com.

Aug 162011
 

I am working my way through the rest of the Easy Wood Tools products.  This month I tried the Easy Detailer while turning a spindle and making a bead and cove with some other details which one might use while making a candlestick or a Windsor chair leg or a stair spindle.  It works like a champ.

I started with a piece of rough limb which had been lying around the shop for a good while.   It was very dry and still had the bark on it, so I squared off the ends on the chop saw and then punched a hole in each end with the awl to give the drive head and the live tailpiece a place to bite.  I mounted it in the trusty Oneway and turned the speed up pretty fast once I found it was balanced.  As you can see in the attached video, I rounded it off with the Easy Wood Tools Full Rougher, which is turning into my tool of choice when I need to rough something out quickly and easily.  It is certainly my preference over a large roughing gouge since it does not bounce around when cutting and I don’t have to worry about sharpening.   If it gets dull, simply rotate the tip to another side and keep on cutting.

Watching the instructional videos on the Easy Wood Tools web site is the best way to learn to use the tools.  I was interested to see how they use the Easy Rougher to start making a bead and/or a cove by using the corner to start a groove.  You know already my apprehension about skew chisels and using this tool to start a groove is certainly a better option than my skew technique.

After getting a bead or a cove started, the Easy Detailer is a marvelous tool.  It has a slightly rounded point at the end of a triangular cutting head and lends itself nicely to making coves and beads.  I was able to dig pretty deeply into a cove and the only limitation was the size of the tool.  They make a smaller one which would be really nice on a finely detailed candlestick, for example.

All in all, the Detailer is a fine tool and very easy to use.  In addition, the Easy Finisher has a round cutter which may fit the bottom of your cove and make cleaning up any roughness a real “easy” task.

Take a look at the video attached and see if the Easy Wood Tools from Highland fit your needs.  Give them a try, and I feel sure you will like them.

Jul 052011
 

I know a guy who used to laugh about “living large”. Two things remind me of what he meant. A while back I heard a guy on TV talking about people complaining about flying. People gripe about baggage fees and having to buy drinks, and he was incredulous. Think about it, sitting in a chair five miles above the earth flying at 600 miles an hour in air conditioned comfort. What is there to complain about?

I bought a new car a couple of weeks ago, and as long as I have the key fob in my pocket, the doors unlock at a touch, and the engine starts with a push button. Seats and mirrors adjust when the car recognizes me and it automatically connects my phone to the navigation system while it stays in my pocket. What is amazing about all this is how easily we are spoiled to living large. I walked to the door of my house this week and found myself standing there waiting for the door to the house to unlock. I knew I had the key in my pocket and had a real moment of frustration when the house door did not unlock as the car does.

In my shop, I have one particular living large item. It is the coolest little thing called a “Sander Sitter Carousel” and its sole purpose in life is to provide a place to set your orbital sander while it quits turning. I mean, come on, is that living large or what? Instead of waiting 15 seconds every time you put it down,or stopping it with your hand, you just set it down on the Carousel and go do whatever else you want. The crepe rubber inside and the ball bearing base below clean the sanding disk and absorb the rotation. That’s all it does and it is marvelous. I could get used to this living large stuff.

Now if I can just get the house to open when I walk up to the door.
Jun 142011
 

Did you ever notice how we have these woodworking cliches? We never “grab a chisel”, we always “grab a sharp chisel”. Let me think about that for a second. I want to make a fine paring cut on a piece of hard maple, so I think I will get my dull chisel. In my profession, the Attorney General of the State of Georgia got involved one time in a legal opinion about Land Surveyors. Question was whether we had to call ourselves “Registered Land Surveyors” or simply “Land Surveyors”. His legal opinion was that if you were not registered then you were not a land surveyor. There are only “Land Surveyors”, and any label past that was superfluous. I agree — no more “sharp” chisels, only “chisels”.

Same thing happens in woodturning — we never have a catch, we always have a “nasty” catch. I agree that catches are always nasty, and I still hate them. They scare me pretty good most of the time.

Full Finisher

I was practicing last week with the next tool in the Easy Wood Tool group, the Full Finisher. Watch the video below and you can see how it works. It really is a smooth cut and you can get quite aggressive with it. The piece was wet, ash I think, and I had roughed it out a few days before and then put it back on the lathe to round it off and thin it out.

What I think a lot of woodturners miss is listening to the sound of the tool cutting. You can tell a lot by the sound the tool makes as it cuts. After a while, the tool makes a steady droning sound and you can tell when you get some wobble in the shape and the tool is not following very well. You get a little bit of that high pitched wail from movies set in the Middle East where the men are going off to war and the women are cheering them from the top of the cliffs. Listen to the sound I left in the video and you will see what I mean.

I went to a class with a bunch of beginners one time and the sounds in the room drove me up the wall. Even at that early stage of my turning career, I could hear the pieces beginning to break apart, but the people doing the work had no idea what was about to happen. Now and then one would explode and fly all over the room, but somehow that was easier to take than waiting for one to bust once I heard that sound.

I think I overstepped the capability of the Easy Finisher with the size of the bowl I was using it on. Probably overstepped my capability also. I went back to the Easy Tools web site and watched their demonstration again, and they were working on a smaller bowl. I think that may be the key. That and a lot more practice.

It is hard for me to watch the video cause I know what’s coming. Maybe we should call all catches nasty. Least I didn’t cuss, I just hollered. Or screamed like a little girl, whichever you think. Let’s see what you say if it happens to you.

May 242011
 

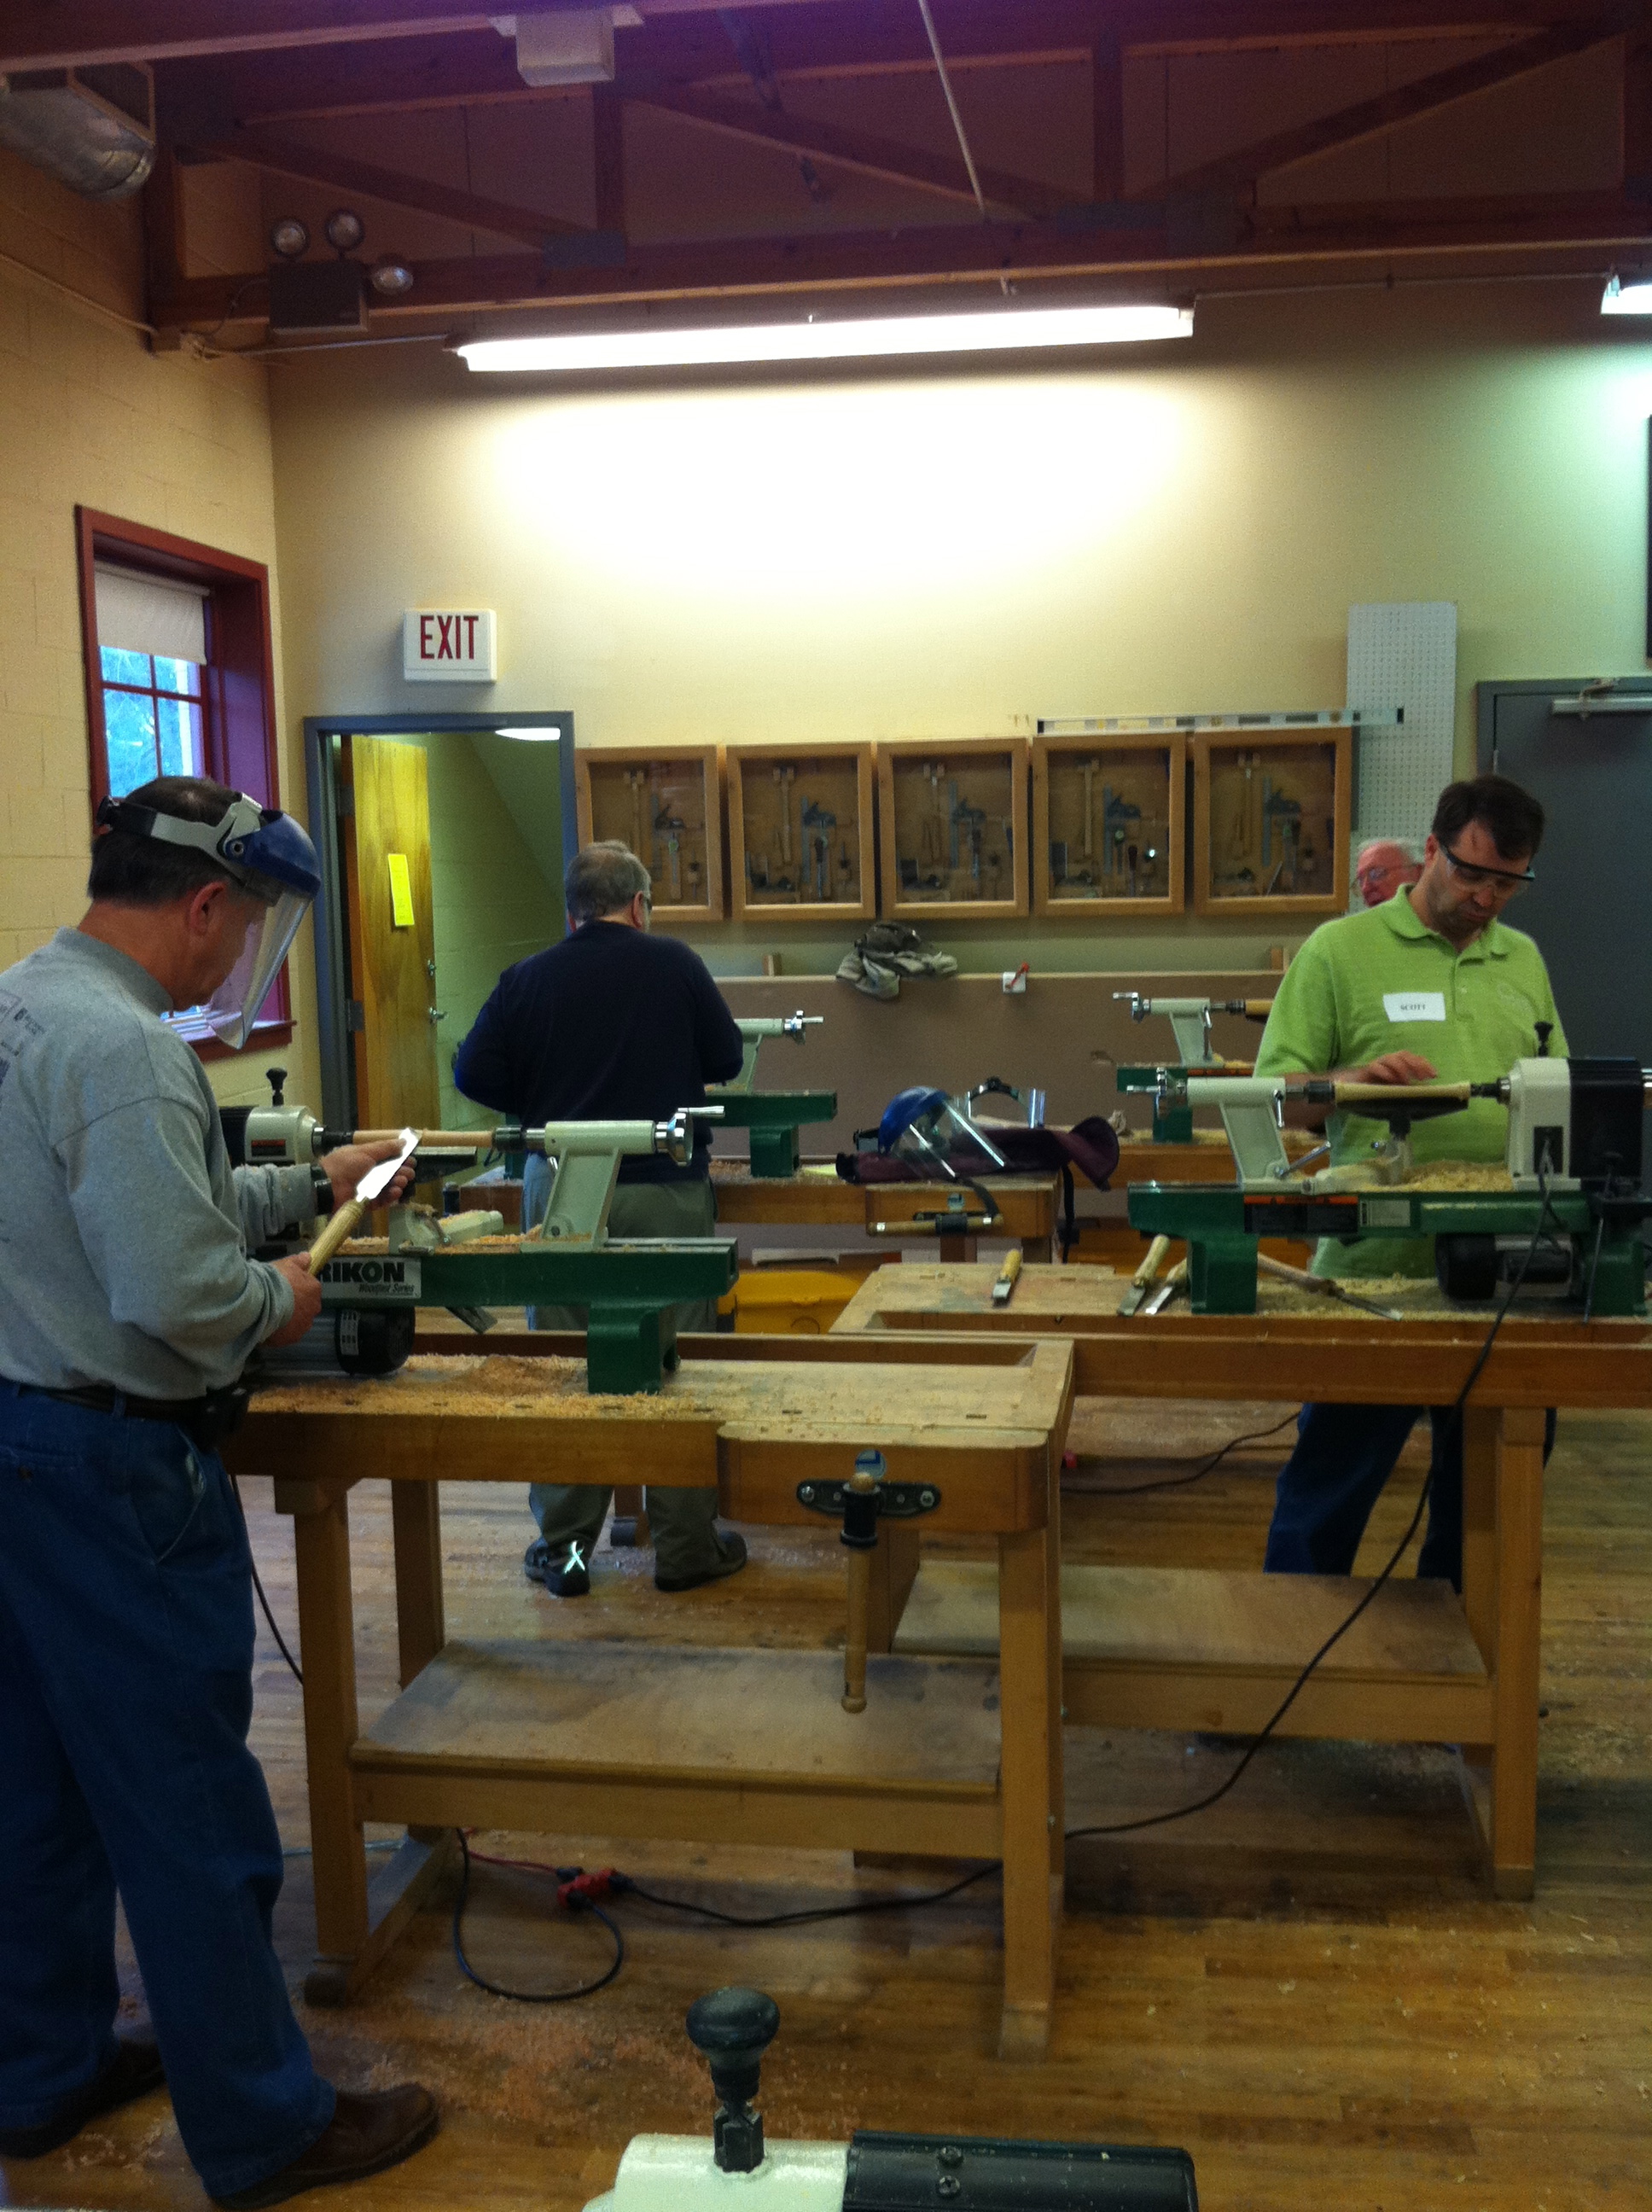
Sometimes I worry about us woodworkers.  We tend to go off to our shops and isolate ourselves from the world.  (Did you hear about the guy who always stayed at home because he didn’t want to have to kiss his wife goodbye?)  As a follow-up to our safety week and as a public service, I call attention to a bulletin issued last week by the nationoal Center for Disease Control and Prevention in Atlanta.  Use this information to stay safe and keep buying and using your woodworking tools.

The Festool Contractor’s first aid kit may not have zombie antidote, but it’s got everything else you might need!

The CDC issued guidelines to follow in case of a Zombie Apocalypse.  (You may think I am making this up, so here is the actual real link). This warning really hit home with me since my shop is in the back yard in the deep woods so to speak, and it can get really spooky out there at night.  After dark with the lights on in the shop, you cannot see what is going on outside, and when you get absorbed in a delicate little dovetail joint, the whole world could end around you and you would hardly know it until it was too late to do anything about it (as if you could).

Until now I had not worried about what steps I would need to take in case zombies (the technical term for the condition is Ataxic Neurodegenerative Satiety Deficiency Syndrome) showed up at the shop.  For instance, the CDC recommends that you set up a meeting place outside the home so your family can rendezvous and escape together to a zombie-free refugee camp.  They post a list of supplies to take with you including water and food and a first aid kit, though they do admit that once bitten the first aid kit will not be of much use.

We agree with the CDC.

What the CDC has left out though, are defensive tools to protect yourself during a zombie attack.  Generally woodworkers are particularly well-equipped to protect themselves with devices that are already found in nearly every woodworking shop.  My lathe skew chisel (properly sharpened), for instance, with its slanted blade and sharp point would be very effective as a zombie defense.  My battery powered drill (I will need to keep the batteries charged better than I normally do) with a two inch spade bit would also be helpful.  Oh wait, how about the drill mounted three inch hole saw – I think that would be better.  The battery powered reciprocating saw is an awesome tool, effective in many situations where no other tool will work. And if you have ever caught your finger in one of those Japanese cut-off saws, you will recognize what damage that thing could do when properly applied to larger fleshy appendages.  (As in most woodworking operations, having this saw cutting on the pull stroke makes it much easier to use when you are in a rush to finish a project.)  Last but not least, is my chain saw.  I prefer a 20 inch blade to give me a little more depth of cut, and you don’t need a really big saw – too heavy to lift to shoulder height on a continuing basis.  Just make sure it has the proper gas and oil mix so you can get it started easily.  When you need it, you need it quick.

Get your zombie apocalpyse ‘Go Bag’ ready!

I am going to recommend to the store that we put together a Highland Zombie Apocalypse Preparedness Kit.  It should include all the materials recommended by the CDC, plus the things I have suggested here.  I think we will put  it in a big tool bag so you can grab it and go on short notice.  The problem with that is you will not be able to use the tools from the Kit without taking a chance on missing some of them when you have to leave in a rush.  Just use them and  put them back in the Kit as soon as you are done.  We are open to suggestions here people.  Send us your ideas and perhaps you will see them incorporated into our Kit.  Now go fuel up the chain saw.  Be prepared!!  Stay safe.  Keep your brain.
May 182011
 

I am a wood turning snob. I admit it. It took me ten years to get reasonably good at turning and I still am disheartened when I see someone who turns better than I can (think Mike Mahoney, Peter Galbert). I took all the classes. I worked at it long and hard. I bought all the books. I still buy the books, and I am still hoping to get better at my craft. Anyone who wants to call themselves a wood turner should have to go through what I went through – there are no shortcuts and there should not be.

All that said, I resent it when someone calls their tools “easy”. It is not easy – let everybody else pay the price as I did. Buy the books, take the classes, practice for hours and hours. It is not supposed to be easy – if it were easy, than everybody could do it.

With all that in mind, you can imagine my thoughts when I came across the Easy Wood Tool turning tools at the High a few weeks ago. These are new turning tools sold as easy to learn and easy to use. Yeah, right!! Snobbery kicked in.

Nonetheless, I got my hands on four of them to try out for a few days. Skeptical and snobby as ever, I set up a big round piece of tough walnut crotch on the Oneway. I pulled the large roughing tool out of its case and very carefully and delicately eased it up to the walnut. Every tool says right on the label to use the tool level and parallel to the floor and stick it straight into the wood. That is exactly what I did. I put it up there and stuck it right in the wood fully expecting some catch or kickback. Nothing happened. At least nothing bad happened. Small cuts at first and then as I gained confidence more and deeper cuts and pretty soon there were chips everywhere. I’m convinced. I must say that was the “easiest” bit of turning I have ever done.

Large Rougher

There is a whole group of Easy Wood Tools. The one I used for this review was the large roughing tool. It comes from the factory with a solid steel shaft and a substantial beautifully shaped and finished wooden handle. The cutting edge on the large rougher is a square piece of carbide sharpened on all four edges and mounted to the end of the shaft with a set screw. When one edge dulls, simply rotate the cutter to a new sharp side and continue working. When all four sides of the cutter are dull, the cutter is replaced.

Note Replacable Tip

I am impressed with these tools so far. Take a look at the video below and also go to the Easy Wood Tools website to see how to use the tools. If you are a beginning wood turner and don’t want to spend a large amount of time learning the other traditional methods, then these are the tools for you. If you are a traditional turner with many hours of experience, you will still like these tools for their extremely easy (there, I said it) use. You can throw some chips fast and easy with these tools. Give them a try. And be sure to take a look at the video below if you still aren’t convinced.

Apr 112011
 

Just Starting Out

I hesitate to say I have tamed the skew, but at least I can live in the same house with it now.

I went to the “Taming of the Skew” class at Highland last week and we spent three good hours with Hal Simmons, a professional turner, to try to solve some of the problems many people have trying to use a skew chisel.

We started out by learning how to sharpen the thing, first on a grinding wheel and then to a flat stone. As with almost any woodworking operation, having a sharp tool is a good thing. Hal asked each of us in turn what experience we had and what our issues were with the skew. After some discussion we moved to the fun part and we all got a good laugh. When Hal had a square piece of wood set up in the demonstration lathe, he turned the lathe up to very high speed and prepared to stick the skew into the wood. The whole class scattered like a flock of buzzards when a car comes along and Hal was standing there by himself. Apparently we all shared the same fear of the skew.

Trying to Tame It

Once he calmed us all down and got us back to the demo lathe, he demonstrated how to use the skew to round off a work piece. He was standing there rounding that wood and not even looking at it, and we were all standing around with our mouths open and pleading with him to watch the work, because we were absolutely positive we knew what was going to happen and it was not going to be pretty.

On The Way to Carnegie Hall

After we learned the basic planing cut, we moved into cutting a groove and then to widening that groove into all those beautiful shapes found on candle holders and chair legs and balusters. The cuts are simple in theory when explained well, but as with most skills, take a while to develop the proper motions. It’s the same answer you get in New York City when you ask someone how to get to Carnegie Hall. Practice, Practice, Practice!

At least I am not afraid of the tool anymore, and with a lot of practice I should be able to make some nice stuff. What a great class and it is offered every few months at the High. It runs from 5:30 to 8:30 in the evening and only costs $75. Go ahead, tame that skew!!

Mar 292011
 

Router Table Setup

Don’t “Duh” me please. And why would you say “Duh”? Because it took me this long to figure I can make my own moldings. Until the last couple of years I only made things where I could use stock moldings from the big box store. That beginning point limited me severely and I could only do things which were going to be painted or where finger joints are acceptable (a small portion of fine woodworking to be sure). I finally figured out from watching Mr. Norm and then getting a good router table in my shop that I can make many very nice moldings out of any wood I choose. And I don’t have to paint it or try to explain to all my friends that finger jointing is a tree saving environmentally correct methodology and the reason I am charging more for my work.

Over the past couple of months I have been making some small furniture pieces for my church and I wanted them to match the existing pulpit furniture. Both of the latest pieces are from oak, one red oak and the other quarter sawn white oak. Needless to say, there are not many custom moldings from those two species and I really wanted them to match.

Can’t buy this!

A few months ago, I purchased the Kreg router table with a new Triton Router from Highland. What a beautiful setup that is. I already had a set of half inch router bits and I figured I might as well try the molding process. It worked!! I came up with some beautiful stuff and it made the finished project look good. What works for me is to plane a board to a good thickness and then rout one edge (or both edges) by running it at the router fence. I then cut the molding off the edge of the board at the table saw and it is done. I can make as much as I want and it is always the right size and species for the project. Miter it up, nail it up and stand it up.

Waiting for Stain and Finish

One of the great joys of woodworking is doing the final fit of those last little delicate moldings on a project. There is a timelessness about it which feeds my soul, particularly when I think about spending an extra half hour doing something really well, so people a hundred years from now will touch it and run a finger along it and recognize that someone cared enough to do it really well. Isn’t that why you do woodworking?