Morton

Michael Scott Morton has been designing and building furniture for over ten years. Located in Harvard, MA, he builds custom furniture one piece at a time.

Sep 252012
 

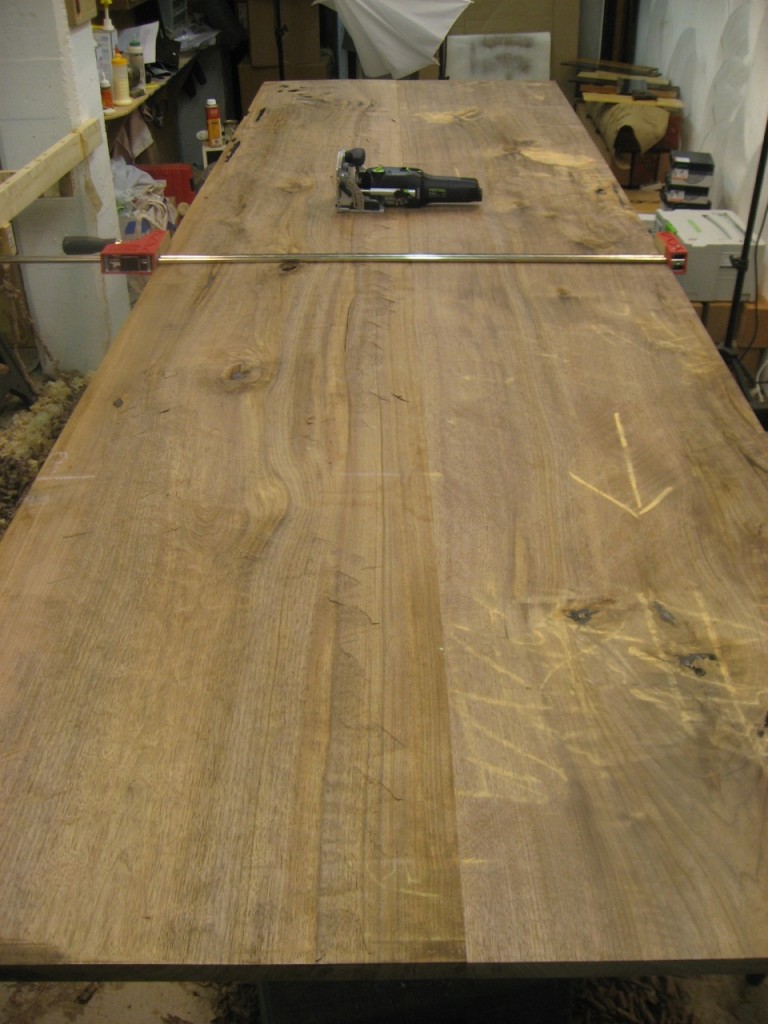
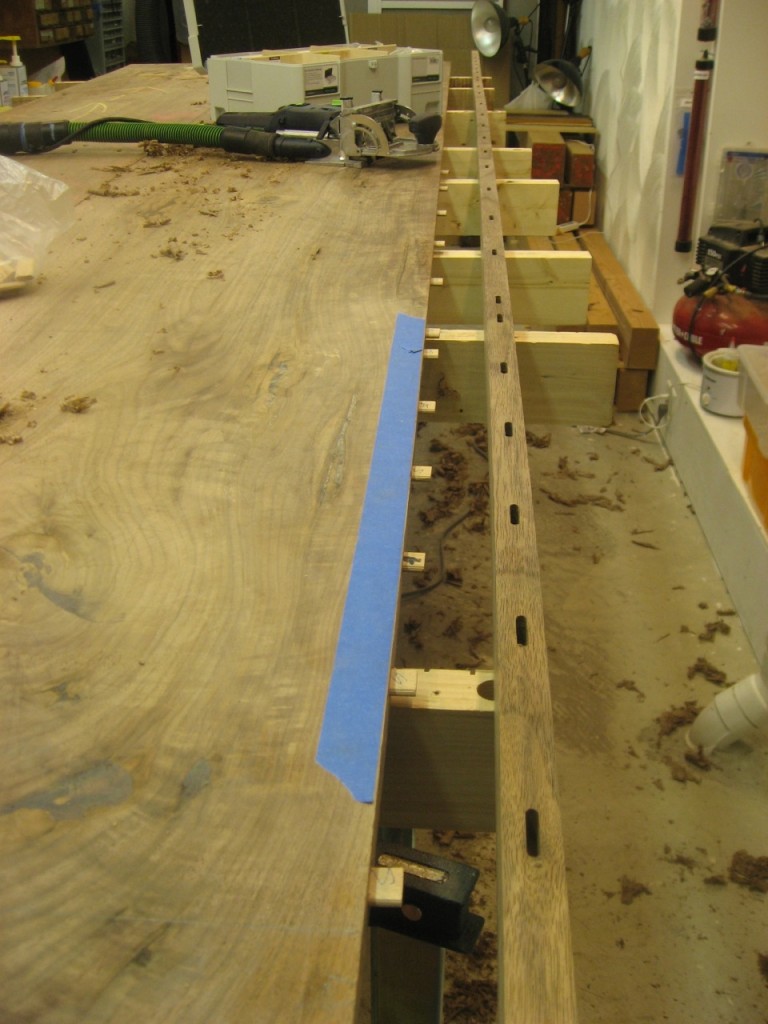
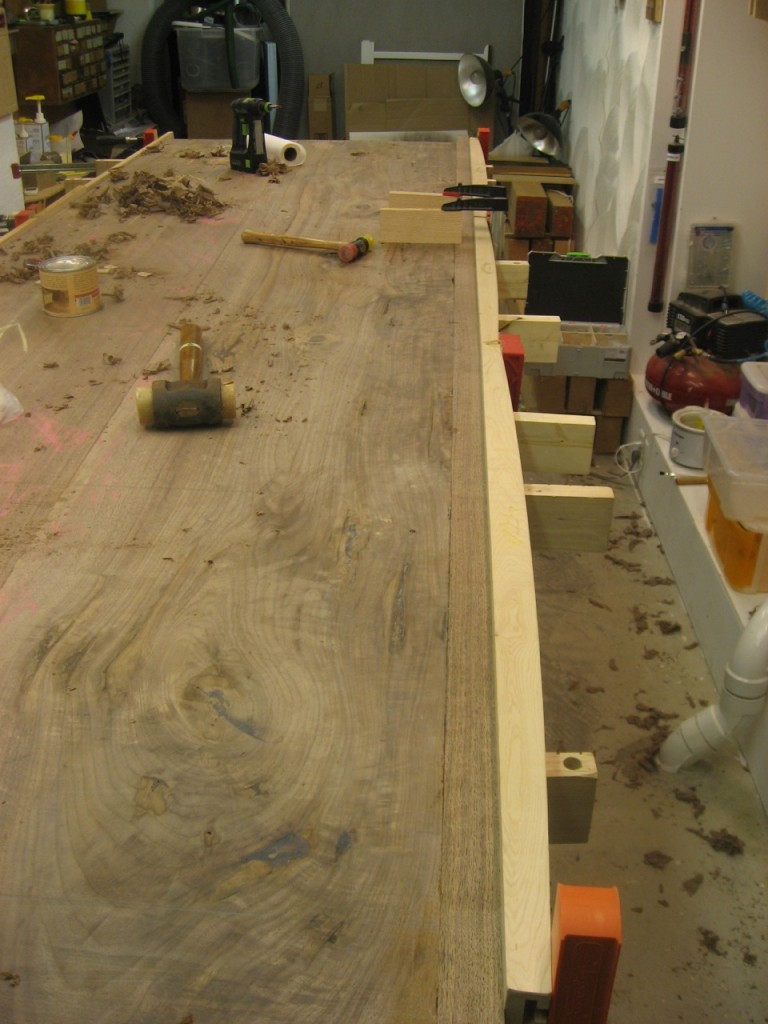
I had a recent post about using the Festool Domino as an alignment tool when edge-gluing boards.  Here’s another shot of how I use it – this time adding a narrow 2″ border piece.  The long grain edge joint doesn’t need any additional strength, but the dominoes help keep everything aligned as I put on the glue and clamps.

Festool Dominos installed and ready to glue

Festool Dominos installed and ready to glue

Note: The two dominoes spaced closely together are because I’m ripping a leaf off the end of the table at that location (right between them).

When I have narrow pieces to glue-up, I use BowClamps to help distribute clamping pressure.

BowClamps help to distribute pressure evenly

BowClamps help to distribute pressure evenly


Morton is a furniture designer + builder working in Harvard, MA.  He reviews tools for Highland Woodworking on YouTube.  You can also find him on Facebook, Twitter @morton, and his own YouTube channel.

Sep 202012
 

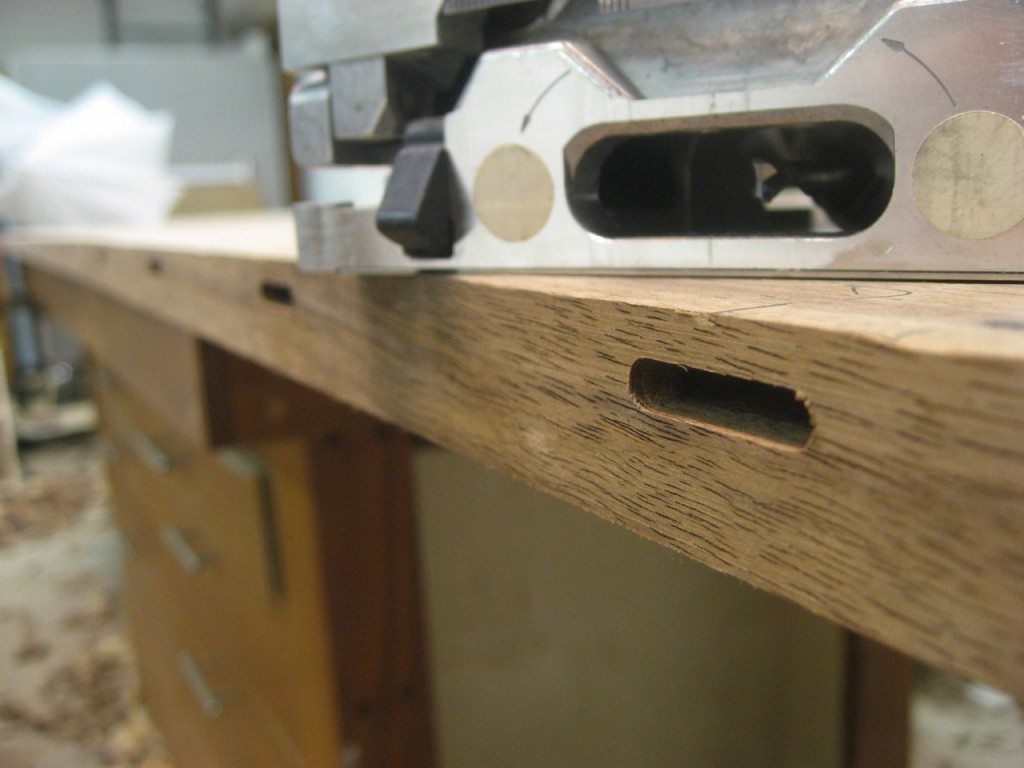
For long glue-ups or complicated ones, I like to use the Festool Domino to help align the edges.  This leaves me to concentrate on other things during that critical 5 minutes.  I simply use a pencil to mark lines across the two boards, although I could use the Cross Stops to space them.  The first one I make exact, and then oversize the holes from there.  Simple, fast, effective.

Festool Domino helps to align edges

Festool Domino helps to align edges

Festool Domino cuts a really nice mortise

Festool Domino cuts a really nice mortise


Morton is a furniture designer builder working in Harvard, MA.  He reviews tools for Highland Woodworking on YouTube.  You can also find him on Facebook, Twitter @morton, and his own YouTube channel.
Sep 182012
 

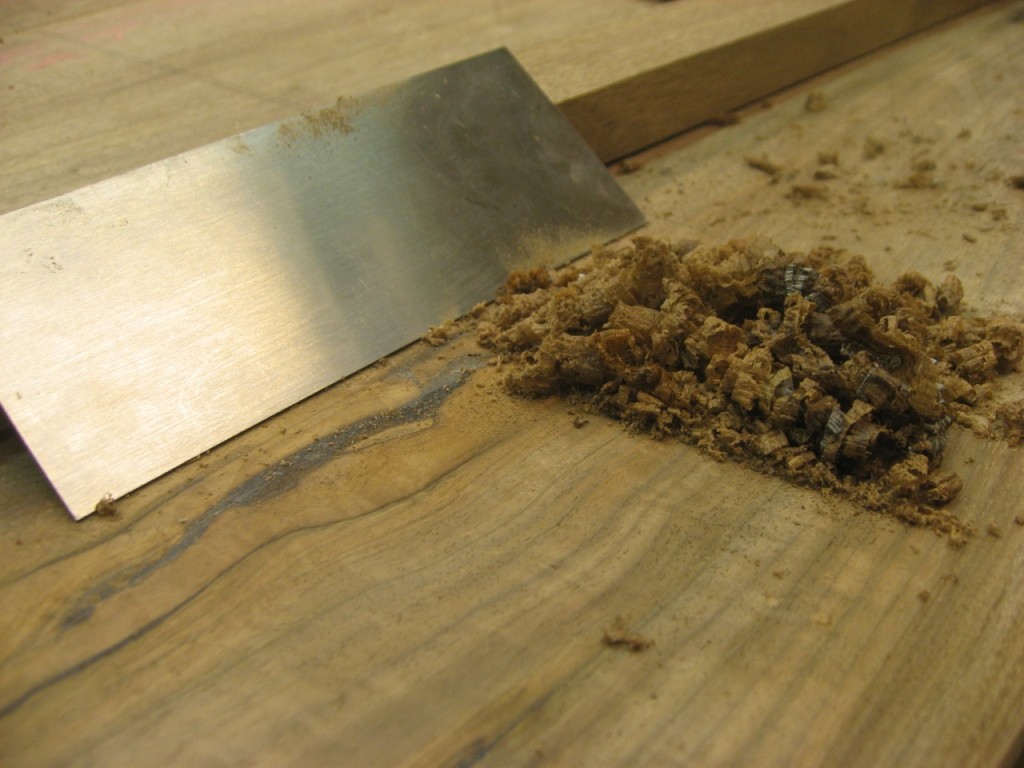
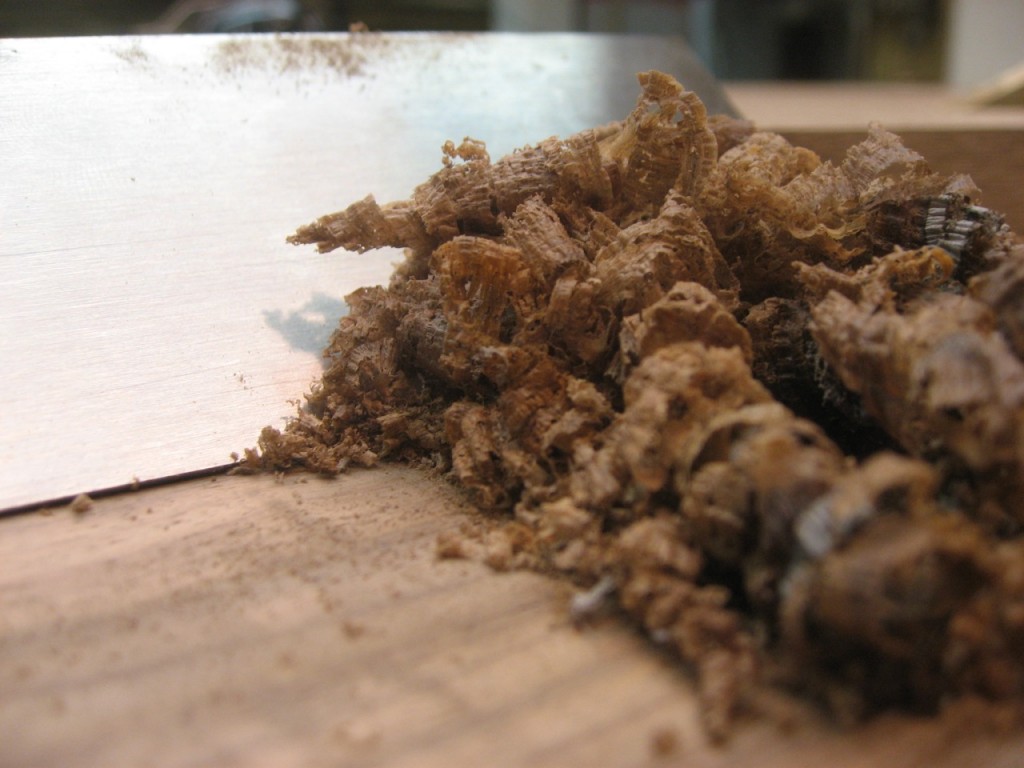
I constantly use my card scrapers to cleanup wood – from tearout, layout lines, glue drops, etc – the humble scraper does a fantastic job. It has to be tuned up well: you can check out my video on how I do that.  I love the shavings that come off it!

The hand scraper pulls off some awesome shavings.

The hand scraper pulls off some awesome shavings.

The card scraper cleans up glue, tear-out, nicks or bumps.

The card scraper cleans up glue, tear-out, nicks or bumps.


Morton is a furniture designer + builder working in Harvard, MA.  He reviews tools for Highland Woodworking on YouTube.  You can also find him on Facebook, Twitter @morton, and his own YouTube channel.
Sep 132012
 

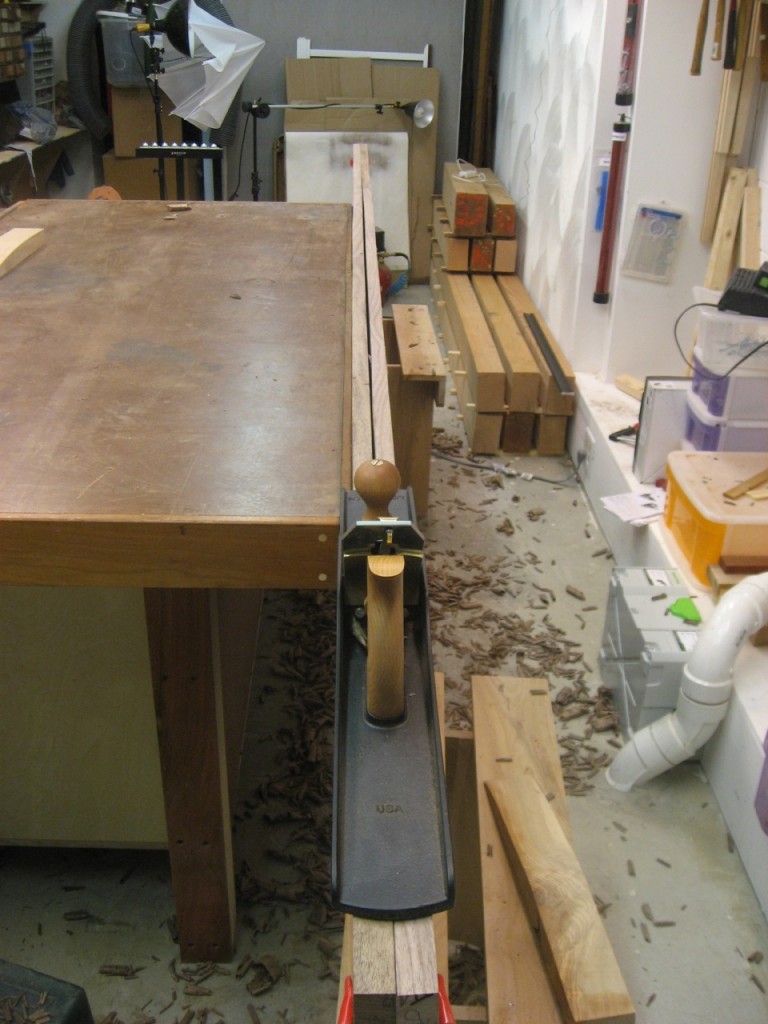
I like to use my Lie-Nielsen #7 to clean up the edges of boards I’m about to edge-join.  This makes the edges square, clean and also allows me to make a sprung joint.  That’s a joint where the boards touch at the ends, but are slightly apart in the center – making a nice tight glue-line.  It’s easy to create with a couple of extra passes with handplane down the center of the boards.

Getting ready to run the Lie-Nielsen #7 down the edges.

Getting ready to run the Lie-Nielsen #7 down the edges.

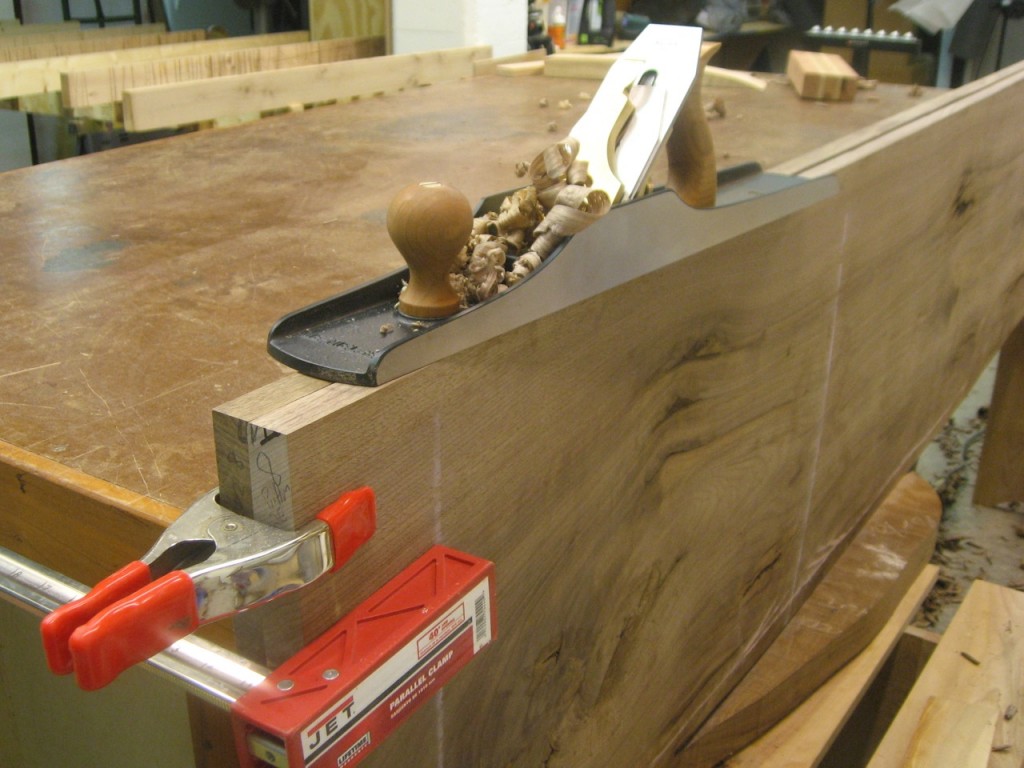
I clamp the two boards together which gives more surface area to run the handplane and also auto-corrects in case I’m not holding the plane perfectly square to the face.

Using my Lie-Nielsen #7 to joint both boards at once.

Using my Lie-Nielsen #7 to joint both boards at once.

I look for two full-length shavings, one from each board.

Sprung Joints Can Use a Single Clamp!

Sprung Joints Can Use a Single Clamp!

Although a single clamp closes up the glue line nicely – even over 10′ ! – I think I’ll use a couple more during the glue up 😉


Morton is a furniture designer + builder working in Harvard, MA.  He reviews tools for Highland Woodworking on YouTube.  You can also find him on Facebook, Twitter @morton, and his own YouTube channel.
Sep 112012
 

The two top boards are almost 2″ wide, which is much bigger than my machinery.  So, I pulled out a few hand tools and got to work.  I used an old #6 Stanley hand plane with a very camabered blade, a new Lie-Nielsen #7 and even a belt sander.

Tools for flattening: #6, #7 and a belt sander!

Tools for flattening: #6, #7 and a belt sander!

I”d mostly use the Stanley #6 across the grain, taking very thick shavings to quickly remove material on the boards.  Winding sticks and a straight edge check progress.

Use winding sticks and straight edge to check progress

Use winding sticks and straight edge to check progress

The belt sander was used on knotty areas where the hand plane was really tearing out.

Belt sander quickly removes material around knots

Belt sander quickly removes material around knots

The Lie-Nielsen #7 was set for thinner shavings and used diagonally and with the grain as the final passes.

A Lie-Nieslen #7 cleans up the board nicely

A Lie-Nieslen #7 cleans up the board nicely


Morton is a furniture designer builder working in Harvard, MA.  He reviews tools for Highland Woodworking on YouTube.  You can also find him on Facebook, Twitter @morton, and his own YouTube channel.
Sep 062012
 

The rest of the underside support needs cutting out, drilling holes and finishing.

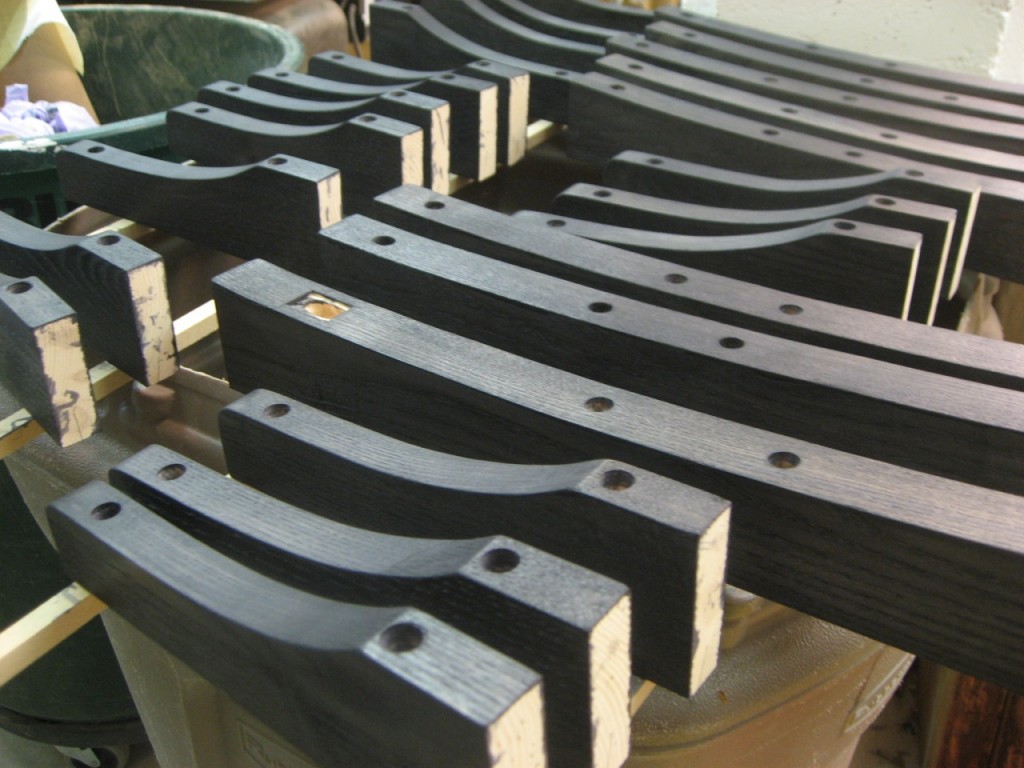
I applied a black finish on these support pieces prior to attaching them to the top.  I put on one coat of TransTint black diluted in water and then one coat of shellac mixed with Mars Black Pigment.

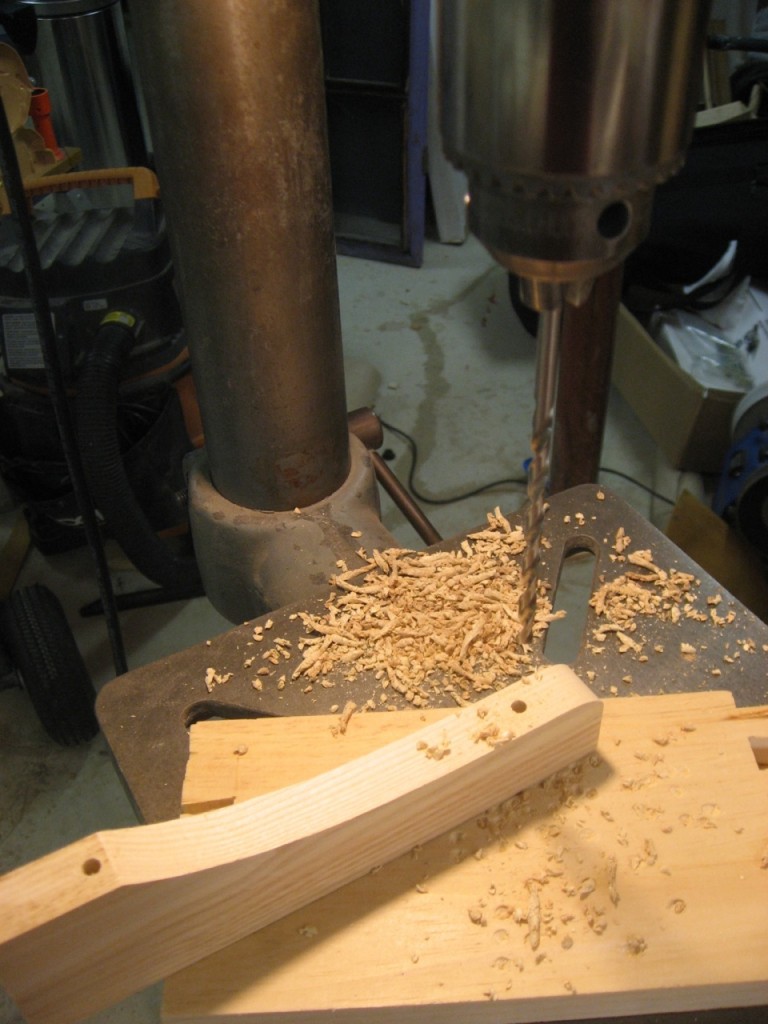
Drill holes at the Drill Press

Drill holes at the Drill Press

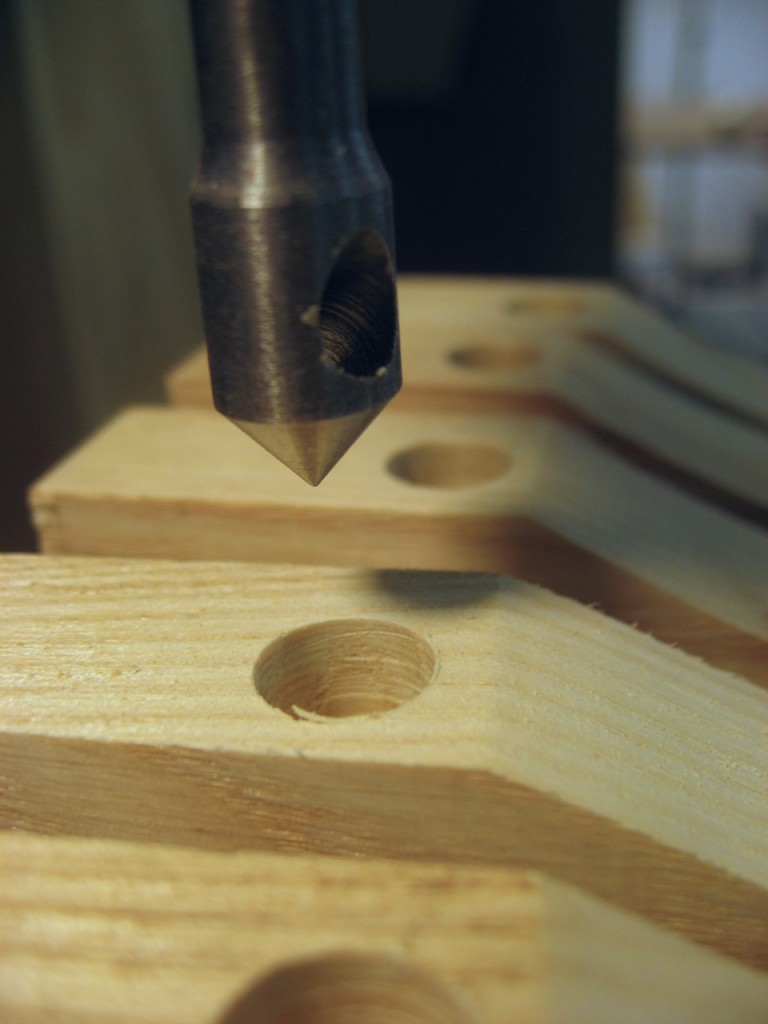
A countersink bit is used in the drill press for clean holes

A countersink bit is used in the drill press for clean holes

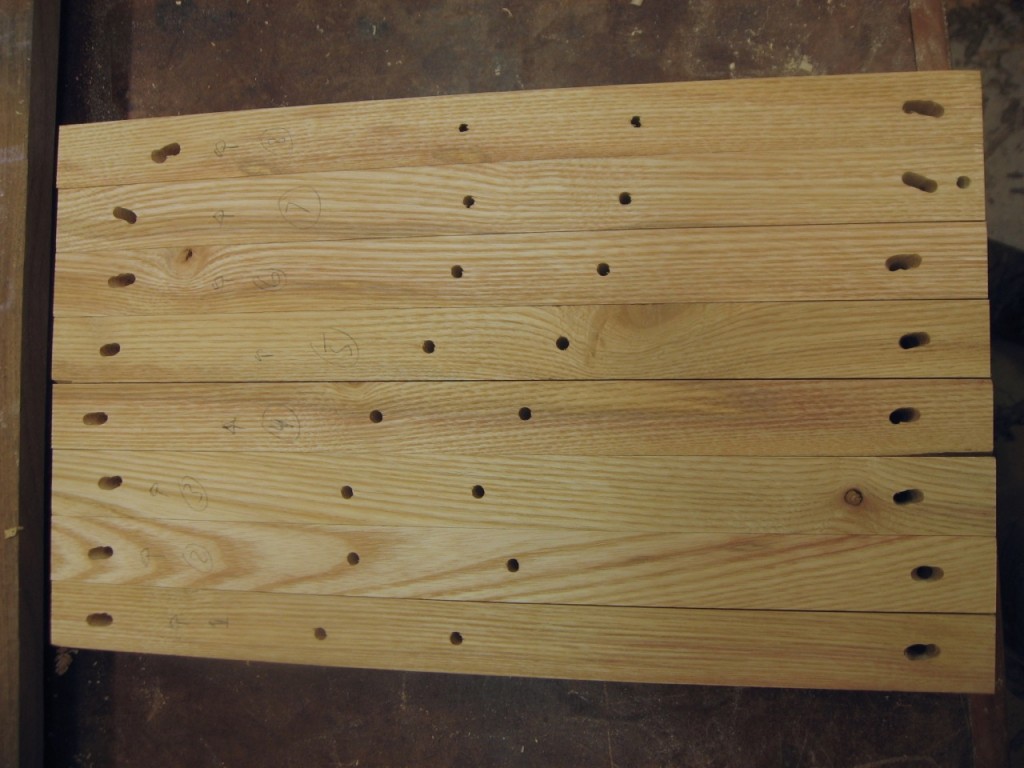
I elongate the holes at the outer edges to allow for wood movement.

I elongate the holes at the outer edges to allow for wood movement.

Black stain is brushed on, pre-finishing that step.

Black stain is brushed on, pre-finishing that step.


Morton is a furniture designer builder working in Harvard, MA.  He reviews tools for Highland Woodworking on YouTube.  You can also find him on Facebook, Twitter @morton, and his own YouTube channel.
Sep 042012
 

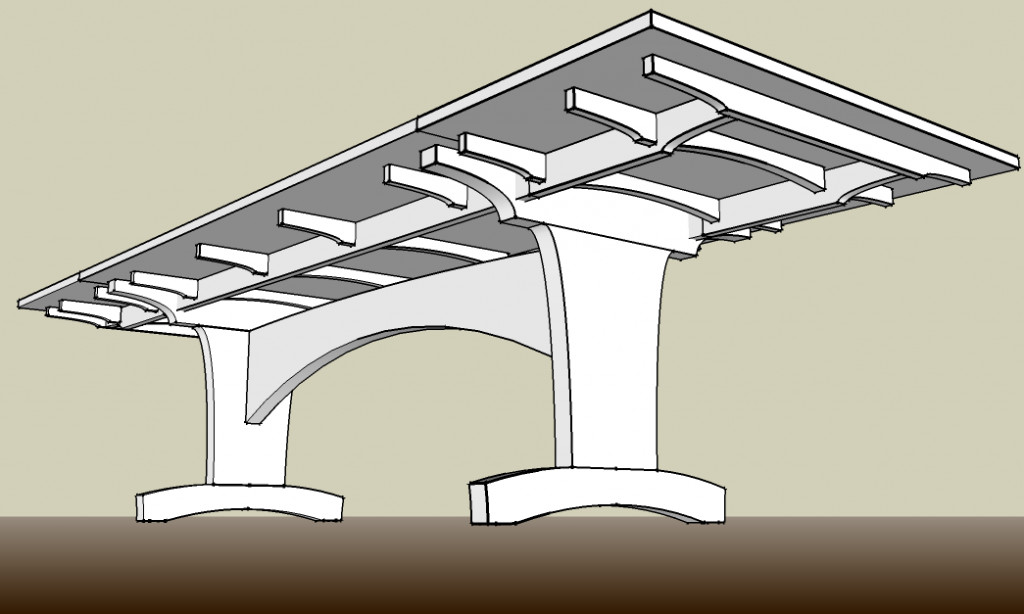
The two walnut boards for the top have very wavy grain and quite a few knots, making it unstable (in terms of wood movement).  To counteract this, I”m adding a fairly large support structure underneath.

Trestle Table - Underside

The table underside has a large support structure

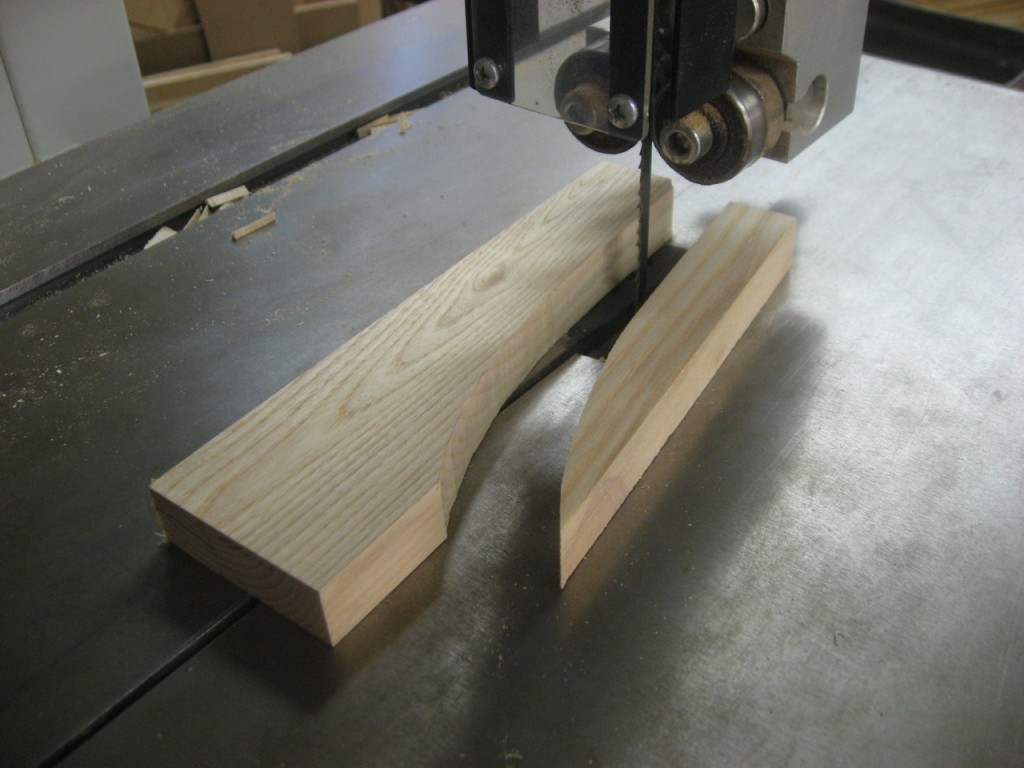
I use a french curve to find a pleasing shape and cut out the first one that will then be used as a template for the rest of the pieces.  I use my Rikon 18″ Bandsaw with a 1/4″ blade to quickly cut out the curve.

Bandsaw out the shape, close to the line

Bandsaw out the shape, close to the line

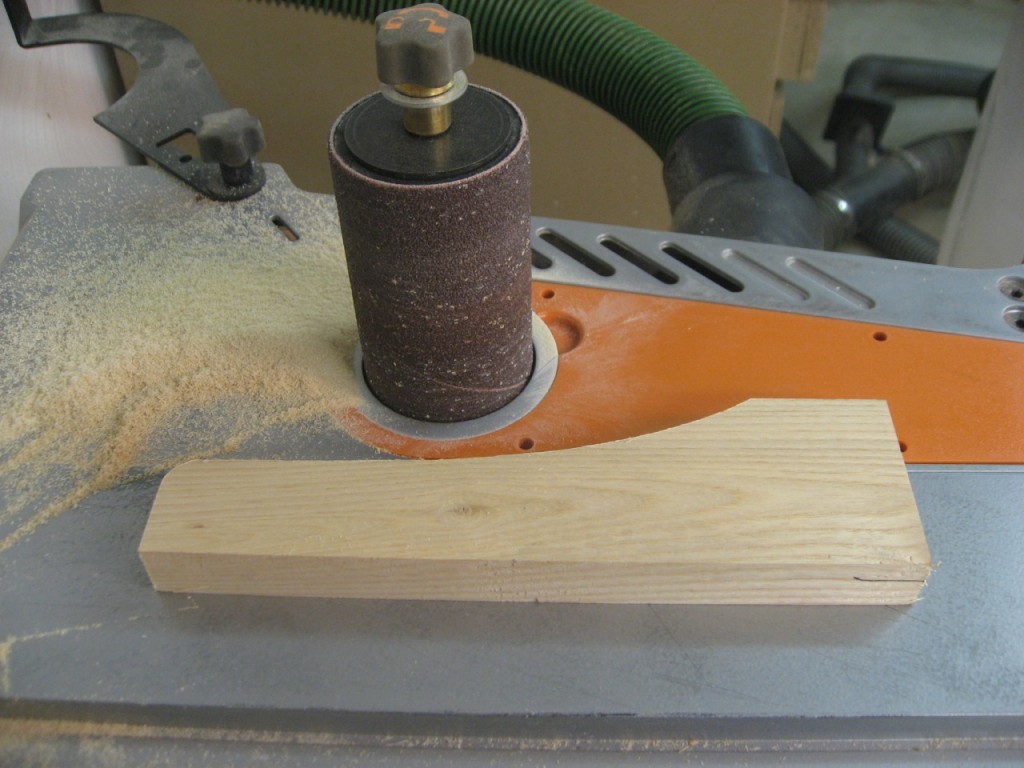
Then I clean up those marks at the spindle sander.

The spindle sander cleans up the bandsaw marks

The spindle sander cleans up the bandsaw marks

Only 17 more to go!


Morton is a furniture designer builder working in Harvard, MA.  He reviews tools for Highland Woodworking on YouTube.  You can also find him on Facebook, Twitter @morton, and his own YouTube channel.