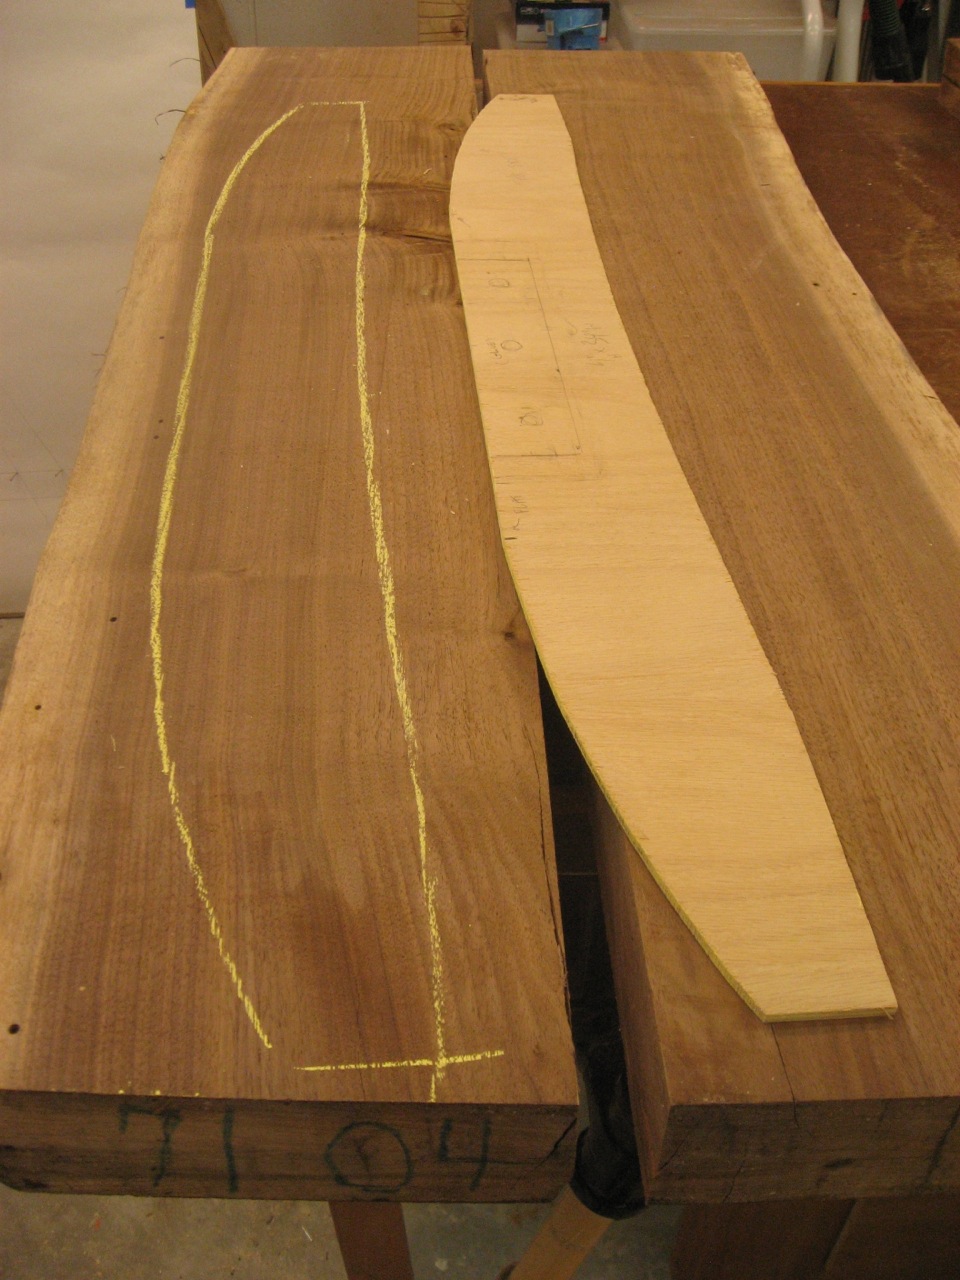
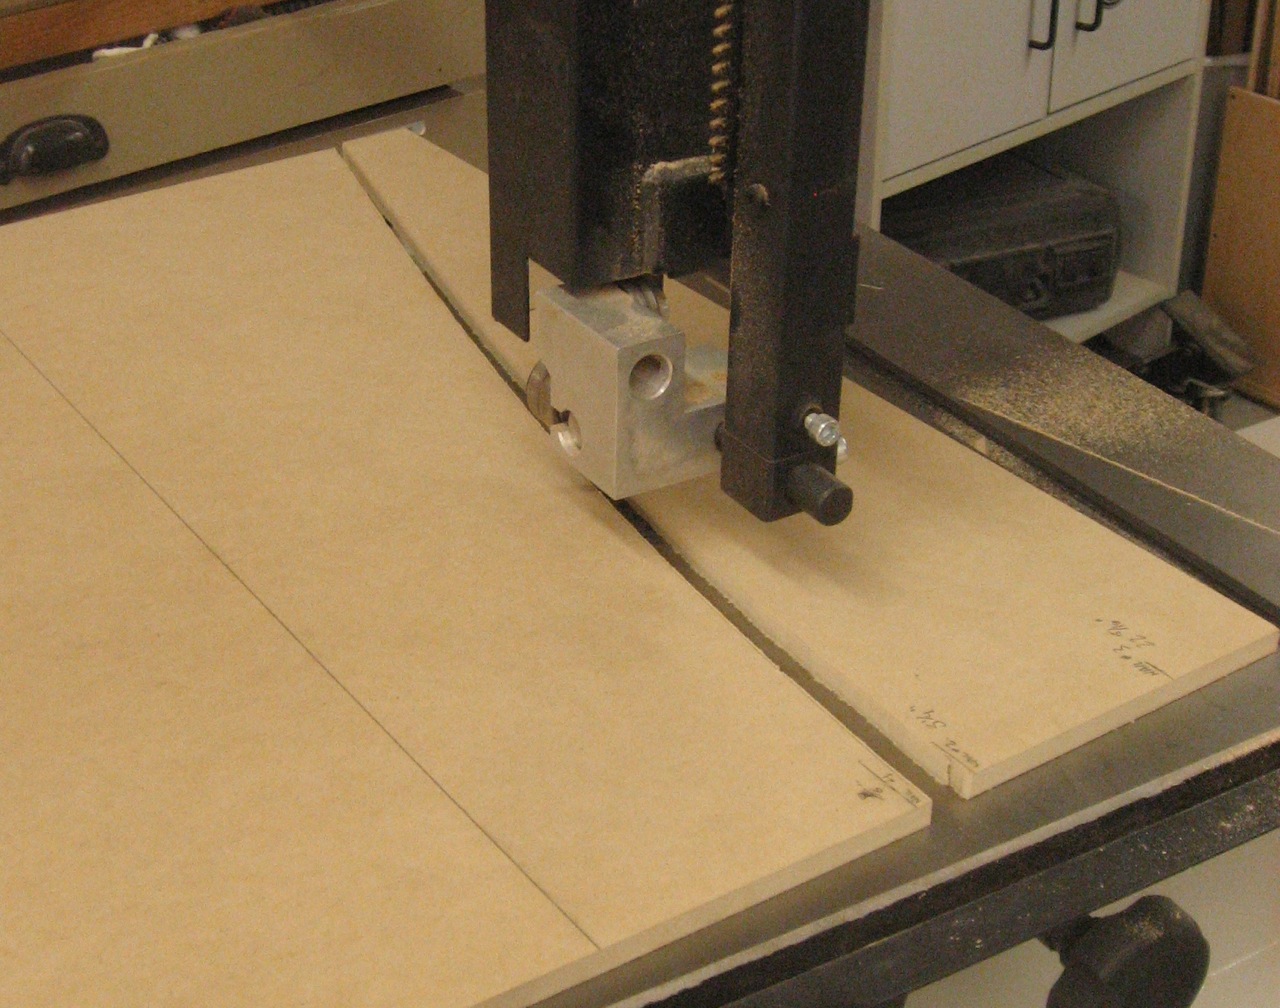
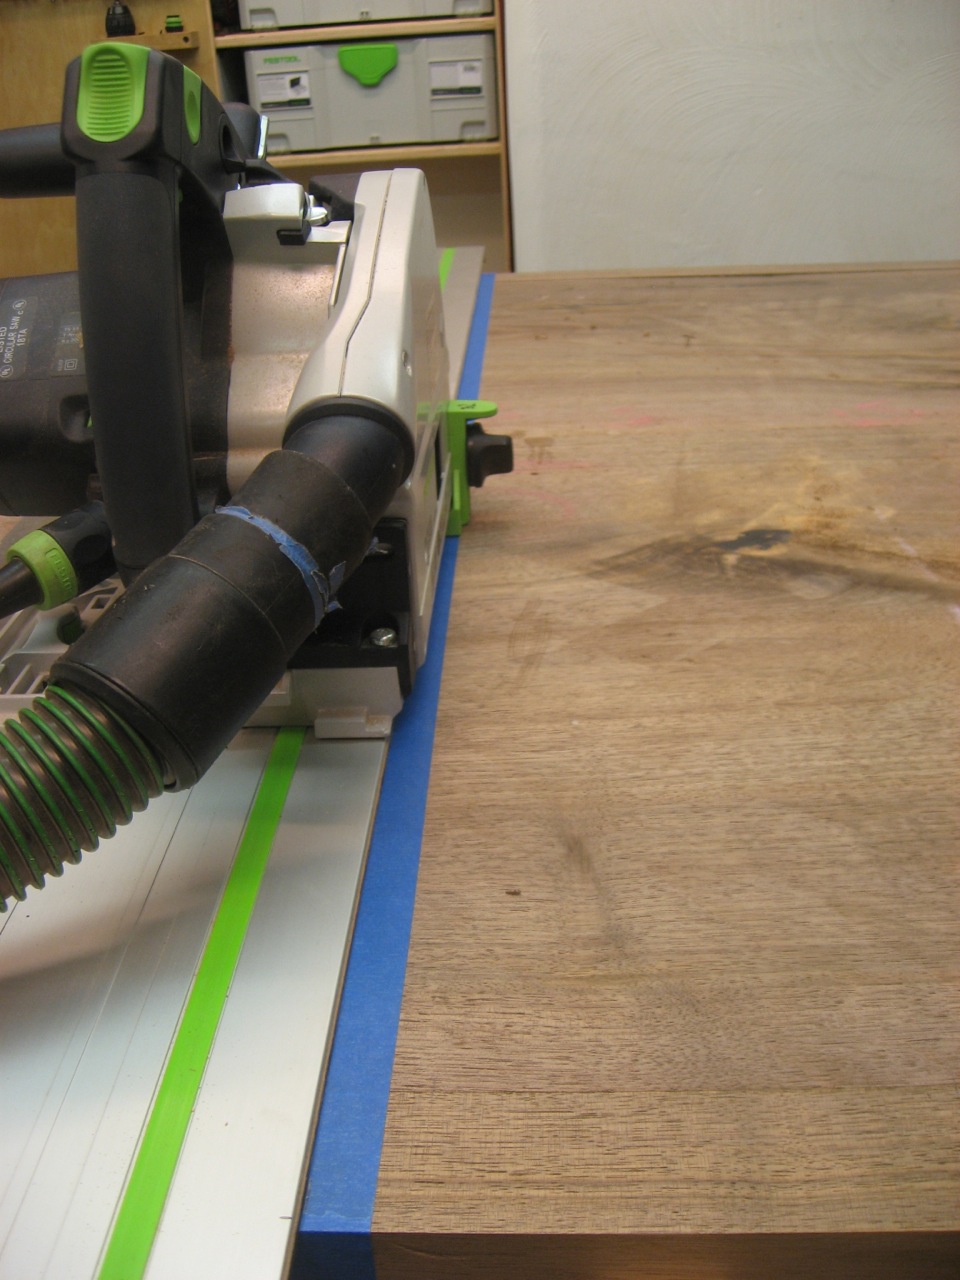
After ripping off the top part of my six foot walnut board (where it splits and has some nice crotch figure) – it needs some serious flattening. Back to the old #6 for starters. Unfortunately this can leave some serious tear-out in the switching grain.
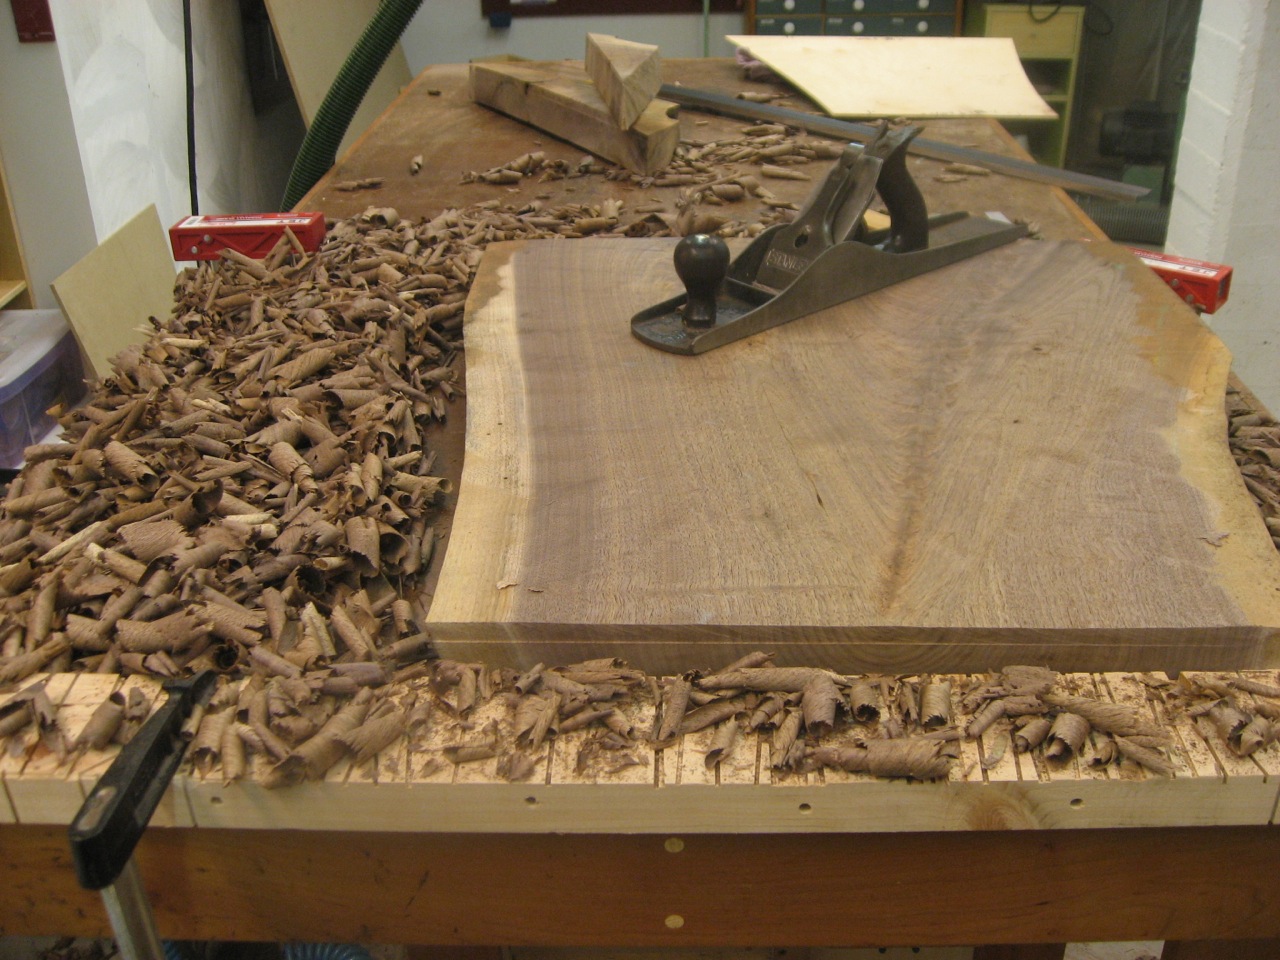
I first use an old #6 to flatten this crotch walnut
So, I also sneaked in some passes with my Lie-Nielsen #62 with a toothed blade. Zero tear-out from that, and can still take a fairly large bite.
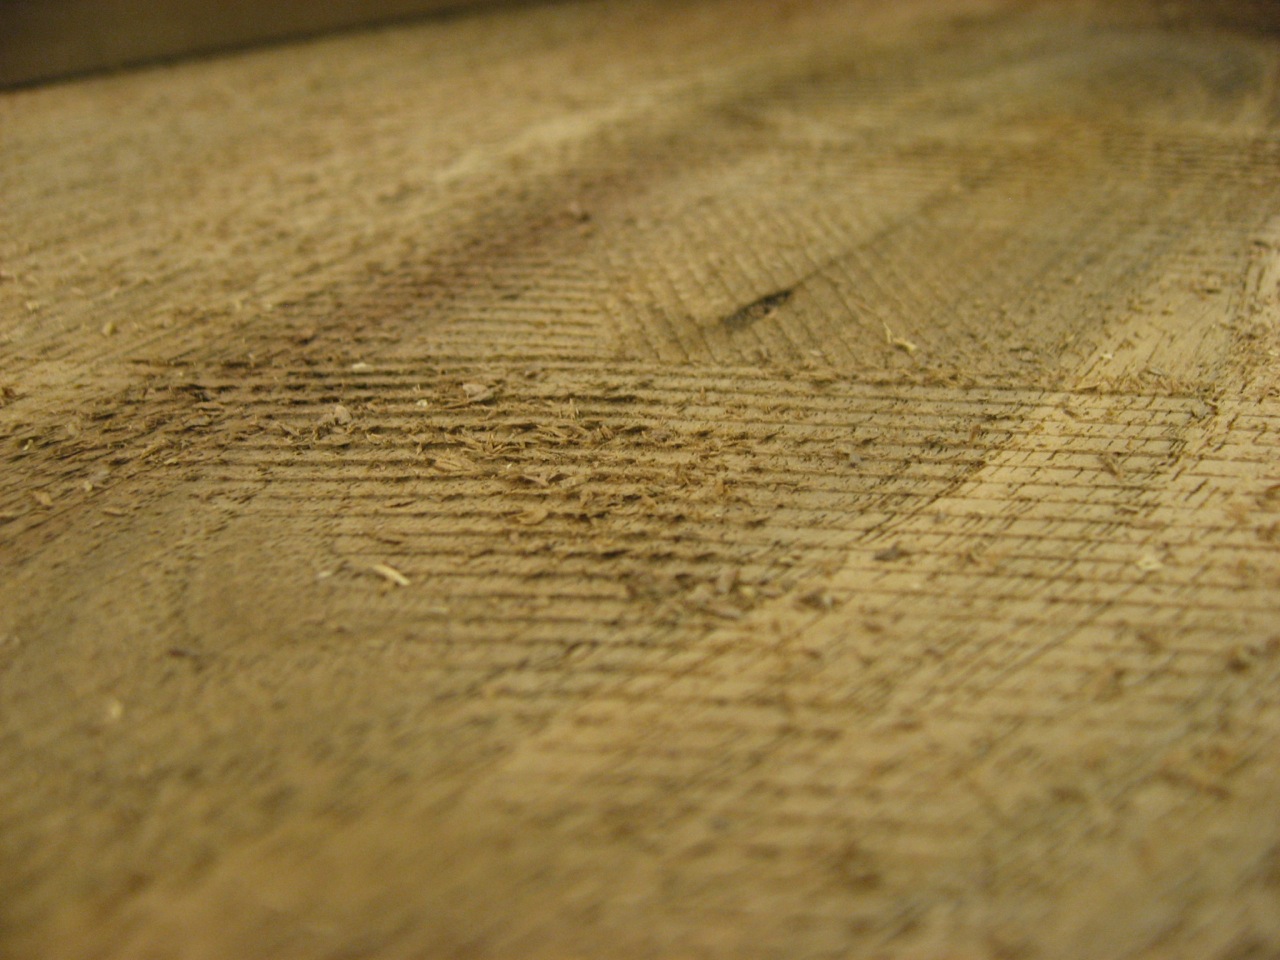
A toothed blade leaves a funny surface, but has zero tearout
Once one side is flat, I switched to my Lie-Nielsen #7 to smooth out tracks left by the previous planes.
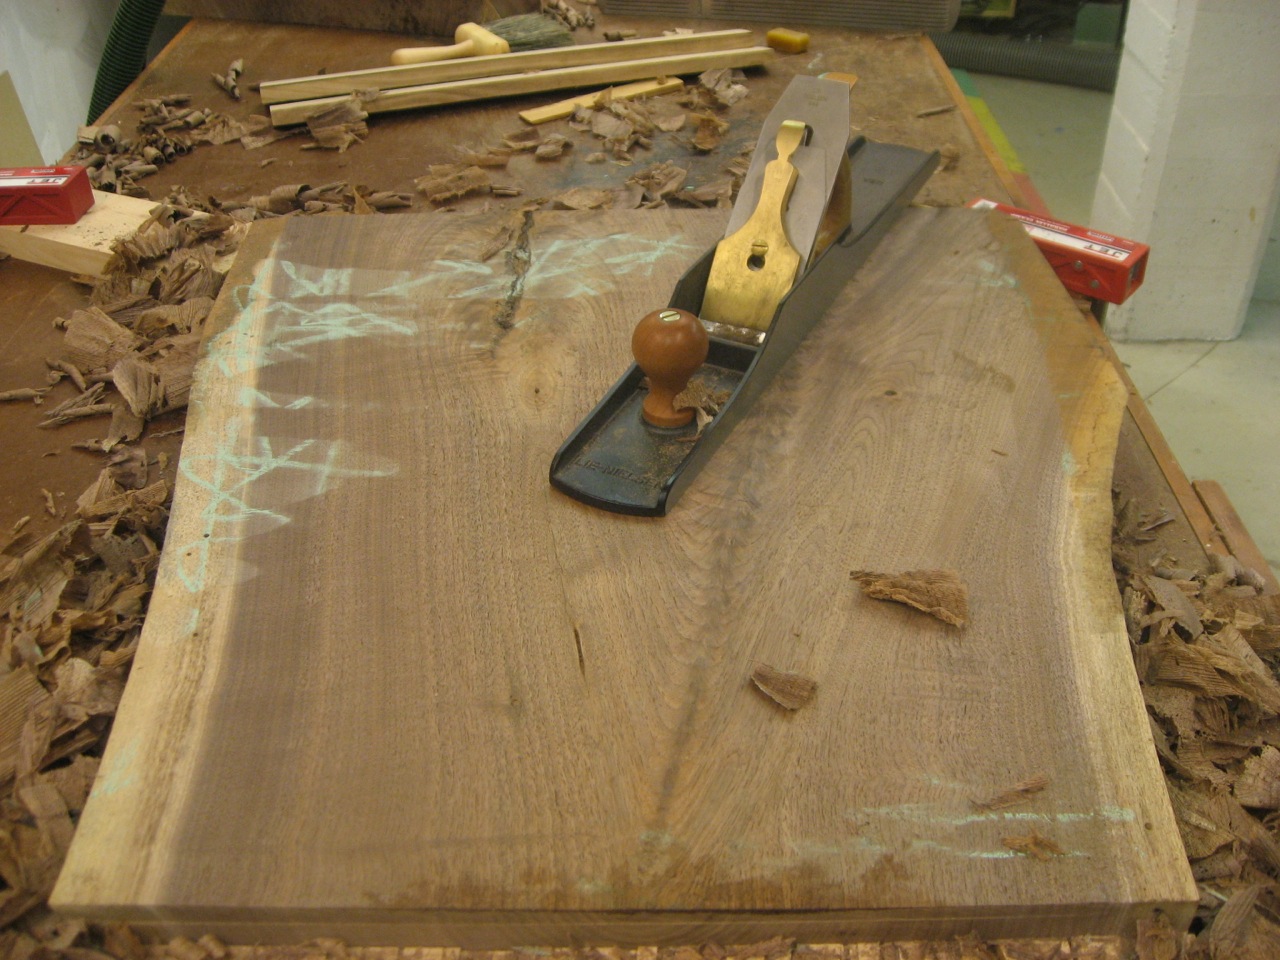
Lie-Nielsen #7 is used to continue to flatten and remove previous mill marks
Finally, I flattened the other side with my Jet Drum Sander.

An open-ended Jet drum sander is used to flatten the other side