There’s been some buzz around the internet of a video showing the effect of moving a hand-plane’s chipbreaker all the way to the front (within thousands of an inch of the iron’s tip). Even Chris Schwarz had a post on it. Pretty interesting stuff, and I decided to try it out myself.
I won’t go into details that you can read in the above posts – because my results were very similar. I tried three different settings which resulted in three different shavings, although the wood surface left behind was pretty similar in all cases.
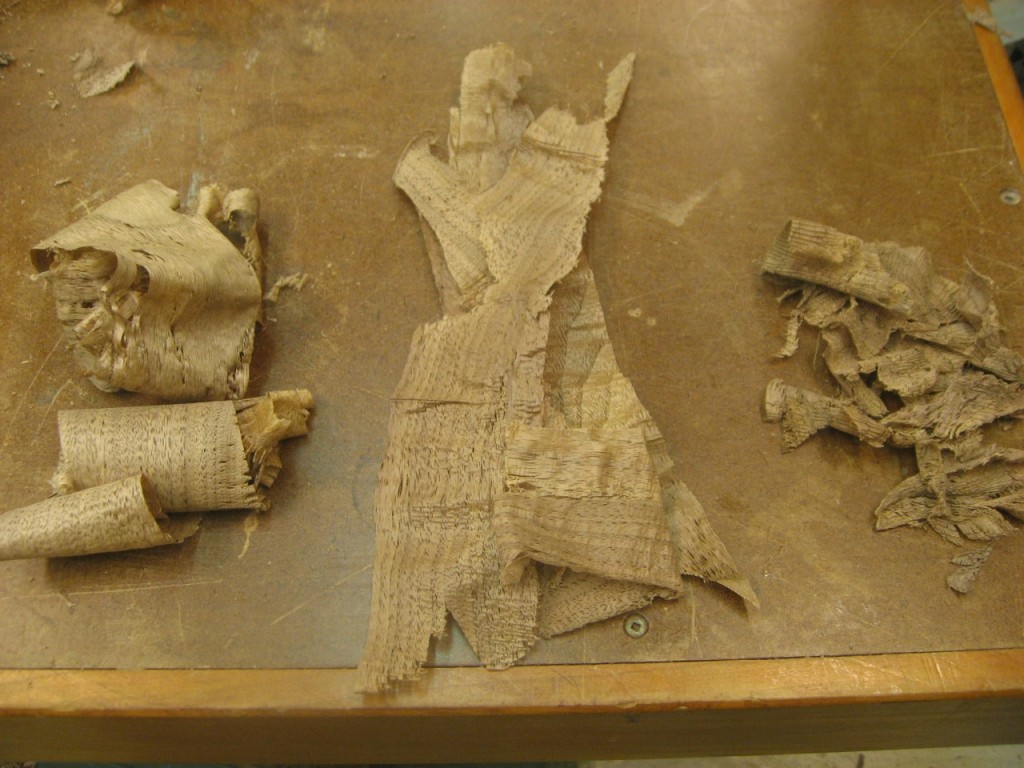
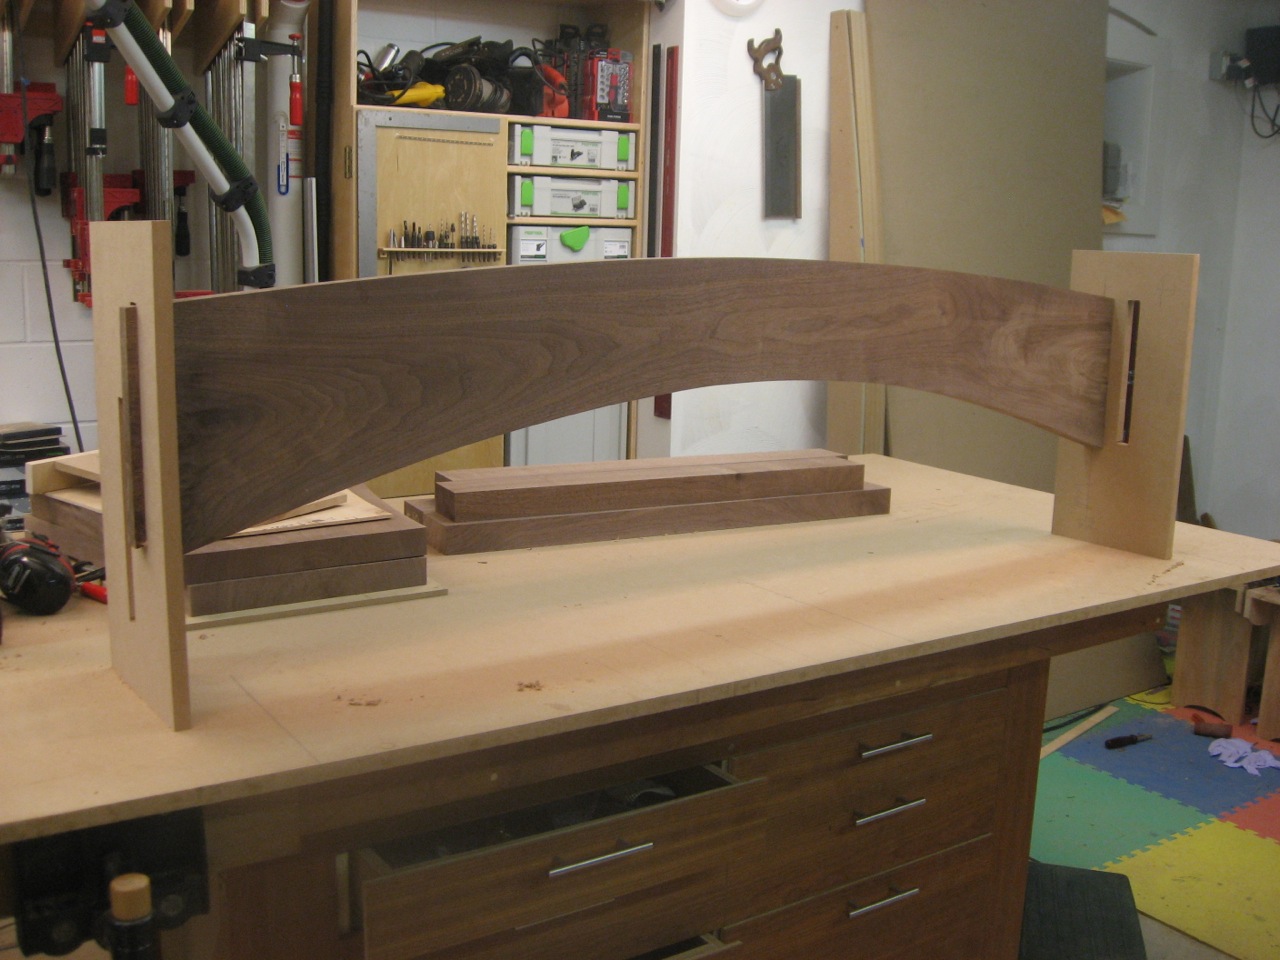
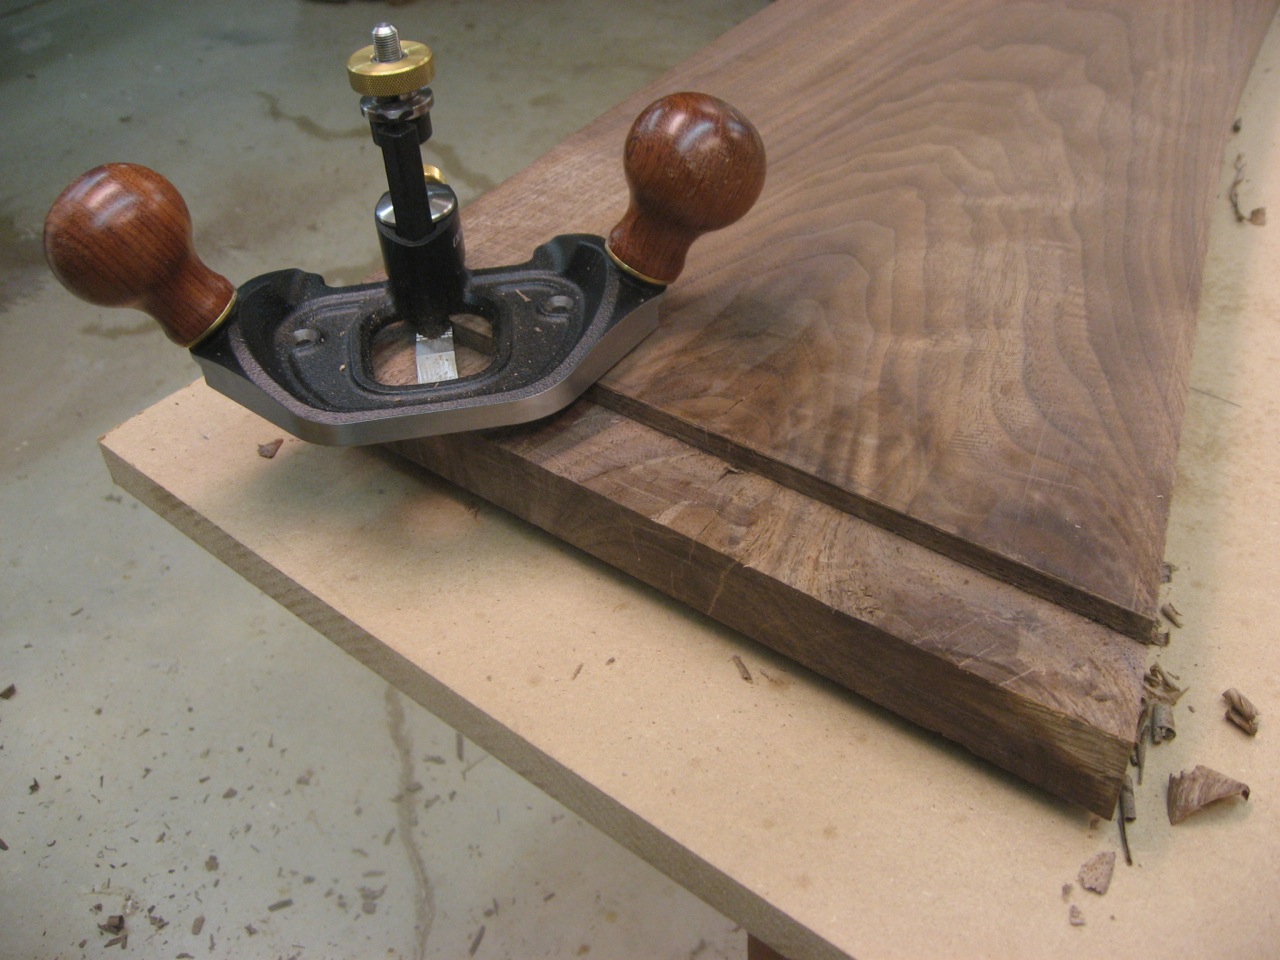
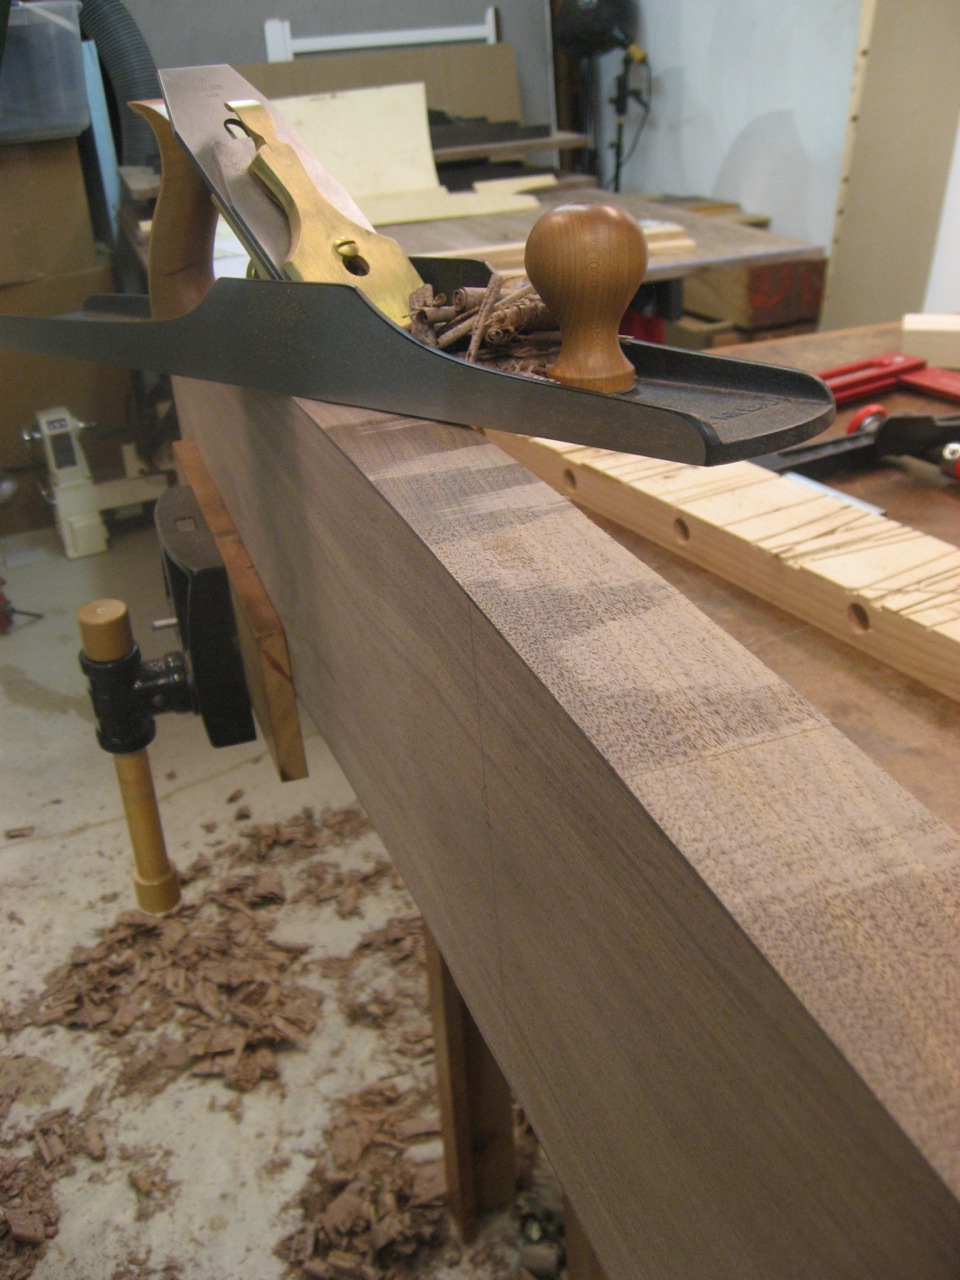
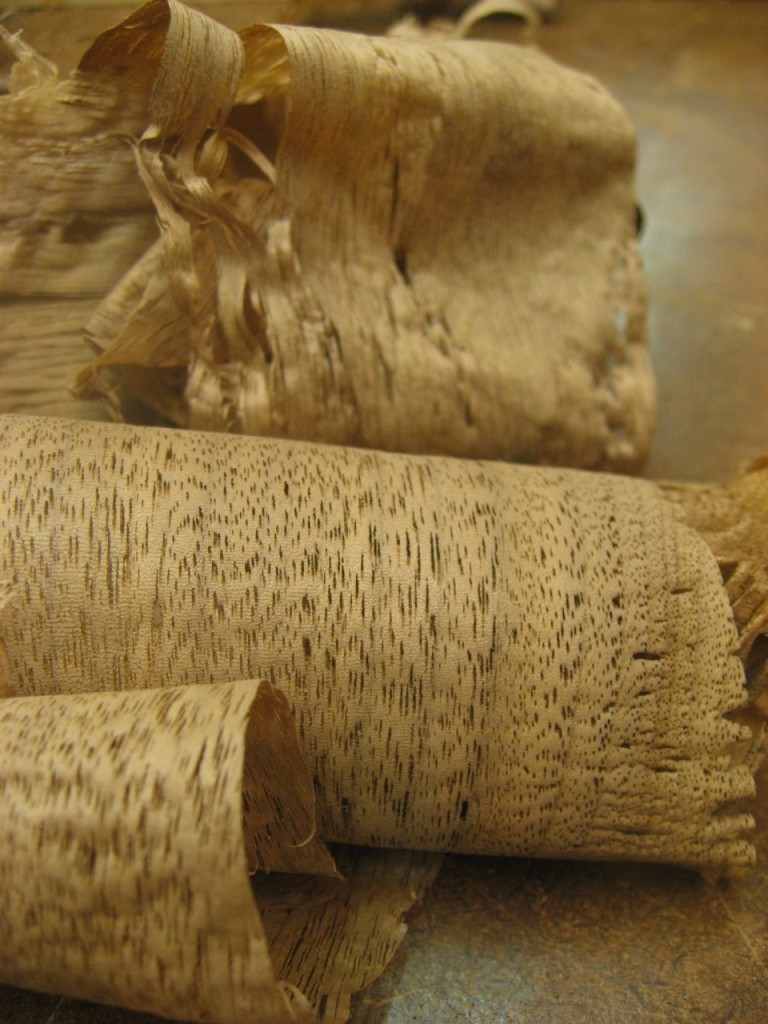
Three shavings from different hand plane setups.
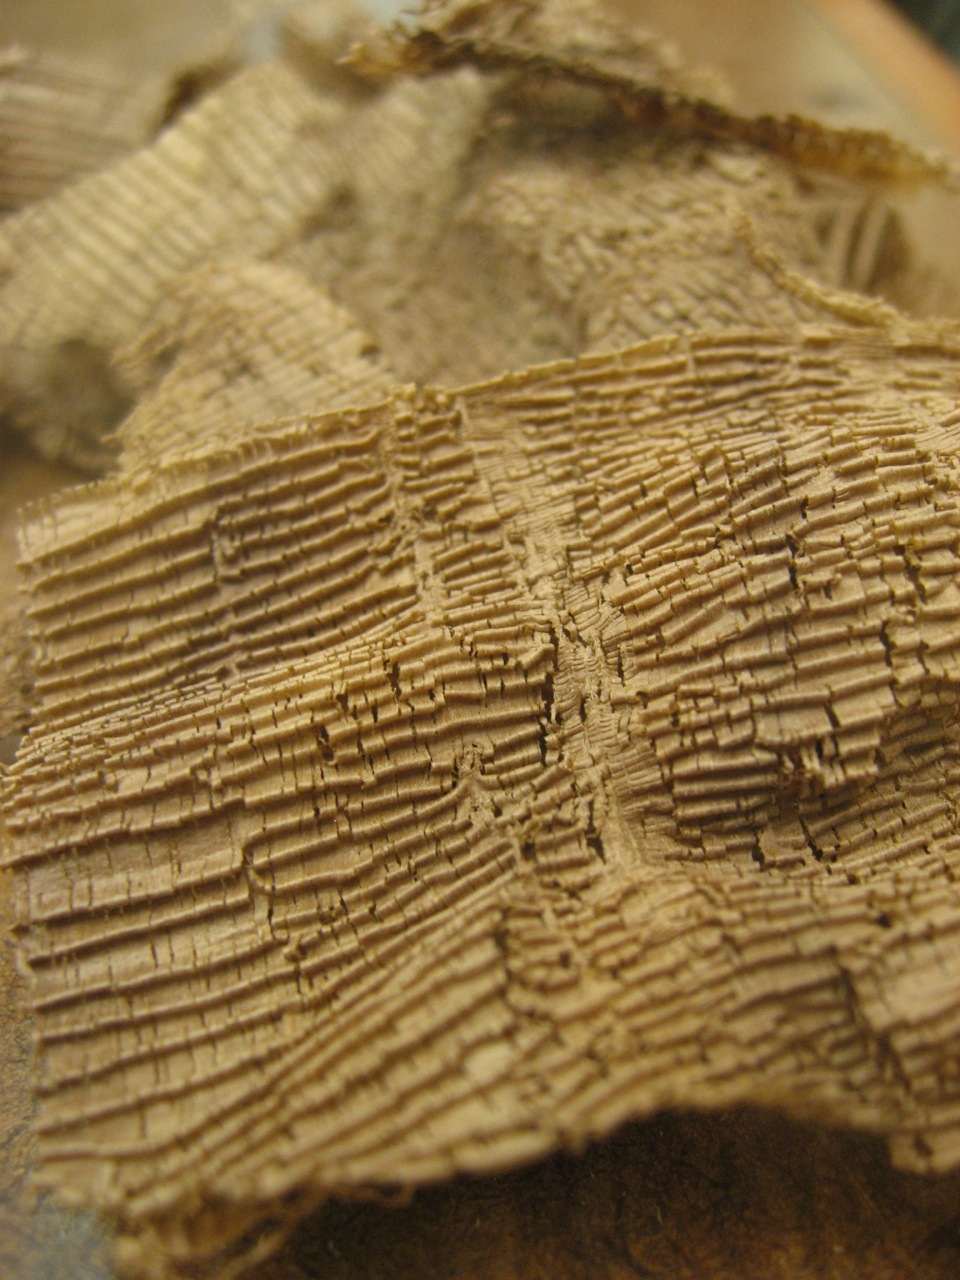
I first set my standard chipbreaker to within a couple thousands of the front of the iron. This made the plane hard to push and left behind very crinkled shavings. However, the surface left behind looked nice.

Crinkled shavings from a chipbreaker set extremely close
I then honed a 50 degree microbevel on my chipbreaker. This made the plane a little easier to push and the shavings had minimal crinkle.

Slight crinkle to these shavings from a high-angle chipbreaker set very close
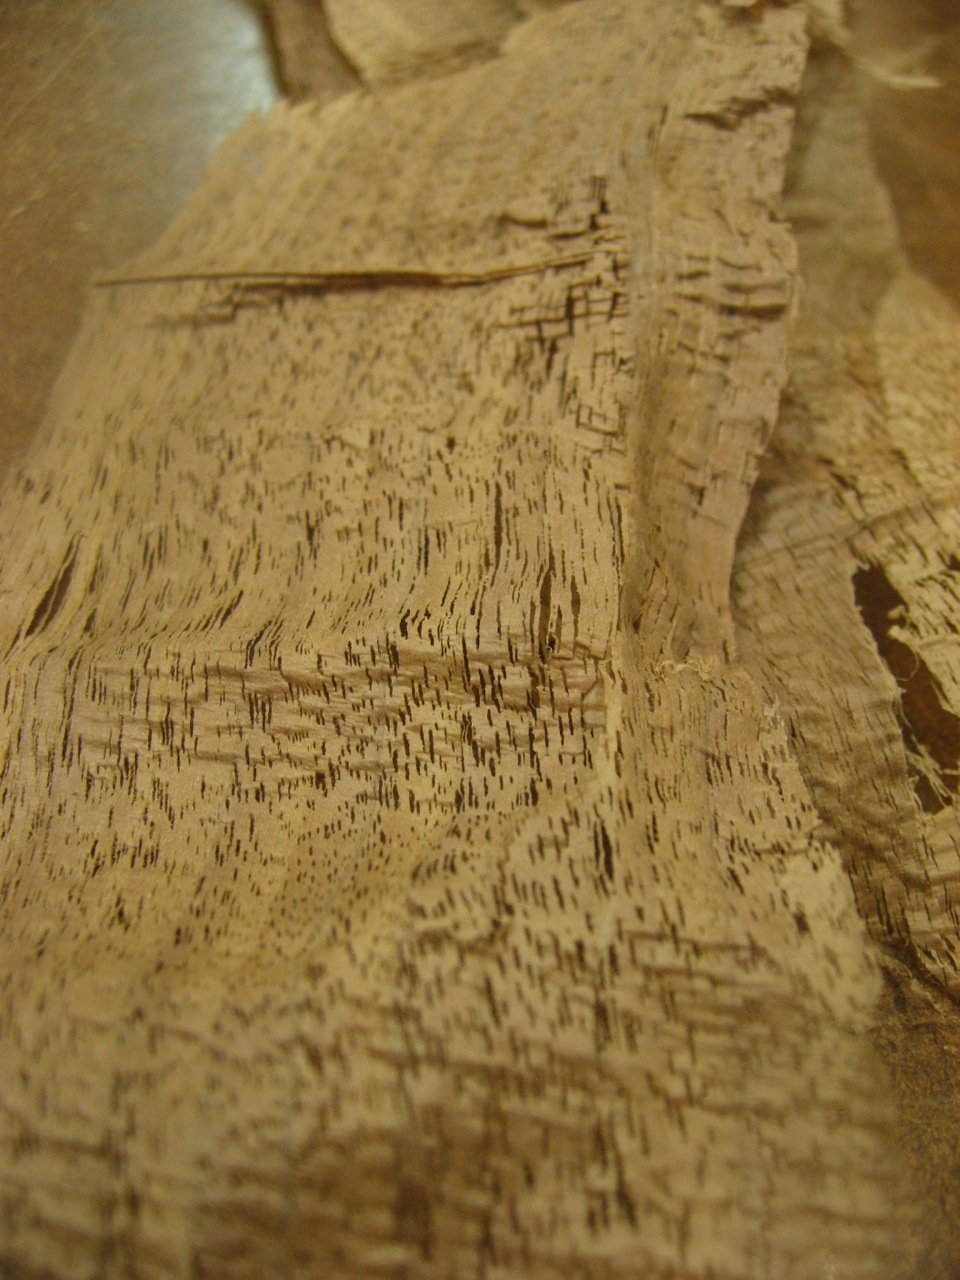
Finally I went back to my standard setup with the chipbreaker about 1/32″ of an inch from the iron’s tip. This made the hand-plane a lot easier to push and spit out the usual smooth shavings. Since I was planing fairly tame wood, the same surface was left behind.
Smooth shavings from a standard 45 degree angle-of-attack
So, the upshot to me is that this technique gives exactly the same results as approaching the wood with a higher angle-of-attack than the typical 45 degrees (via a high-angle frog, back-bevel blade, bevel-up, whatever). It makes the hand-plane harder to push, but tears-out grain much less – leaving a great surface especially on hard-to-plane woods. Give it a shot, it’s pretty fun and easy to try.