I like to make “buttons” to attach a floating top to the base of my tables. The button slips into slots in the legs (or aprons on other tables) and then screws to the underside of the top. As long as the slot is wider than the button, these allow for the top’s movement relative to the base.
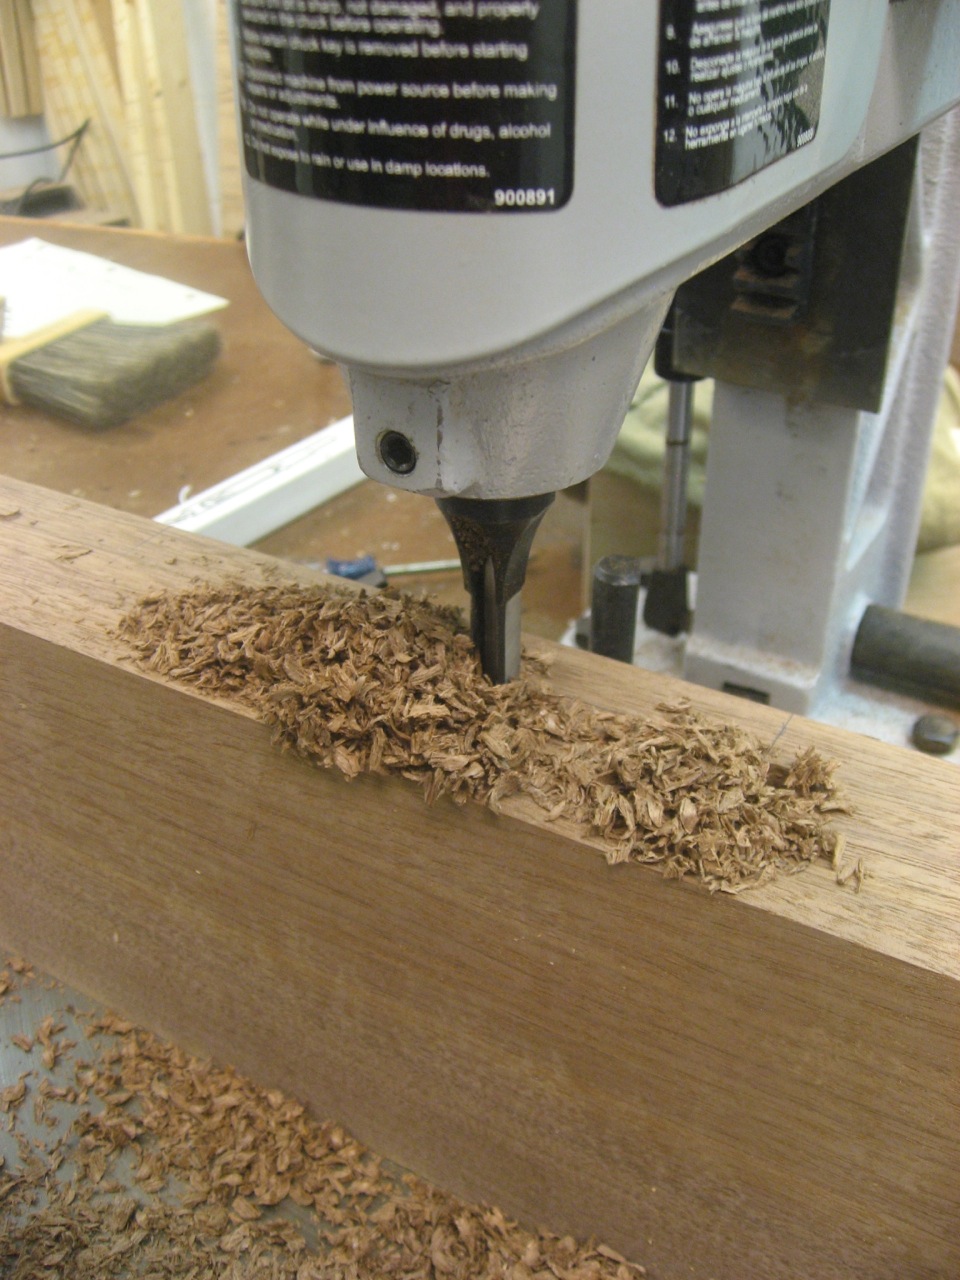
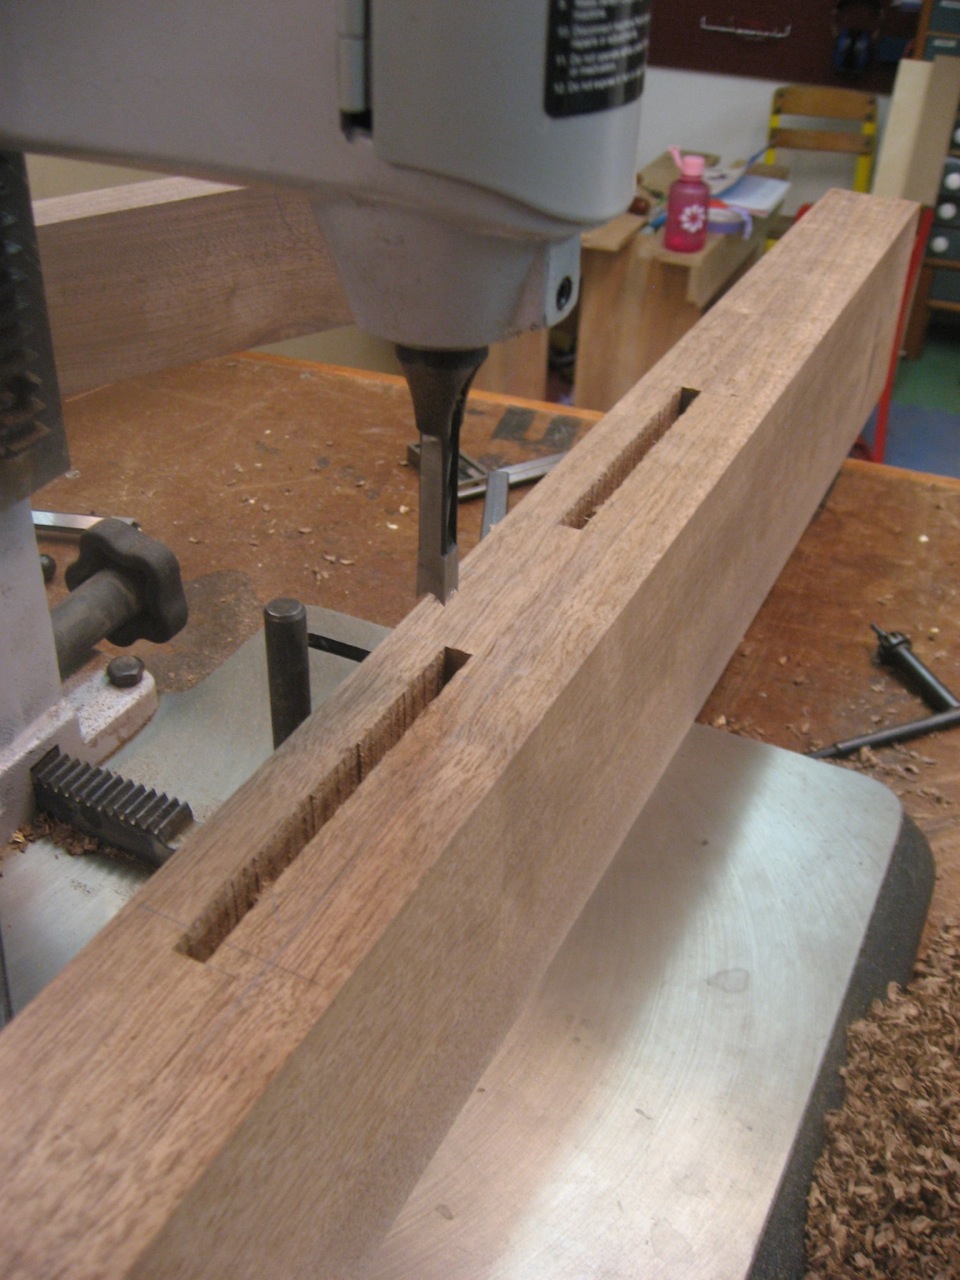
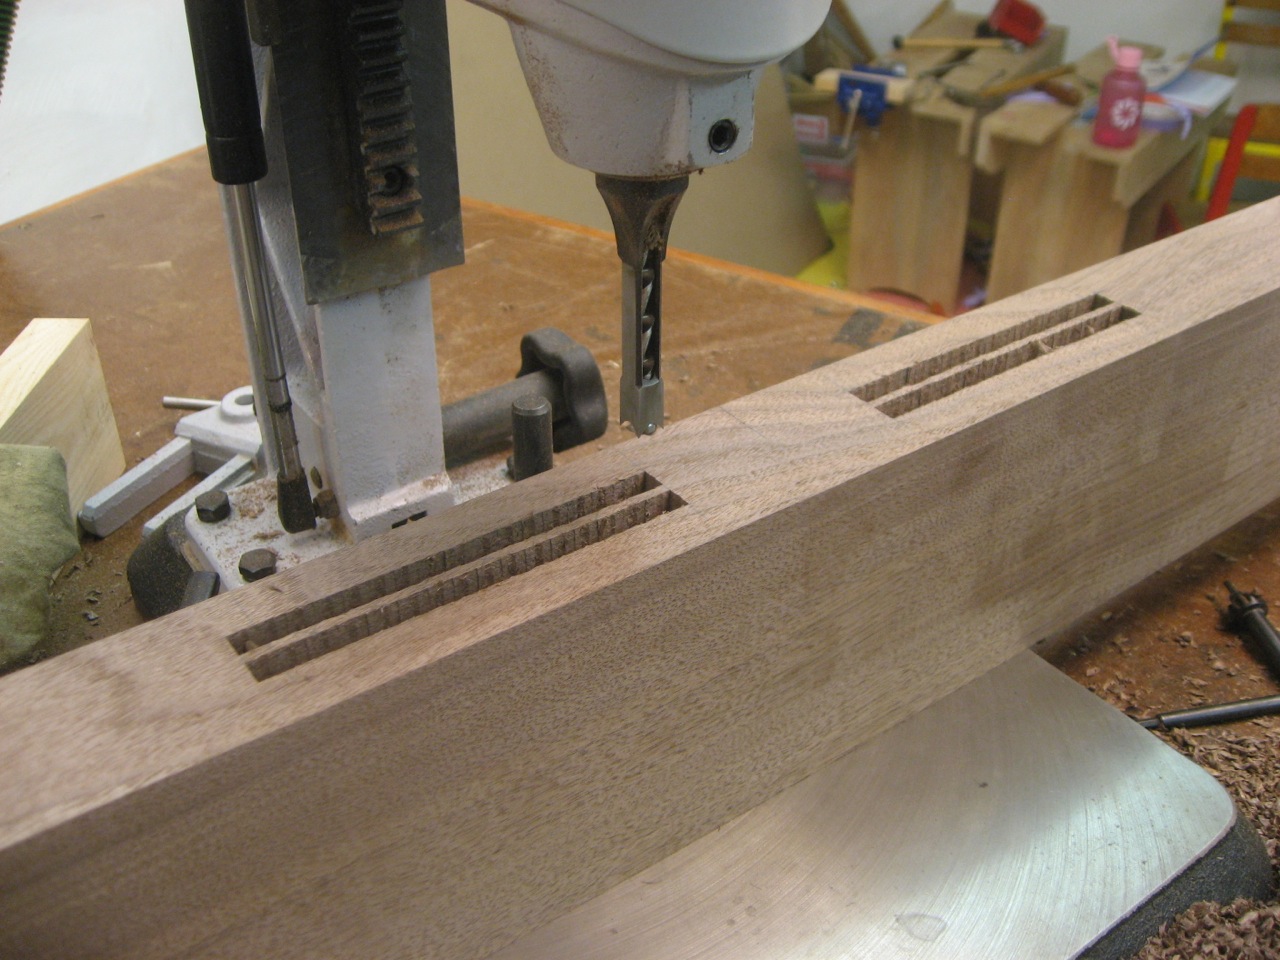
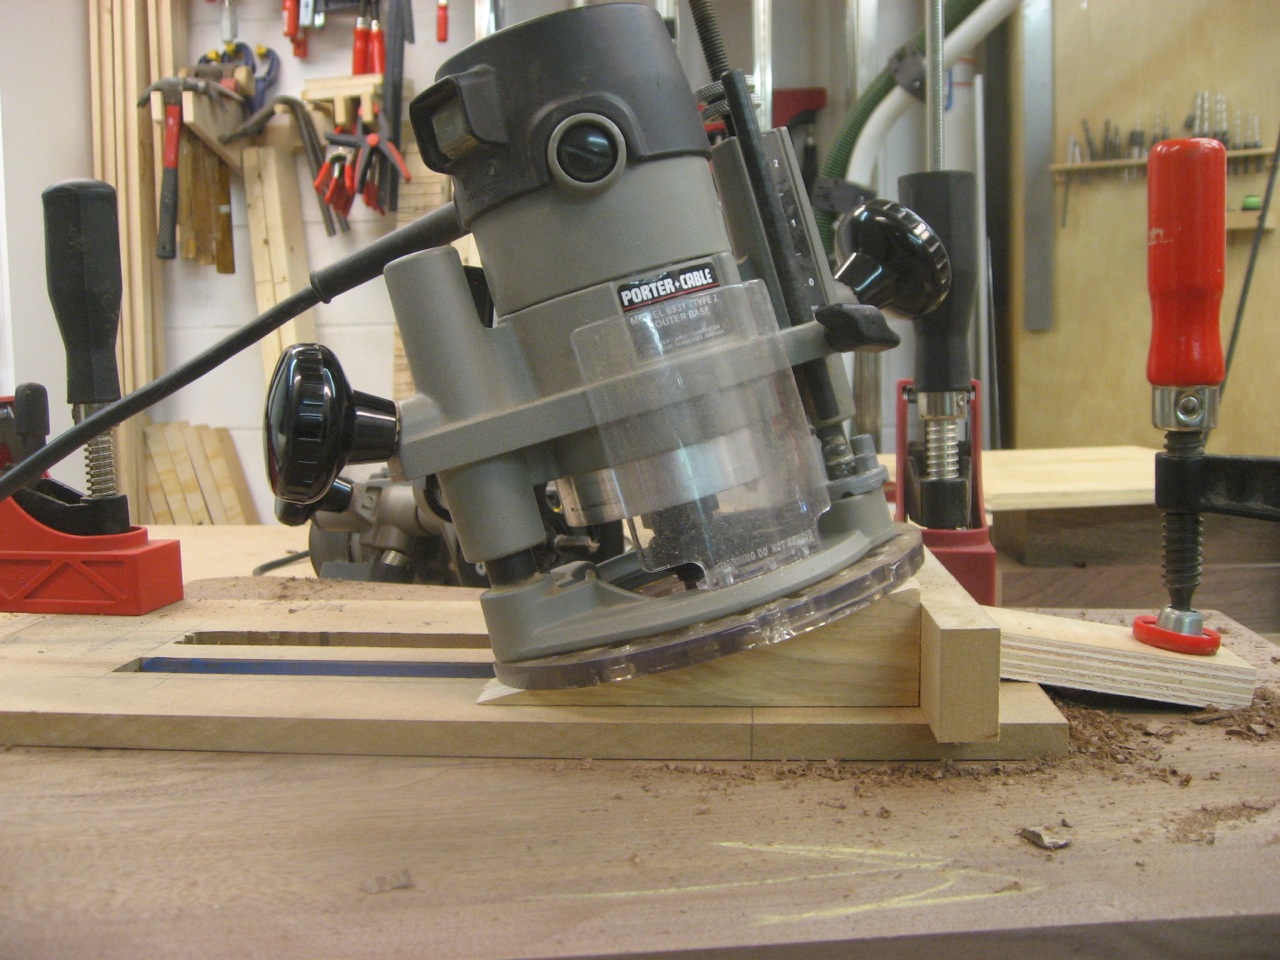
The slots in the legs can be made by hand, with a mortise machine or as I recently discovered: a Festool Domino. Fast and Easy.
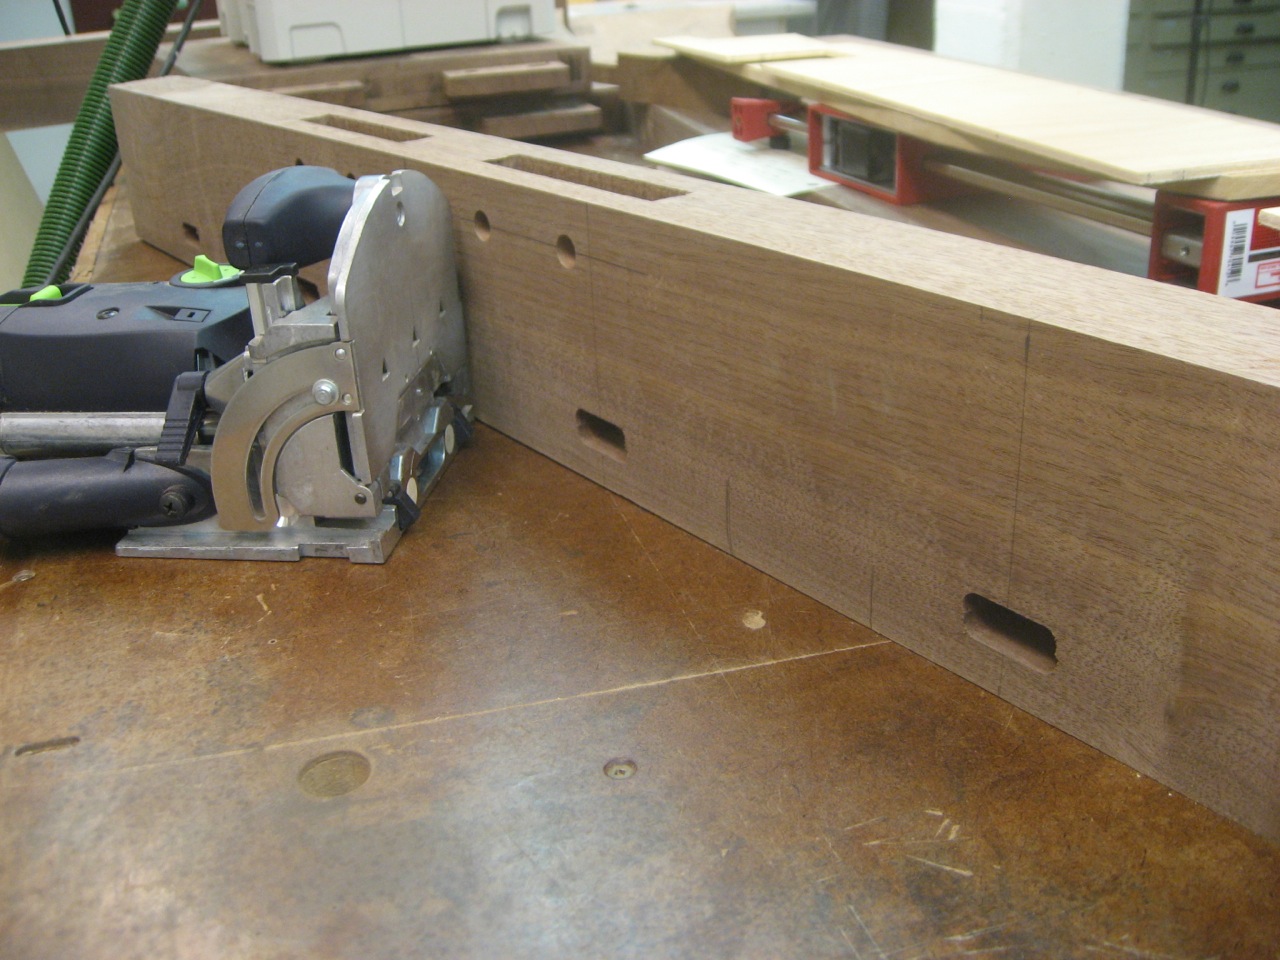
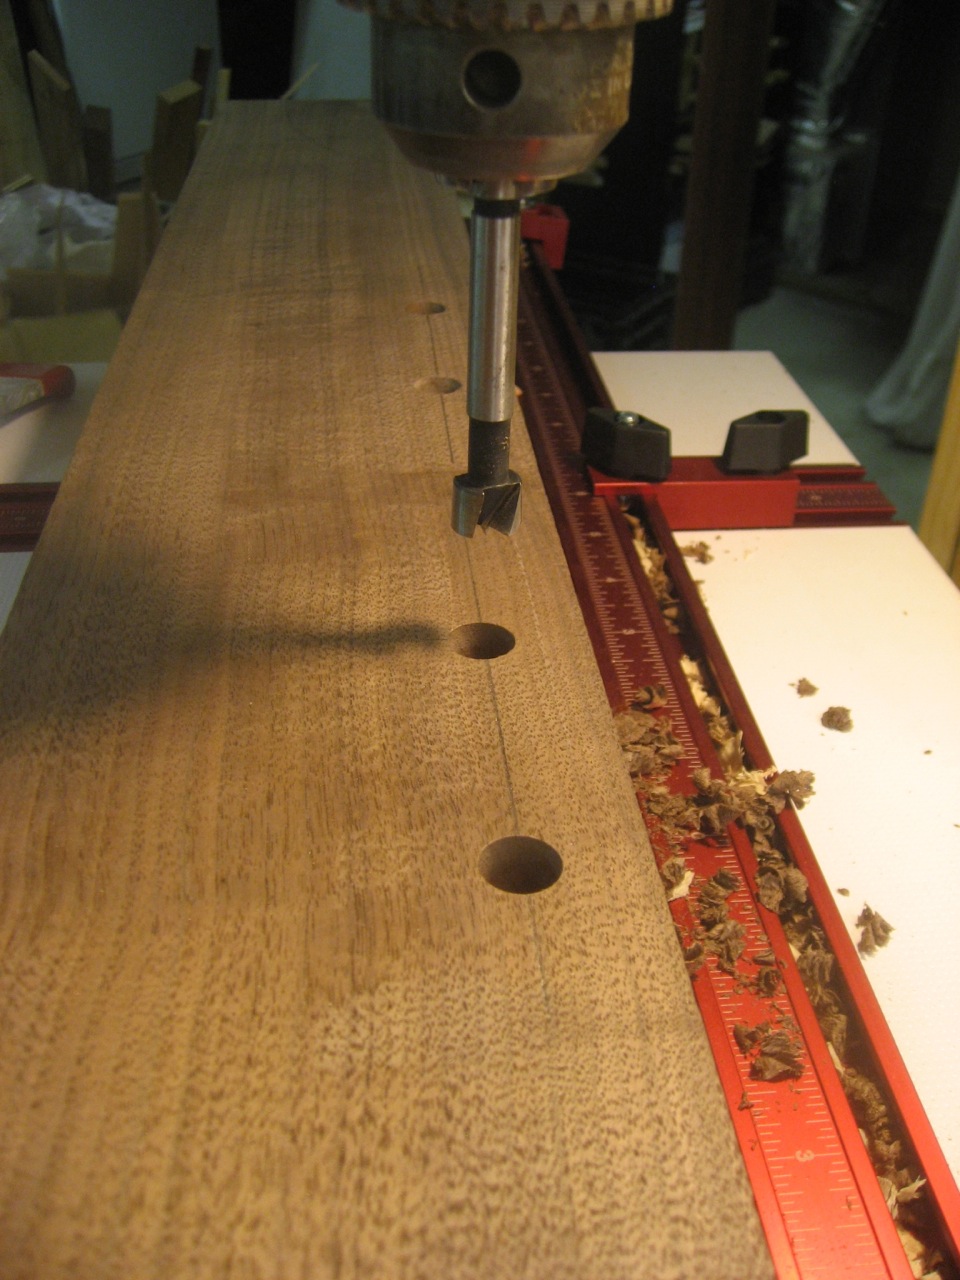
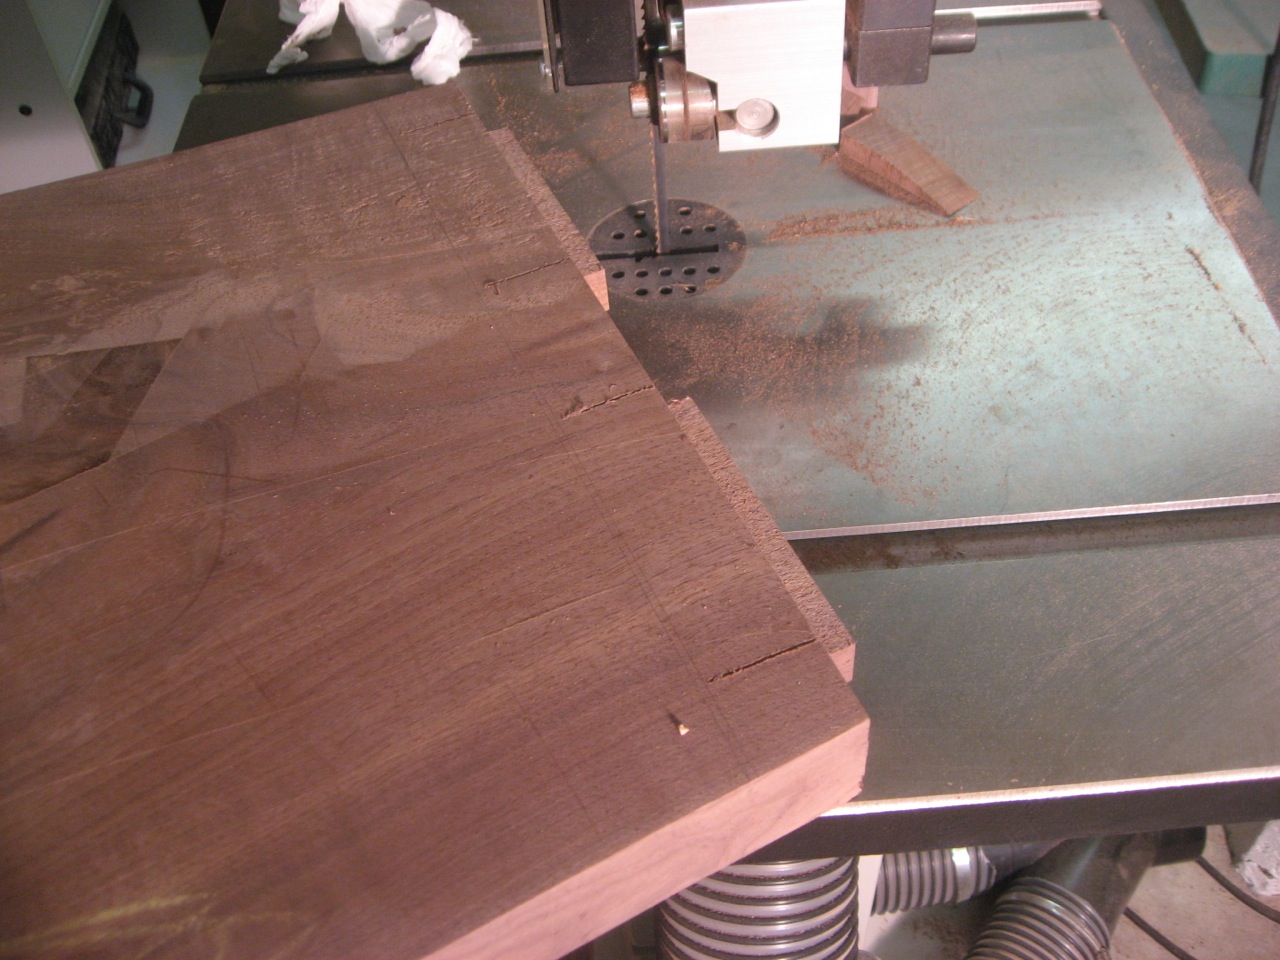
The Festool Domino cut the slots in the leg.
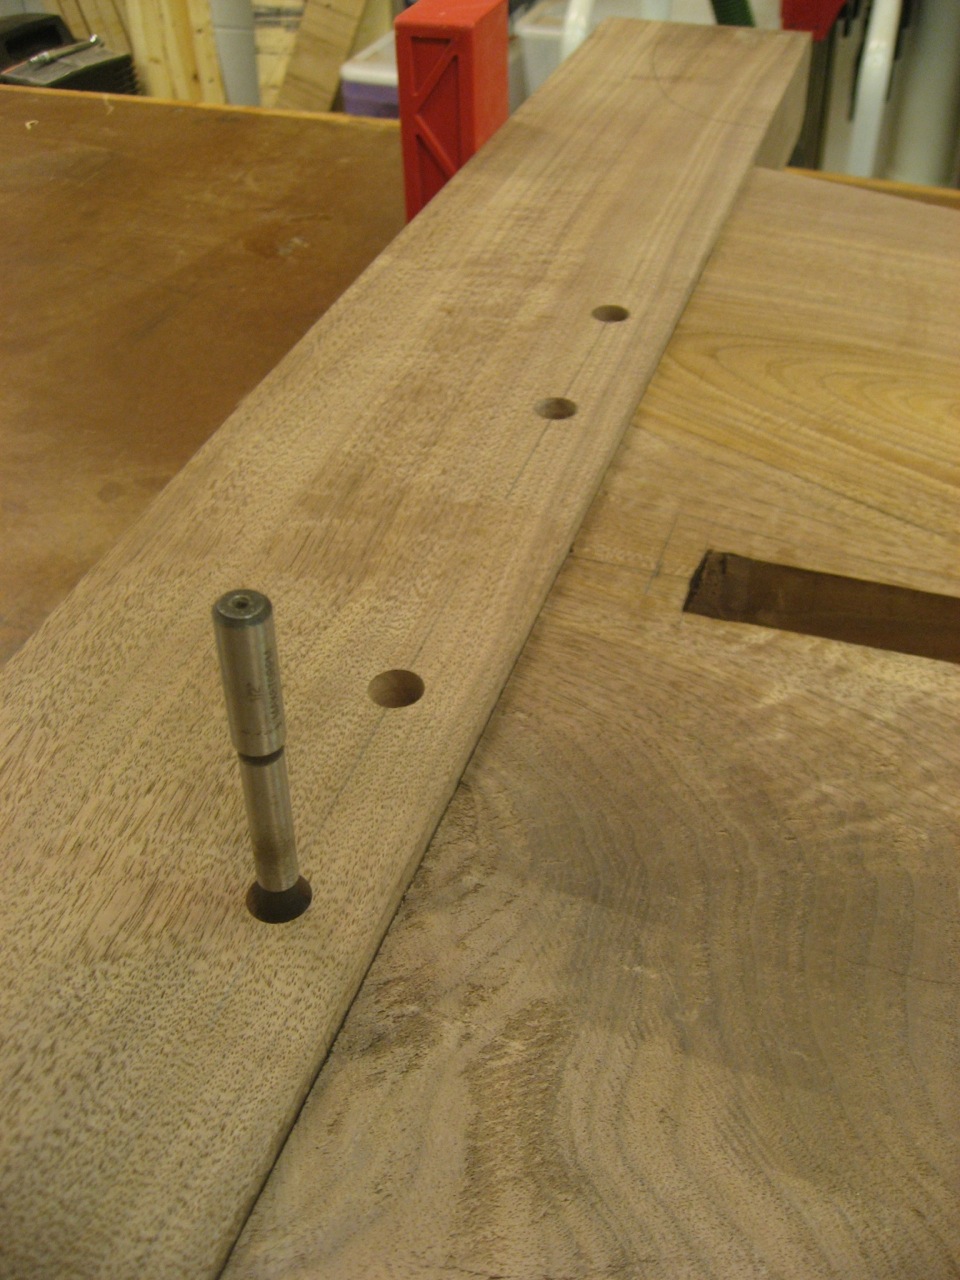
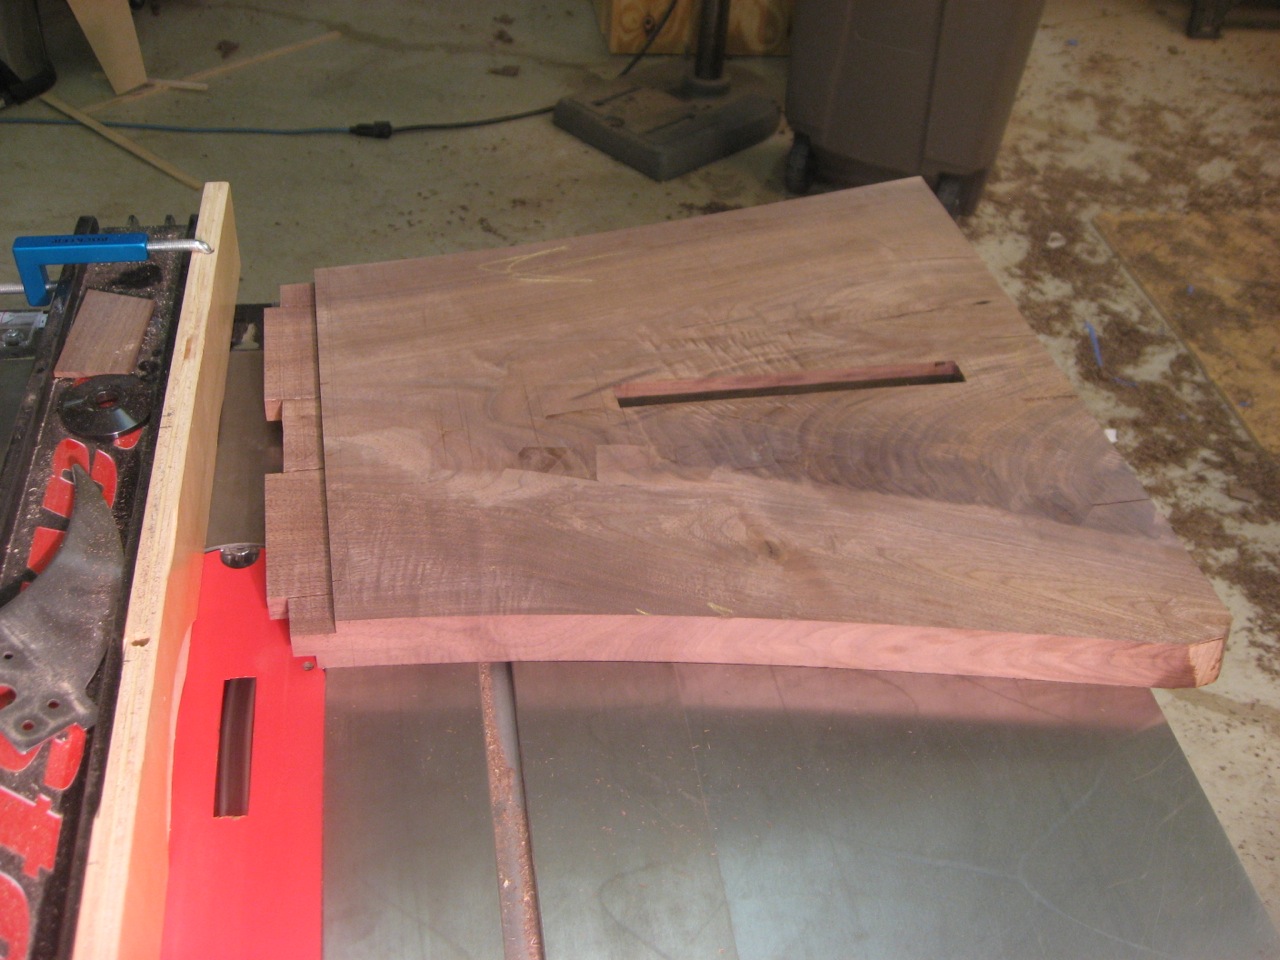
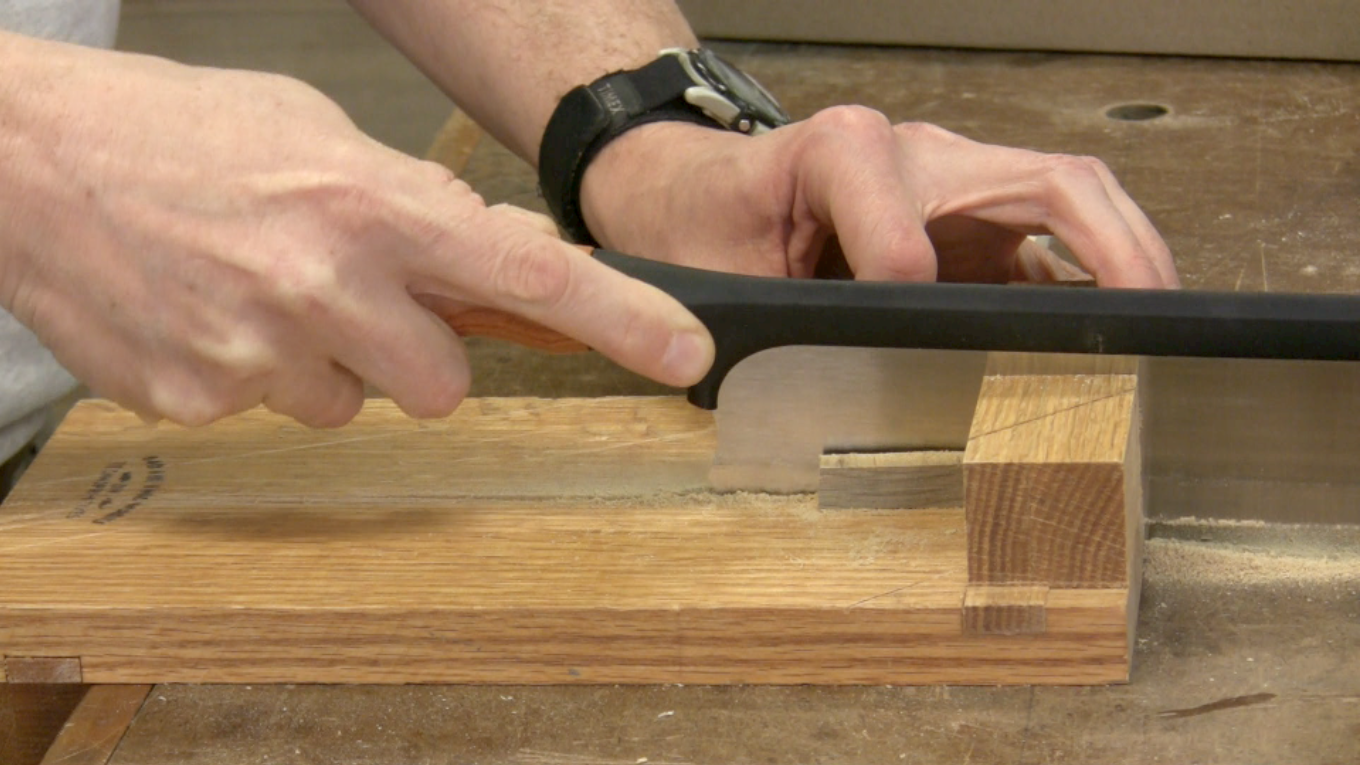
I found a long piece of short-grain wood. Two passes on the table saw created the button shape. I could then cut it apart into the 10 final buttons on the chopsaw.
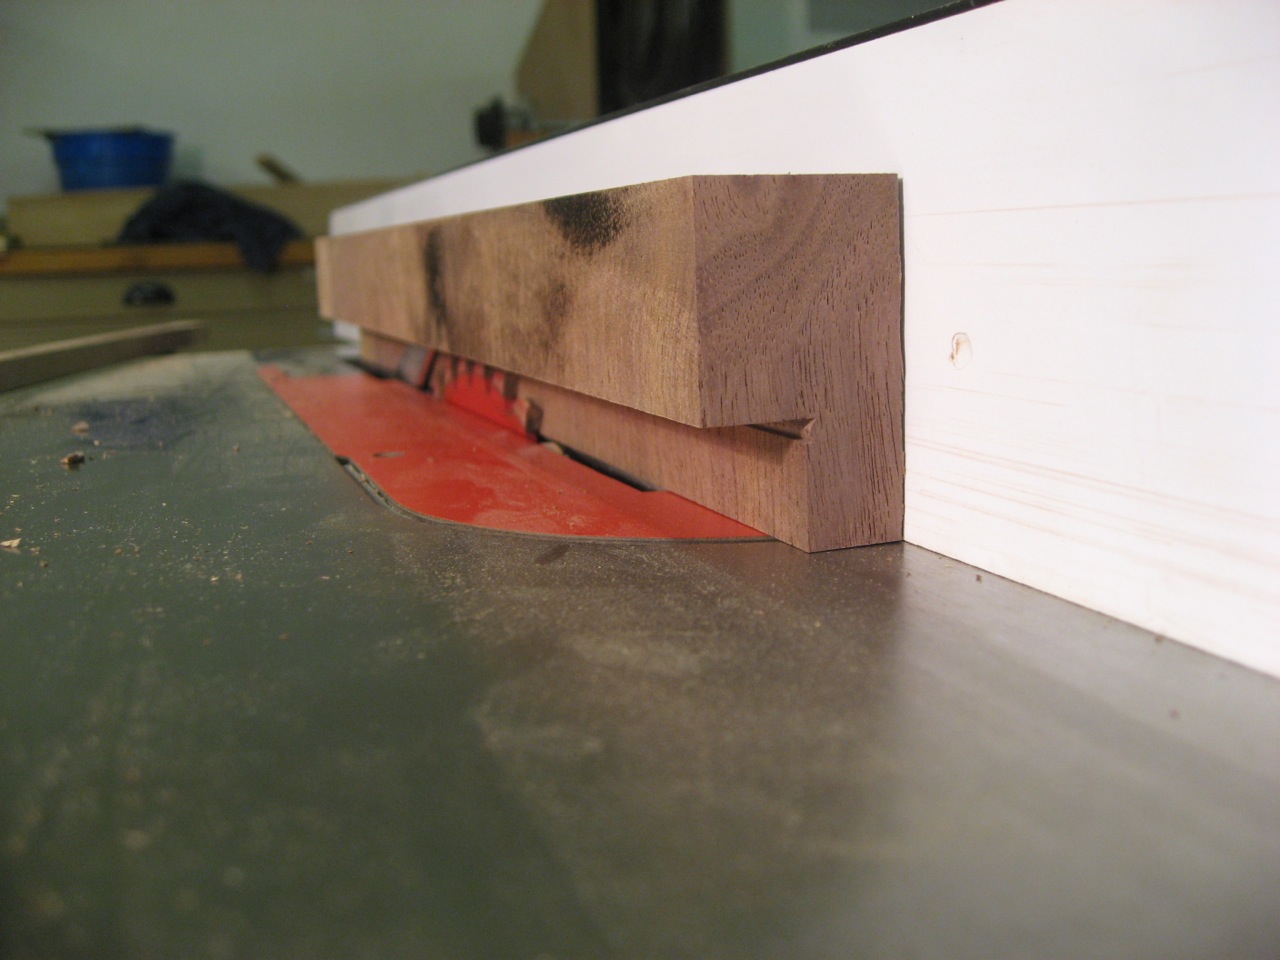
Two passes on the table saw to cut the button shape.
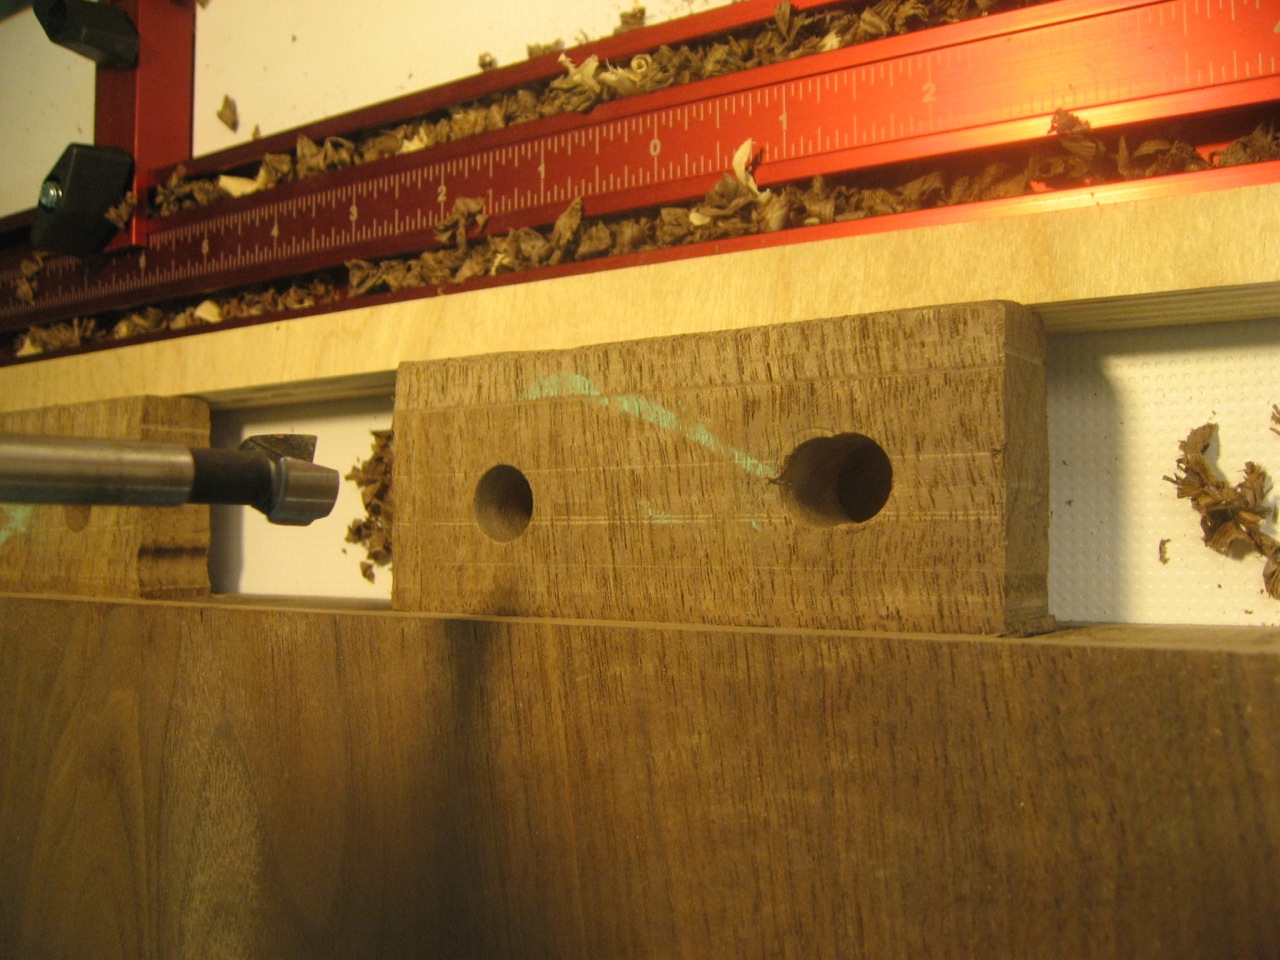
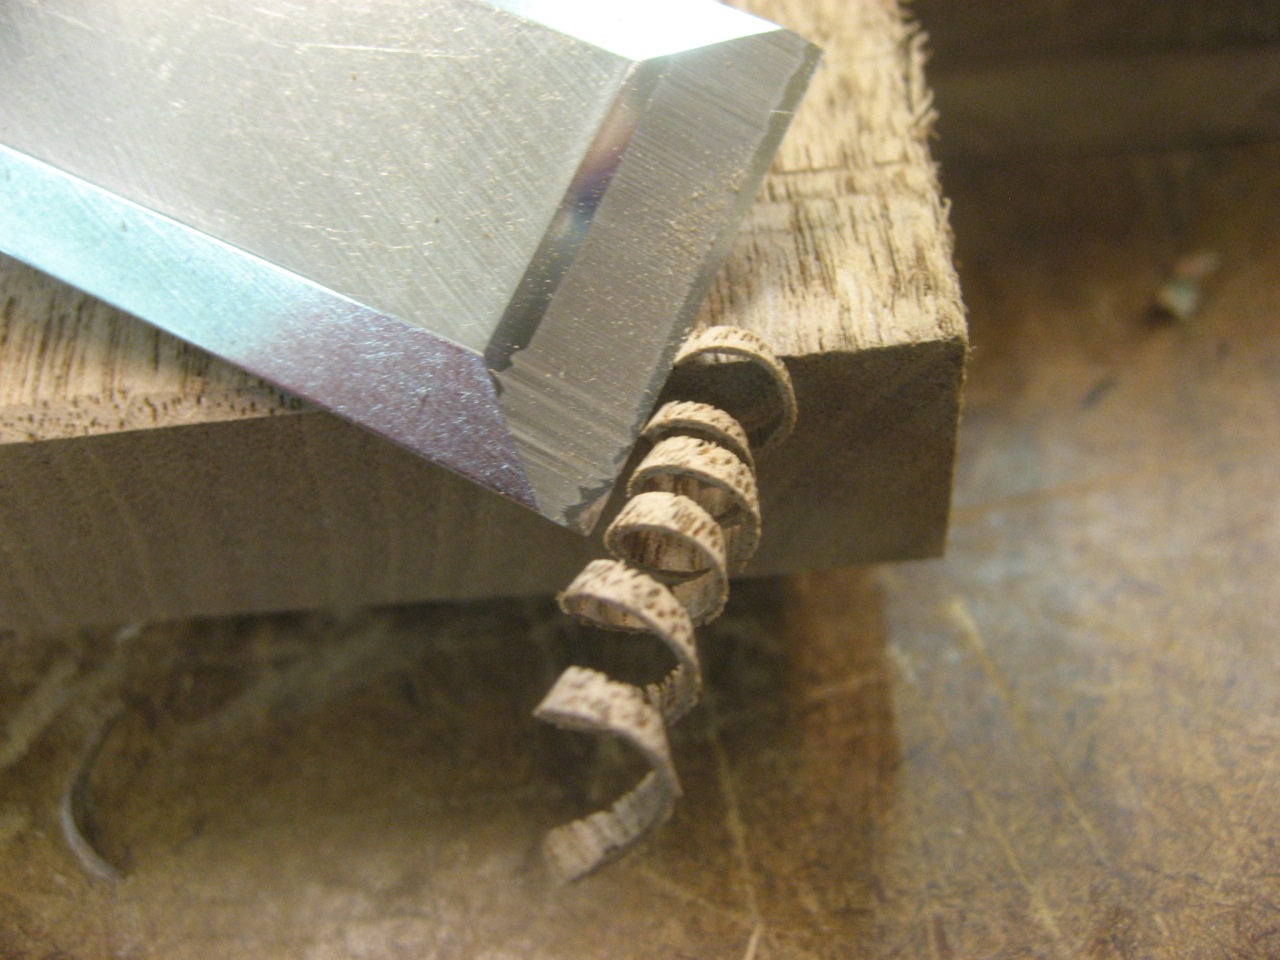
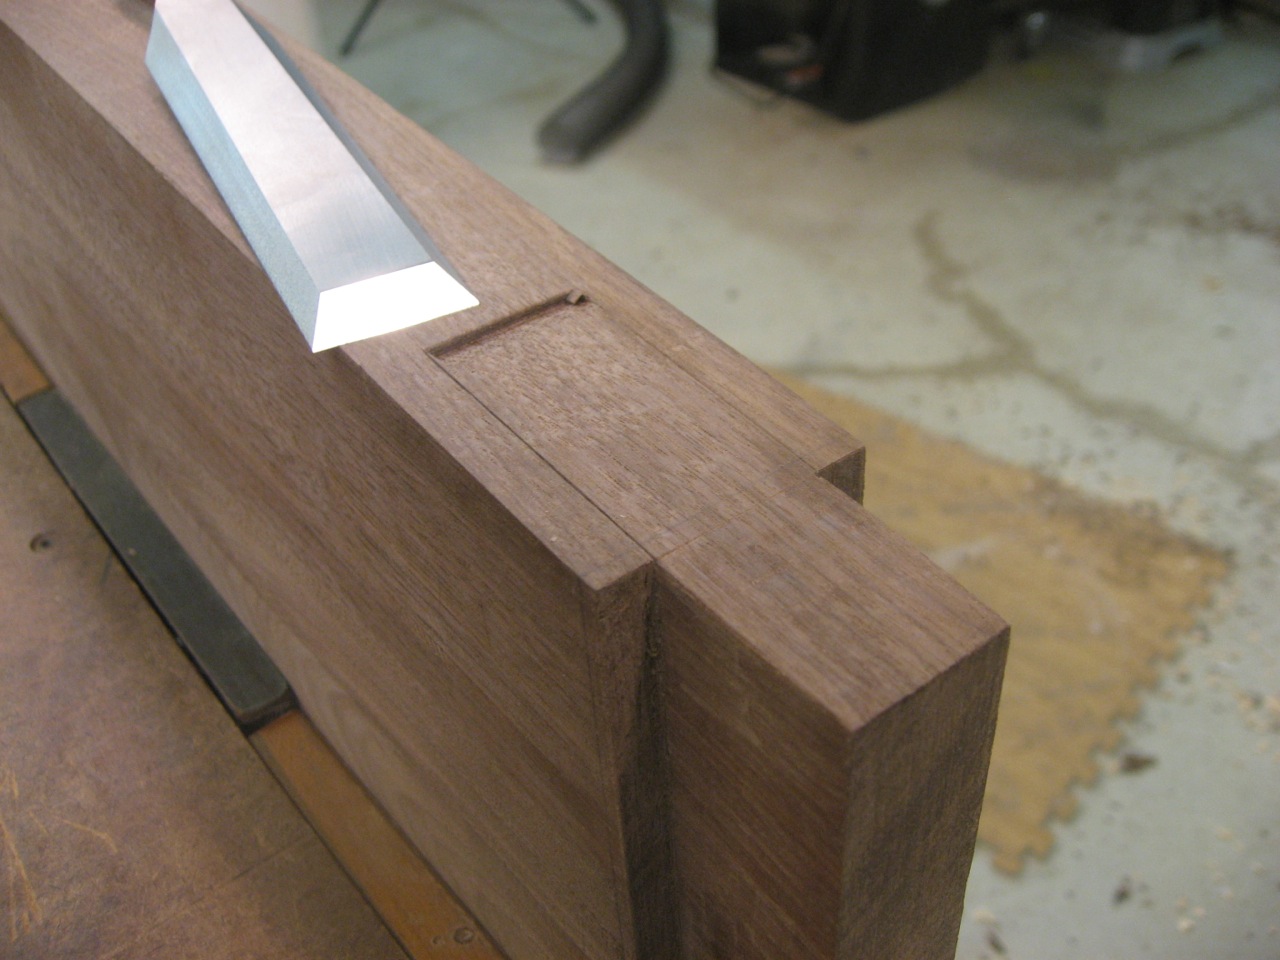
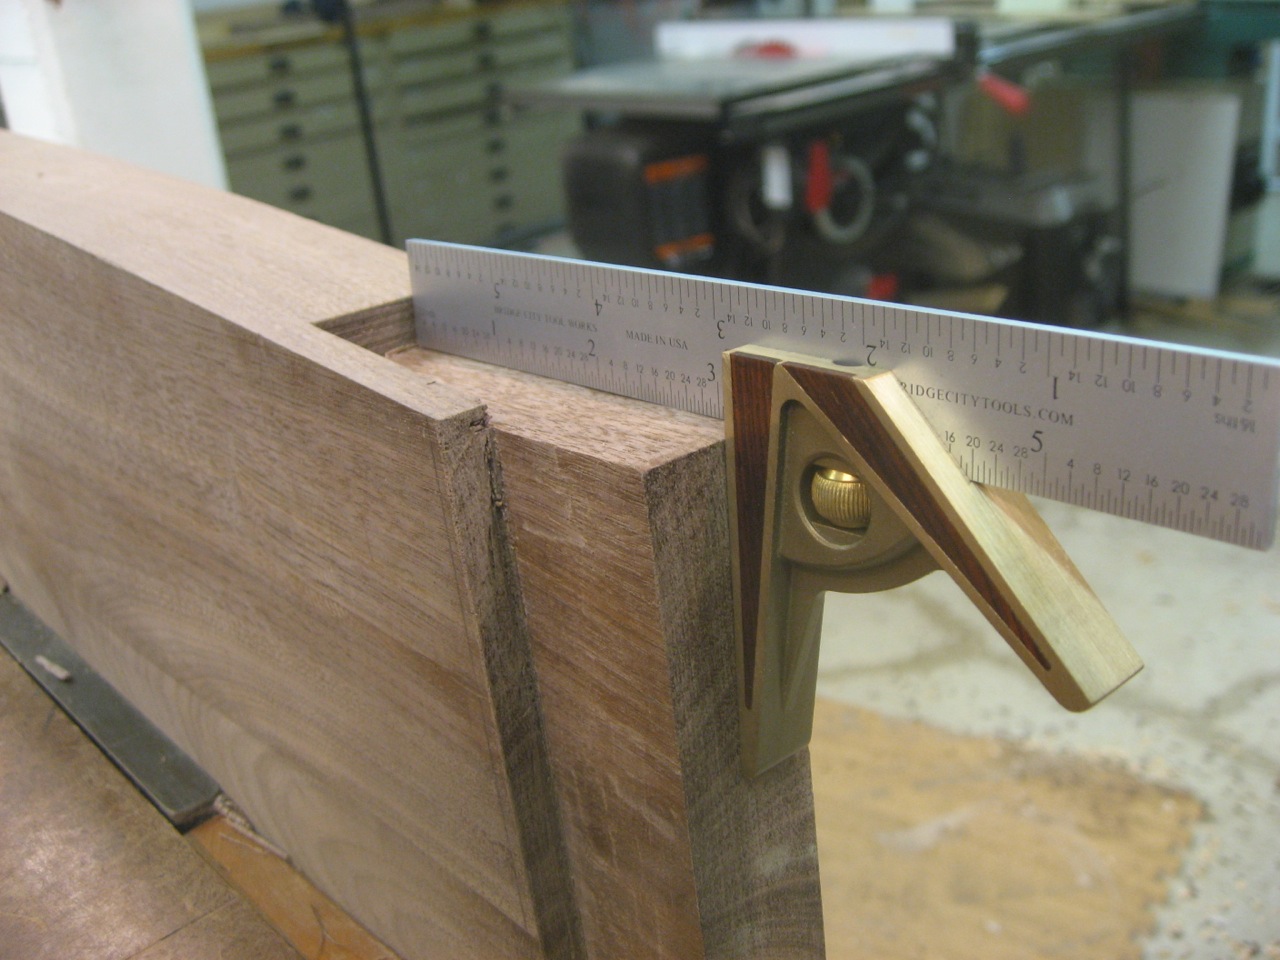
The buttons ended up a little small: they were loose in the slots, to various degrees. So I custom fit each one to its slot by adding a piece of veneer if necessary (some took 0, 1 or 2 pieces).
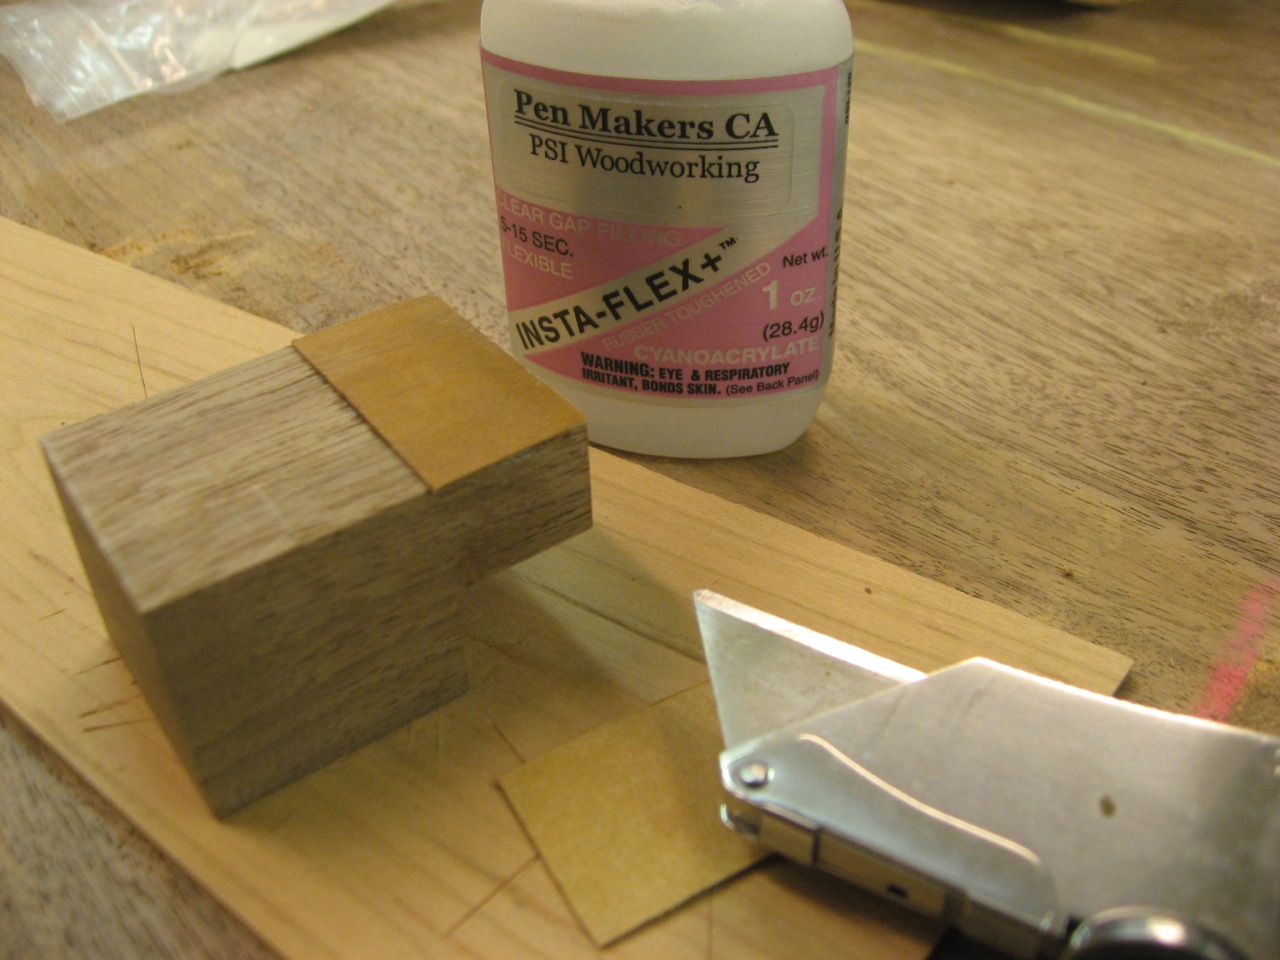
Each button was final-fit into its slot by adding veneer if necessary.
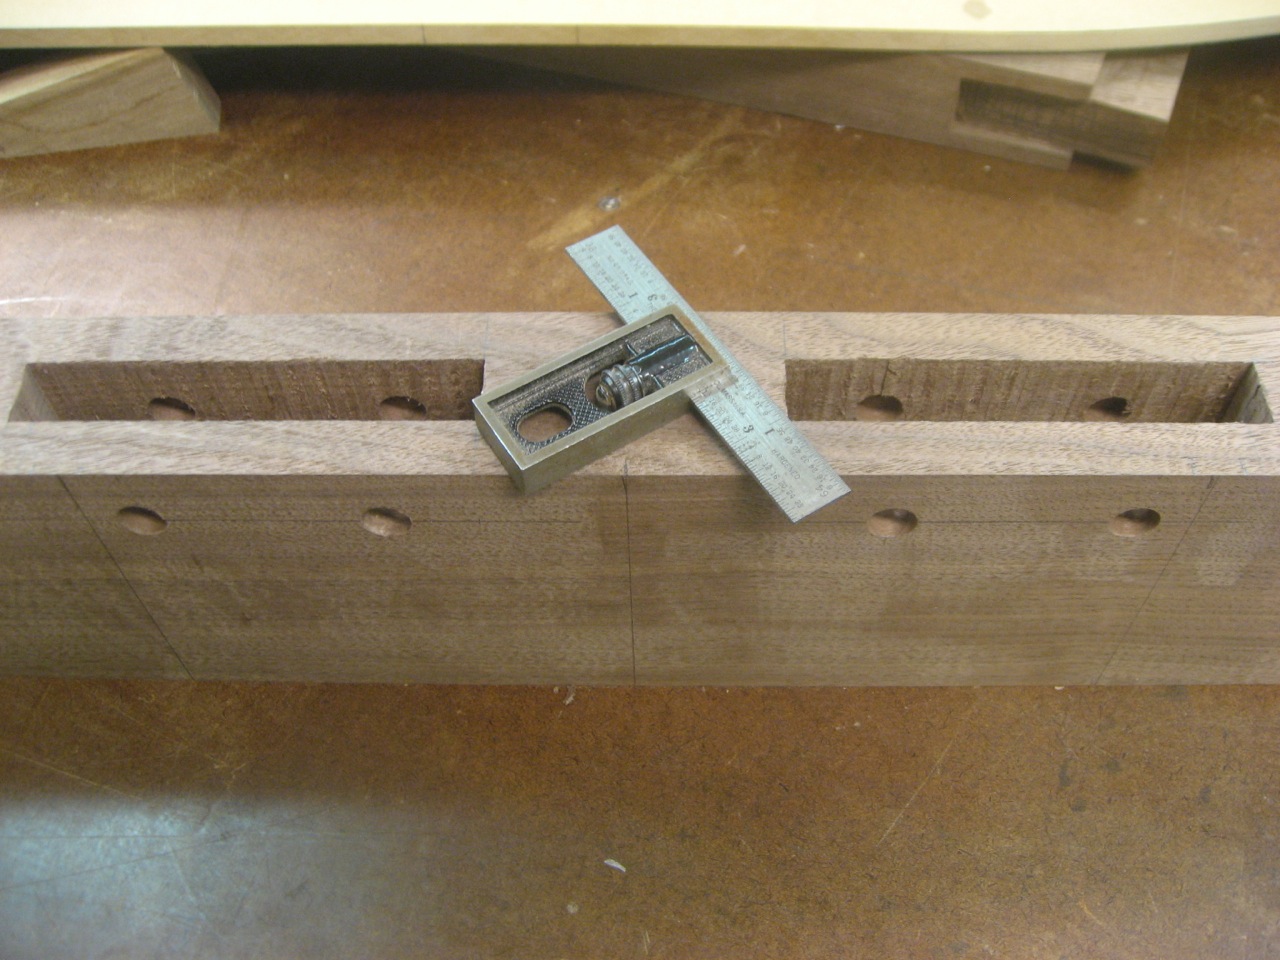
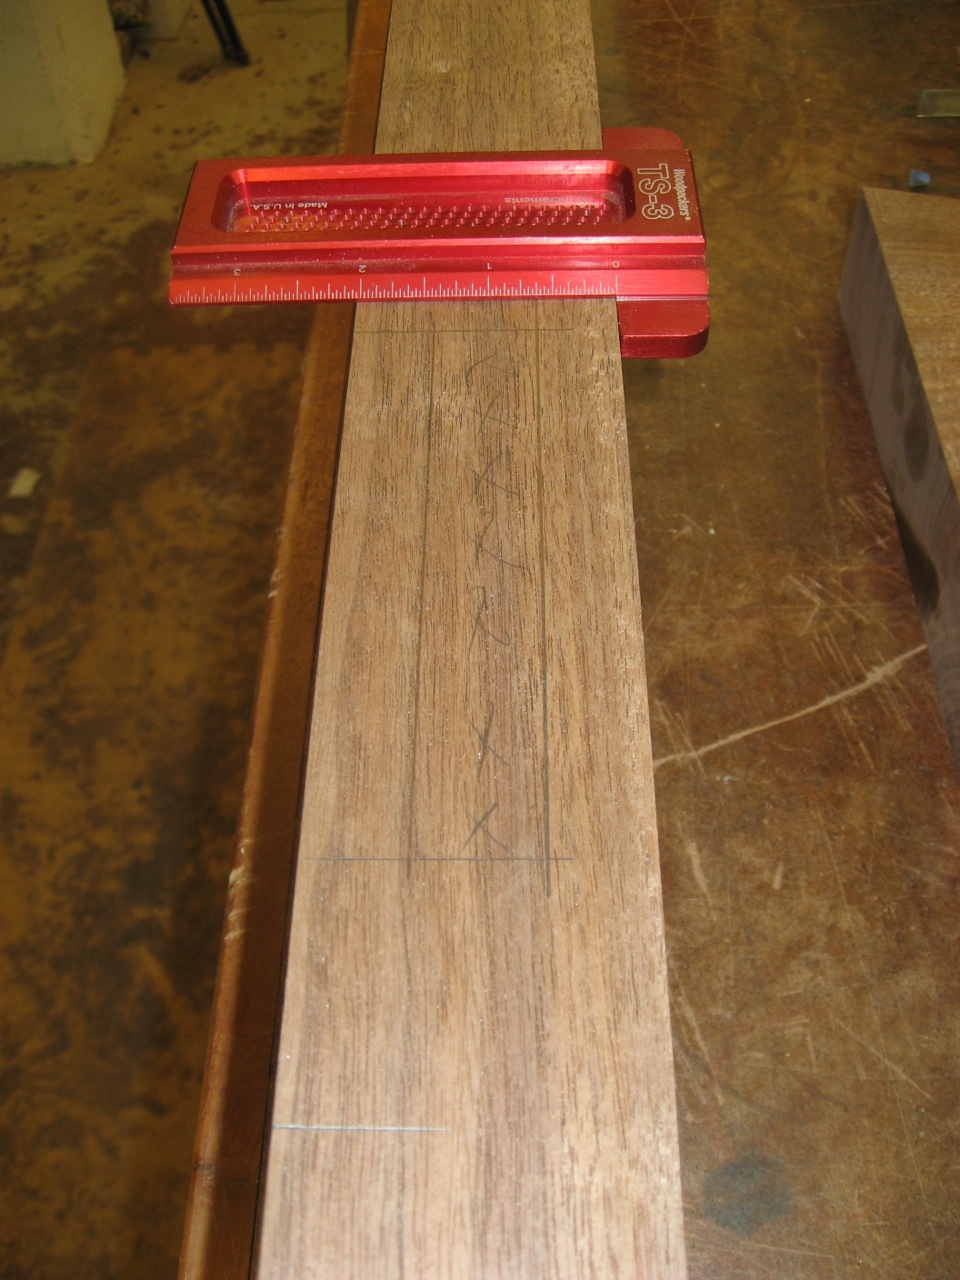
I want a nice tight fit in the slot and also to have the button just about flush (slightly under) the top of the leg. This helps pull the top down flush to the leg.

I went for a nice tight fit, but can still wiggle in and out.