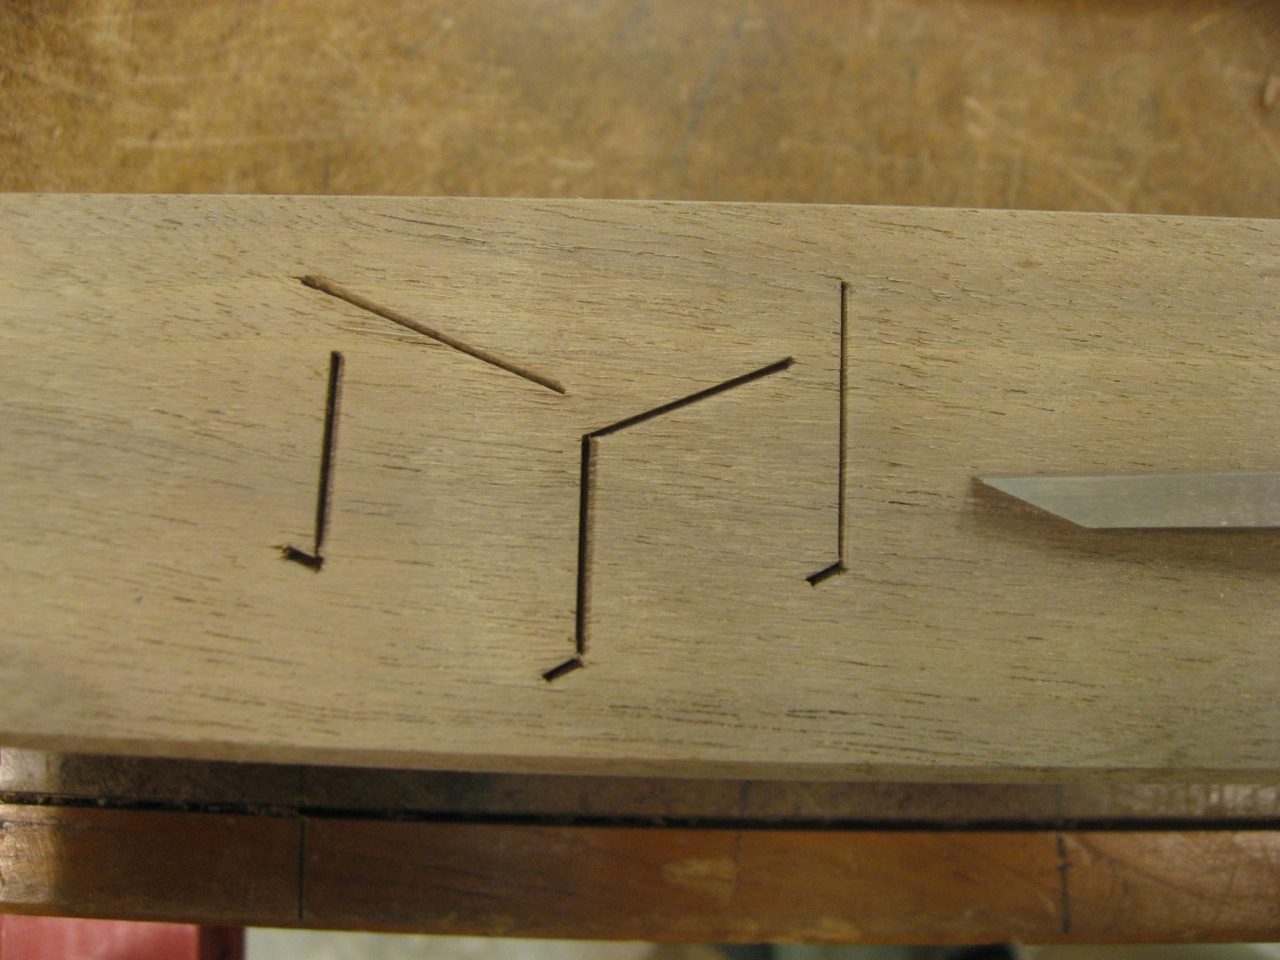
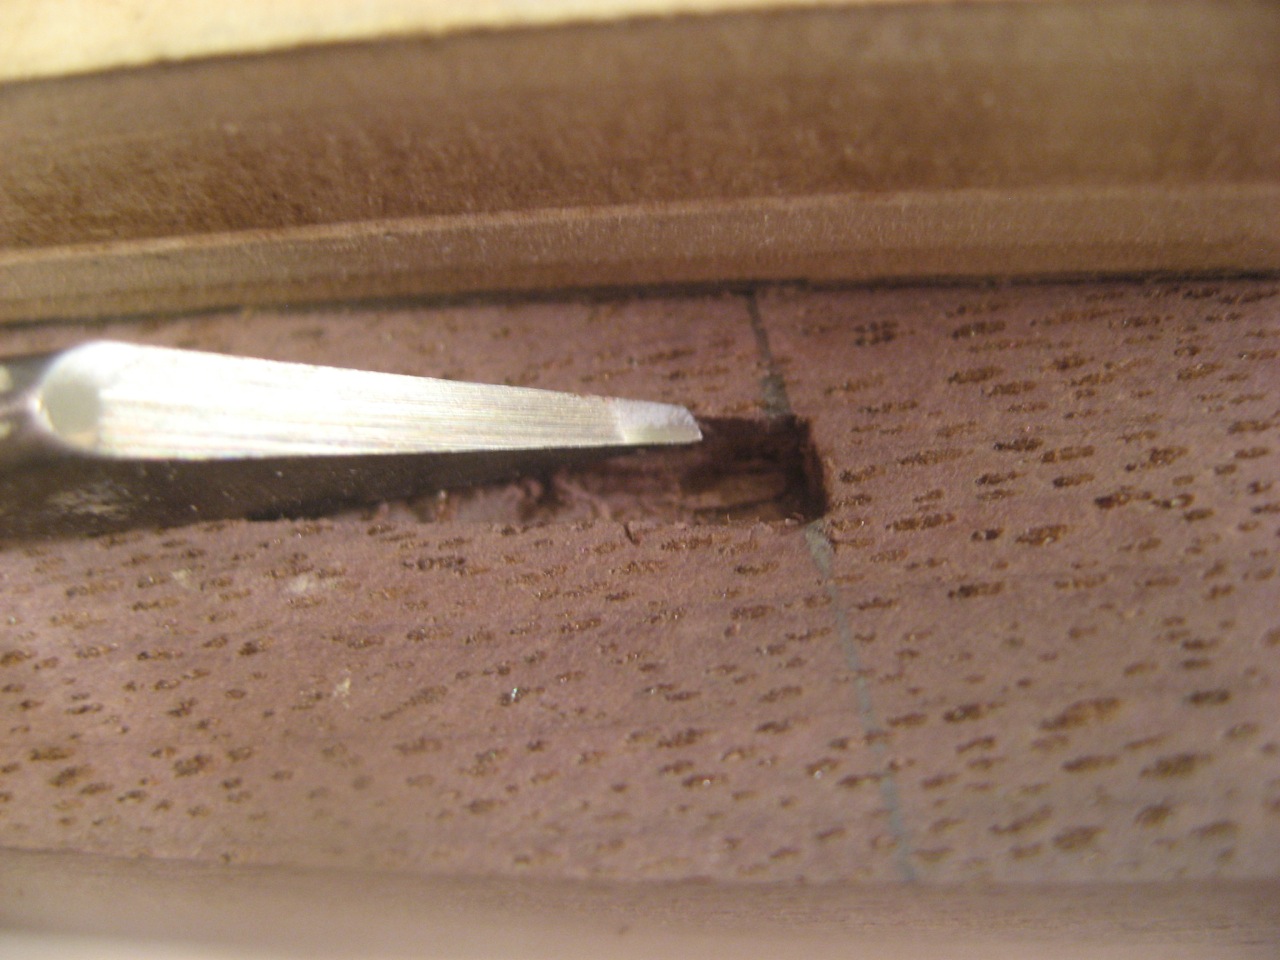
The underneath supports on this dining room table are cross grain and attached with elongated screw holes towards the outer edges. I drilled out the elongated clearance hole with a Festool CXS drill, just poking multiple holes quickly. I used a chisel to square the outside edges to pop in a cover later on.
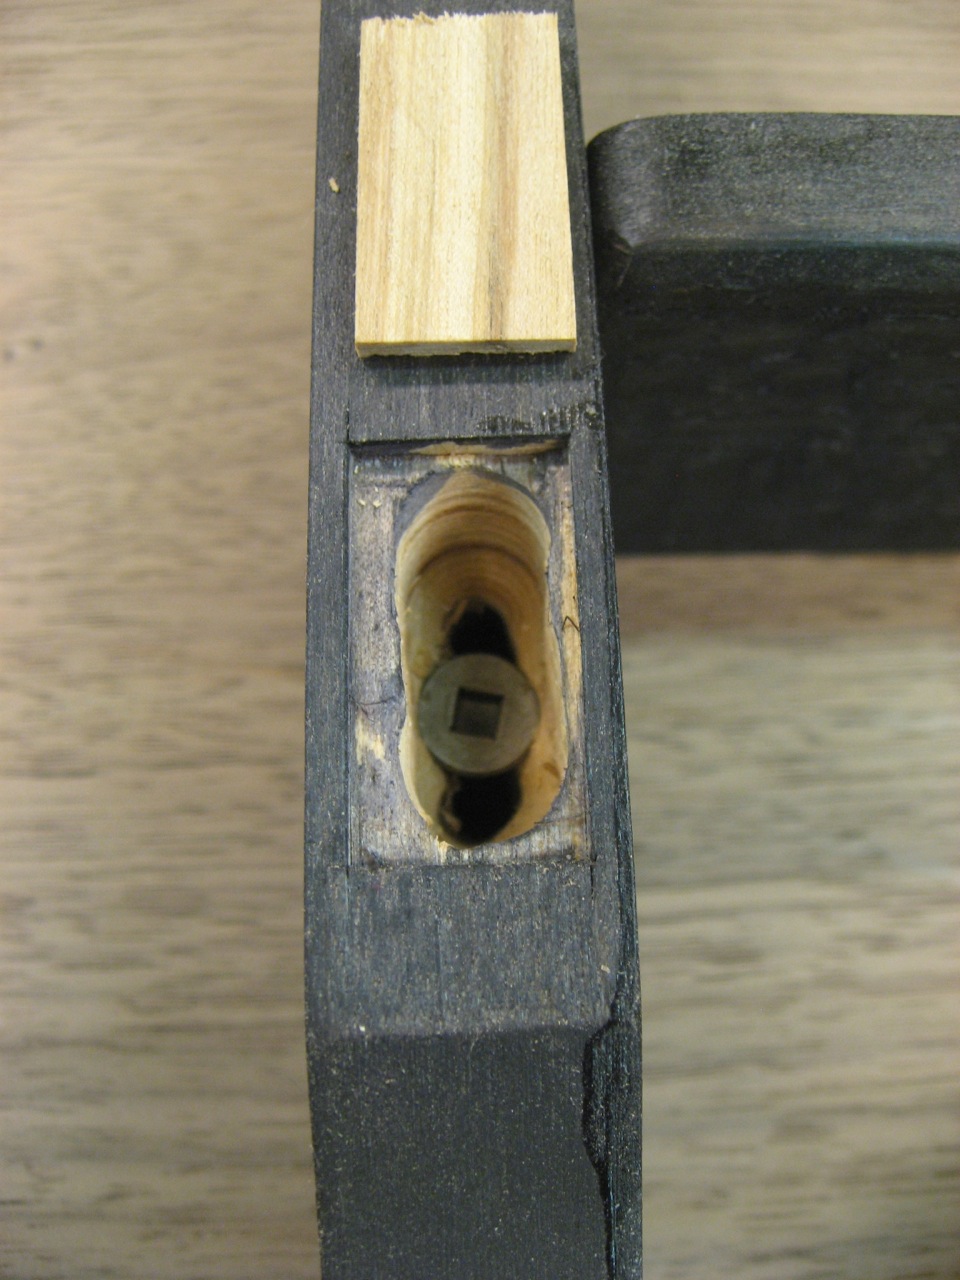
The elongated clearance hole has square edges to match the patch
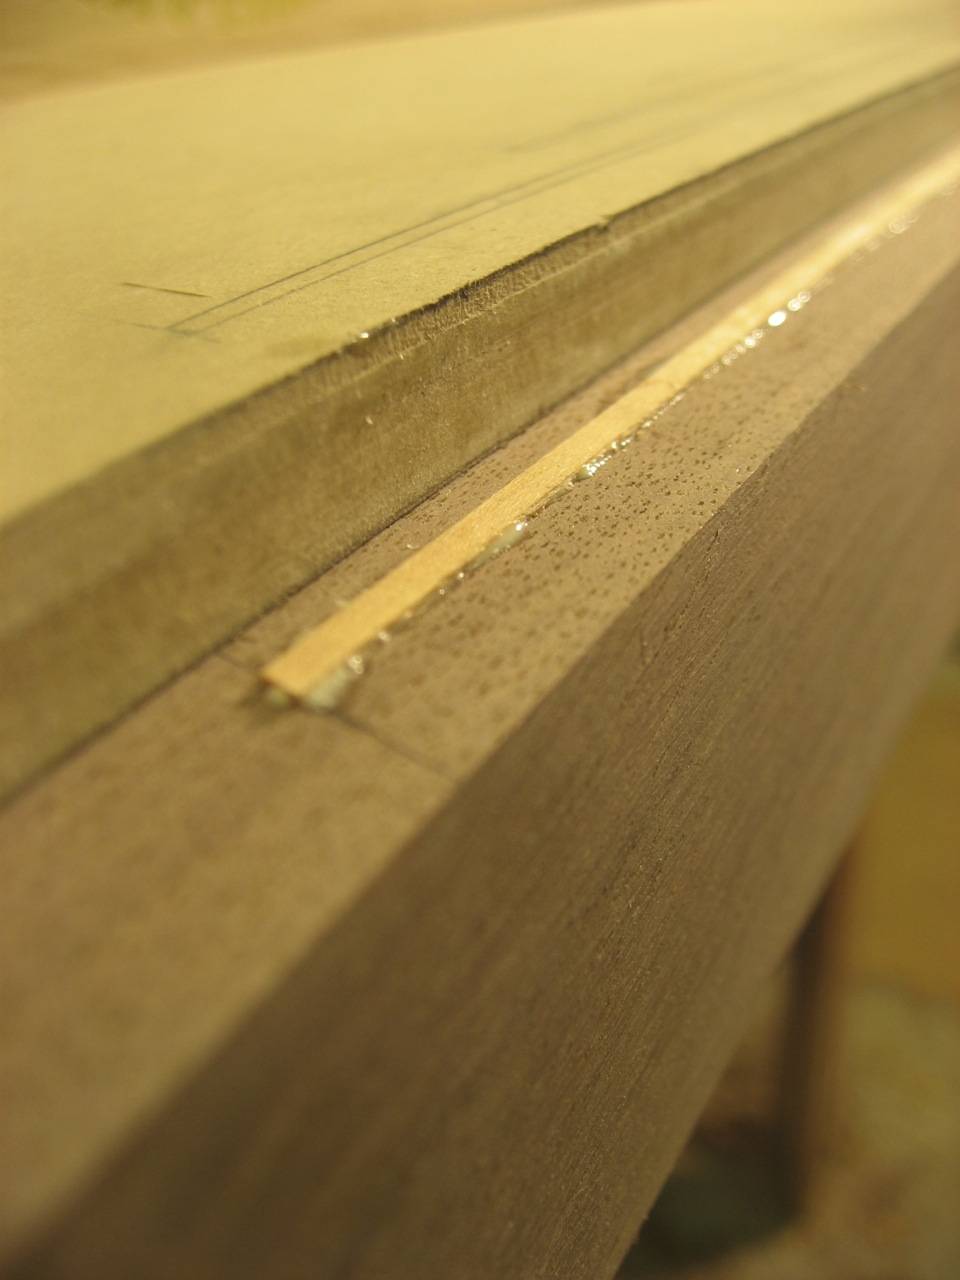
All the pieces were stained black early on, so after banging in the small cover piece, I have to match it.

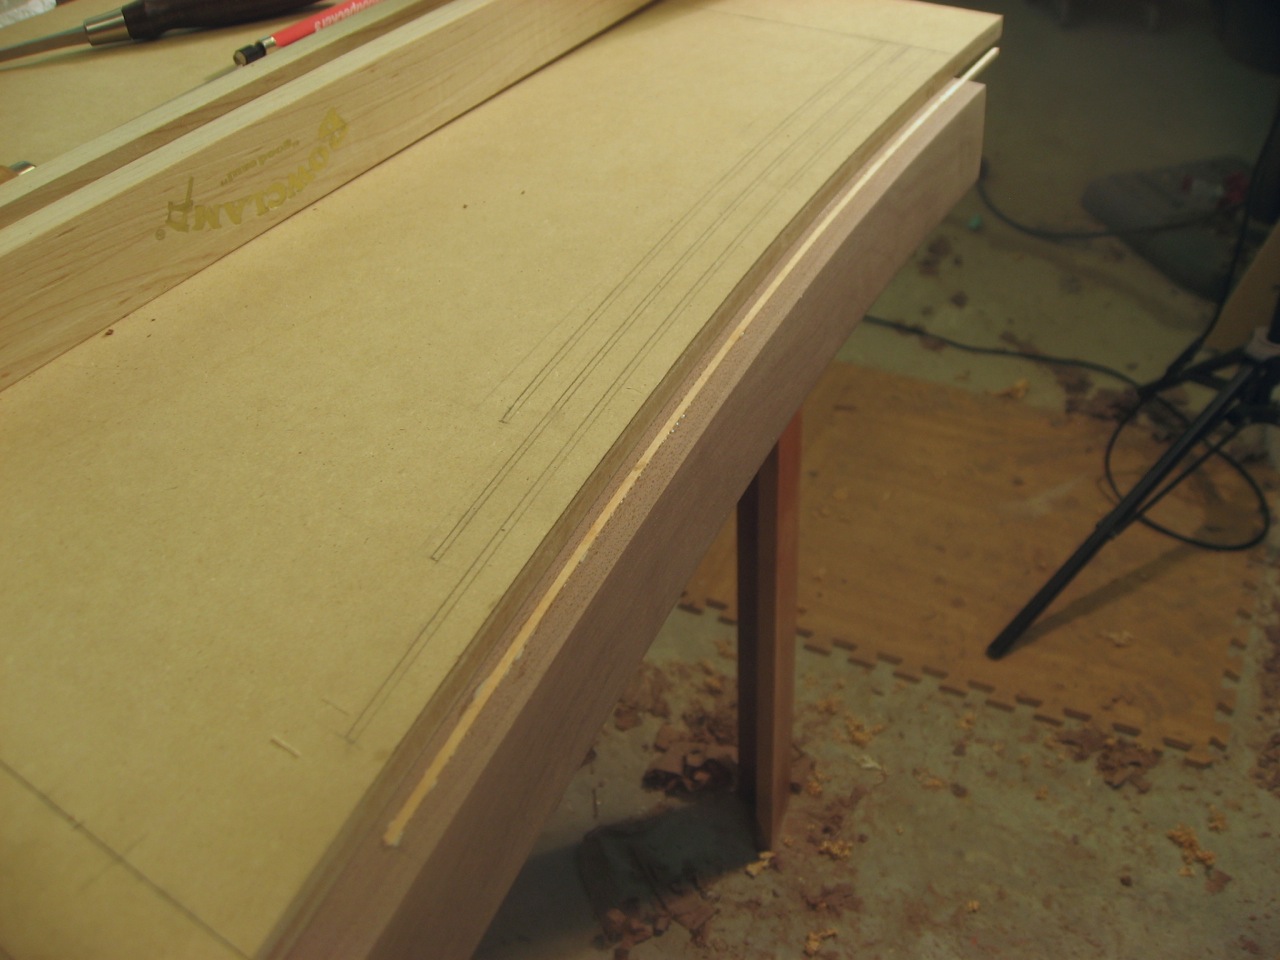
I bang in the wood patch with a hammer; very tight fit.
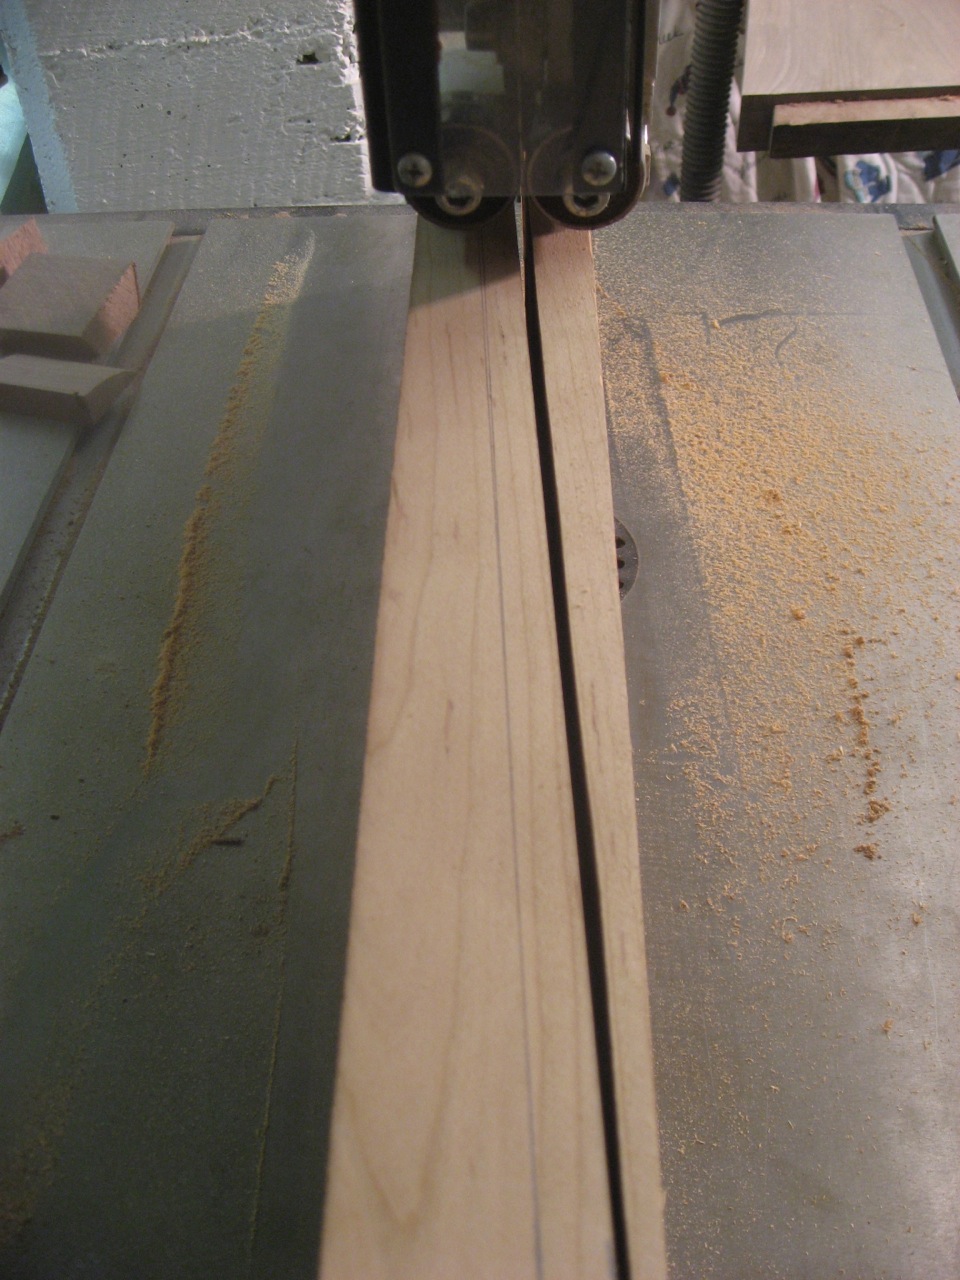
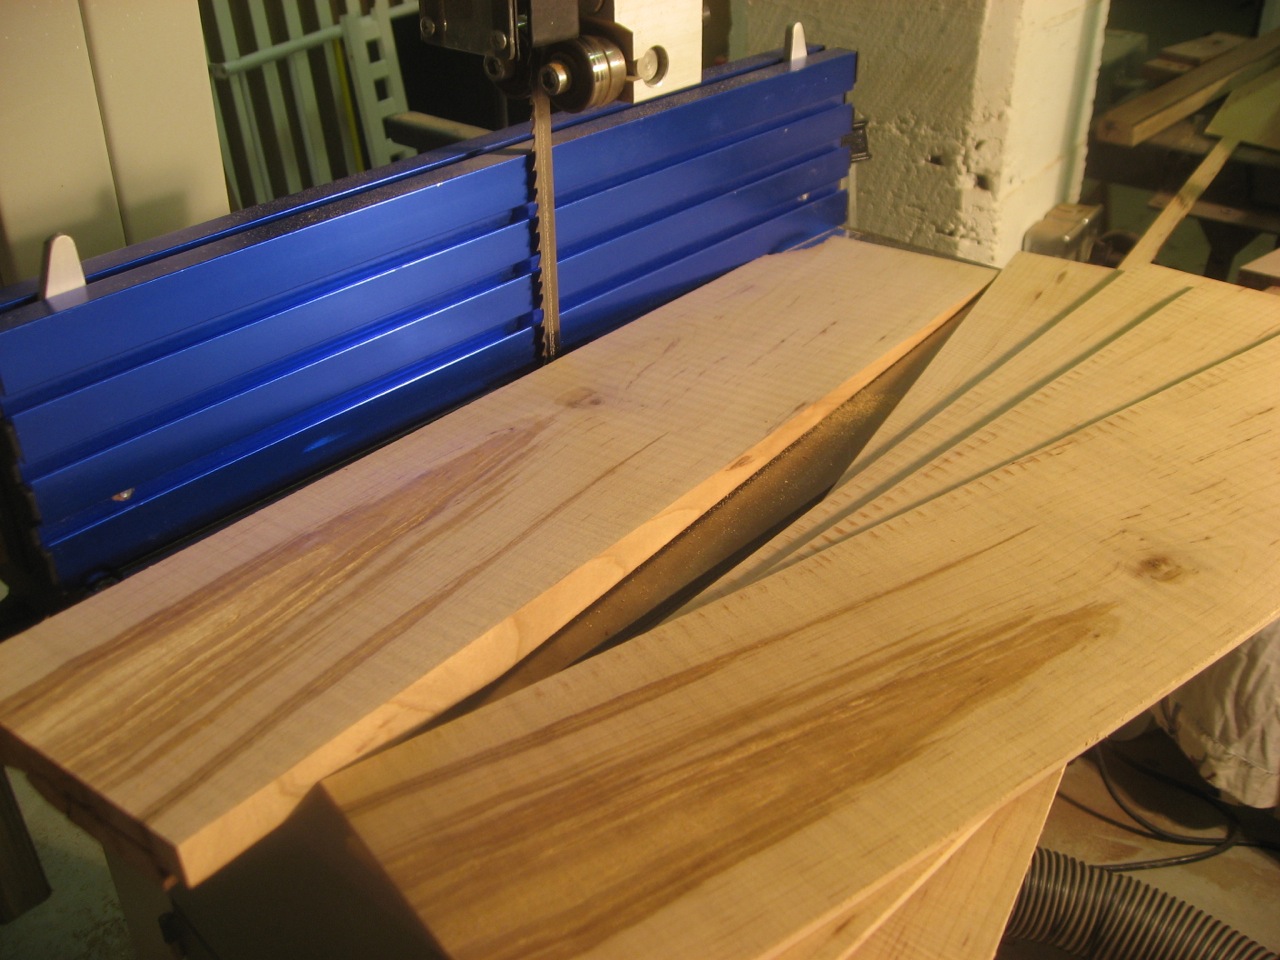
First, I pare it down with a few strokes of a sharp chisel.
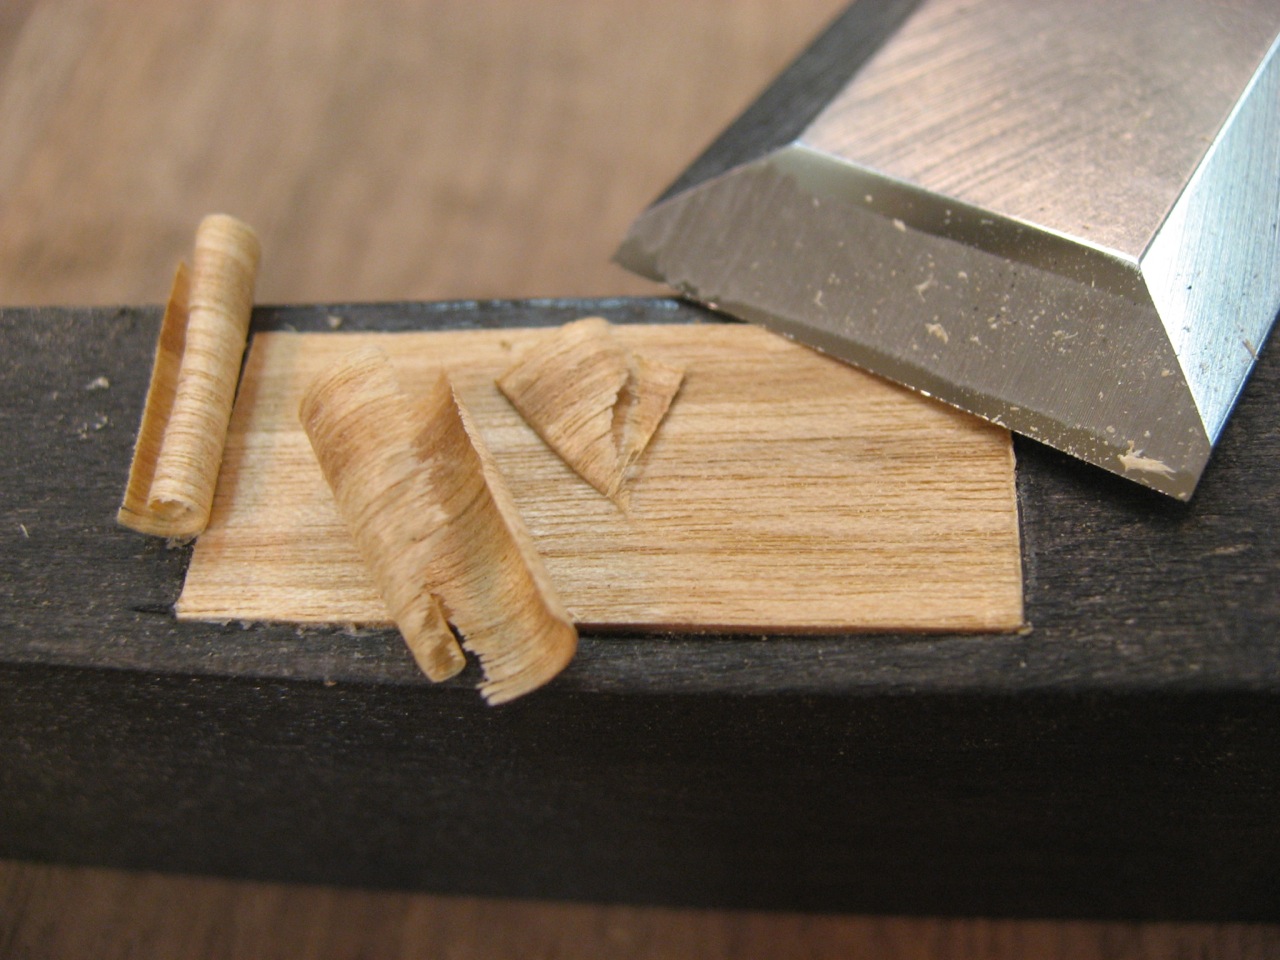
Pare down the patch with a wide chisel
Finally, I use the same coloring process as the rest of the supports. A couple coats of black dye, followed by black-tinted shellac. Pretty good match, will clean it up during the final finish process.
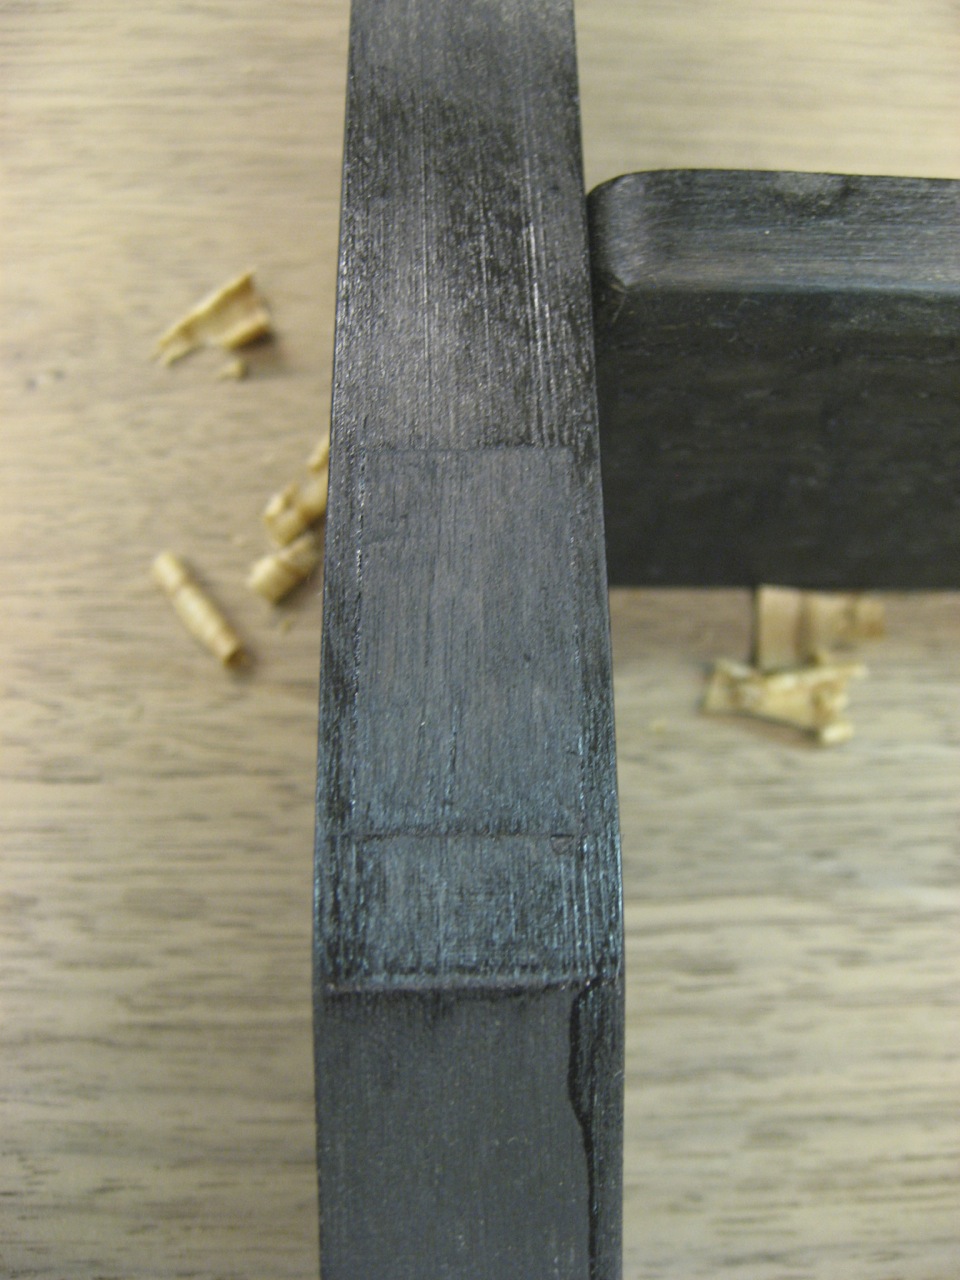
Patch glued in and tinted to match