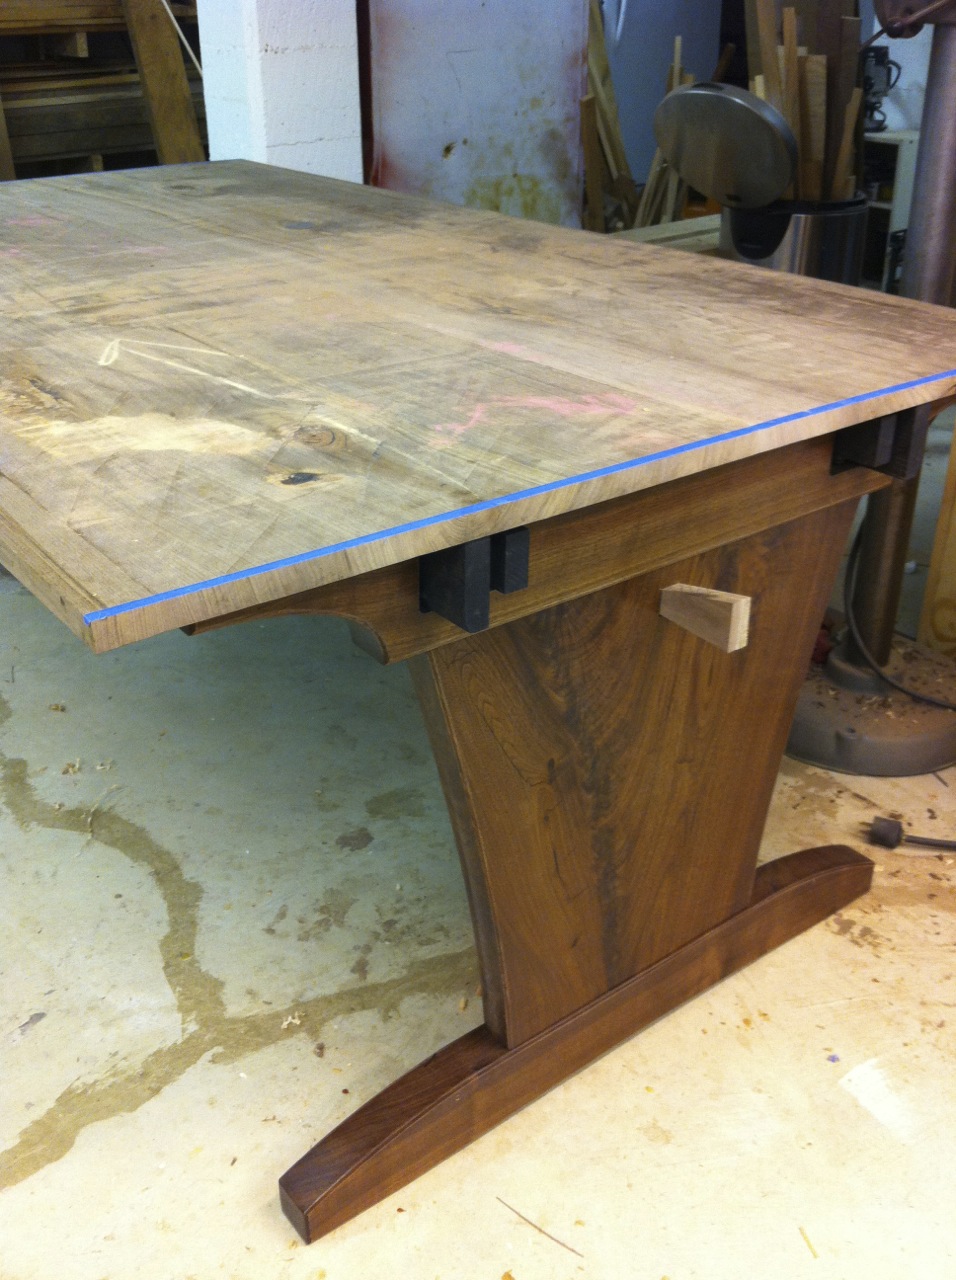
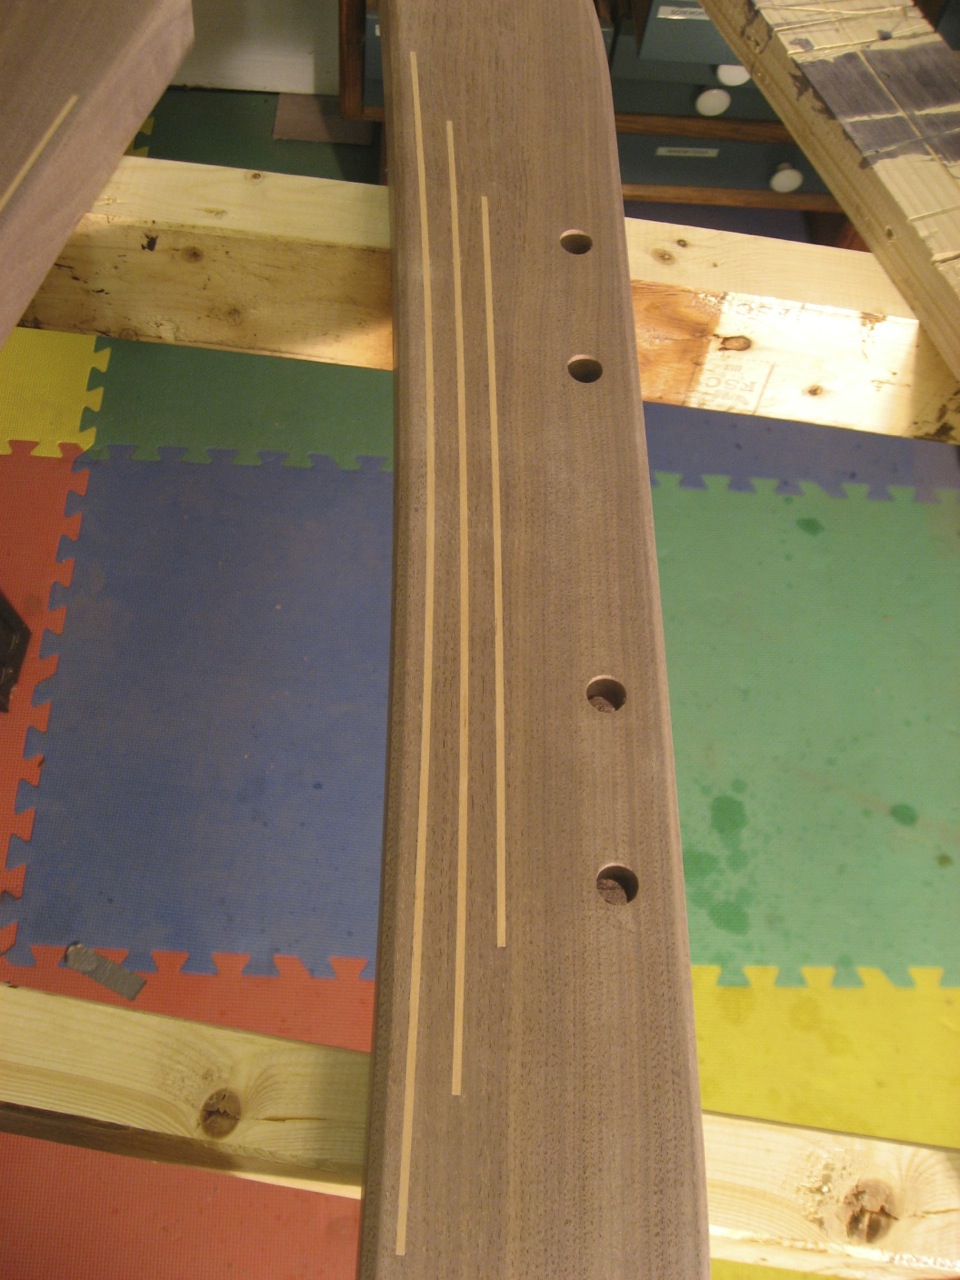
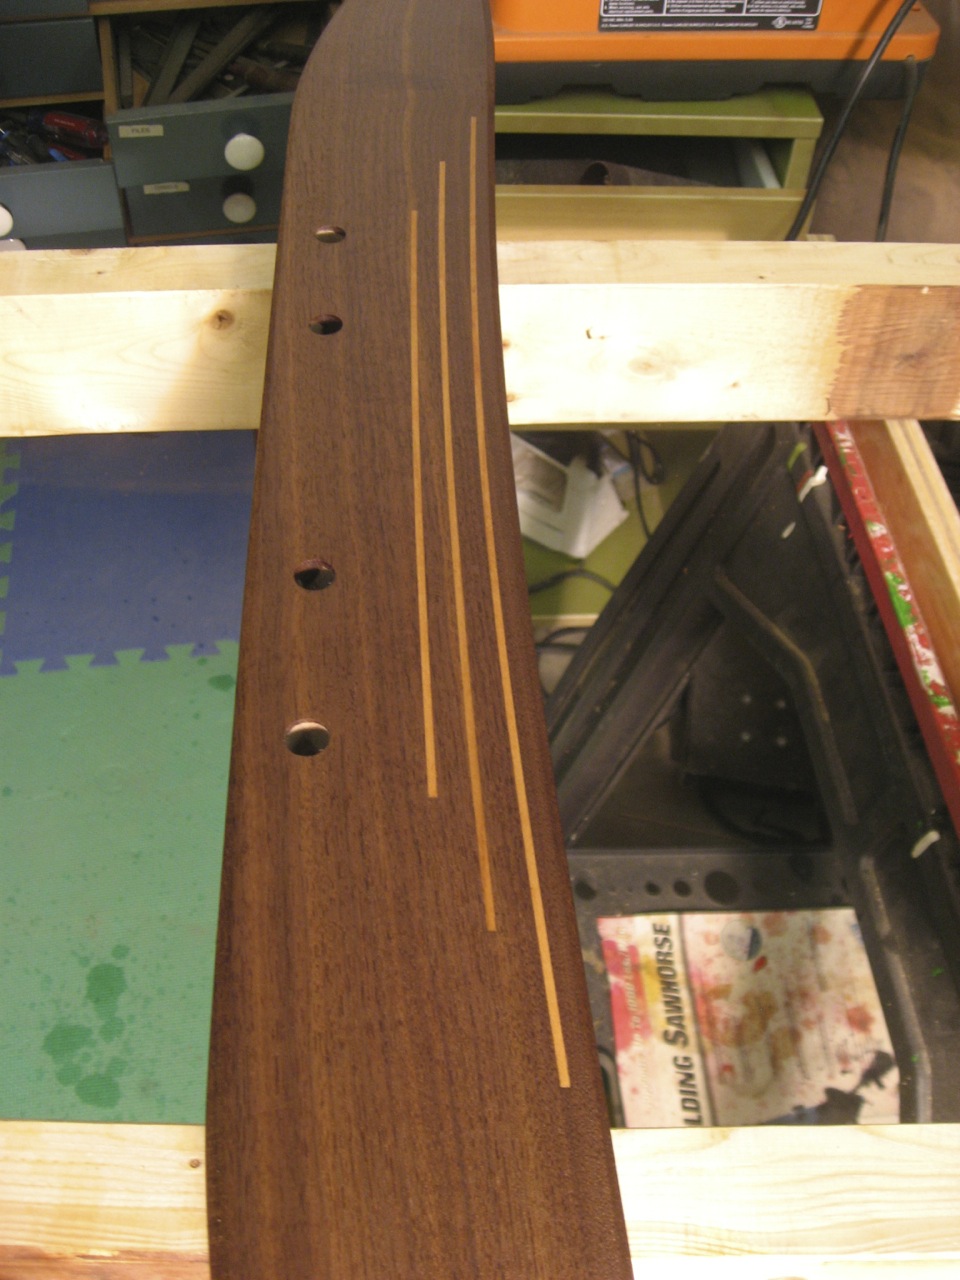
The whole table is now together as it will be. Time to start the final prep, add some inlay, and then we can finish. Still a lot left, but the construction is done.
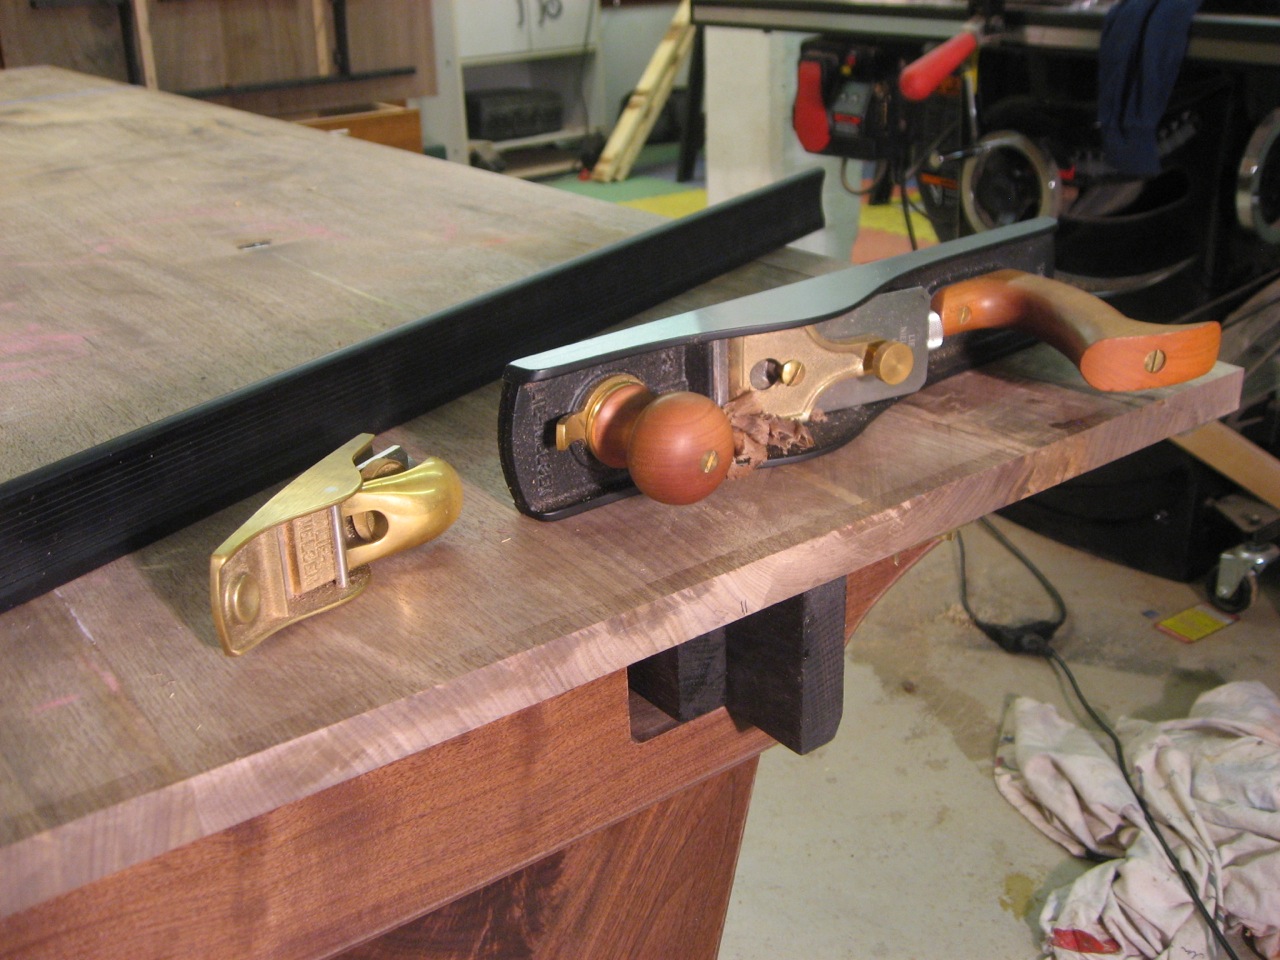
During the building process, the top has continued to move as wood tends to do. So, I need to go over it one last time with some hand-planes. I don’t care about perfectly flat – this table top’s wood won’t allow for perfect flat, it’ll keep moving. But obviously it needs to be relatively flat and definitely smooth! So now that it’s all glued up, leafs on with pins, on the base – I’ll go over it one last time.
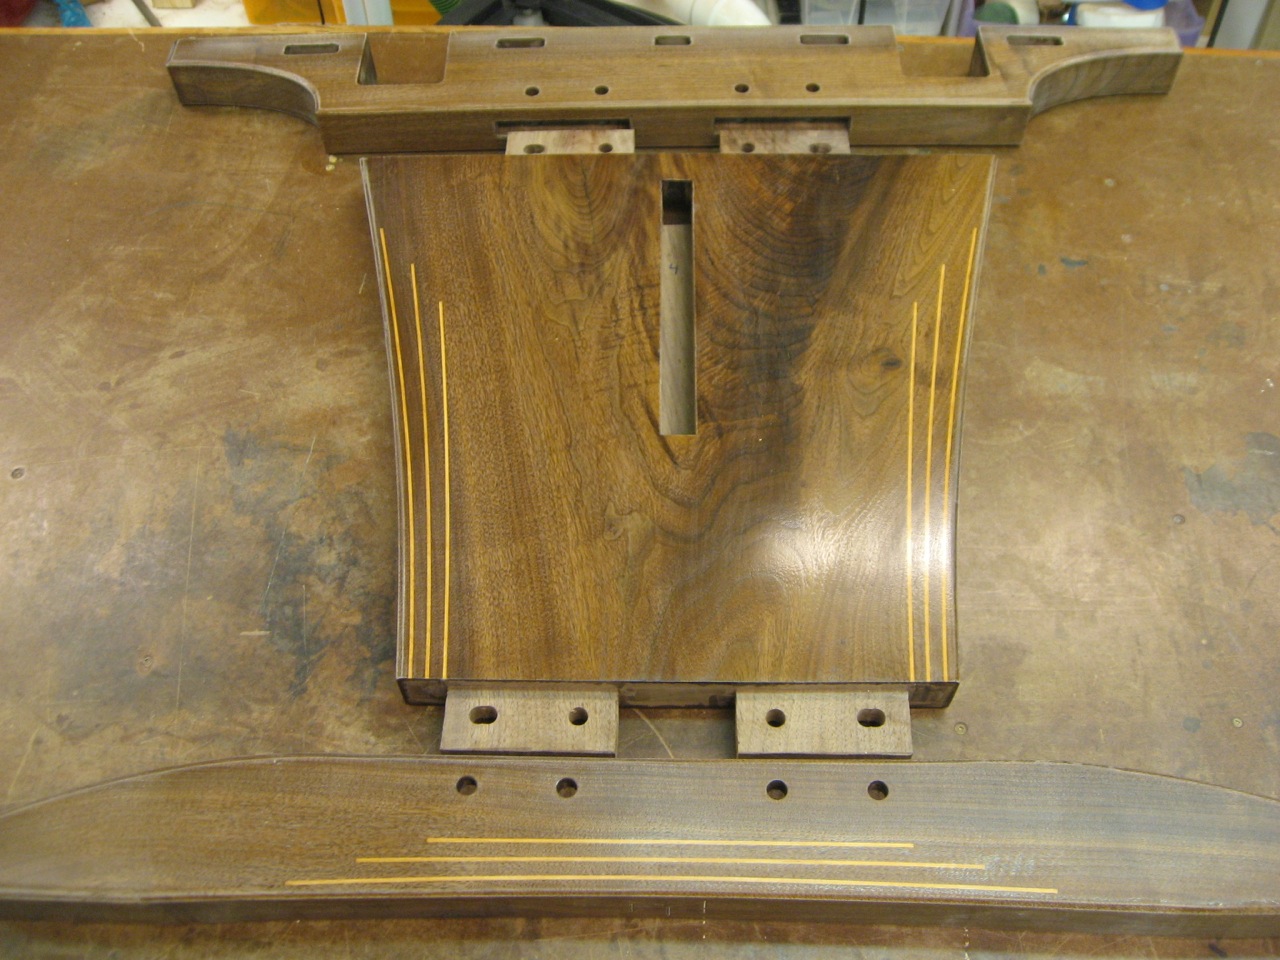
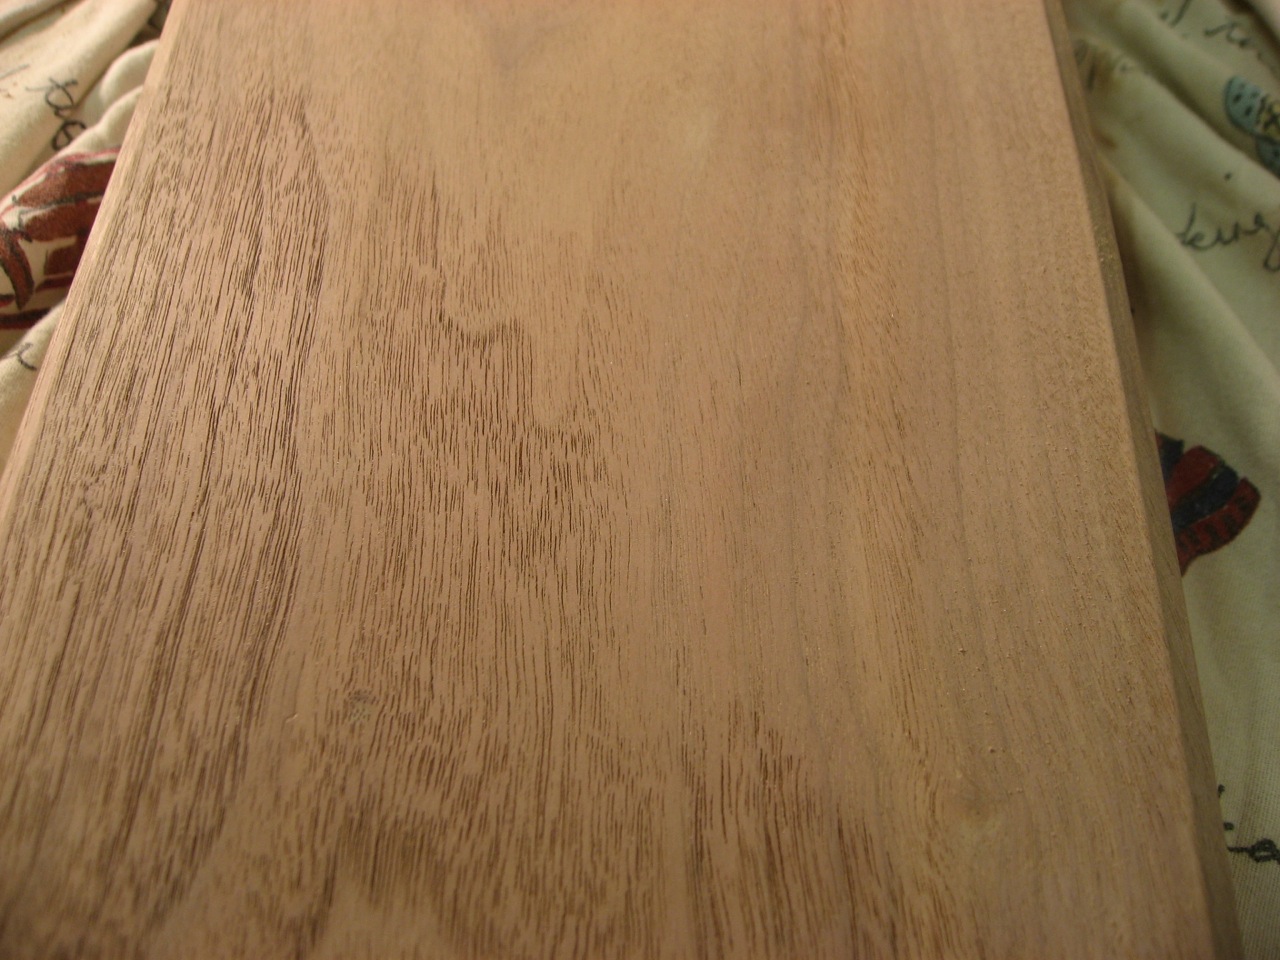
Walnut Table Top: Ready for final flattening.
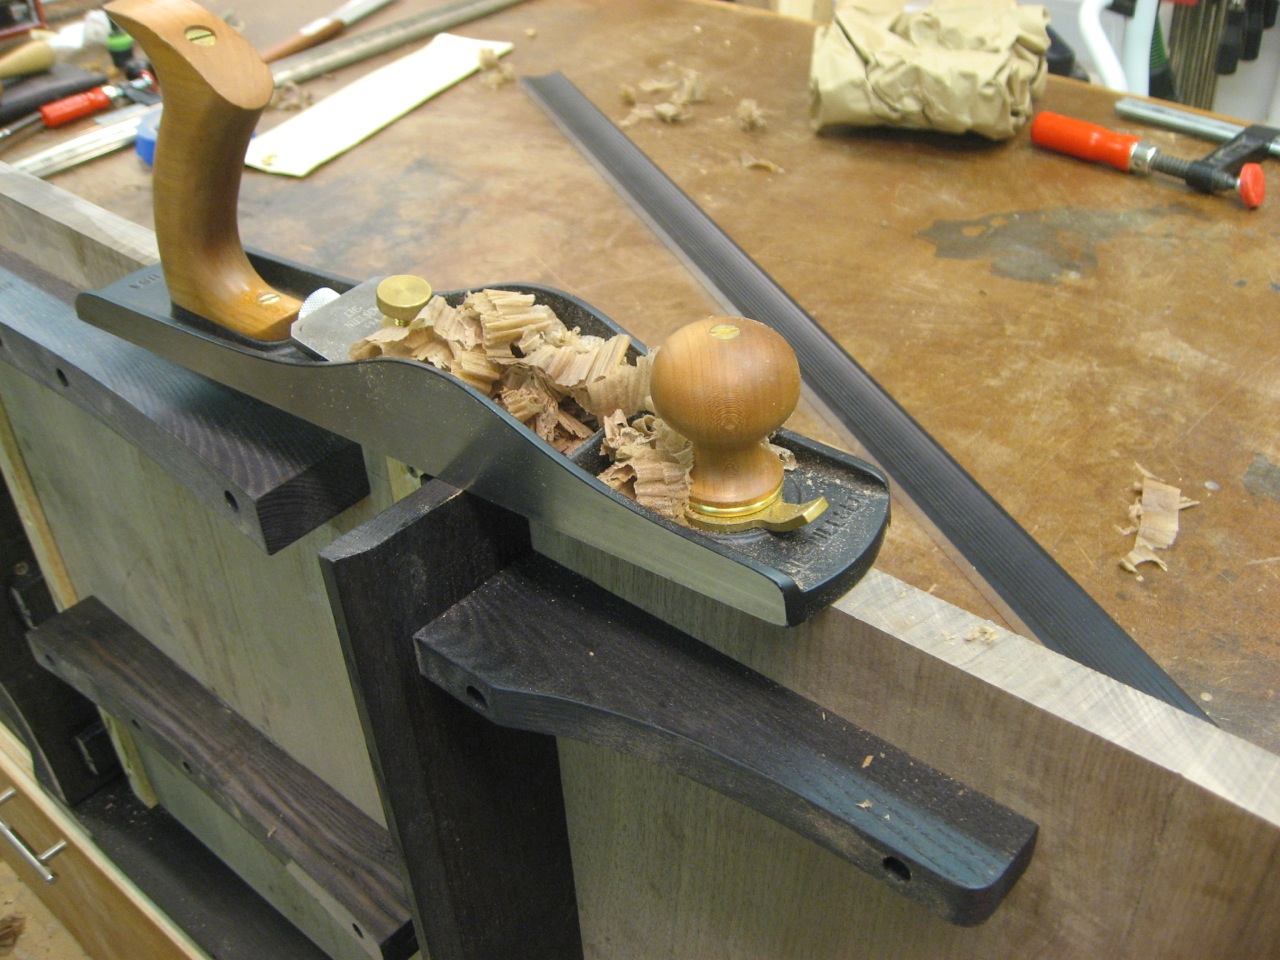
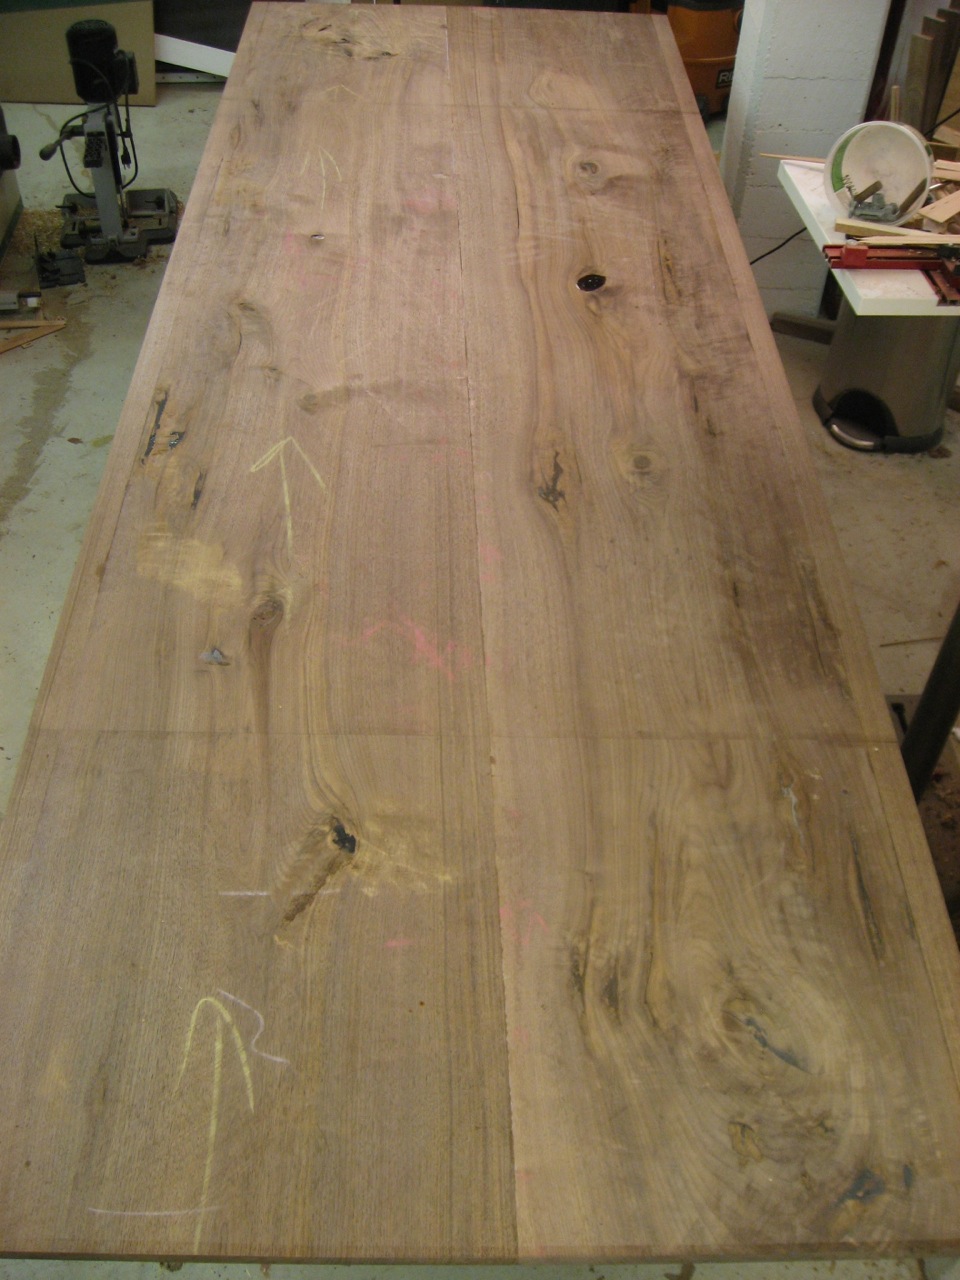
It’s still marked up from the planing of the individual boards. But I like to add a lot more chalk to easily see my progress.
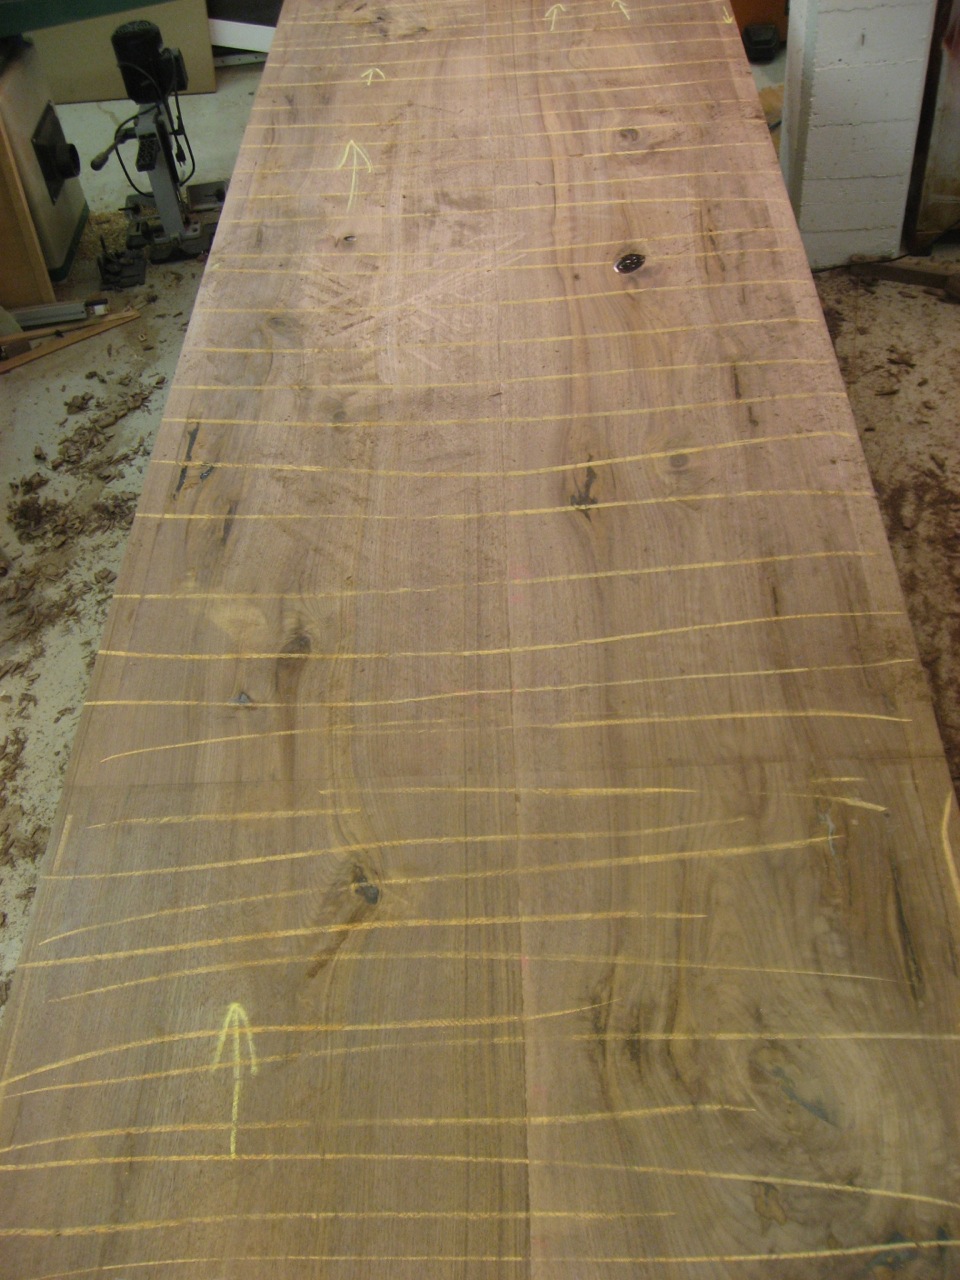
Walnut Table Top: Chalked to quickly view hand-planing progress.
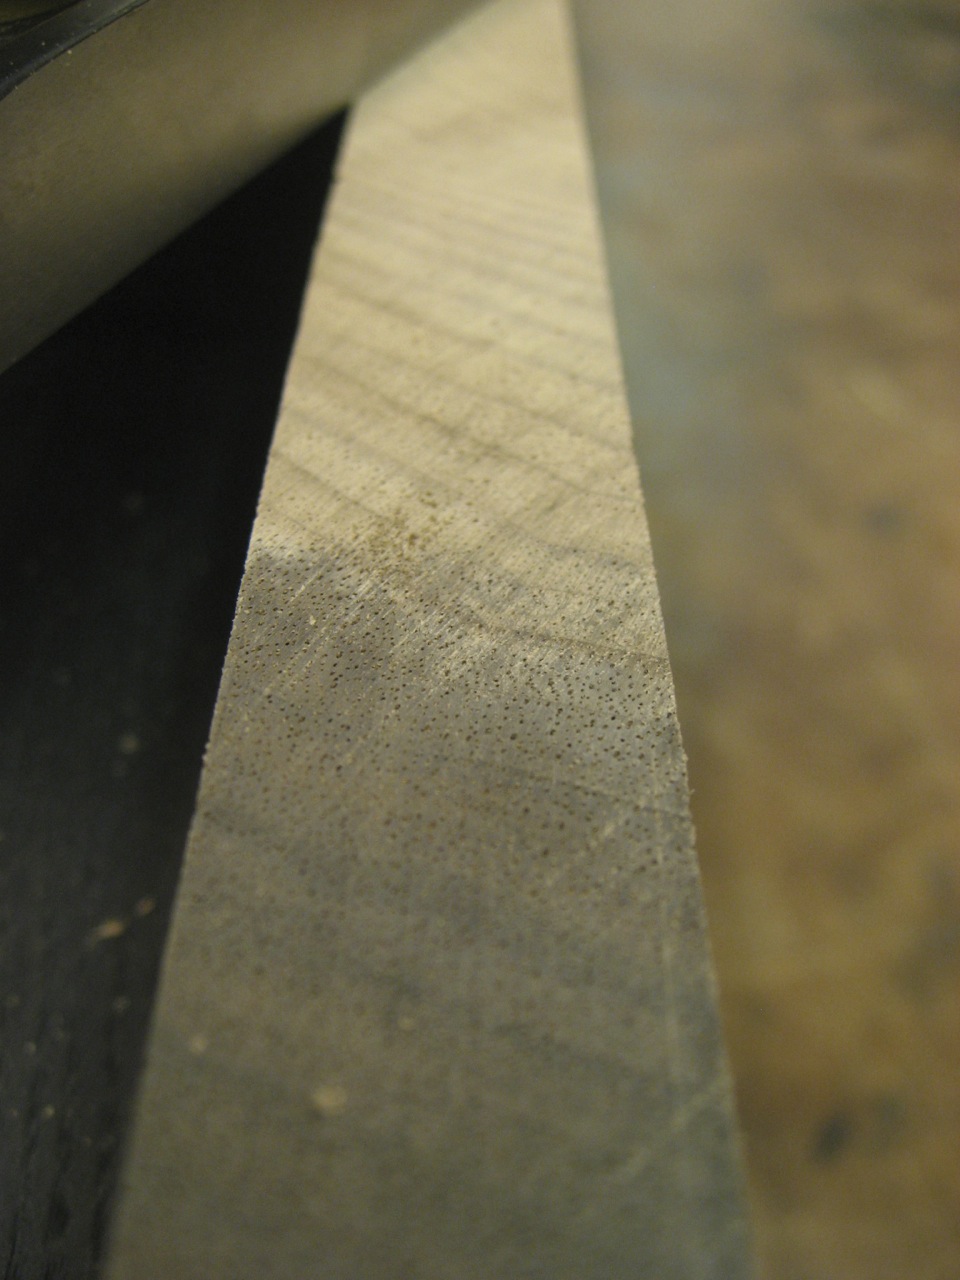
This time I stick with a very sharp Lie-Nielsen #7 for the process – I don’t want to risk any tear-out at this point. You can see what chalk is left when I call it quits. These low spots will be smoothed with a sander.
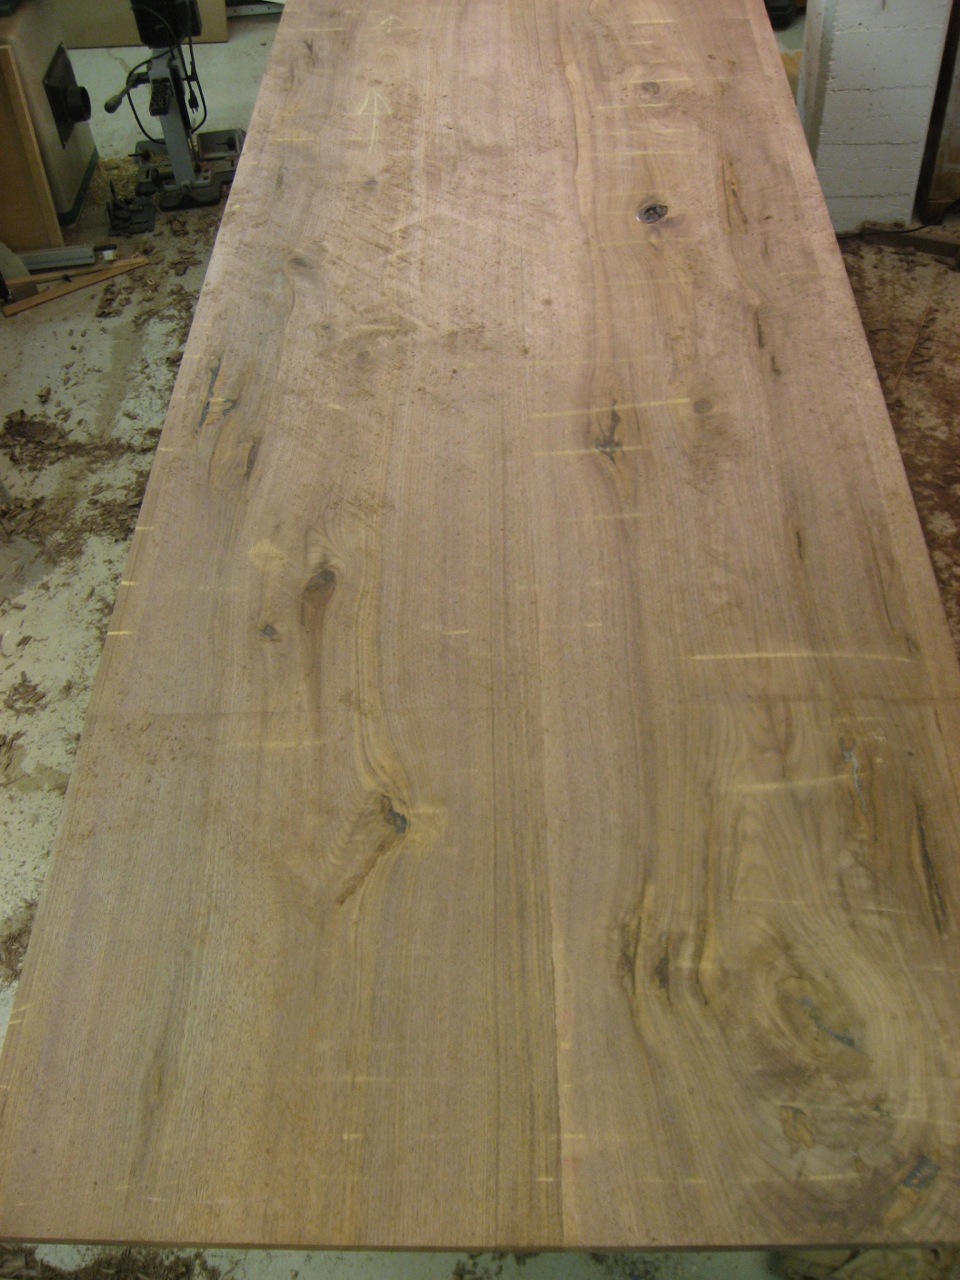
Walnut Table Top: After flattening, low spots still have chalk
Because this top has such wavy grain, I decide to finish the process with sanding. Coming up soon, but first we’ve got some other details to add!