Morton

Michael Scott Morton has been designing and building furniture for over ten years. Located in Harvard, MA, he builds custom furniture one piece at a time.

Mar 212013
 

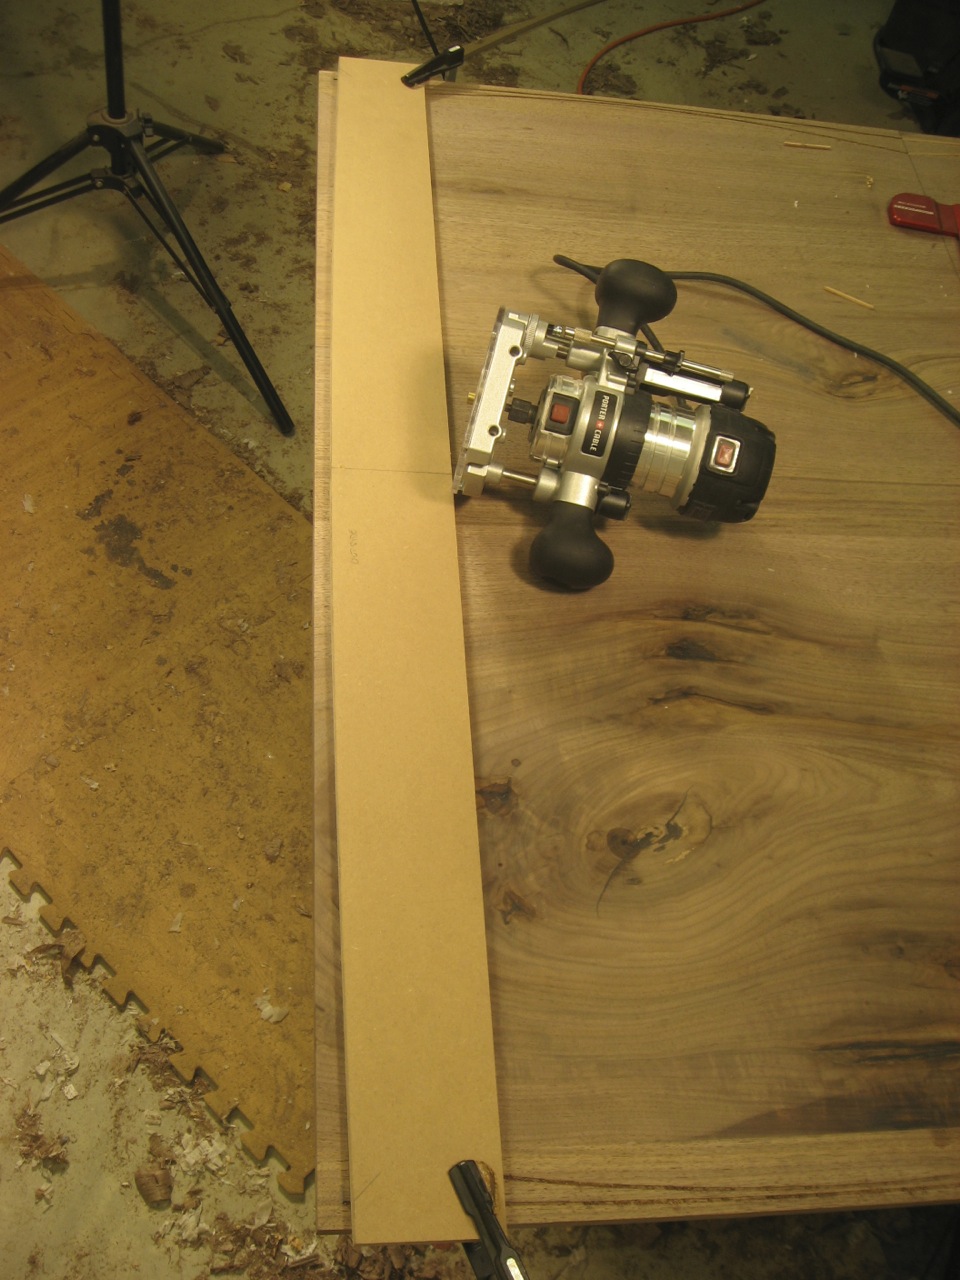
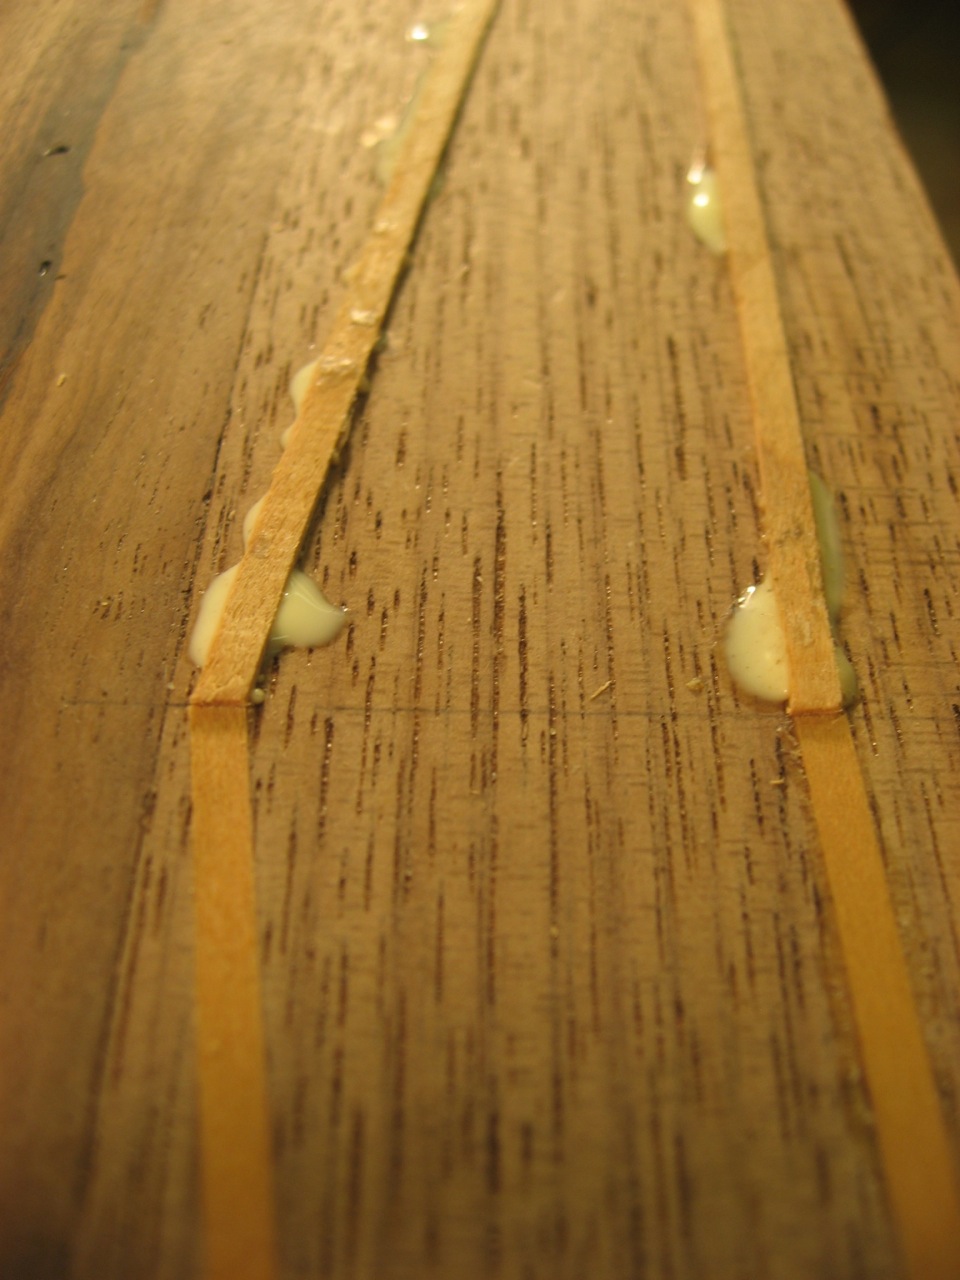
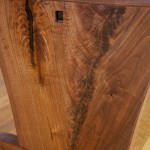
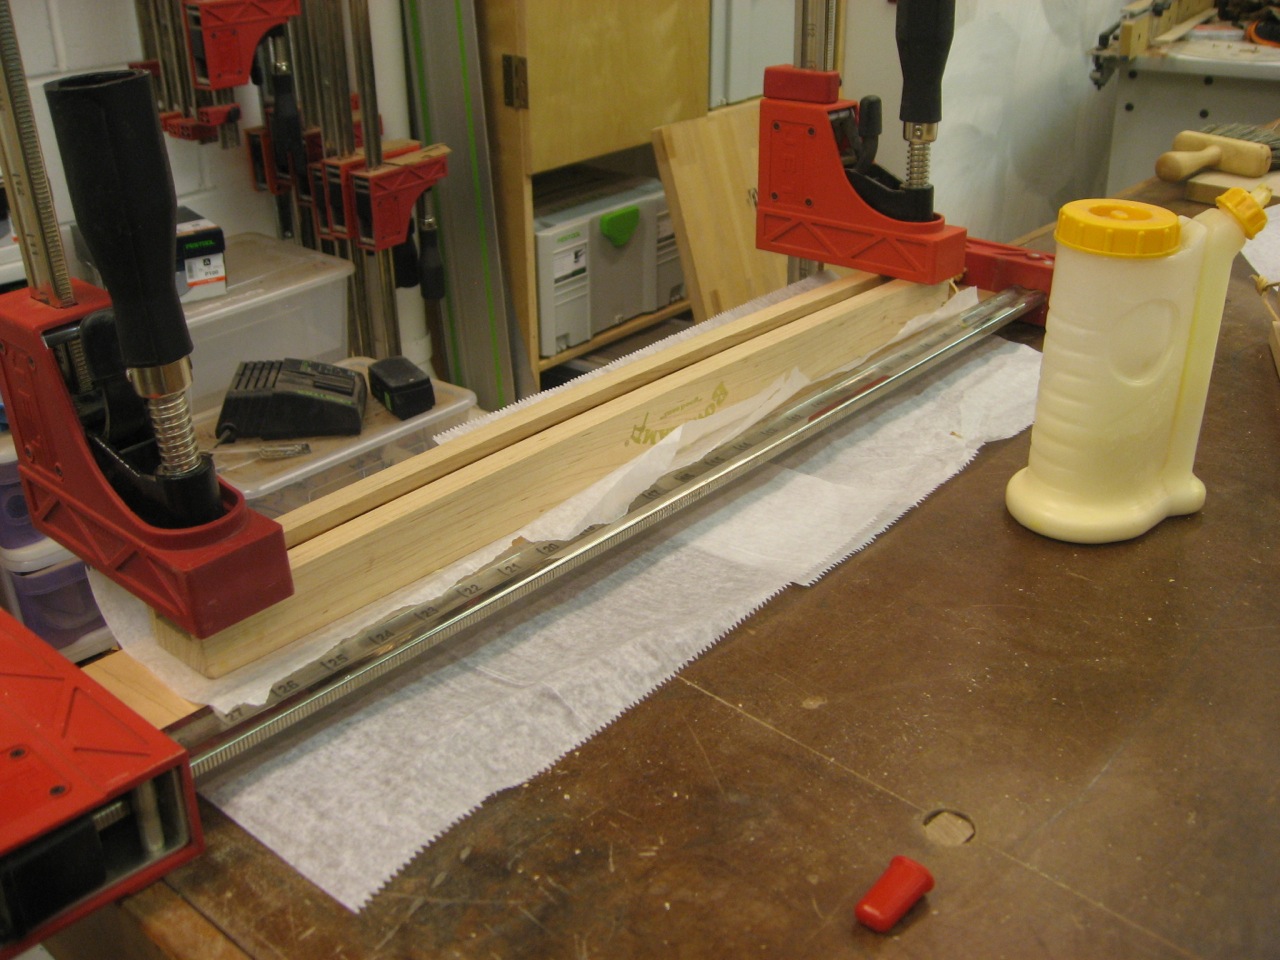
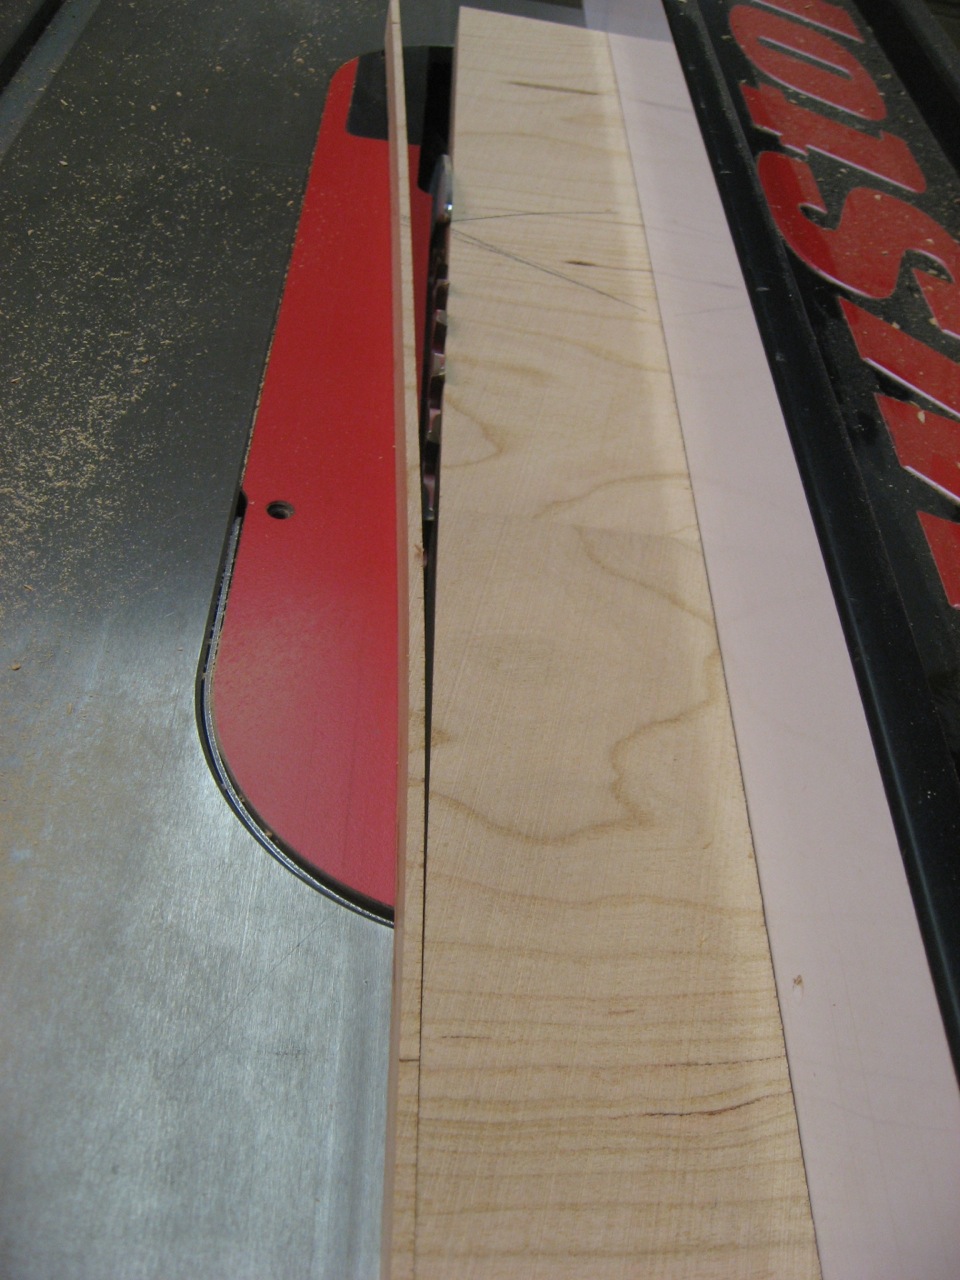
Where the inlay meets at the corner, the junction between the end and sides, each piece ends in a 45 degree to mate perfectly around the corner. I shoved and glued the first piece of inlay all the way into the corner. Then I used a small combo square to knife the 45 degree from the outside corner of the table.

Knifing the Inlay

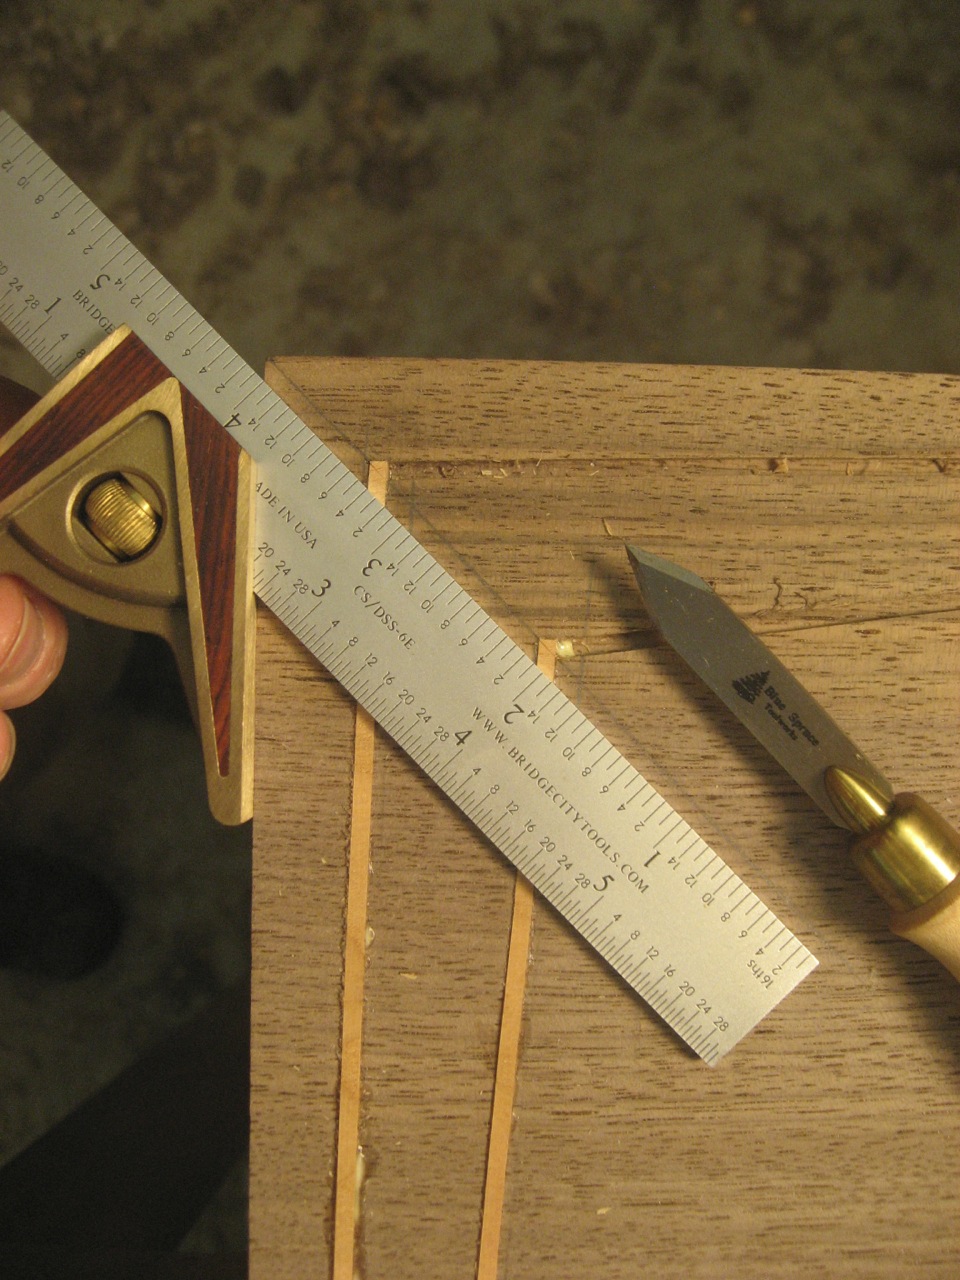
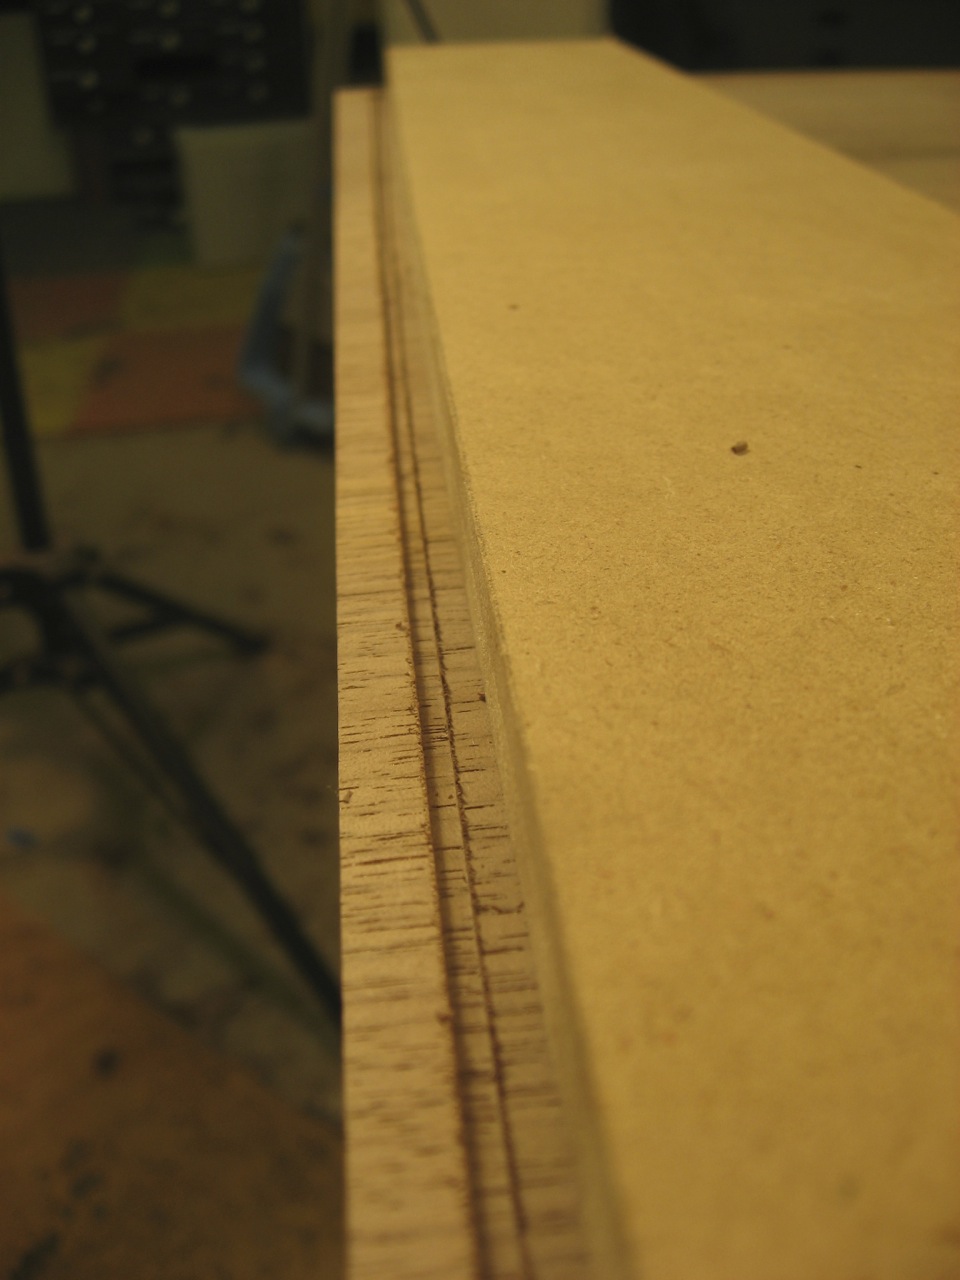
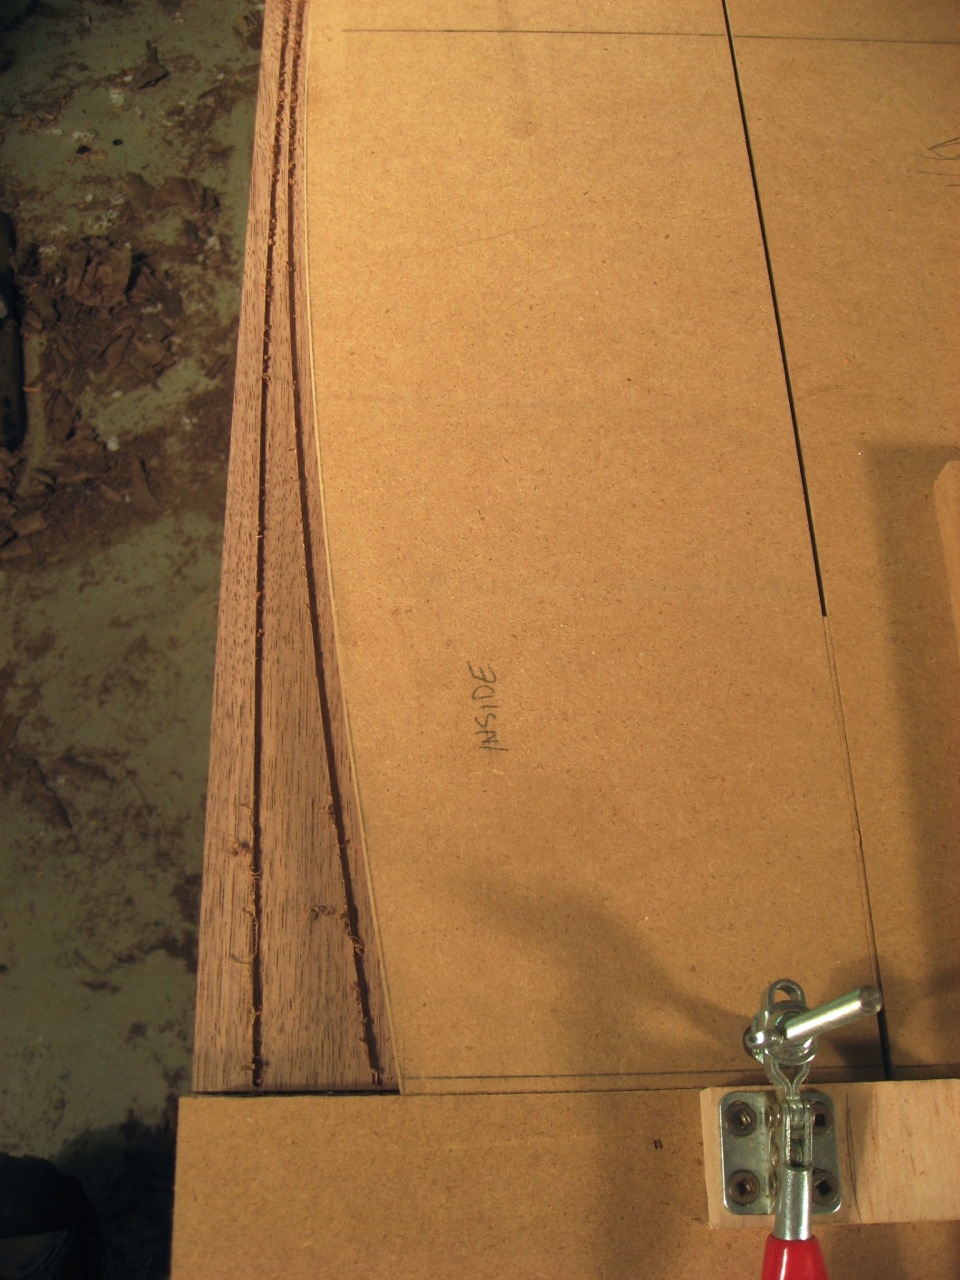
I knife the inlay at 45 degrees from the outside corner

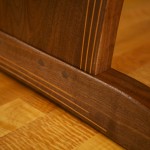
It was quick work to remove the extra inlay with a small chisel, right along that knife line. I could back-bevel it very slightly to allow room for the next piece – but not too much since it”s still proud of the surface.

Chisel the Inlay at 45 Degrees

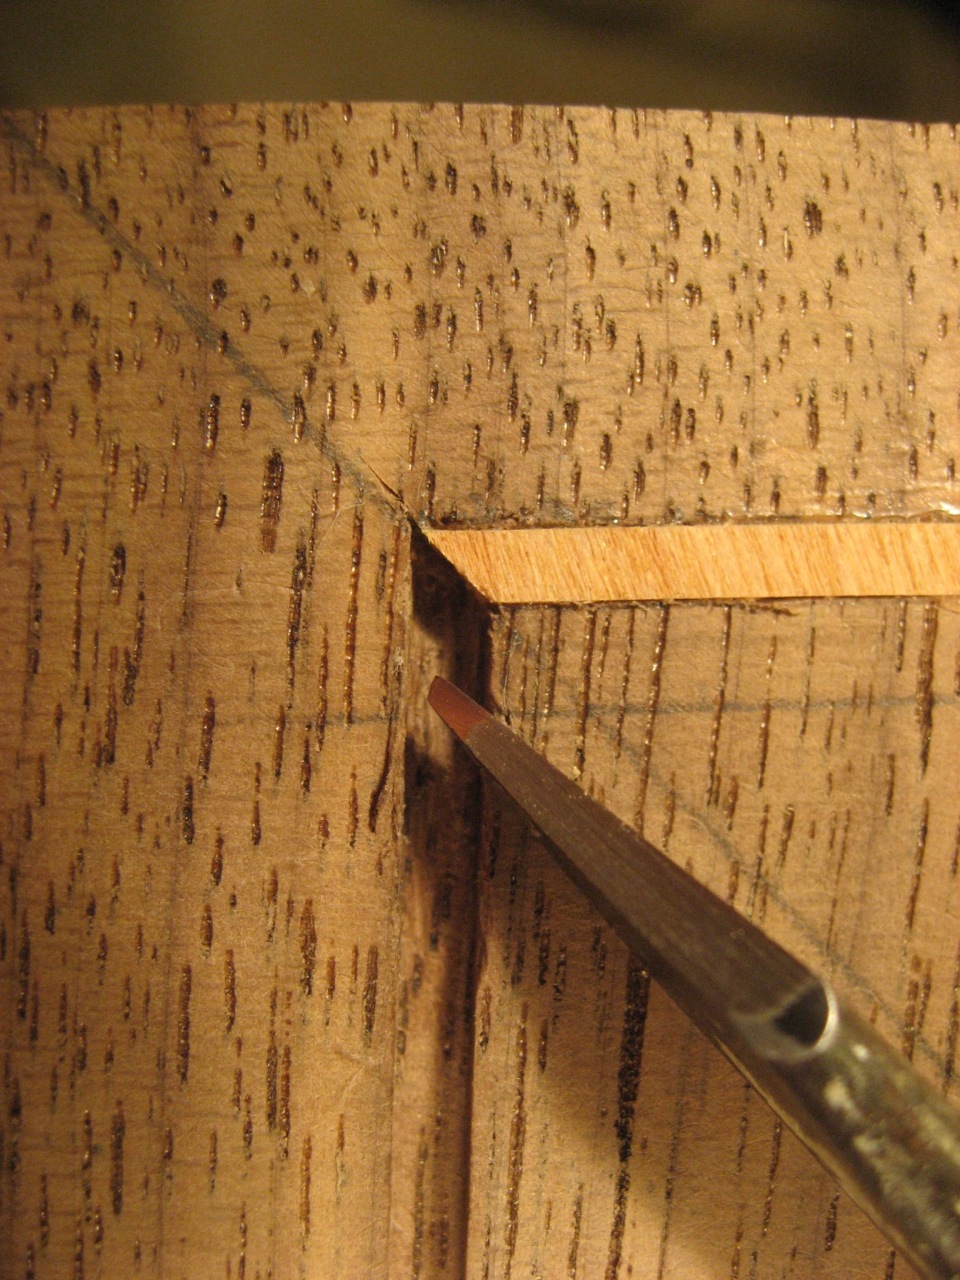
A small chisel follows the knife line to cleanly cut the inlay

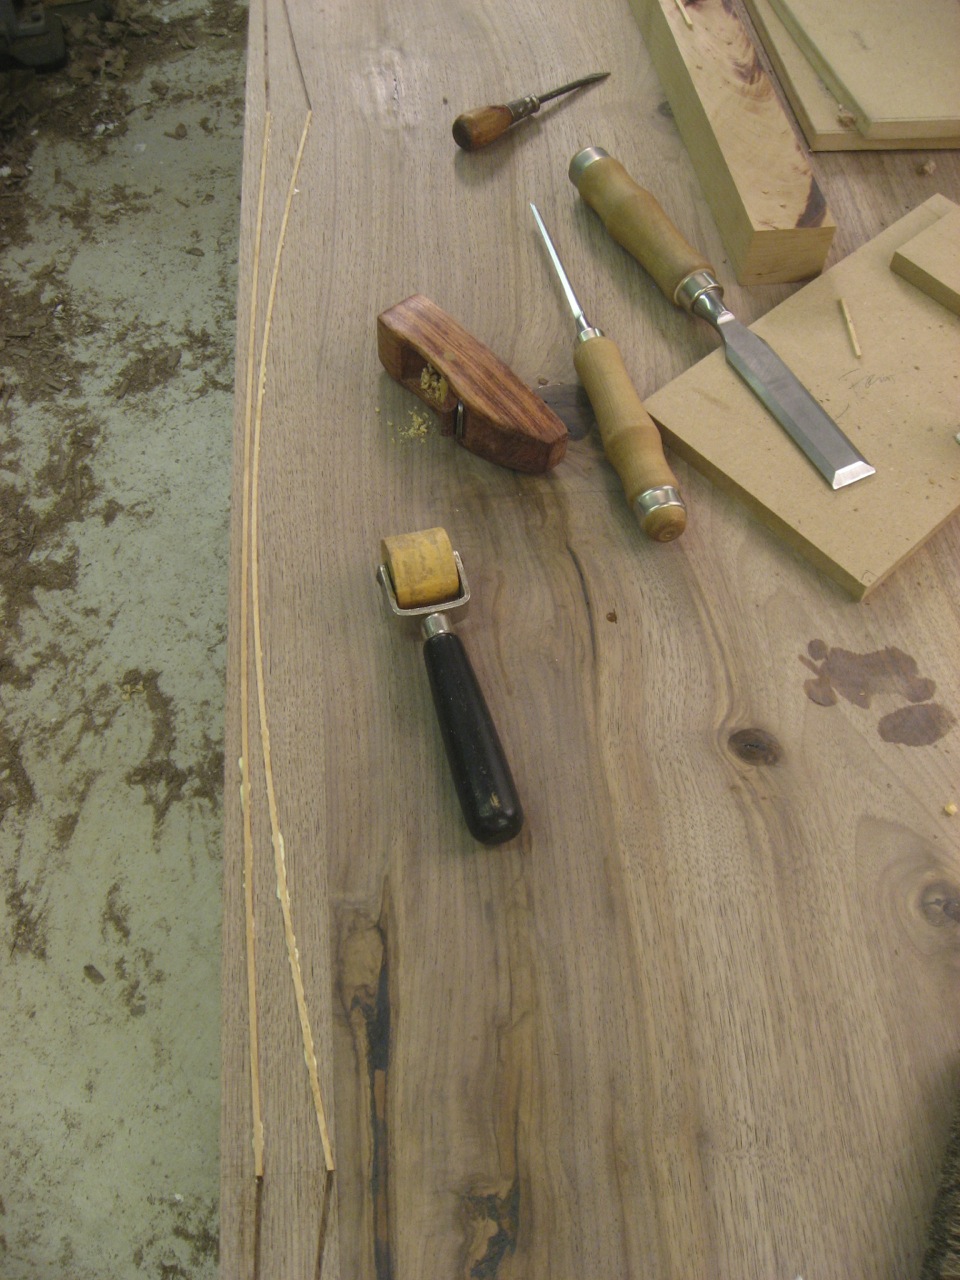
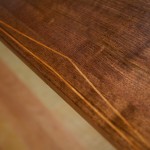
I cut the next piece to match and glued it in place. A nice, tight fit.

Inlay Meets in the Corner

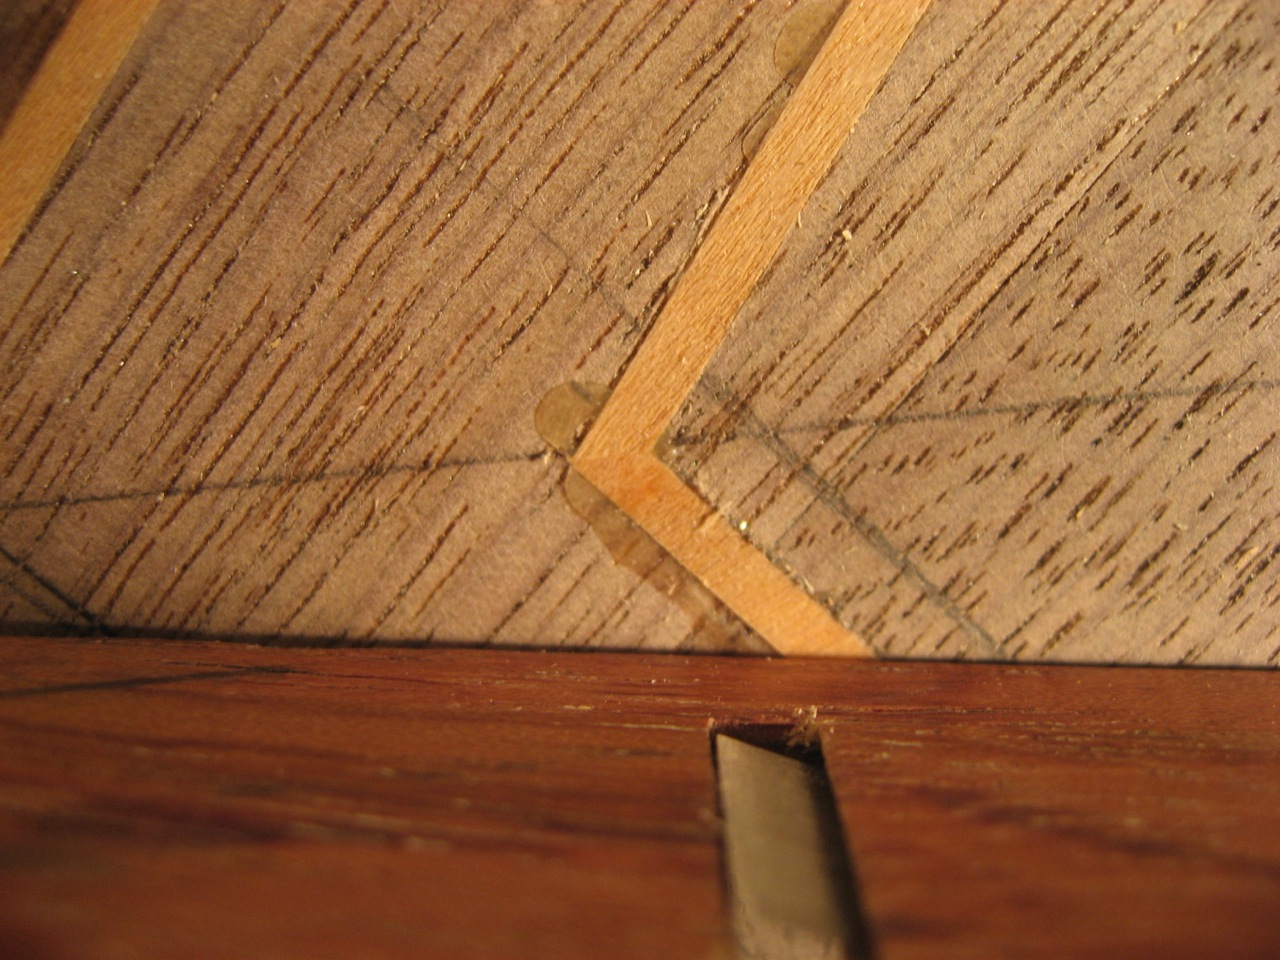
The two pieces of inlay meet neatly in the corner

Mar 192013
 

Remember the short-grain inlay I made? Those are inlay for the arcs at the ends of the table. These are similar to the sides, just much wider; so, I made new templates. These templates are simply clamped to the table and the router run along.

Inlay Template for the End

This template is clamped at each end, ready to route

I adjusted the templates one each side so that the end groove hit the side groove at a 45 degree measured from the corner of the table. In other words, I didn”t worry about the template being parallel to the end of the table (though it should be!) It was more important for the grooves to perfectly line up.

End Groove Routed

The groove is neatly routed along the template

I stopped the router just short of where the grooves meet. I finished squaring that with my very small chisel.

Chisel the Corner Square

Where the grooves meet, I chisel it square

Mar 142013
 

There are three arcs in the top inlay design, and I first route the inside and outside arcs.

Two grooves routed with the arc inlay jig

The second groove is routed with the “inside” arc jig in the holder.

I then place inlay strips into those two grooves. (The inlay is made the same way as before.) I roll the inlay into the grooves with a seam roller – which is a perfect tool for this task (a J Roller is very similar). After letting the glue dry, I use a block plane to level it down to the table. Square up the ends of the inlay using my small chisel, then on to the next place setting.

Tools for Inlay

The tools I used for placing the inlay into the grooves.

The reason I did the two outer arcs first, placed the inlay and leveled it, is because the third (center) groove overlaps the other two very slightly at the top of the arc and so I want the inlay wood there before routing that last arc. Obviously this somewhat defeats the purpose of the holder jig for that third arc.

I also changed the design where the inlay meets to be non-overlapping, just butt joints. It”s a lot less work and especially makes the router jig much simpler (same stops at each end). It”s tricky to make sure the arcs end at exactly the same location and squaring off that 3/32″ inlay!

Butt Joint Inlay

The inlay arcs for each place setting butt each other.

As I went around the table with the two outer arcs, I enjoyed the separation of the inlay (not touching at the center of the arc). Also, a third arc might make the design too busy along a small 2″ border of the table. So, I”m going to move on to the inlay at the ends and take a look at the whole table before deciding on that third center arc.

Mar 122013
 

The inlay design for the top calls for 3 arcs at each place-setting (2 feet) repeated down each side and then joined at the ends with longer arcs.  Below is the design for each place setting.

Inlay design for each place setting along the edges

Inlay design for each place setting along the edges

Unfortunately, these are not arcs of a circle or ellipse – they are curves generated from bending strips around nails. This is a method I”ve used a lot in the past and is reminiscent of a chandelier I designed. I have to create the curved template by hand.

The router method I used for the legs worked well, so I”ll keep that procedure.  However I”ve got three arcs all with the same center point, so I created a bit more of a jig for this process. Unfortunately I didn”t capture images of making this jig – but I”ve got a few of it in-use.

The idea is that there is a “holder” that clamps to the table, centered at the place setting location. I can then swap in my three arc templates.

The inlay arc jig with one arc template clamped in

The inlay arc jig with one arc template clamped in

You can see one of the arcs clamped into the center of the holder. The holder also has the stops at each end which makes the routing quick and easy. Assuming my three arc templates are symmetrical, this system keeps them perfectly located relative to each other for each place setting!

Router run along the arc template

A small palm router is used to make the arc inlay by running it along the jig

I simply run my router along one of the arcs, swap to the next one and run the router again.

Router used to make inlay arc

After one arc template, I’ve got one arc – ready for the next two.

Mar 082013
 

The dining room table is complete, delivered and installed. It was great to finally see it setup at the client”s house! Before it was packed up, I had a good friend take photos. I couldn”t be happier with how it turned out. Many long hours poured into the whole project and it was worth the effort!

[You can click any photo for a larger version.  Click it again for full-page.]

Mar 082013
 

Making long-grain inlay material for the top is straightforward – the same process I used before. However, there’s inlay across the end of the table and that grain runs the other direction. If use the long-grain inlay material it’d be laid into dadoes cross-grain to the table top and that could lead to some major cracks across 3.5 feet. So, I want to make up some short-grain inlay material.

I start by chopping a single 6″ cherry board into pieces that I’ll glue together end-to-end to make a 4 foot wide “board”. Below you can see the cherry pieces lined up in order. They are touching where I’ll glue them up (long-grain to long-grain).

Chop a single 6" board into pieces to re-glue into a "wide" board

Chop a single 6" board into pieces to re-glue into a "wide" board

The pieces are glued and clamped together with a single parallel clamp across those 8 joints. Since they are small pieces, I also clamped them flat to my assembly table with a bow clamp! Perfect use for this clamp accessory.  Wax paper makes for easy cleanup.

Use a blowclamp to help clamp small pieces of cherry

Use a bowclamp to help clamp small pieces of cherry

Once dry, I cut off slightly oversized strips from this very wide cherry “board”.

Cutting off strips of inlay from my wide cherry "board"

Cutting off strips of inlay from my wide cherry "board"

The strips are dialed into thickness with the drum sander. The end-grain here (thickness) are the sides of the inlay; the part you see in the end are the 3/32″ edges on the left or right.

Dial in the inlay thickness on the drum sander

Dial in the inlay thickness on the drum sander

Yes, these are fairly fragile pieces since it’s short-grain. But honestly it’s not nearly as bad as I thought it might be. The strips hold together fine with careful handling (not even that careful!) – and even when I cut off a single piece for inlay (about 1/8″ x 1/8″ x 3′) – they hold together as long as it’s supported. Cool.

Mar 042013
 

There’s a section of the table leaf that is really low. I did some testing early on with epoxy and decided I’d fill this rather than try to bring the rest of the table down to that level. After putting finish on the test piece, the epoxy section blended in very smoothly.

The dry epoxy fills a low spot, ready to be leveled with a hand plane

The dry epoxy fills a low spot, ready to be leveled with a hand plane

There’s a section of the main table wood that dips down at the edge.  Because I added 2″ of edging, there’s an 1/8″ difference in height between that edging and the main table: that’s the area I’ll fill.  Here you can see the epoxy I poured after it dried.

Epoxy fills the low spots nicely.

Epoxy fills the low spots nicely.

I’ve found that epoxy cuts very neatly with a hand plane, so I’ll use an old #4 (with a sharp blade!) to smooth it down to the surface.

A hand plane cuts epoxy very well, taking glue shavings!

A hand plane cuts epoxy very well, taking glue shavings!

When I get close to the wood, I’m very careful as I don’t want to plane much wood away at this point.  Unfortunately the epoxy did “chip out” and I had to fill some spots again.  This occurred at the edge of the epoxy, the blade can get under the very edge and lift a section of epoxy away from the wood – so it’s better to plane from epoxy onto the wood, not the other way around. Luckily multiple pours of epoxy blend extremely well!

The epoxy is leveled with a hand plane, to be sanded later.

The epoxy is leveled with a hand plane, to be sanded later.