Molly Bagby

Jul 192017
 

Molly Bagby is an employee at Highland Woodworking who recently finished up a 2 Week Basic Woodworking course at Center for Furniture Furniture Craftsmanship (CFC). Although she grew up at Highland Woodworking from a mere 1 week old, her knowledge of woodworking skills is limited. With this class, she intends to change that. You can follow her on Instagram @HighlandWoodwoman.

As I mentioned in my previous blog, we delved right into Sharpening on Day 1. I quickly learned why Highland Woodworking has an entire section of the store dedicated to sharpening supplies. A lot of work goes into getting tools sharp, but a sharp tool really makes all the difference, especially when making joinery.
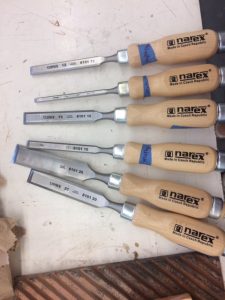
Peter Korn has an entire section on Sharpening in his book Woodworking Basicswhich discusses each step of the process in detail. What he taught us in class are the same methods he discusses in his book, but here are the main steps I picked up from the process (as a side note, I had brought up a brand new set of 6 Narex Chisels, which in their description say “like most edge tools, they’ll need sharpening before use”…they forgot to mention the words “A LOT” but apparently that is the case for almost all new chisels, and even if they do come “pre-sharpened” you’ll still want to do a little bit more yourself to get them in “perfect” working condition.

Flattening the Back – Your goal in this part of the process is to flatten the back of the chisel.

  1. On the two sides of a 5×12 piece of glass, stick a long piece of 220 grit adhesive sandpaper.
  2. Rub the back of the chisel flat on the sandpaper by holding it down at a slight angle and move it back and forth to remove the factory marks from the top 1-2 inches of the chisel (I found that I had a hard time keeping the chisel flat…this necessity was stressed time and time again).
  3. Switch to a 1000 grit waterstone and continue flattening the back of the chisel, taking out the 220 sandpaper scratches.
  4. Switch to a 6000 grit waterstone and continue flattening until the back of the chisel has a shiny, mirror finish to it (i.e. once you can see your reflection in the back of the chisel).
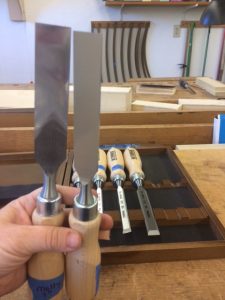
One of these chisels has been sharpened and one of them hasn’t…can you tell which is which?

-When sharpening on stones make sure you are using the whole length of the stone and are holding the chisel on the steel portion of it so that you are less likely to lift the handle and round the chisel back.

-Once you have flattened the back, you will no longer need to use the sandpaper or 1000 grit waterstone on the back of your chisel.

Honing the Front 

Once the back is flat, it is time to hone the front of the chisel. First you want to make sure your chisel is ground down to a 26-30 degree bevel angle. Anything less than 25 degrees will fail. I found the grinding process on the electric grinder to be very technical and won’t go into the details of the grinding process, but there are some great YouTube videos that show this process.

After you have the proper angle from grinding, go back to the waterstones to get the perfect edge:

  1. Start on the 1000 grit waterstone and make sure the bevel edge is flat on the stone, with only the front edge making contact with the stone.
  2. Again, keeping the chisel as flat as possible on the stone is key in order to keep from misshaping the edge.
  3. Move the chisel back and forth on the stone (making sure to use the entire surface of the stone), applying downward pressure when pushing it forward and no pressure on the return back. I found that I had to go back and forth for several minutes and sometimes counted my strokes to help pass the time (I think I got to over 100 one time).
  4. Remove the burr that has been created on the back of the chisel on the 6000 grit stone.
  5. Repeat Steps 1-4 on the 6000 grit stone.
  6. Once your chisel is sharp enough to remove hair from your skin, it’s sharpened.

Congratulations! You now have a sharp chisel….maybe. Unfortunately, this was not the case the first few times I was going through the sharpening process and I found the entire process to be very frustrating, detail-specific, and I felt like I had no idea what the perfectly sharpened chisel was supposed to look like.
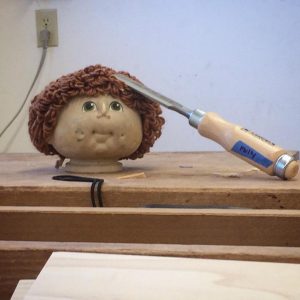
I was so frustrated by sharpening that I tried to stab my benchmate’s mascot with my “sharpened” chisel…it clearly wasn’t sharp enough

I compared the process to making a magic wand work. If it wasn’t perfect made, no magic would come out of it. If the chisel wasn’t sharp, it was not going to cut wood the way you wanted it to. I don’t actually believe in magic, which is why I found this comparison to be true…a magic wand will never actually work, and the sharpening process was so arduous that at times I felt like I was never going to get my chisel sharp enough.

But with a little lot of patience, time, and wet/flattened waterstones, eventually you will get your chisels sharp enough to start making joinery. Keyword=eventually. It wasn’t until midway through week 2 that I handed one of my chisels to Peter who was showing me a dovetail technique and he specifically said “wow, you’ve actually got a really sharp chisel!” That was probably one of the highlights of my time at CFC.

Jul 132017
 

Molly Bagby is an employee at Highland Woodworking who is taking the 2 Week Basic Woodworking course at Center for Furniture Furniture Craftsmanship. Although she grew up at Highland Woodworking from a mere 1 week old, her knowledge of woodworking skills is limited. With this class, she intends to change that. You can follow her on Instagram @HighlandWoodwoman.

Since this is a 2 week class, the school sets up housing hosts for those who come in from out of town. I arrived in Hope, Maine around 10:30pm the day before my class started after a brief detour visiting my sister Kelley, a fellow author on this blog. I was easily able to find the house and my room, and my host was gracious enough to leave handwritten notes everywhere to tell me where everything was located. The next morning, she was in the kitchen when I came downstairs and she and I chatted a bit. Her name is Deb and she is active in the local arts community.

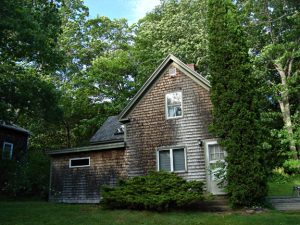
My residence for the 2 weeks I’m studying at Center for Furniture Craftsmanship

After a quick stop for some breakfast at The Market Basket (a deli I’ve frequented many times on my visits to the Lie-Nielsen Toolworks factory) it was off to my first day of woodworking school.

Each 2 week class at Center for Furniture Craftsmanship (CFC) accommodates 12 people (i.e there are 12 workbenches plus 1 for the instructor). When I entered the Workshop Building (1 of 5 buildings on campus), all but 2 of the workbenches were occupied with students ready and raring to go! I found an empty workbench at the back of the room and 5 minutes later, a guy named Mike Z from NYC showed up and took the last bench (and became my bench mate since our benches were butted up next to each other, as every 2 benches were situated in the classroom). Mike has been a really cool guy to get to know and we both have several things in common (being the 2 youngest people in the class and both having lived in NYC, among other things).

Mike brought this doll head from his school workshop in NYC. It stares at me a lot, so one day I tried to stick a chisel in its head so it would stop staring at me. My chisel wasn’t sharp enough.

Class started promptly at 9am when Peter Korn walked into the classroom and called everyone over to his workbench. He gave a brief overview of the school and then explained what would be happening over the next 2 weeks. He introduced us to Mary Ellen Hitt, the co-instructor for the class, and Eddie Orellana, who has the all-encompassing role of Shop Assistant. Then everyone taking the class introduced themselves. After I introduced myself, Peter noted that Highland Woodworking had donated many of the workbenches found throughout the school.

After introductions, Peter told us one of the most important things to know in woodworking safety: “Oily rags will spontaneously combust.” We haven’t even had our finishing talk yet, but already, this phrase has been repeated multiple times.

The rest of the morning included a basic overview of wood: “We’re going to start with wood…wood comes from trees…” This discussion included types of wood, types of grain, wood thickness, and wood grades. Next, he went right into discussing steel and chisels, which quickly led to the most important aspect of woodworking, sharpening.

I have quickly learned why sharpening is many woodworkers least favorite parts of the trade, but at the same time, I have also learned how important it is to have a sharp tool at hand. Peter went through a detailed step-by-step demonstration of his preferred sharpening process, which I will go into further detail about in an upcoming blog entry dedicated to sharpening and how much I hate love it. For now I will just say that Peter makes everything look really easy.

The last part of the day was spent touring the Machine Room and learning what each machine was used for, as well as safety measures for each machine. While I’ve grown up around power tools and machinery, I’ve never actually used any of it. I am excited to learn, but I am happy that the school likes to focus more on hand tool usage…

The Machine Room consists of the following:  a 10″ SawStop tablesaw, a 12″ sliding tablesaw, 8″ and 12″ jointers, 12″ and 15″ thickness planers, 14″ and 20″ bandsaws, drill presses, a lathe, a shaper, a chopsaw, a scrollsaw, a slot mortiser, grinders, a stationary disc/belt sander, and an oscillating spindle sander. There is also full dust-collection.

Every workday ends at 4:30pm with a class meeting to go over the next day’s schedule and then it’s time for shop and workstation clean-up. Peter made sure to note that according to OSHA standards, it is “illegal” to sweep a woodshop. Vacuuming it is!

Read the next blog in this series, The Importance of Sharpening

Follow me on Instagram @highlandwoodwoman to see more photos from the class! 

Jul 052017
 

Me, Nick Offerman, and my Dad (Chris Bagby, co-owner and founder of Highland Woodworking)

My name is Molly Bagby and I have been involved with Highland Woodworking since I was a mere 7 days old (or maybe even earlier than that). Once my Mom, Sharon Bagby, recovered from pregnancy she started back to work right away and brought me with her. While I don’t remember much from those early days, growing up at Highland Woodworking has contributed to my passion for learning new things, as well as my crafting skills. But despite being around tools for most of my life I have never actually taken the time to learn basic woodworking. Now that I am more involved with the business side of helping to run the store, I figured it was about time to actually learn some woodworking skills.

An amazing opportunity recently came along to take a 2 week Basic Woodworking class at the Center for Furniture Craftmanship in Rockport, Maine. These classes fill up months in advance and when I called back in April to sign-up I was told that the class was full, but I could be put on the waitlist. I remained on the waitlist for several weeks. About a month before the class was scheduled to start, I gave them a call to see where I was on the waitlist. There were still 2 people ahead of me, so I figured my chances were pretty slim this close to the start. Last Tuesday, I got a voicemail while at work and saw that it was from the Center for Furniture Craftmanship. I called them back right away and they said a spot had just opened up due to a last minute cancellation and it was mine if I wanted it. It didn’t take me long to decide and I said yes right away. I mean, wouldn’t you have said yes to an opportunity to escape to Maine for 2 weeks and become fully engulfed in woodworking?

During these next 2 weeks I’m looking forward to learning as much as I possibly can about woodworking so I can become a better, more educated employee at Highland. I’m also looking forward to beginning a new hobby. Judging from what I’ve been able to see through the shared experiences of our customers, I’m sure it will be a very rewarding one.

Stay tuned to this blog to hear about my journey as a beginning woodworker! You can also follow me and my experiences on Instagram @HighlandWoodwoman..

Jan 252017
 

woodworksfront-1Last weekend was the opening of Wood Works, a gallery exhibition at the Oconee Cultural Arts Foundation (OCAF) in Watkinsville, GA, running from January 20th-February 17th, 2017. Highland Woodworking is presenting this event full of woodworking projects from some of the Southeast’s most talented woodworkers.

Over the next few weeks, the exhibition will be hosting several special events which we’re sure will be of interest to many of our readers.

On Saturday, January 28th at 10:30am, there will be A gallery talk by Philip Moulthrop and Sabiha Mujtaba at OCAF, which is free and open to the public. Sabiha is both a class instructor and employee at Highland Woodworking whose work is being exhibited at Wood Works.

On Friday, February 3rd at 7:00pm, there will be a PechaKucha, a series of short, fast paced, graphically illustrated commentaries by multiple wood artists hosted by Sons of Sawdust co-founder Matt Hobbs at OCAF. This event is also free and open to the public, and will include refreshments.

Wood Works has been written up by several media outlets, including:

WUGA, the local NPR affiliate, did a short interview with Alf Sharp and Abraham Tesser by Michael Cardin.

The Flagpole, by Barbette Houser.

BOOM, by Theresa Rice on the show: Romancing the Wood .

The Athens-Banner Herald, the local daily paper had a wonderful story by Wayne Ford.

The Oconee Leader, by Wayne Ford on Abraham Tesser, the organizer of Wood Works.

Apr 192016
 

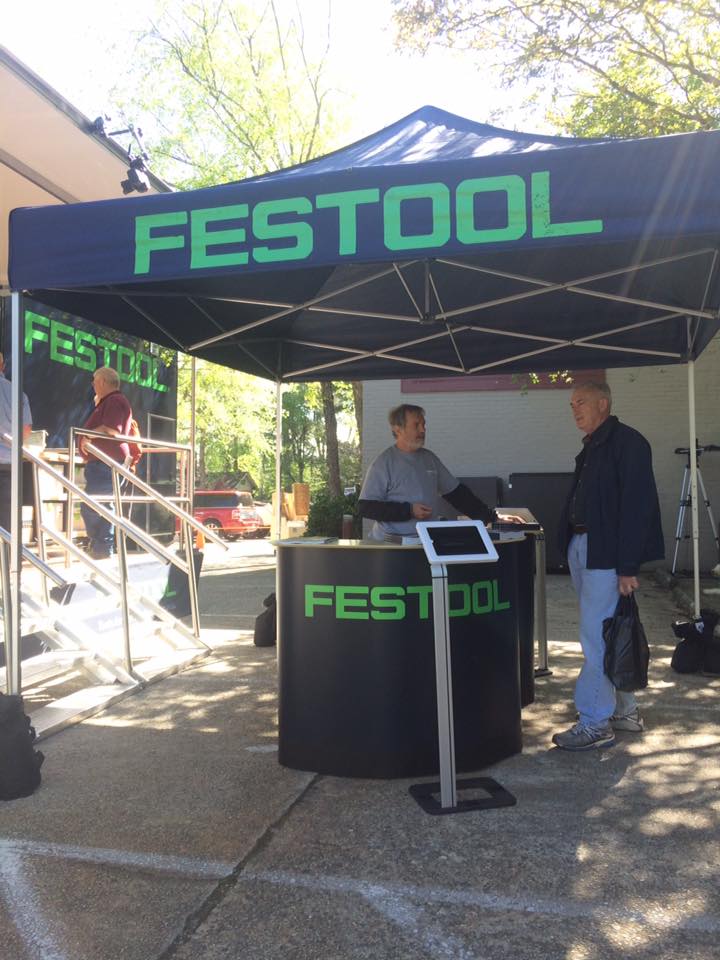
The Festool Roadshow came through Atlanta, GA last Friday, April 15th and setup in our parking lot at Highland Woodworking for a day full of Festool demonstrations, giveaways, education and more!

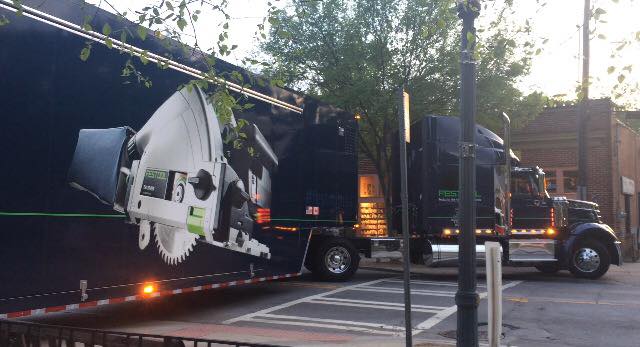
The Festool Truck arrived at Highland Woodworking at 8pm the night before the Roadshow

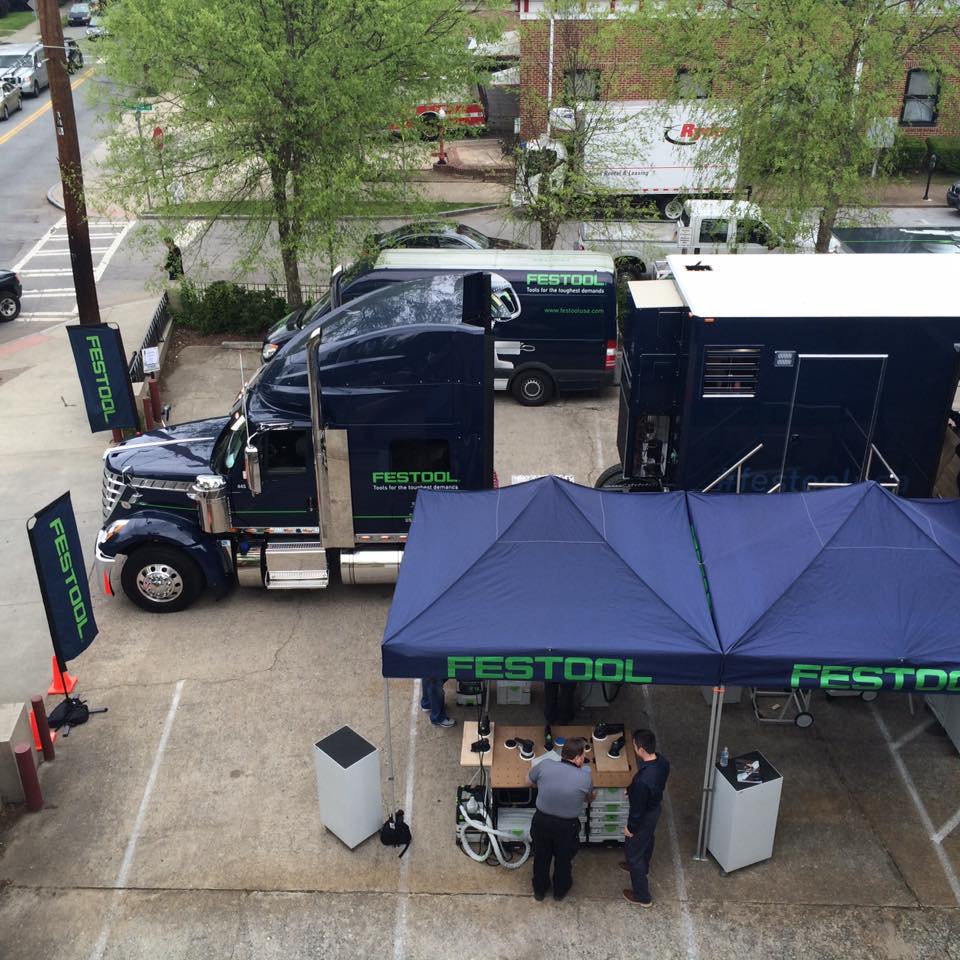
The Festool Truck drove through the narrow streets of Virginia Highlands and arrived at Highland Woodworking at 8pm the night before the Roadshow

12986971_10153770562334024_739271456447005034_n

Festool Roadshow truck driver Eric Wilfong utilized the help of several Roadshow staff members blocking traffic on the street to squeeze his 70-plus foot long rig into the narrow entrance to our parking lot.

bluesky

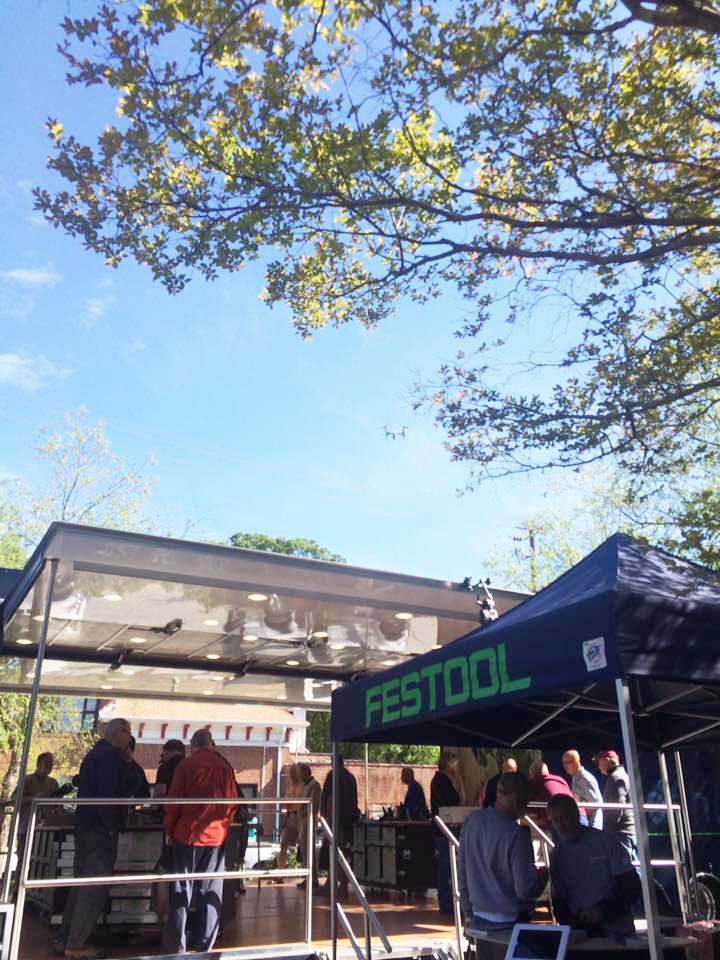
The weather was perfect for the event and we had a great turnout throughout the day! Over 100 people stopped by the event!

13015254_10153770562859024_5334835957312479482_n

Chris Bagby, owner and CEO of Highland Woodworker, was there to greet everyone who attended.

13015195_10153770563719024_8598580022381569326_n

The Festool Roadshow truck was an attraction within itself!

12984051_10153770564394024_774619746871699598_o

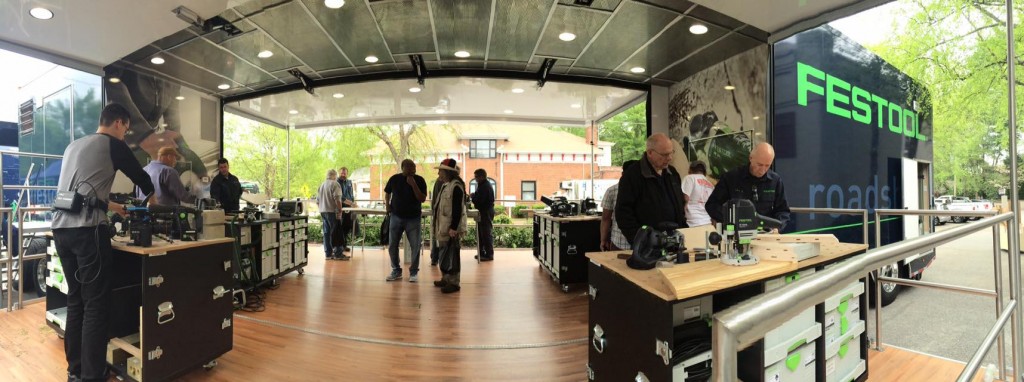
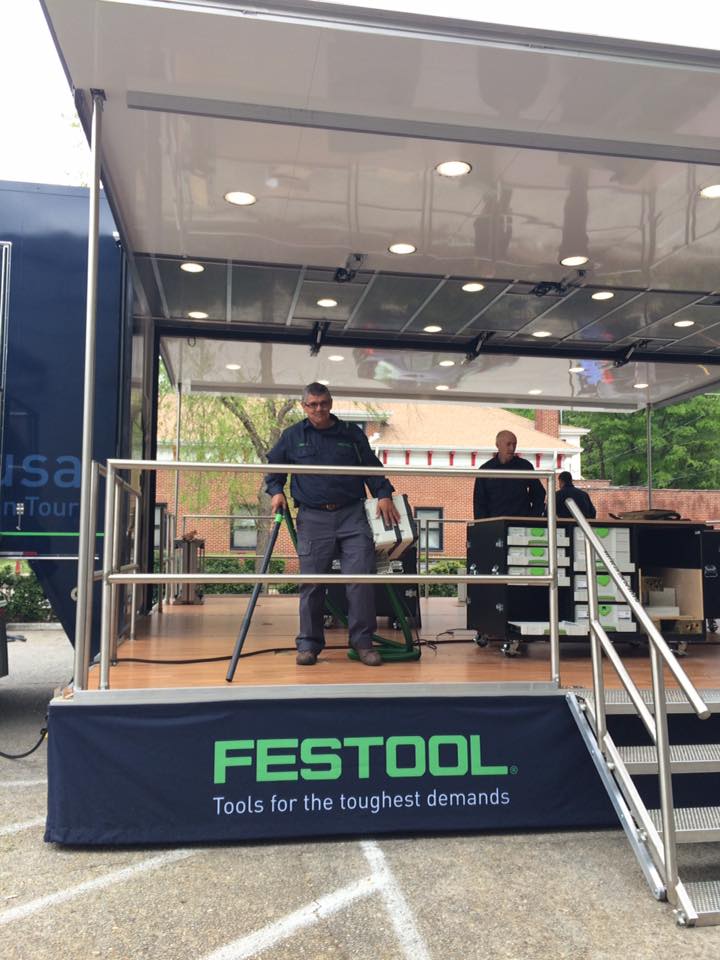
The truck opens up into a giant floorspace which allows the set-up for different Festool demonstration stations.

13006708_10153770566254024_1626877728314625854_n

A birds-eye view from the roof of Highland Woodworking

Several members of the Festool show staff were on hand to give demonstrations of all of the different Festool tools, as well as answer any questions. The staff in attendance were Larry Smith, Allen Kensley, Georg von dem Bussche, Jeff Covey, and Robert Hatfield.

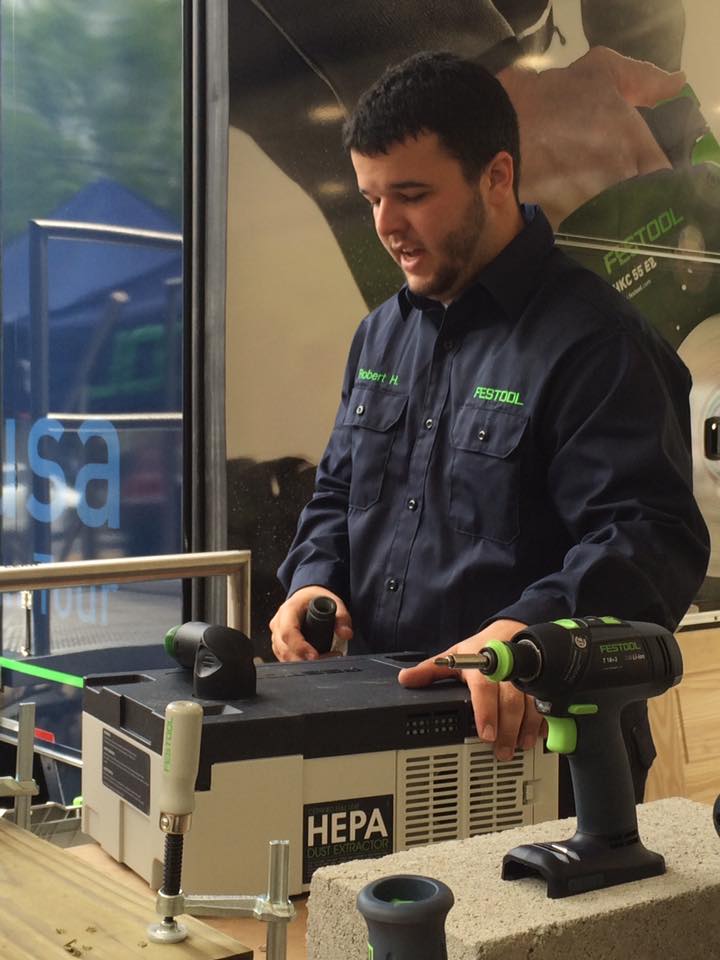
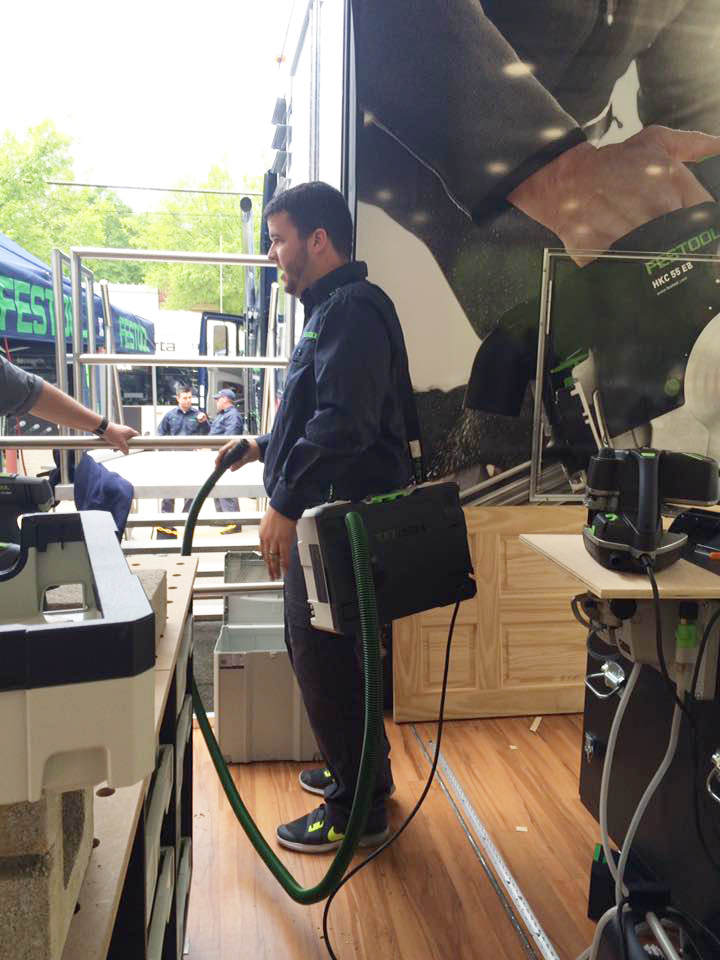
Robert Hatfield discussing the new Festool CT SYS HEPA Systainer Dust Extractor

Robert Hatfield discussing the new Festool CT SYS HEPA Systainer Dust Extractor

dustcollector

Robert Hatfield demonstrating the Festool CT SYS HEPA Systainer Dust Extractor that comes with a convenient over-the-shoulder strap

13029683_10153770565274024_2999233016109778751_o

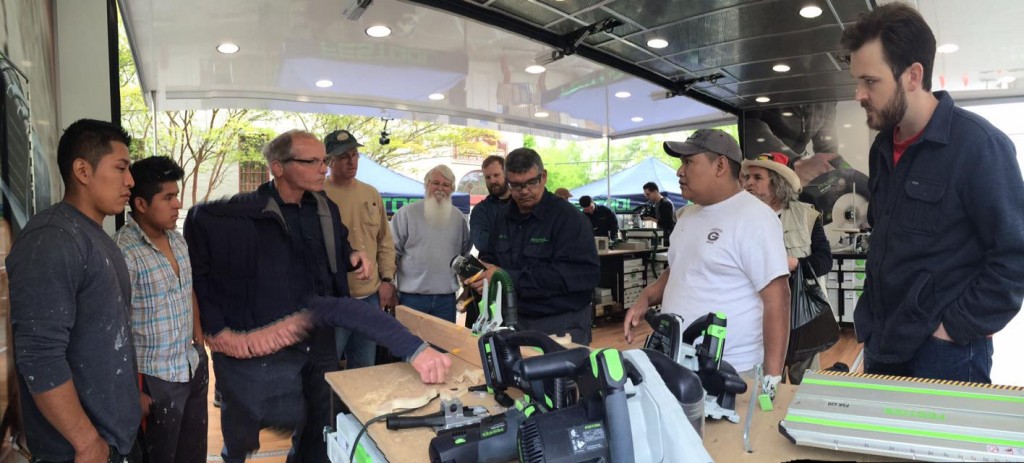
The crowd gathers around Allen Kensley who demonstrates the Festool TS 55 REQ Plunge Cut Track Saw

12512642_10153770567274024_3054614936681106489_n

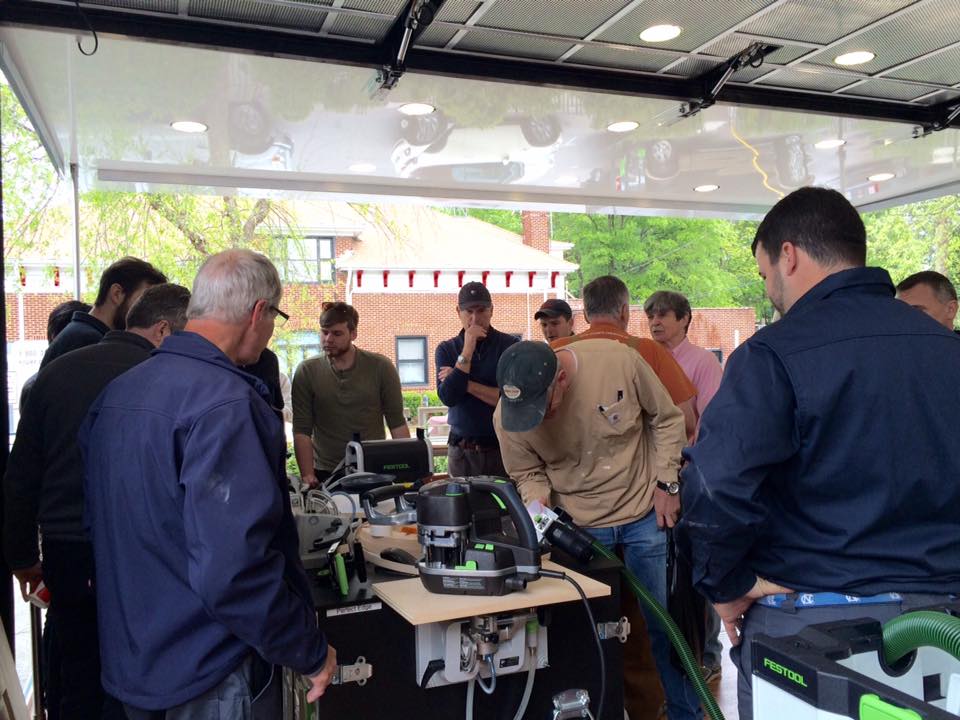
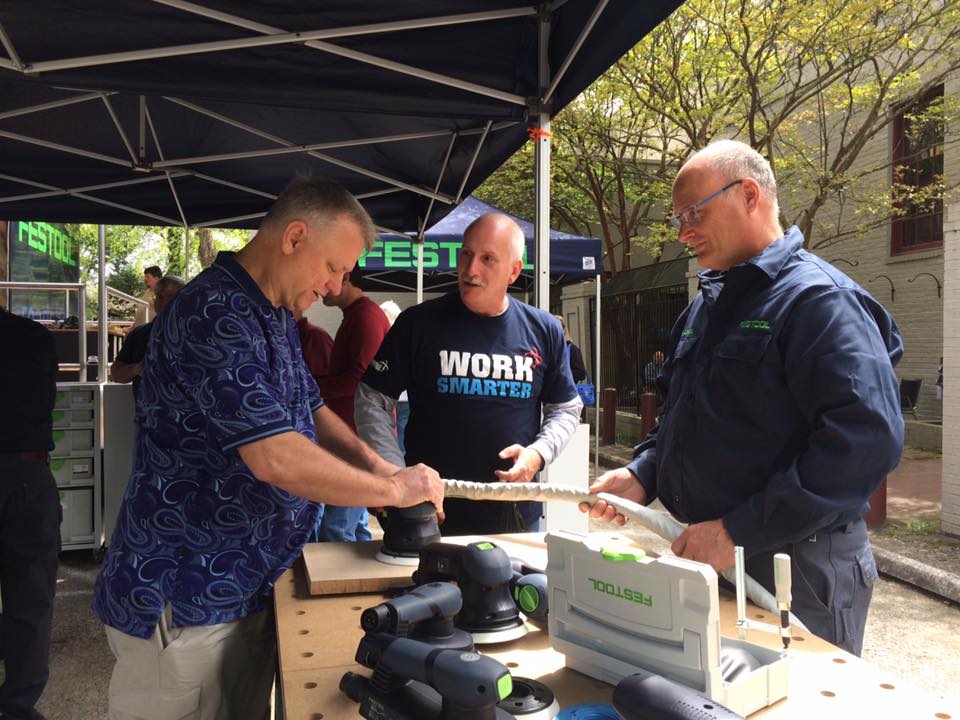
The Festool Roadshow was a great chance for people to test out any of the Festool tools and learn how to use them.

12592378_10153770563454024_9118289902811753534_n

11143126_10153770563954024_4690391453541961138_n

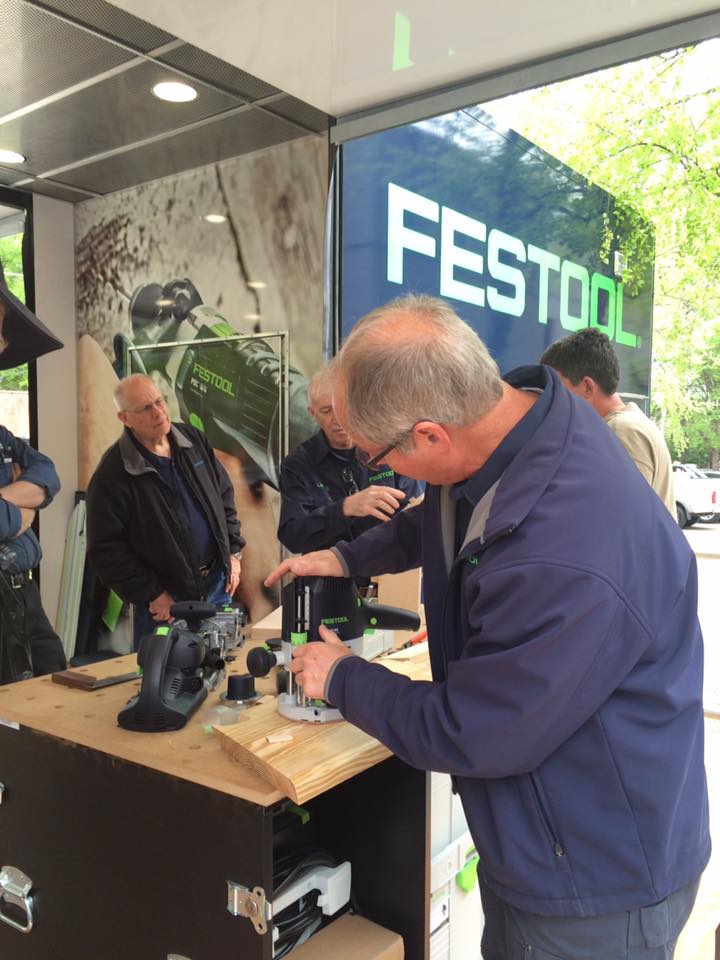
Jeff Covey demonstrating the Festool OF 1400 EQ Router

13000359_10153770565774024_3601396442836341386_n

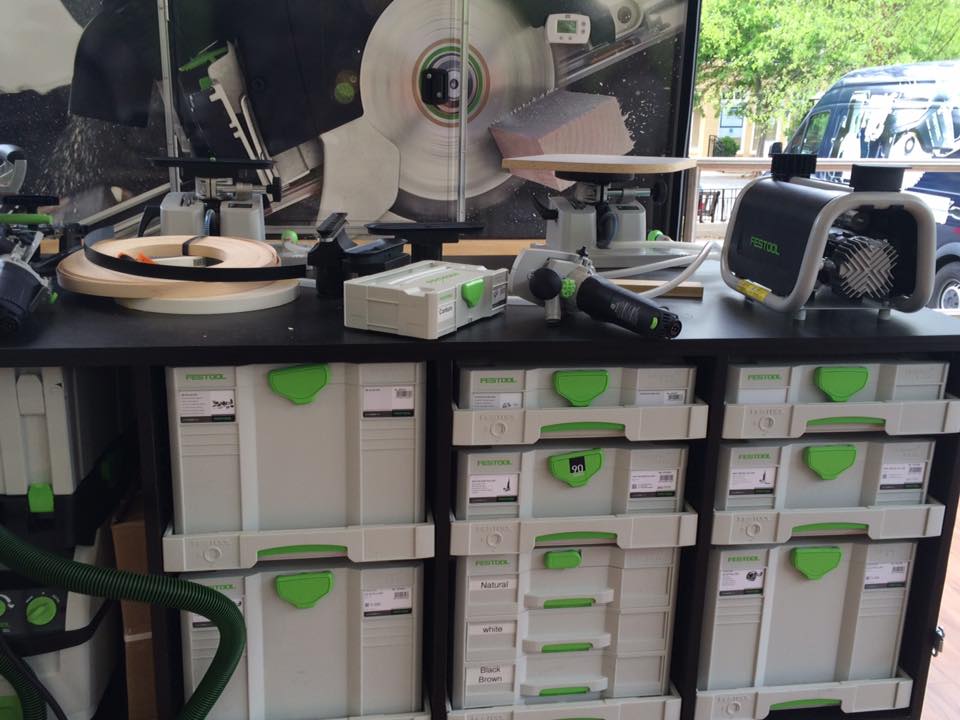
Every Festool you buy comes in a convenient systainer that is easy to carry, pack up, and helps to keep your shop tools organized!

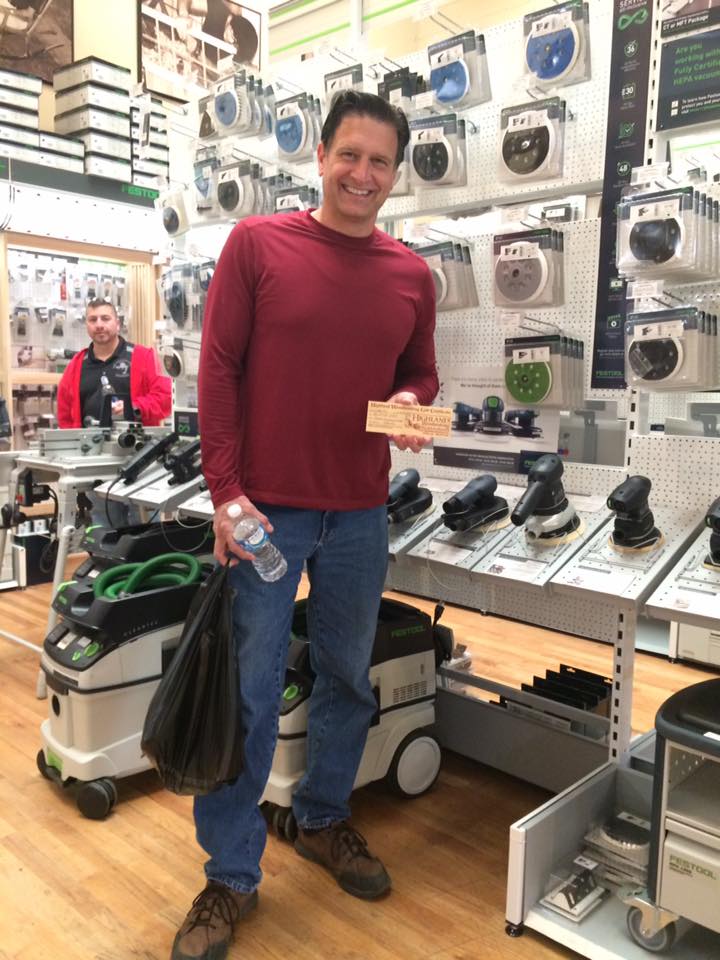
In the middle of the event, Highland Woodworking had a drawing where 1 lucky attendee, Doug Frey, took home the Grand Prize of a $300 Highland Woodworking Gift Certificate.

12986956_10153770563199024_1413230215737177511_n

Doug Frey, winner of our in-store giveaway standing in our Festool department at Highland Woodworking.

At 2pm it was time to close up shop. It was very interesting to watch them “tear-down” and get everything ready to move along to the next stop in Nashville, TN. They were even able to put the Festool CT SYS HEPA Systainer Dust Extractor to work in order to clean up all of the day’s dust and shavings.


12963895_10153770568164024_2406846405655425609_n

Allen Kensley cleaning up after the day’s demonstrations with the Festool CT SYS HEPA Systainer Dust Extractor

To see more photo’s from the Festool Roadshow at Highland Woodworking, checkout our Facebook Photo Album.

Feb 162016
 

A lot of our customers like to send us pictures of what they’ve made with the tools they’ve purchased from Highland Woodworking and so we’ve decided to make a new column in Wood News Online called Show Us What You’ve Made With Your Highland Woodworking Tools.

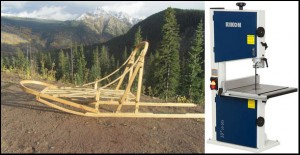
Our first column feature was a Homemade Dog Sled made by Bruce Wollison from Durango, CO with help from the Rikon 10″ Bandsaw that he bought a few months ago from Highland Woodworking.

bandsawuse

Click the photo to find out how William used his Rikon 10″ Bandsaw to create this beautiful dogsled

We invite you to SEND US PHOTOS of your woodworking project made with a tool (or tools) purchased from Highland Woodworking. (Email photos at 800×600 resolution.) Receive a $25 store credit if we show your project in a future issue.

Sep 292015
 
Top Ten Reasons You Might Be a Woodworker

Top Ten Reasons You Might Be a Woodworker

2015 marked my 4th year attending Woodworking in America (also known as WIA or in the case of this year #WIA15). Despite the fact that Highland Woodworking hasn’t had a booth during any of these years, it is still fun for a few of us from the store to be able to attend the event to network with everyone and learn what’s new in the world of woodworking. It is a great opportunity for those who have a passion in woodworking to come together during one weekend a year and just hang out, while getting to learn more about their passion.

Five of us from Highland Woodworking attended this year. Me (Molly), Chris Bagby, Kelley Hibberd, Blair Downing, and Cooper van Rossum. This year we all had various agendas, which revolved around attending classes, speaking with vendors (both old and new), socializing with woodworkers, and trying to get as much of the action into video and photo form.

This year’s event was held in Kansas City, MO for the first time. Lately, WIA has been traveling to a different city each year and I think with Kansas City being a very central location it allowed a lot of woodworkers to attend who haven’t been able to in years past. One of the coolest parts of the event being held in Kansas City meant that on the Thursday night before the event, we were graciously invited to the museum home of William “Bill” Robertson which was filled with beautiful antique tools, as well as a variety of exquisite miniatures that he is well-known for building. Also in attendance were several of our artisan toolmakers, including our newest vendor, Chris Vesper from Vesper Tools, who also helped organize the event.

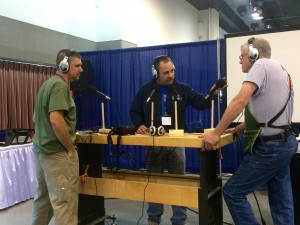
The gentlemen from Modern Woodworker's Association (MWA) recording their show with Mike Siemsen from Mike Siemsen's School of Woodworking

The gentlemen from Modern Woodworker’s Association (MWA) recording their show with Mike Siemsen from Mike Siemsen’s School of Woodworking

Also on Thursday evening, our friends from Modern Woodworker’s Association (MWA) hosted a get-together at the hotel restaurant/bar, which allowed us and a lot of other woodworkers in attendance to reunite with old friends who had met at past years WIA’s. This is a great opportunity to discuss the current projects being worked on back home, which tools you are excited to purchase in the marketplace, and whose classes you are eager to attend.

Friday and Saturday were the main 2 days of the event, and were chock-full of classes, vendor demonstrations, tool buying, BBQ, and overall fun. I was able to attend bits of several classes including The Kerfing Plane & Resawing by Hand with Tom Fidgen, How to Make a Magazine with Megan Fitzpatrick from Popular Woodworking, Caring, Feeding, & Use of Marking Knives with Dave Jeske from Blue Spruce Toolworks, 3D Shapes with Rasps with Scott Meek, Chair Design with Jeff Miller, and The Unwritten History of Workbenches with Chris Schwarz, among others.

Roy Underhill teaching his Roubo Bookstand class to a full house

Roy Underhill teaching his Roubo Bookstand class to a full house

Down in the Marketplace we got to visit with several of our vendors including Earlex, SawStop, Festool, Woodpeckers, Knew Concepts, Sterling Tool Works, Texas Heritage, Hamilton Woodworks, Bad Axe Toolworks, Lie-Nielsen ToolworksLost Art Press, and more!

Chris Bagby taking a look at the beautiful Bad Axe saws made by Mark Harrell

Chris Bagby taking a look at the beautiful Bad Axe saws made by Mark Harrell

One of the cool parts about the Marketplace is that almost every hour they feature a special “ShopTalk” session, which either involves a live demonstration of a product, or a discussion about current woodworking industry news. I was able to attend several of these sessions including HVLP Spray Finishing Basics with Earlex, which involved in overview and demonstration of the Earlex Sprayport, a great tool for giving an even coat of finish to your projects.

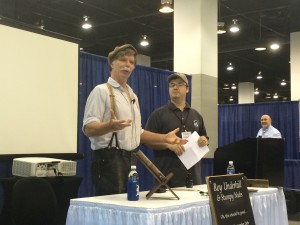
The start of the Roy Underhill/Stumpy Nubs interview

The start of the Roy Underhill/Stumpy Nubs interview

One of the most anticipated ShopTalk sessions was on Saturday and featured an interview of Roy Underhill, conducted by James Hamilton (Stumpy Nubs). I learned a lot about Roy in this interview, including the fact that he was a theatre major in college (hence why he began the interview session quoting Hamlet), and the fact that when he was pitching The Woodwright’s Shop for a 2nd time to PBS, he decided to bring his axe along with him just for a little bit of extra motivation for them to sign him. As you can see it was a very entertaining and insightful interview, which also provided a little extra pitch for his newest piece of fiction, Calvin Cobb – Radio Woodworker.

Overall, it was a very fun-filled 2.5 days and I think it really helps to bring out the camaraderie that can often be found in the woodworking world. I think one of the highlights for me was on Friday night when a group of 10 of us went to the famous Jack Stack Barbecue (one of the many highly acclaimed restaurants in the Kansas City BBQ scene). It was a 1.5 hour wait for a table so 8 of us ending up getting their takeout and went back to the hotel lobby to eat it together. It was pretty cool to be able to eat dinner with master craftsman, Jeff Miller!

CLICK HERE and HERE to see our WIA 2015 Photo Albums.