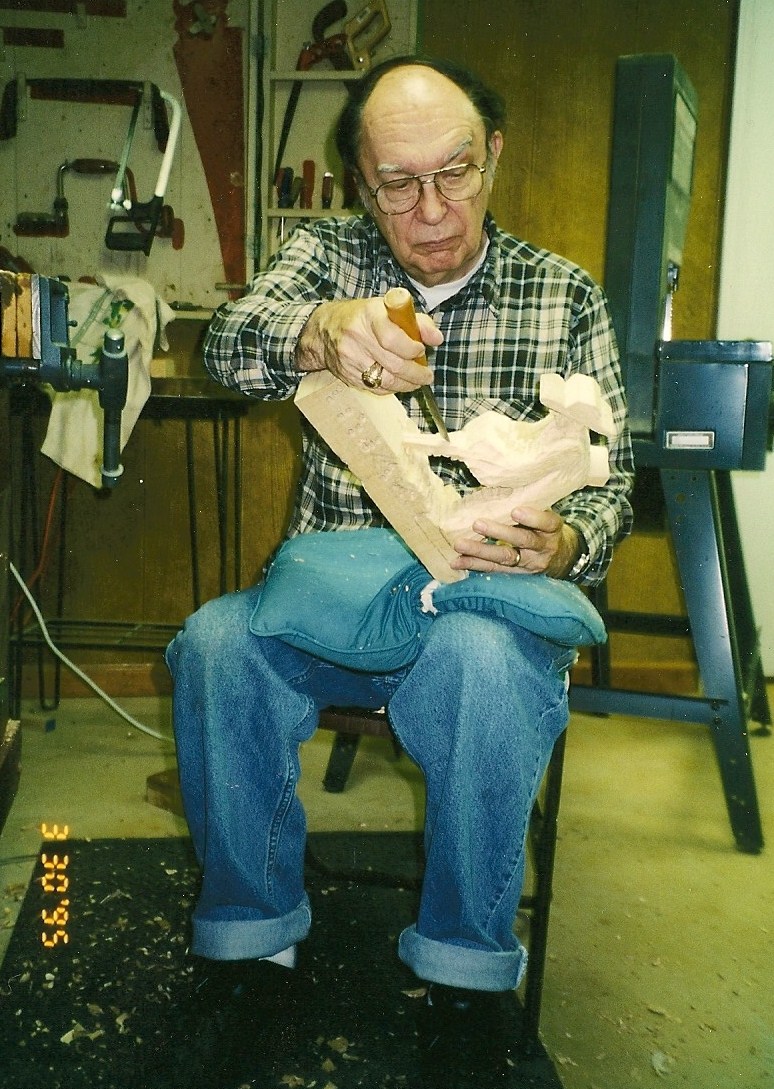
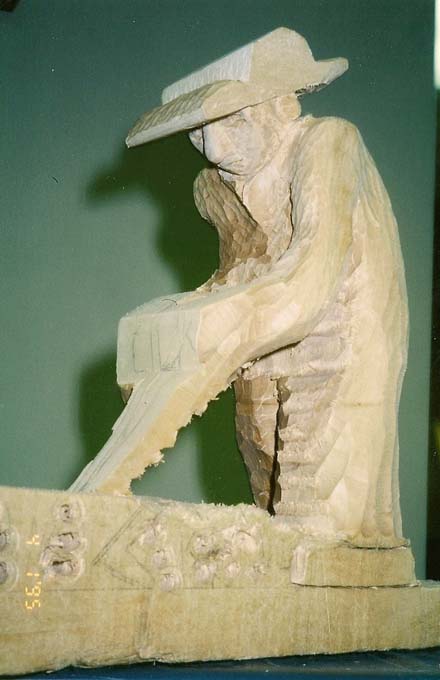
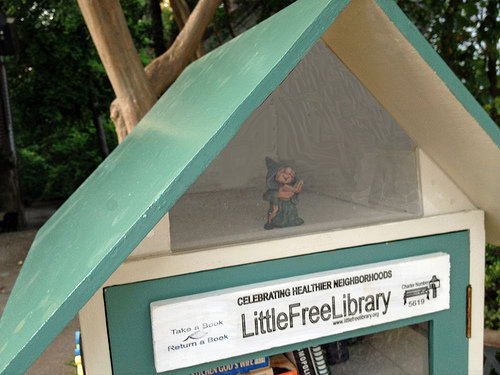
A few weeks ago we began blogging about Highland Woodworking owner Chris Bagby and his wife Sanne’s progress with the installation of a Little Free Library in their front yard in Atlanta, GA. The Little Free Library is a nationwide community movement project that involves the creation of a birdhouse-sized structure that is placed in your front yard and then filled with books that can be shared with others in your neighborhood. Sanne has been keeping track of their progress through her own blogging and today we present the final installment of The Little Free Library with the Grand Opening and Post Opening.
———————————————————————————————————————-
To see the previous entry about Library Theme and Placement, click HERE.
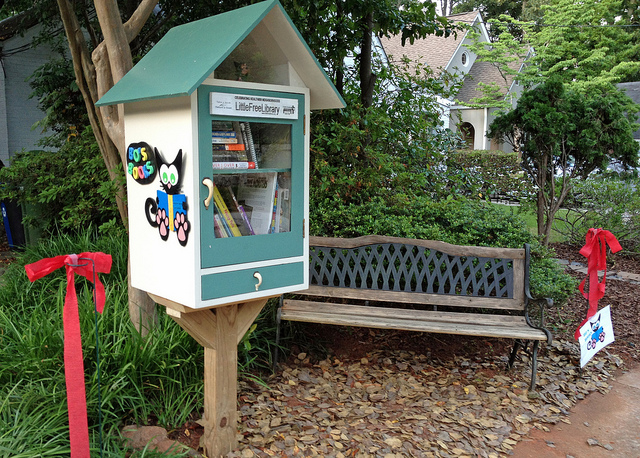
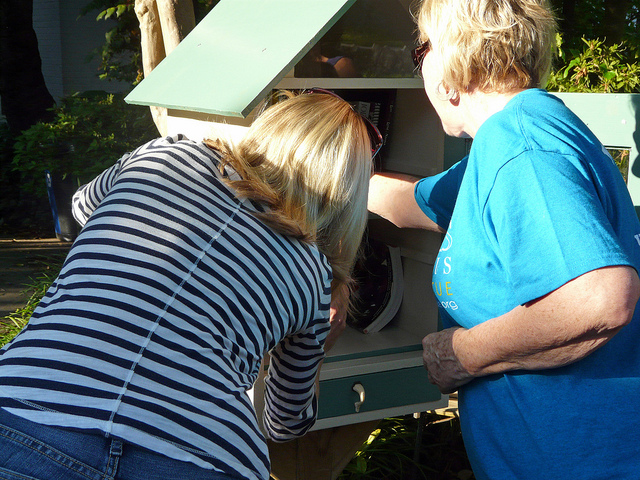
The final step in the project is attaching our official “Little Free Library” sign that displays our registration number on it. The door had been specifically sized to accommodate the sign just above the window that provides a view into the cabinet. We were ready to open up for business! We accomplished this task just 10 minutes before the ribbon-cutting ceremony was to begin, so we finished just in the knick of time!
We had set up a festive table with snacks and some ice-cold bottles of water to make it a real celebration. The LFL was cloaked by a table cloth and flanked by poles from which we’d suspended a bright red crepe paper “ribbon.” Neighbors, adults and children alike, most bearing books, started to arrive, eventually numbering about 40. Three sisters aged from 8 to 14, and their parents, both educators, were amongst the first to arrive. I asked the girls if they would do us the honor of cutting the ribbon. With some shyness at first, they all agreed.
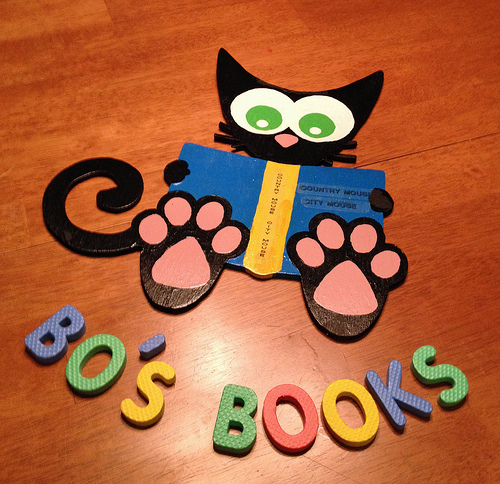
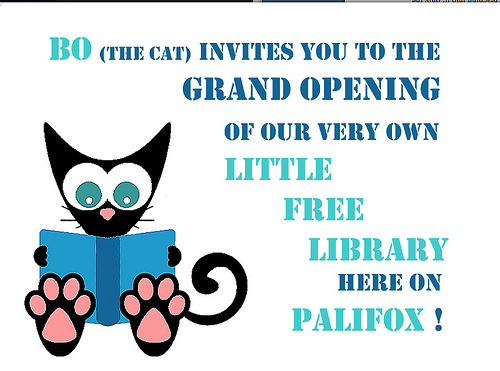
I made a little speech welcoming everyone to the event and explained briefly how the LFL movement got started and how it works, and then the ribbon-cutting occurred. The two younger girls, Elena and Abby, did the cutting while older sister, Isabella, whipped off the cloth revealing the library, itself! We got cheers and applause and more than just a few “AWWWS!” and chuckles from those who notice the library’s name: “Bo’s Books.” Bo, our cat who had been slinking around amidst the crowd, was picked up and cheered. He loves the attention!
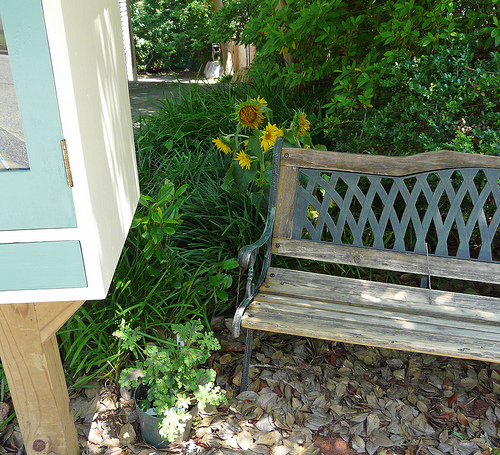
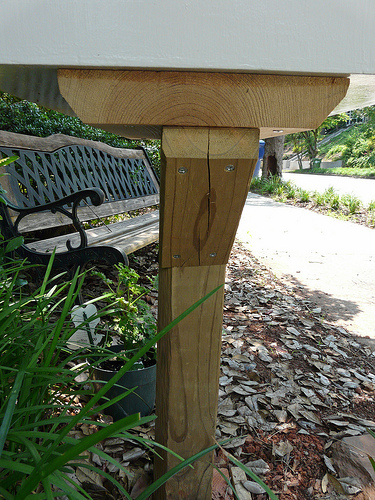
Right from the start, our LFL saw books being exchanged. Some of the users claimed a seat on the bench and shared the books they had brought themselves, while others sat at the picnic table we’d set up. Most people were gathered near the snacks table, chatting and catching up with one another. Some of the discussion I heard was “how nice it is to get together like this and how we should all do it more often.” Clearly, our LFL is achieving its goals of “building community.”
Since the Grand Opening, I’ve planted a sunflower behind the bench to serve as a cheerful greeting to visitors and a mosquito repelling plant next to the bench to encourage folks to sit and enjoy browsing through their chosen books without suffering the annoying the buzz and bites. While we are officially registered as a Little Free Library with the organization, we are waiting to be listed in their online database and shown on their worldwide location map. Then, we’ll really feel official! You can see the map of all of the Little Free Libraries around the world by clicking HERE.