Kelley Bagby

I grew up around woodworking tools (see picture, age 4-5ish) but only recently started doing some of my own woodworking.

Aug 062010
 

Today we have a special guest blogger – Peter Galbert, who will be teaching a week-long Windsor chair building class this October. Peter shares some of his techniques for turning the shapes that make up the balusters in the article and video below. If you found this as fascinating as we did, you ought to consider signing up for his class this October! Enjoy the tips below from a true master.

Good Turnings are in the Details, and the Process

When I started turning parts for chairs, the first hurdles that I faced were creating the shapes that made up the balusters. The bead and the cove are the basic elements, and learning to make them is challenging. I spent countless hours making rows of useless bead and rows of useless coves.

Why not just turn the whole leg?? Well, I found out quickly that trying to turn out a leg was an act of futility and frustration, plus, it seemed like I never got any better! Turning a whole leg before mastering (I use the term loosely!) the individual elements is like trying to play a symphony before learning to play the individual notes: sure, on occasion you might hit the right one, but good luck repeating it!

One of the benefits of creating practice shapes, besides not tensing up for fear of wrecking an actual chair part, is that you can see your problem areas quickly. When making a row of beads, I make one side of the bead all the way down the line, then I turn the other side on the way back. This also helps to highlight the problem areas. Once again, fussing around with one perfect bead won’t teach nearly as much as repeating a move over and over down the line. Even if you are left with a row of rather poor shapes, you are getting the feel for the motion. This familiarity and comfort with the motion becomes the key to making consistent turnings.

The biggest hurdle to overcome, after mastering the separate shapes, is making them in the right spot and the right size in the design. This sounds easier than it is. I found that the key here is to make the shapes in the same order, move for move, each time that I turn a leg. Each turner will of course come up with an order for locating and making the shapes that works with their turning technique.

Here is a video that describes how I create (and practice) the most complex portion of the baluster turning. In the video, I will make three practice areas to different levels of completion. As you watch, you’ll see how soon you are able to anticipate which move comes next. To me, eliminating the question “What comes next?” is a vital part of making consistent turnings, it should become as natural and familiar as driving to the store to get a quart of milk. Any misstep or problem area will become apparent instantly. Good luck and happy turning!

A few useful links:
Signup for Peter’s October Windsor Chair class
Peter’s Chair Notes blog
The Galbert Caliper: “The Woodturner’s Tape Rule”

Aug 042010
 

The August edition of Highland Woodworking’s free online newsletter, Wood News, is on the stands and chock full of interesting reads.

Our Down to Earth Woodworker, Steven D. Johnson, takes some time to discuss getting in and being in the “zone” in his woodshop. Check it out if you’ve ever been in the “zone”, and hope to find a way to spend more time there!

We’ve brought back one of our original columnists with a reprint of a fascinating article written by Wallace Macfarlane about the importance of having “the eye”, as well as one of the intriguing responses we received from a customer who read his article and had his own opinion on the subject.

Featured in our Show Us Your Shop column is Ken O’Neal’s unique workshop that contains no drawers or doors on the cabinets. And Tom Guralchuk’s beautiful woodworking is highlighted in our Show Us Your Stuff column.

A newly updated class schedule and many exciting deals make this Wood News a great read for anyone, and there is much more that I haven’t even mentioned here! You should really just go check it out yourself. Enjoy!

Aug 022010
 

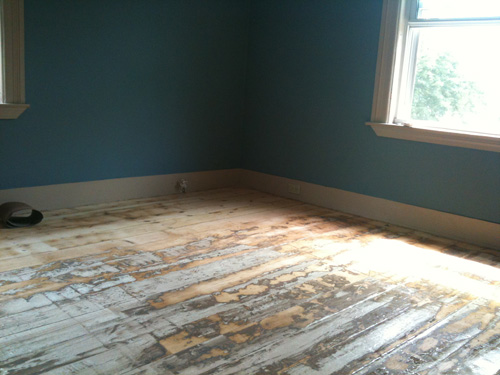
I’m still waiting for my portable workbench vise to arrive in the mail so I can start playing with my Lie-Nielsen 102 block plane and the blocks of wood I have sitting here that are just crying out to be made smaller. In the meantime, I am undertaking a few home improvement projects that will help me get a better sense of wood and how it works. The first on the list is to sand down the floor in one of our upstairs rooms. Our house is 130 years old, and I think the first layer of paint went on about 129.5 years ago. It’s possible a new layer has been added every year since then, because even after 5 hours of sanding with a floor sander, we were only about halfway done. Oh well, that’s what next weekend is for.

Before

Not exactly after - more like 'intermission'

We did accumulate a full bag of sawdust, and that’s not even including the thick layer coating every inch of me, not to mention the thin layer on seemingly every object in the house. Chalk this up to my first lesson in woodworking – sawdust is tricky stuff, and learning to control how far it wanders would be a good piece of knowledge to have.

I like your figure

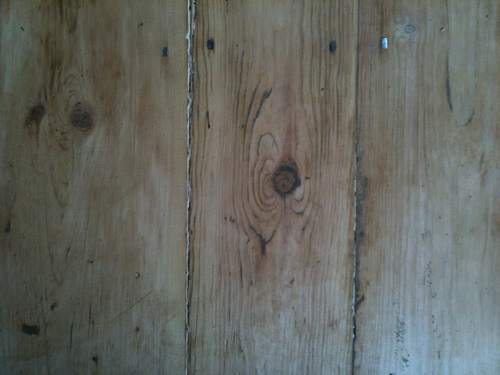
As for learning about the wood, we’ve been told that our floors are douglas fir, and man are they beauts (once you get under the cream, then the white, then the chocolate brown paint covering them!) Running the sander over them – many, many times – gave me a sense of the strength of these boards, but also an awareness of how each board has moved over the last century plus. Gaps between some of the boards were wider than others, and some of the boards were definitely higher up. Not sure if this means they moved outward (i.e. upward) or if they were just not planed as flat as the adjacent boards.

All in all this was a great first lesson in this medium I am getting set to launch myself into. And a good reminder of what it is like to try something completely unfamiliar. Hour One with the floor sander I was very unsure of myself, but by Hour Five I was, while not an expert by any means, pretty at home with this giant piece of equipment. Just goes to show how much just doing the work can improve your confidence and your abilities.

Now, does anyone have any ideas for how to use several pounds of sawdust?

Jul 262010
 

Alright, Highland Woodworking fans – I have a confession to make. I don’t know very much about woodworking. Before you send emails in complaining about how a complete novice is writing on a blog about woodworking, let me explain myself a bit.

I grew up surrounded by woodworking and hardware. I am only older than Highland Woodworking (nee Hardware) by two years, and so I spent my childhood running through the aisles, drawing in the coloring books (i.e. the scroll saw pattern books – I think I only did this once actually, before being told what was what) and reading my comic books in the space under the wood rack. I was good friends with the staff of Highland Woodworking by the time I was 10 (and two of those good friends, Phil Colson and Sidney Dew are still at Highland!) and I was ringing up customers by the time I was 12. The summer before college I worked in the shipping department, packing up boxes to send out woodworking tools to all of you, our fine customers.

For some reason though, I never picked up woodworking. It’s a shame really, given that I was surrounded by everything I would have needed, living amidst every woodworker’s dream tool collection. Over the years since graduating college I’ve picked up knitting and gardening, and I love to cook and have even dabbled in quilting. All this to say that I do like doing things myself, and creating things with my hands. Woodworking is clearly the next logical step in the progression, and when I came back to work at Highland, I was even more inspired to jump in where I had chosen never to jump before.

So now I’m asking the question that a lot of people ask – how does one get into woodworking? I have a lot of folks around me who are quite well educated in this topic, and I’m hoping to spend the next couple of months not only finding the answers for how to get myself started in woodworking, but how to help anyone else get started too. I’ll be researching and posting resources, tool-buying ideas, and reports from my own woodworking efforts as I learn. For those of you who have been through all of this before, I would very much value your feedback, ideas and tips. For those of you in the same position as me, I hope this will be helpful for you! Maybe we can form a support group of novice woodworkers trying to break into this exciting field that is filled with so many impressive experts.

So to get started, one consistent answer I’ve gotten from everyone about how to get started is to read woodworking websites, join forums, and try to start absorbing the mountains of information available. Do you have any favorite websites you read on a regular basis? If so, please share them in the comments – I’d love to check them out!

Jul 222010
 

We are planning a packed week of Windsor Chair making and traditional Windsor Chair construction technique this October! Peter Galbert will be on hand for a week-long hands-on class in building a Child’s Windsor Balloon Back Chair.

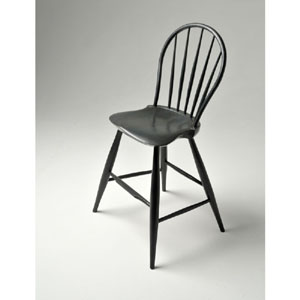
This handsome Windsor design has a graceful curved bow back and crisply shaped, shield-style seat. Generous leg splay gives this chair stability, while ample leg rake provides the chair with a sophisticated, elegant profile. The 21″ high seat improves the reach for younger folks at a dining table or desk, yet this chair can accommodate adults comfortably and would be a beautiful heirloom accent piece in your master bedroom, foyer, office or studio.

This 5 day hands-on class (plus 2 preliminary days of lecture seminar on Saturday and Sunday) will cover all aspects of traditional Windsor chair construction. Peter will discuss wood technology, chair design, and sharpening techniques used for traditional chair making tools. You’ll learn to rive off parts from the log, shave them to dimension with a draw knife and steam bend the chairs bowed back. Peter will demonstrate turning & provides turned chair parts (see note below). You will carve and sculpt the seat and assemble all the components so that you’ll be ready to apply a finish to the chair at home.

Peter has taught at select woodworking schools around the country and teaches at his workshop in Jefferson, NY, where he builds chairs full time. His work integrates the best of time-honored techniques and demonstrates a deep understanding of materials and methods. He combines the structural integrity of time tested design & materials with his personal aesthetics aimed to please the eye and the body; all of which combined with his superb craftsmanship, make for chairs that delight the eye, cradle the body, and last for generations. Peter’s passion for teaching, inventing, and sharing his insights about the life of a chairmaker can be sampled on his Website and his Chair Notes Blog.

In addition to constructing the balloon back chair, Peter’s goal is to provide the students with skills that will help them to continue to build chairs at home. While this class is perfect for those new to Windsor chair building, its also suitable for those who’ve made a Windsor and would like to add a new & distinct design to their repertoire. So get ready to work hard, have fun and learn a whole new way of woodworking!

To sign up, just follow this link.

Jul 172010
 

After some very successful wild blueberry picking, we headed over to the 2nd day of the Lie-Nielsen open house this afternoon.

We spent some time talking to Kevin Drake of Glen-Drake Toolworks. We sell his Tite-Mark Marking Gauge, and are quite impressed with how easy it is to use. The rest of his products were also really remarkable – in particular, his saw designs were very unique, and he had a line of hammers that almost do all the hammering for you!

Lee Laird, one of the extremely knowledgeable Lie-Nielsen show staff who came to Maine for the week, gave us a thorough demonstration of the 102 block plane. This is a topic that your blogger is particularly interested in, having one in my own collection. Lee discussed setting up the plane and tuning it, and reminded us of our sharpening class from back on day 1 of the dealer training. Then he proceeded to give a very thorough demo, reviewing all of the plane’s uses (pretty much everything, from chamfering an edge to smoothing a large board to corrections and detail work) and patiently talking us through using the plane ourselves. After a rough start, we smoothed out our technique, and the plane was flying across the board. Now we can’t wait to get home and try it again!

The open house wrapped up with a traditional Maine lobster bake. We were told that some of the locals require 3-4 lobsters to fill them up for one meal, but we stuck it out with 2 lobsters between the 3 of us. After the folks who cooked up the lobsters taught us how to crack the lobster open and get all the meat out, we helped out all of the Lie-Nielsen show staff members who sat down with us with their lobsters. Just repaying them a little bit for all the patient instruction in hand tool technique they gave us all week!

It’s been a great week at Lie-Nielsen, and we are sad to say goodbye. From Tom Lie-Nielsen all the way down, this company is made up of really smart and personable individuals, and it was a pleasure to meet each of them. Thanks for having us, Lie-Nielsen!

Jul 162010
 

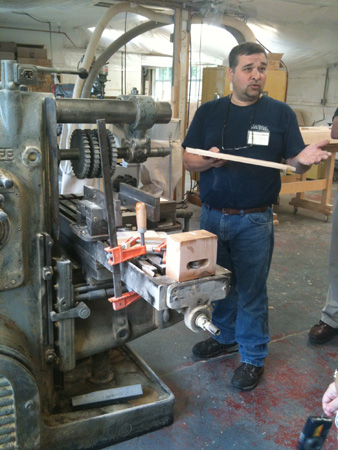
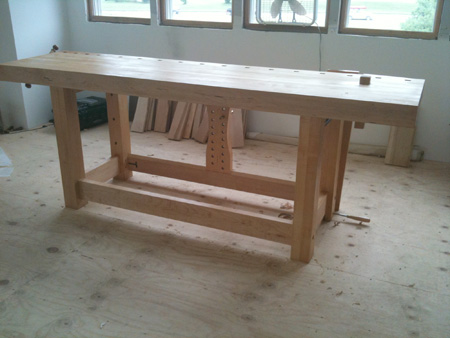
We wrapped up the dealer training part of our Lie Nielsen visit today with a morning trip to the workbench shop facility, which is offsite from the rest of the Lie-Nielsen factory and offices. Lie-Nielsen workbenches match the rest of the products they build, in that they are extremely high in quality, and very nice to look at. Darren Gilbert manages the workbench shop, and he showed us around, giving us the overview of the machinery and detailing the process of building a Lie-Nielsen work bench from start to finish.

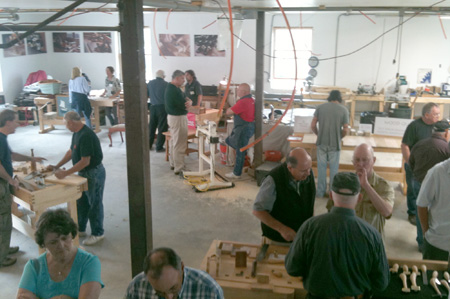
We returned to the main Lie-Nielsen factory in time for the beginning of the Open House, which featured demonstrations, presentations, a “Know Your Wood” test (in which your blogger was less than successful, but she is learning!) and many opportunities to look at and play with the gorgeous collection of Lie-Nielsen hand tools.

Some of the demonstrators included Rory Wood from Rare Woods USA, who showed us some beautiful woods he has harvested from all over the world, and tested our knowledge again of what each wood looks like.

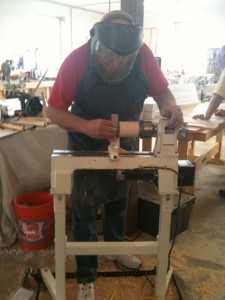
One of the folks from The Woodturning School gave some great demonstrations of woodturning, producing tops and goblets with ease.

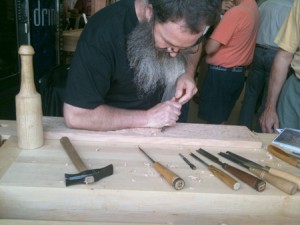
Peter Follansbee of the Plimoth Plantation in Plymouth, MA gave an excellent carving demonstration and familiarized us with the catchy phrase “The Minute you Hit it”, to refer to committing to the cut you are making in the wood.

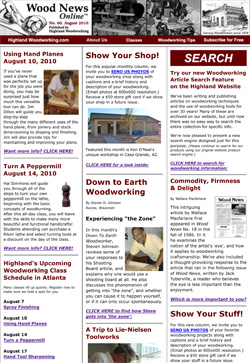
Michel Auriou from Auriou rasps was hand making a rasp right on the open house floor – a really impressive and detailed process that was very enjoyable to watch.

Reps from Connecticut Valley School of Woodworking and the Center for Furniture Craftsmanship, as well as the Carpenter’s Boatshop along with many others were there to promote their fine schools and answer questions.

Chris Becksvoort is holding a workshop class Saturday and Sunday for those lucky enough to have registered early.

On our way home from the open house we stopped by the Center for Furniture Craftsmanship to look around their gallery – they currently have a faculty show on, and the items they displayed were quite stunning. If you are in the area, we definitely recommend a visit!