No Southern-fried Southern boy wants to be called a Yankee, but we share the characteristics of shrewdness and thrift. Thus, each month we include a money-saving tip. It’s OK if you call me “cheap.”
A fundamental principle of power tool safety is that the operator needs to be able to cut the electricity to his/her tool quickly, preferably without the distraction of having to look. Router tables, table saws and other stationary equipment usually incorporate a large, red OFF switch, sometimes with a paddle. Switches on portable tools are considerably more subtle.
I love my Porter-Cable routers, but I don’t get enough shop time, or router time, to remember whether it’s the left or the right side of the rocker switch that turns it off.
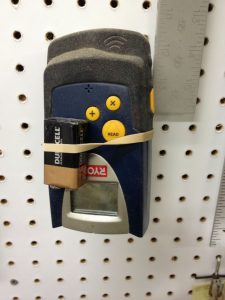
I already had fingernail polish, so there was no added expense to mark the switch right on top so I could immediately identify the correct side to reach for at the end of a cut. I used several coats, and, despite years of use, this red mark remains just this bright.
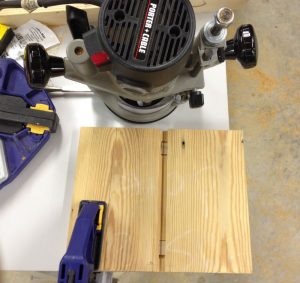
When it’s time to turn a tool off, you don’t want to waste time fumbling. Now, it’s as quick and simple as reaching for the red spot.
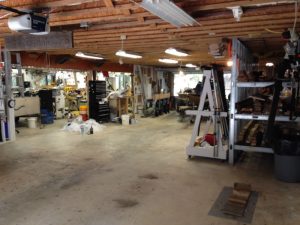
Jim Randolph is a veterinarian in Long Beach, Mississippi. His earlier careers as lawn mower, dairy farmer, automobile mechanic, microwave communications electronics instructor and journeyman carpenter all influence his approach to woodworking. His favorite projects are furniture built for his wife, Brenda, and for their children and grandchildren. His and Brenda’s home, nicknamed Sticks-In-The-Mud, is built on pilings (sticks) near the wetlands (mud) on a bayou off Jourdan River. His shop is in the lower level of their home.Questions and comments on woodworking may be written below in the comments section. Questions about pet care should be directed to his blog on pet care, www.MyPetsDoctor.com. We regret that, because of high volume, not all inquiries can be answered personally.