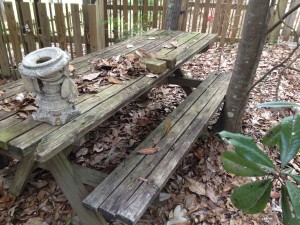
Regular readers of Tips From The Sticks-In-The-Mud Woodshop know that my wife and I live on a bayou in south Mississippi and my woodshop is in the lower level of our home. One doesn’t live on a watershed waterway for very long before he learns that, in addition to the blessings, there are challenges. For one, don’t put anything in the back yard that isn’t lashed to a tree. See this picnic table I built?
We live on Rotten Bayou, a tributary off the Jourdan River in South Mississippi. Legend says it gets its name because Indians came here to clean their game, and unusable parts went into the water to feed the fish that they would return and catch. Its native American name is Bayou Beneshewa.
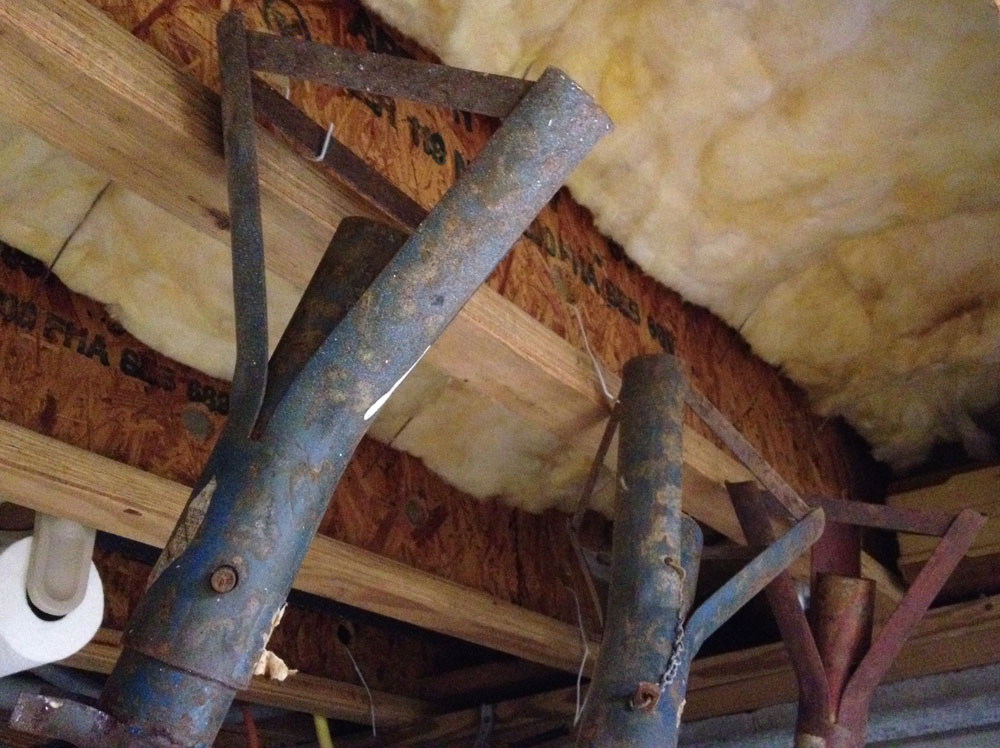
This table was twenty feet in the air after
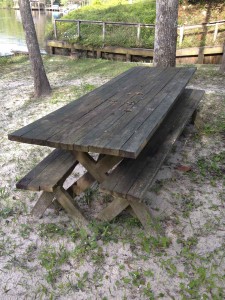
Katrina brought thirty-two feet of water to our house. Thanks to a sturdy chain as its permanent tether, it floated twenty feet up, but it couldn’t go away. On the other hand, see this picnic table? Thanks to one of those floods, it left someone else’s back yard and became ours.
This picnic table was on the far side of the bayou from us and a little downstream. Even treated pine in an outdoor environment maintains its buoyancy, which is how the table left someone else’s yard in a flood. It floated nicely behind our boat, we drifted it into the boat ramp, onto a waiting trailer and into this spot where it makes a nice catch-all. Who knows, we might even picnic on it one day!
Believe it or not, another picnic table drifted up in a flood, too.
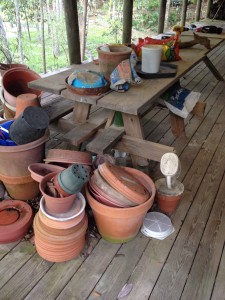
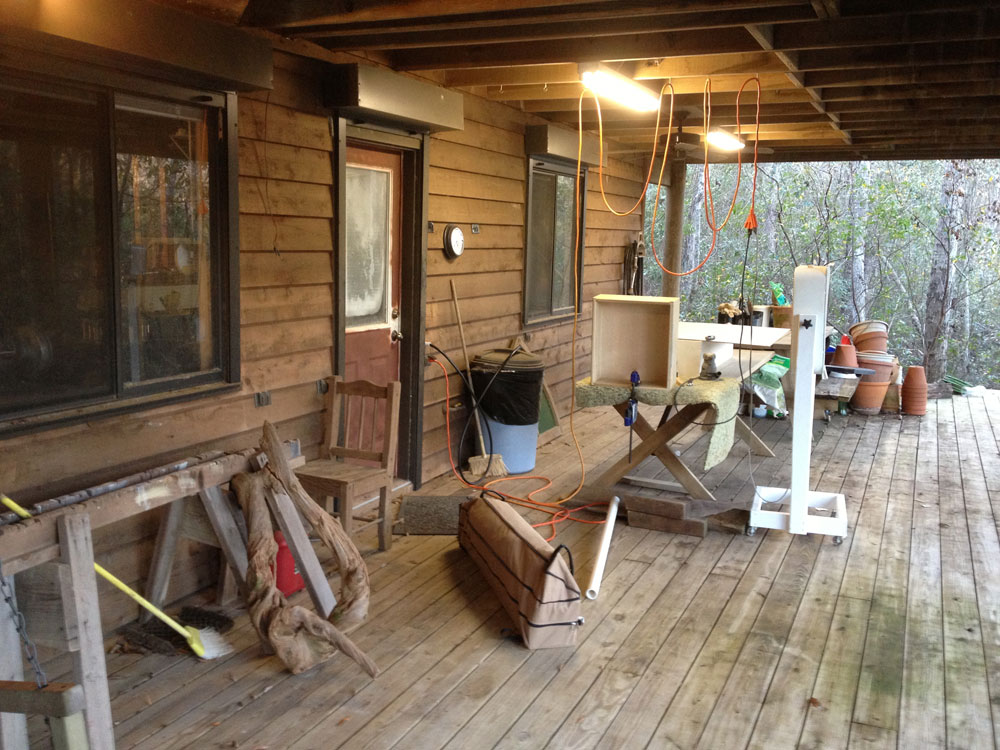
This table was in pretty sorry shape, but good enough for wife Brenda to use for a potting table.
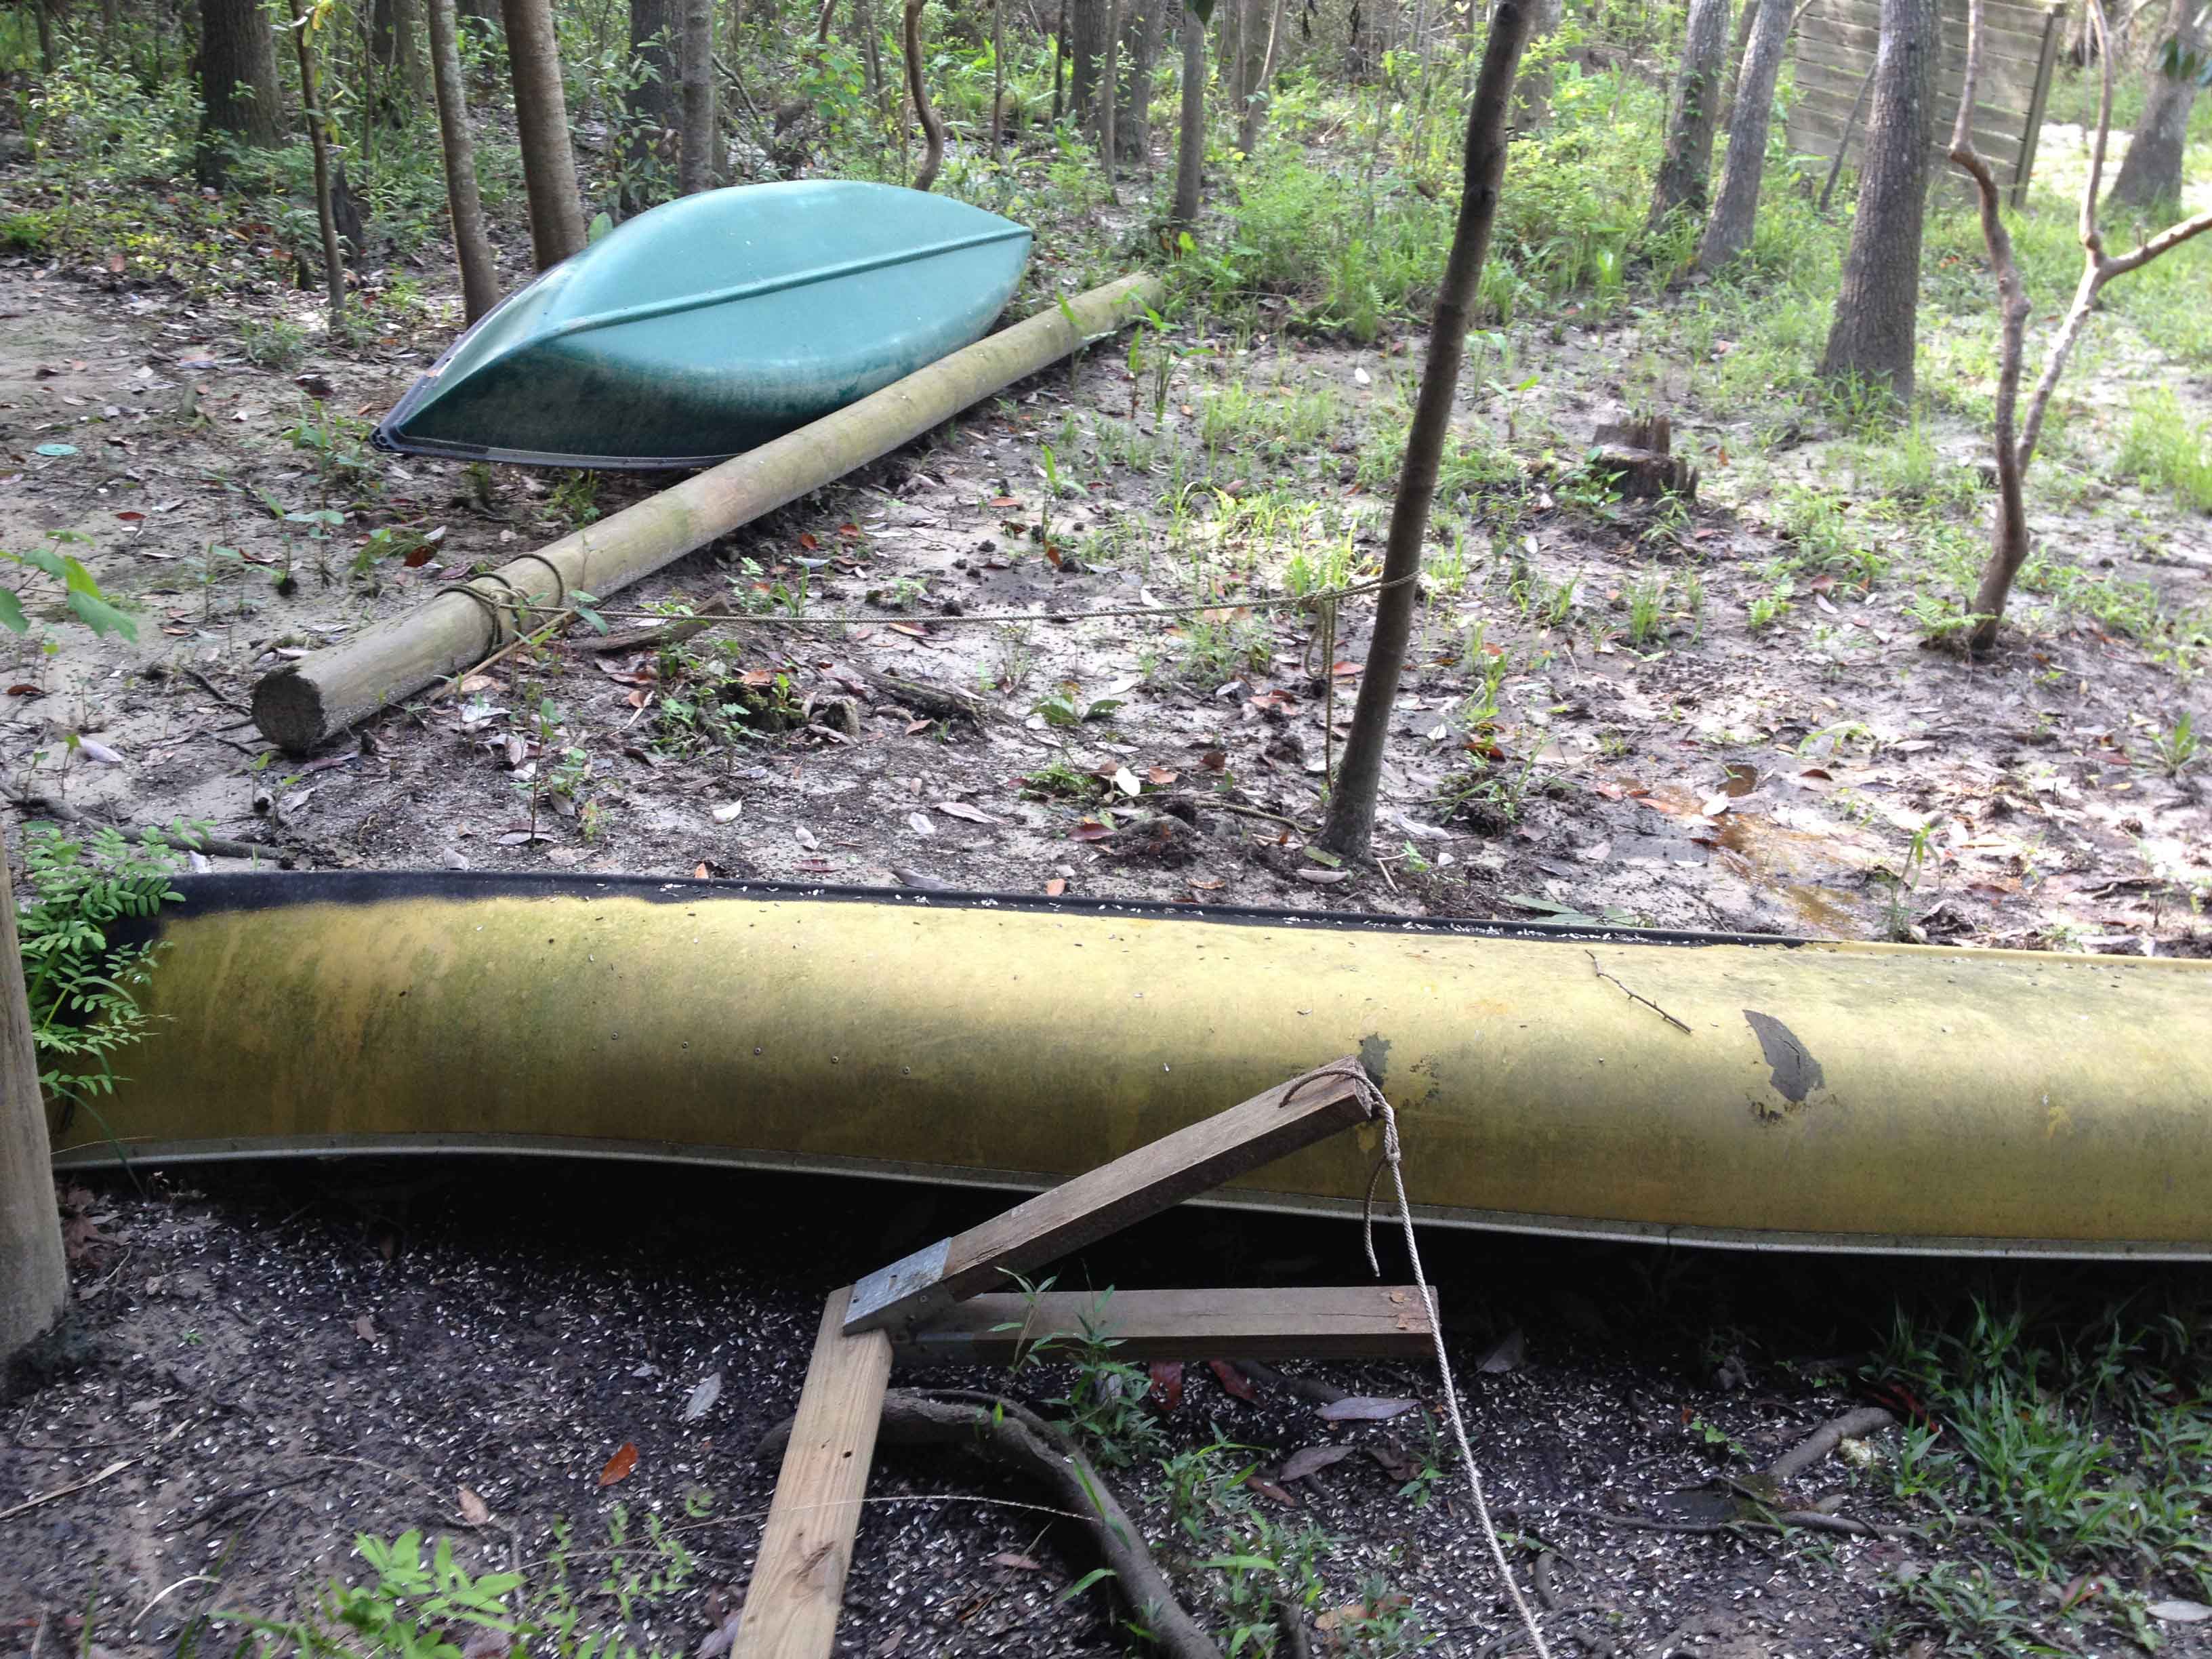
May I interest anyone in a canoe?
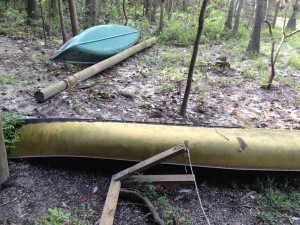
While neither of these is an expensive racing canoe, I’m sure someone, somewhere, wishes they were still in his yard. Just in case anyone comes looking for the refuse that washes in, I always leave it on the bank for a few weeks in case the rightful owner’s search brings him our way.
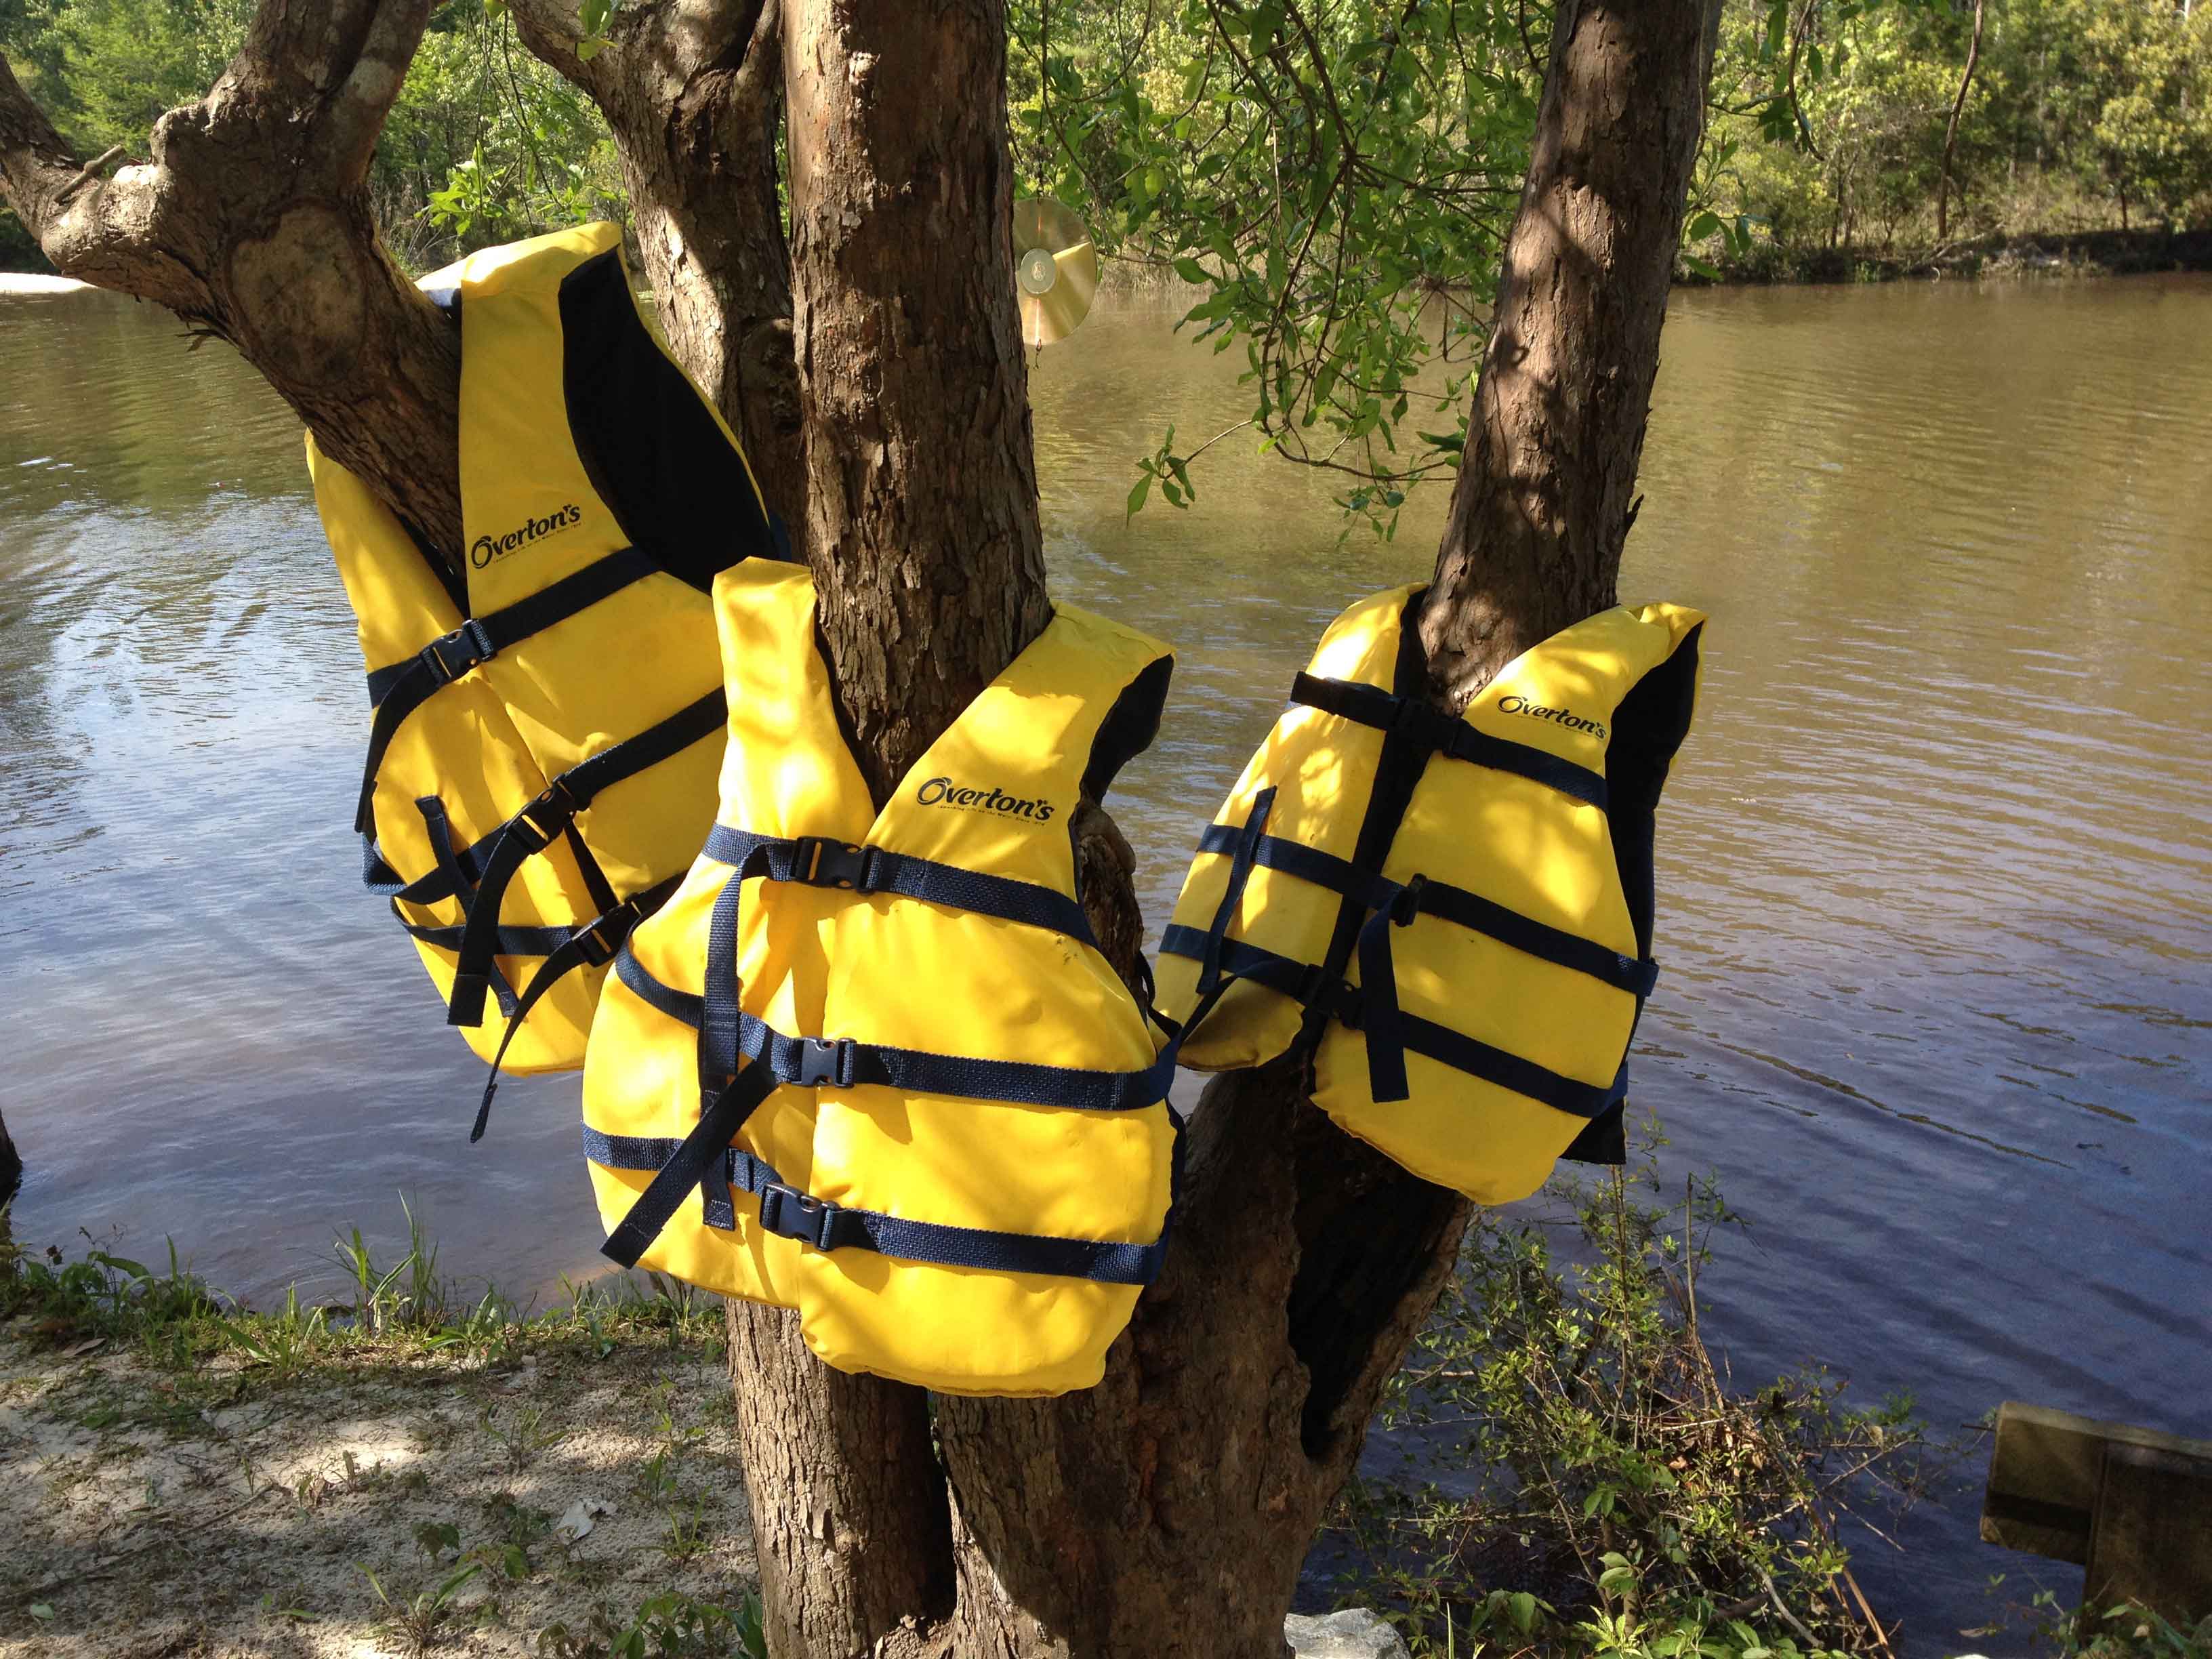
Then there was the day that three matching life jackets floated up.

These three life jackets floated down the bayou one day like three little yellow ducklings. I left them on this tree in case anyone wanted to claim them, but no one came calling.
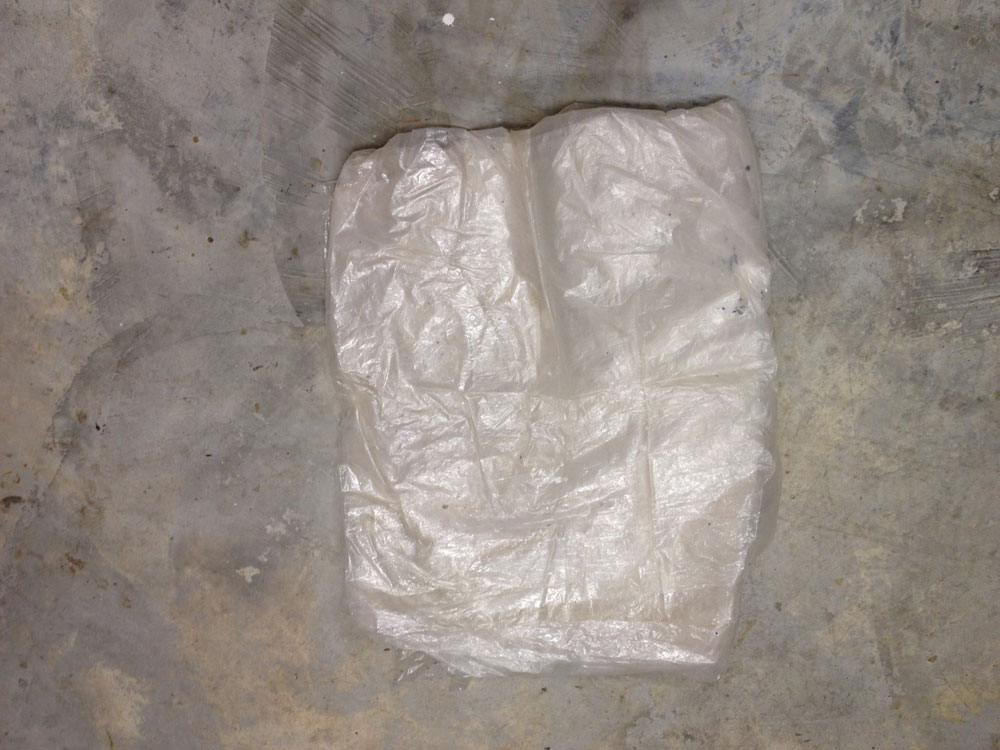
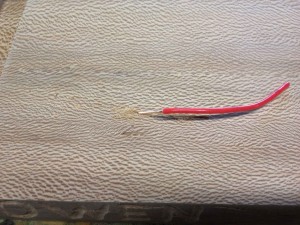
One flood brought us a pretzel. A ten-foot-long pretzel.

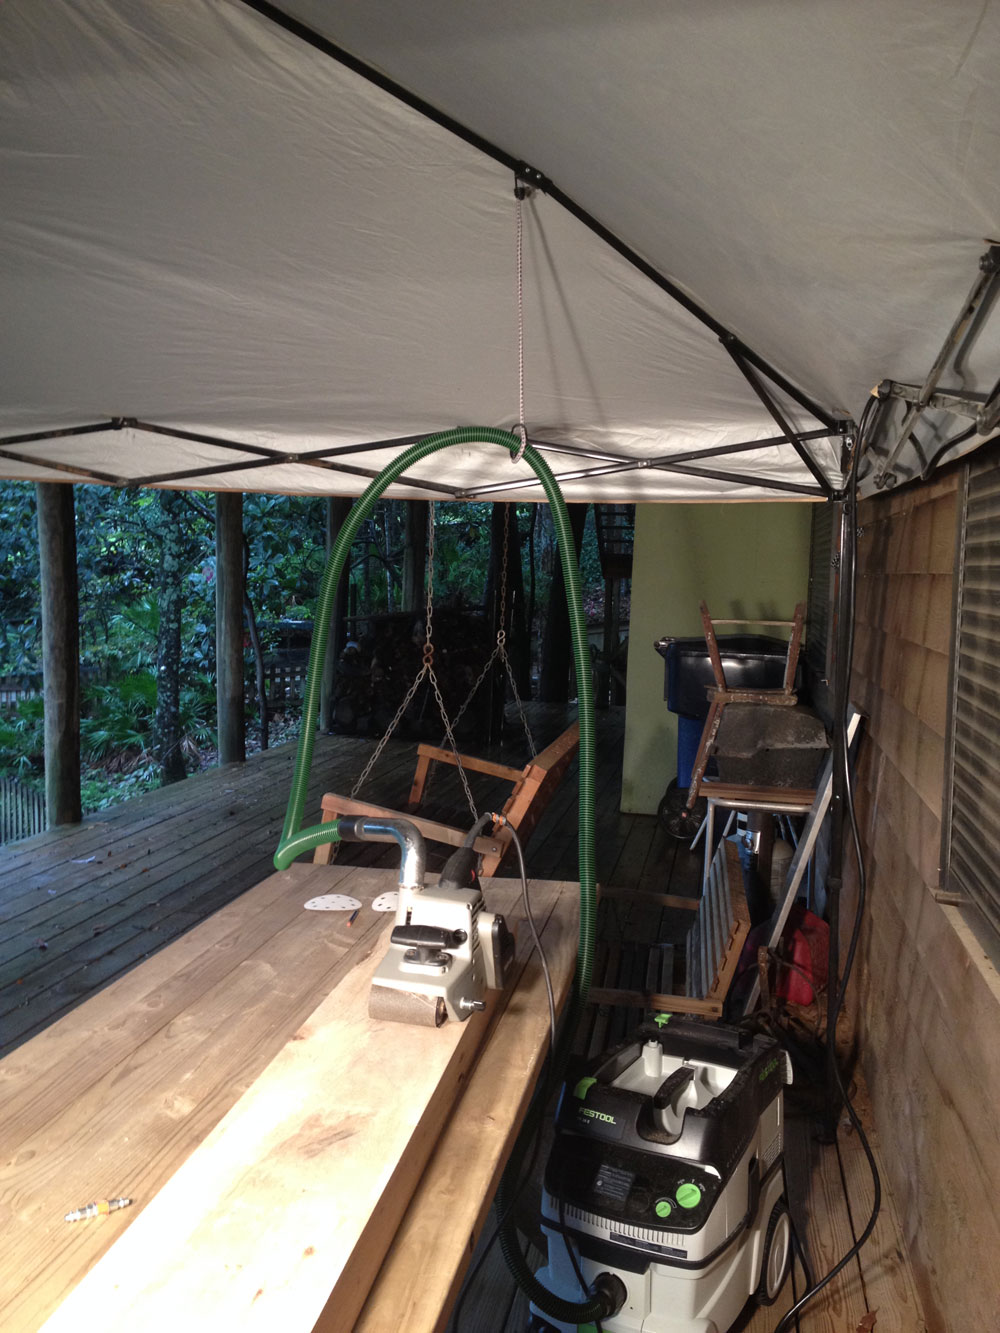
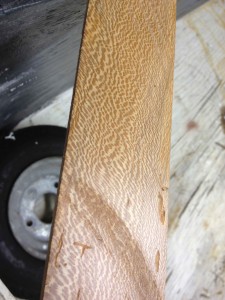
I can’t say what made me want to investigate this board further. It couldn’t be much uglier from the outside, and it had a huge “barked” area, indicating it was from the outside of its parent tree. Still, I’m glad I got out the sander that day!
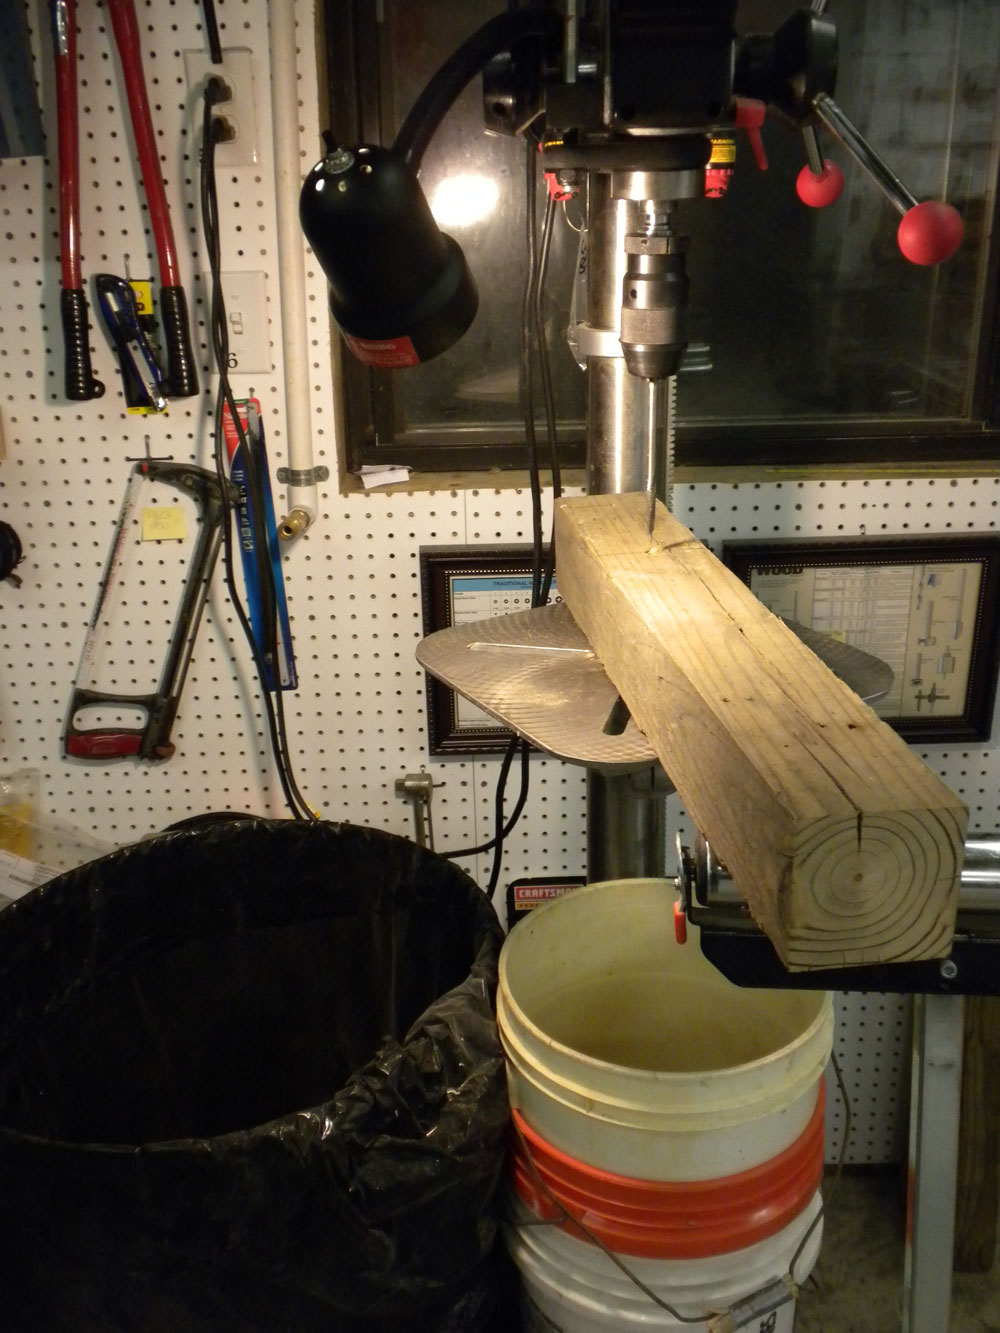
This twisted 4 by 4 was nothing to look at from the outside. However, as a fan of found treasures, I couldn’t put it in the fencepost pile without a quick sanding of the outside.
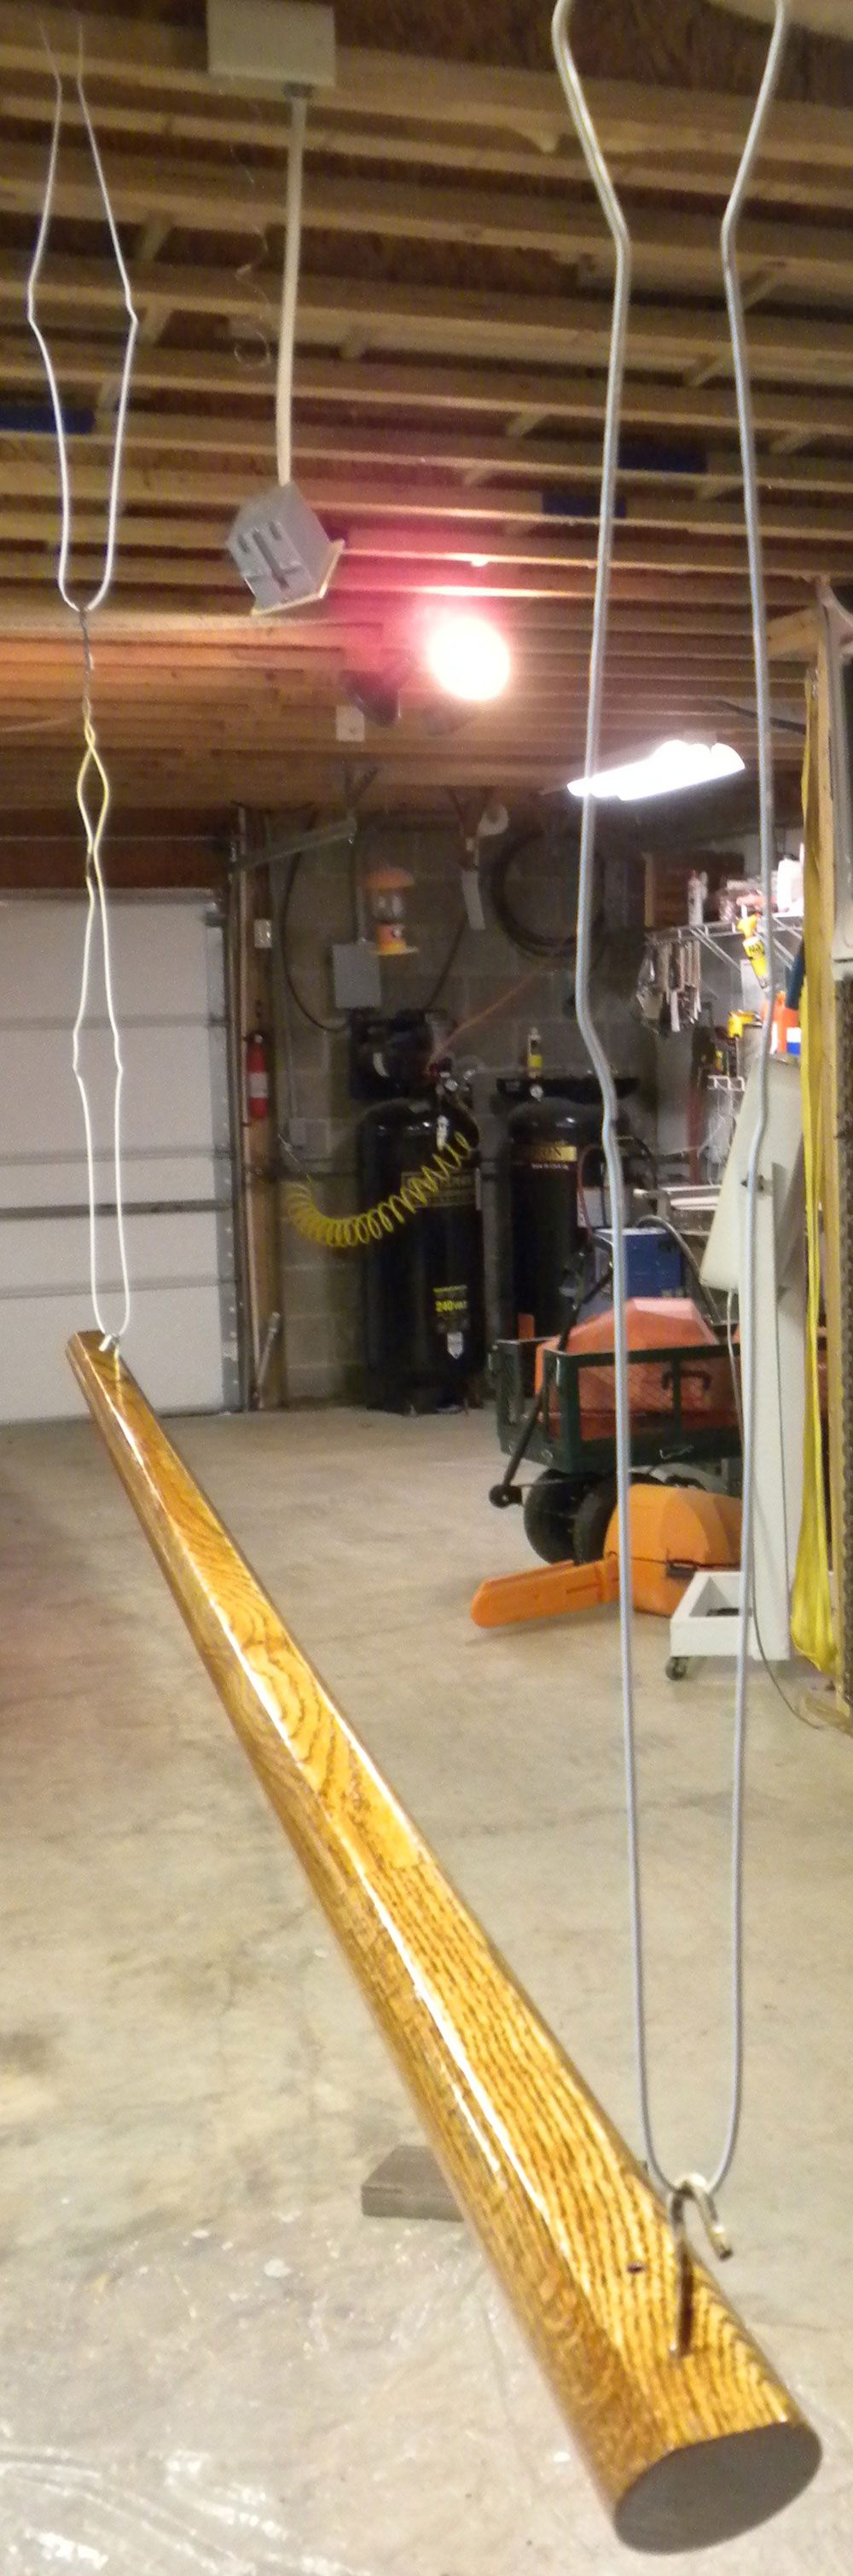
I theorized that it might have been part of the support for a load on a 18-wheeler’s flatbed.
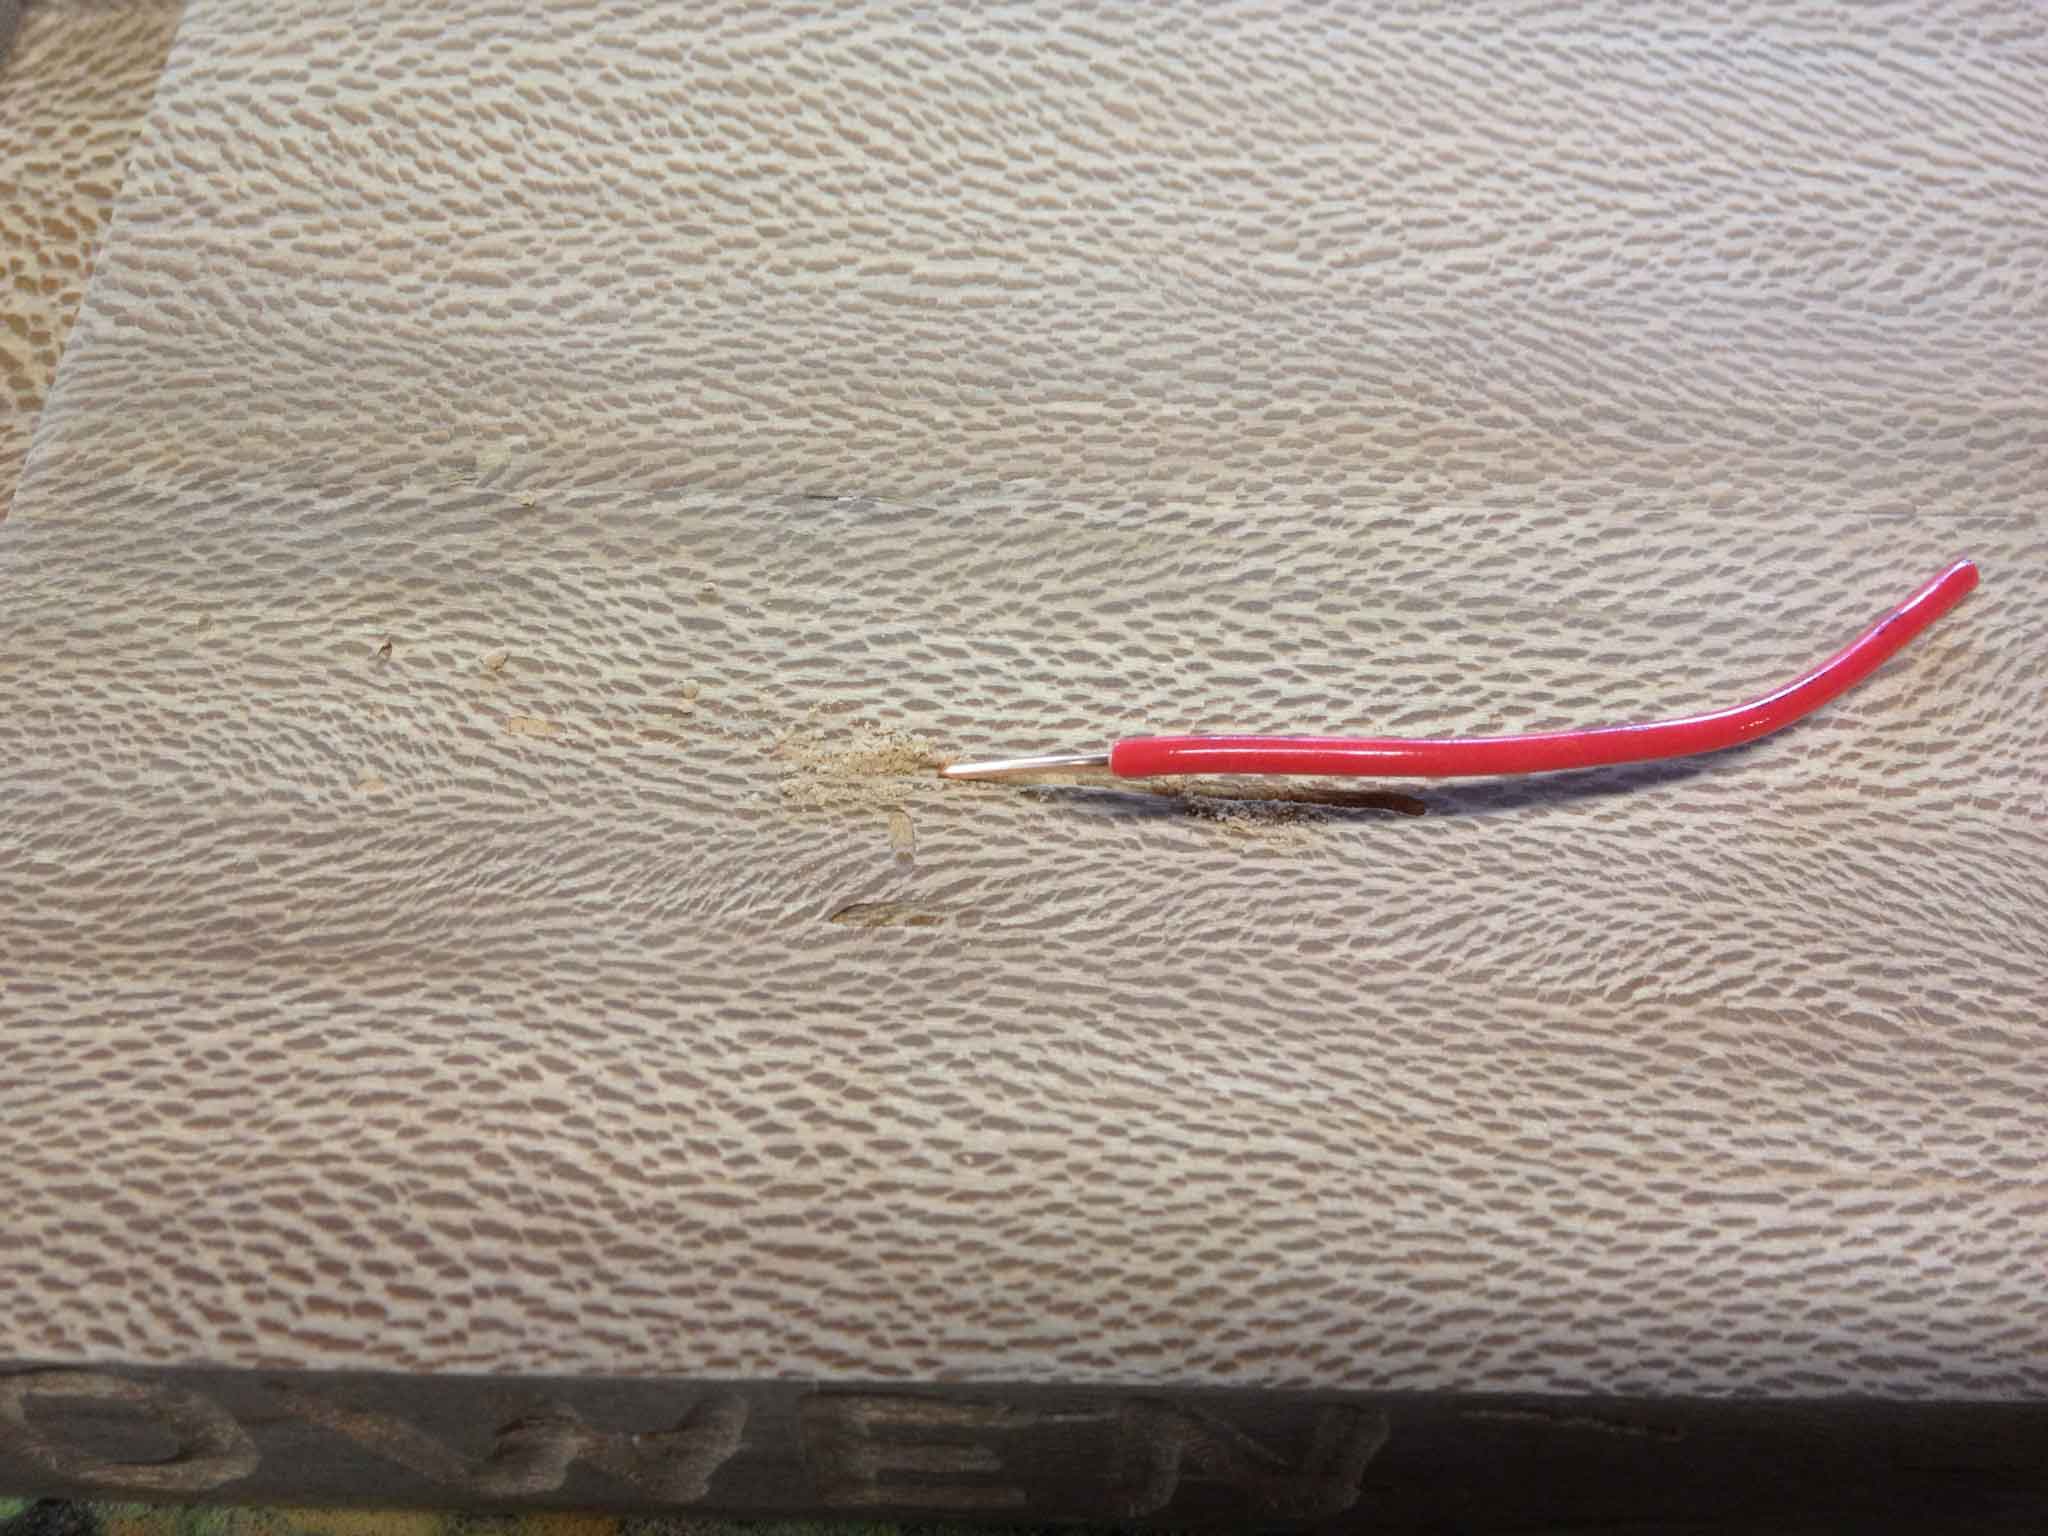
I was unprepared for what the sanding revealed.
The grain pattern was magnificent. Beautiful and mysterious. Having no idea what kind of wood it was, and no thoughts of how to begin to identify it, I cut off a little piece and took it to church with me.
That’s right. Church.
The gentleman who sits to my left in choir is a retired forester whose title before retirement was wood procurement manager. I was confident he could identify it for me.
“I’m not sure, Jim,” said Jim Odom. “It might be quartersawn oak or maple that has a really complicated figure. Or, it might be a South American exotic. I’m just not sure.”
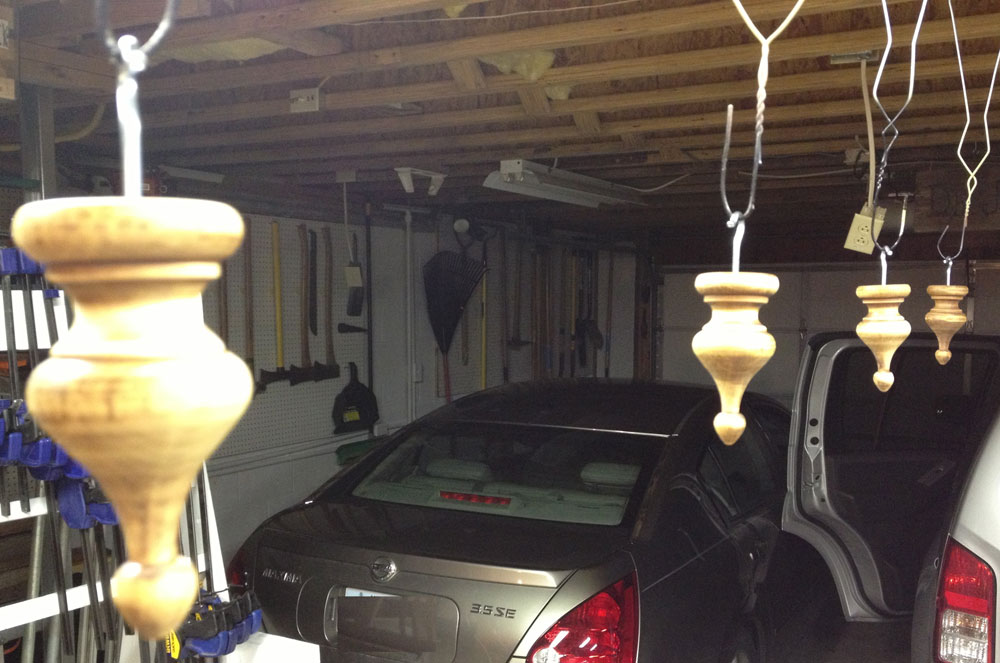
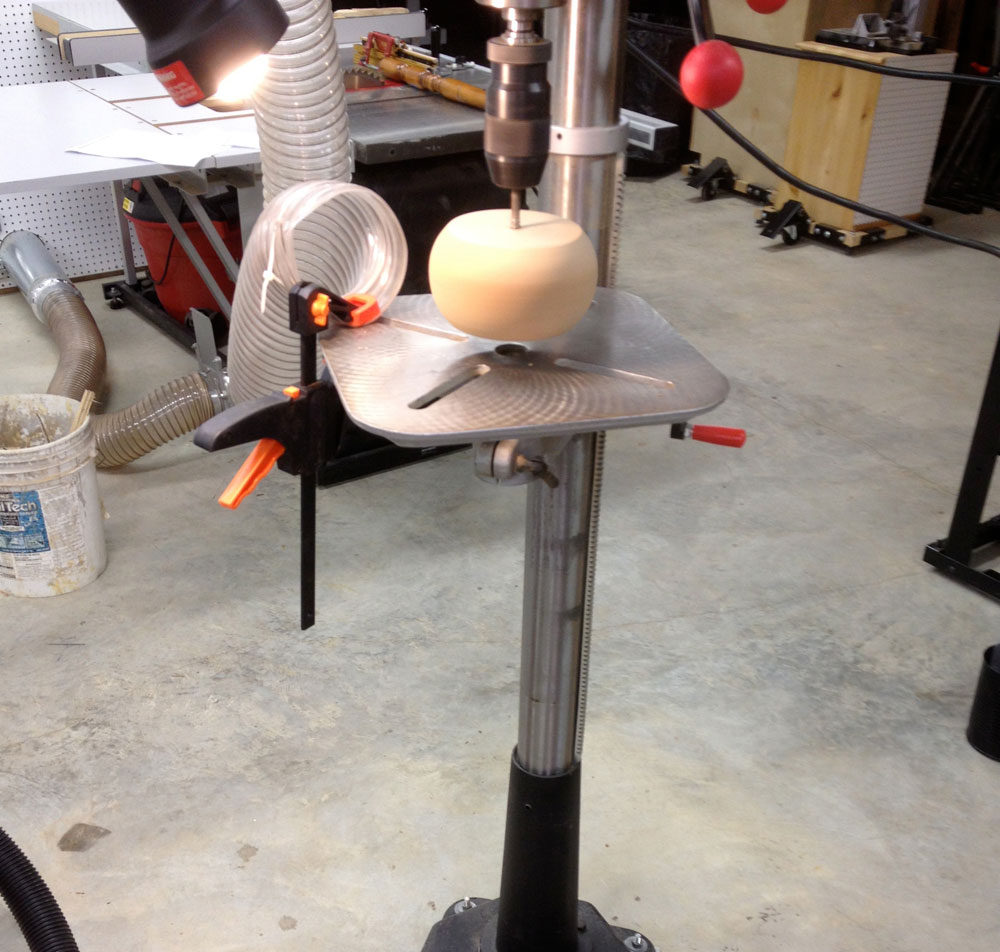
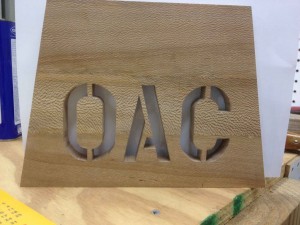
It was so pretty that I decided it was going to become part of the “stool series,” regardless of its species. You see, each of our grandchildren has a kid’s stool with his or her initials, and each has a unique design and is made from wood with a story. (See next month’s blog post for photos of each stool and its story.) I didn’t yet know just how much “story” this wood was going to have!
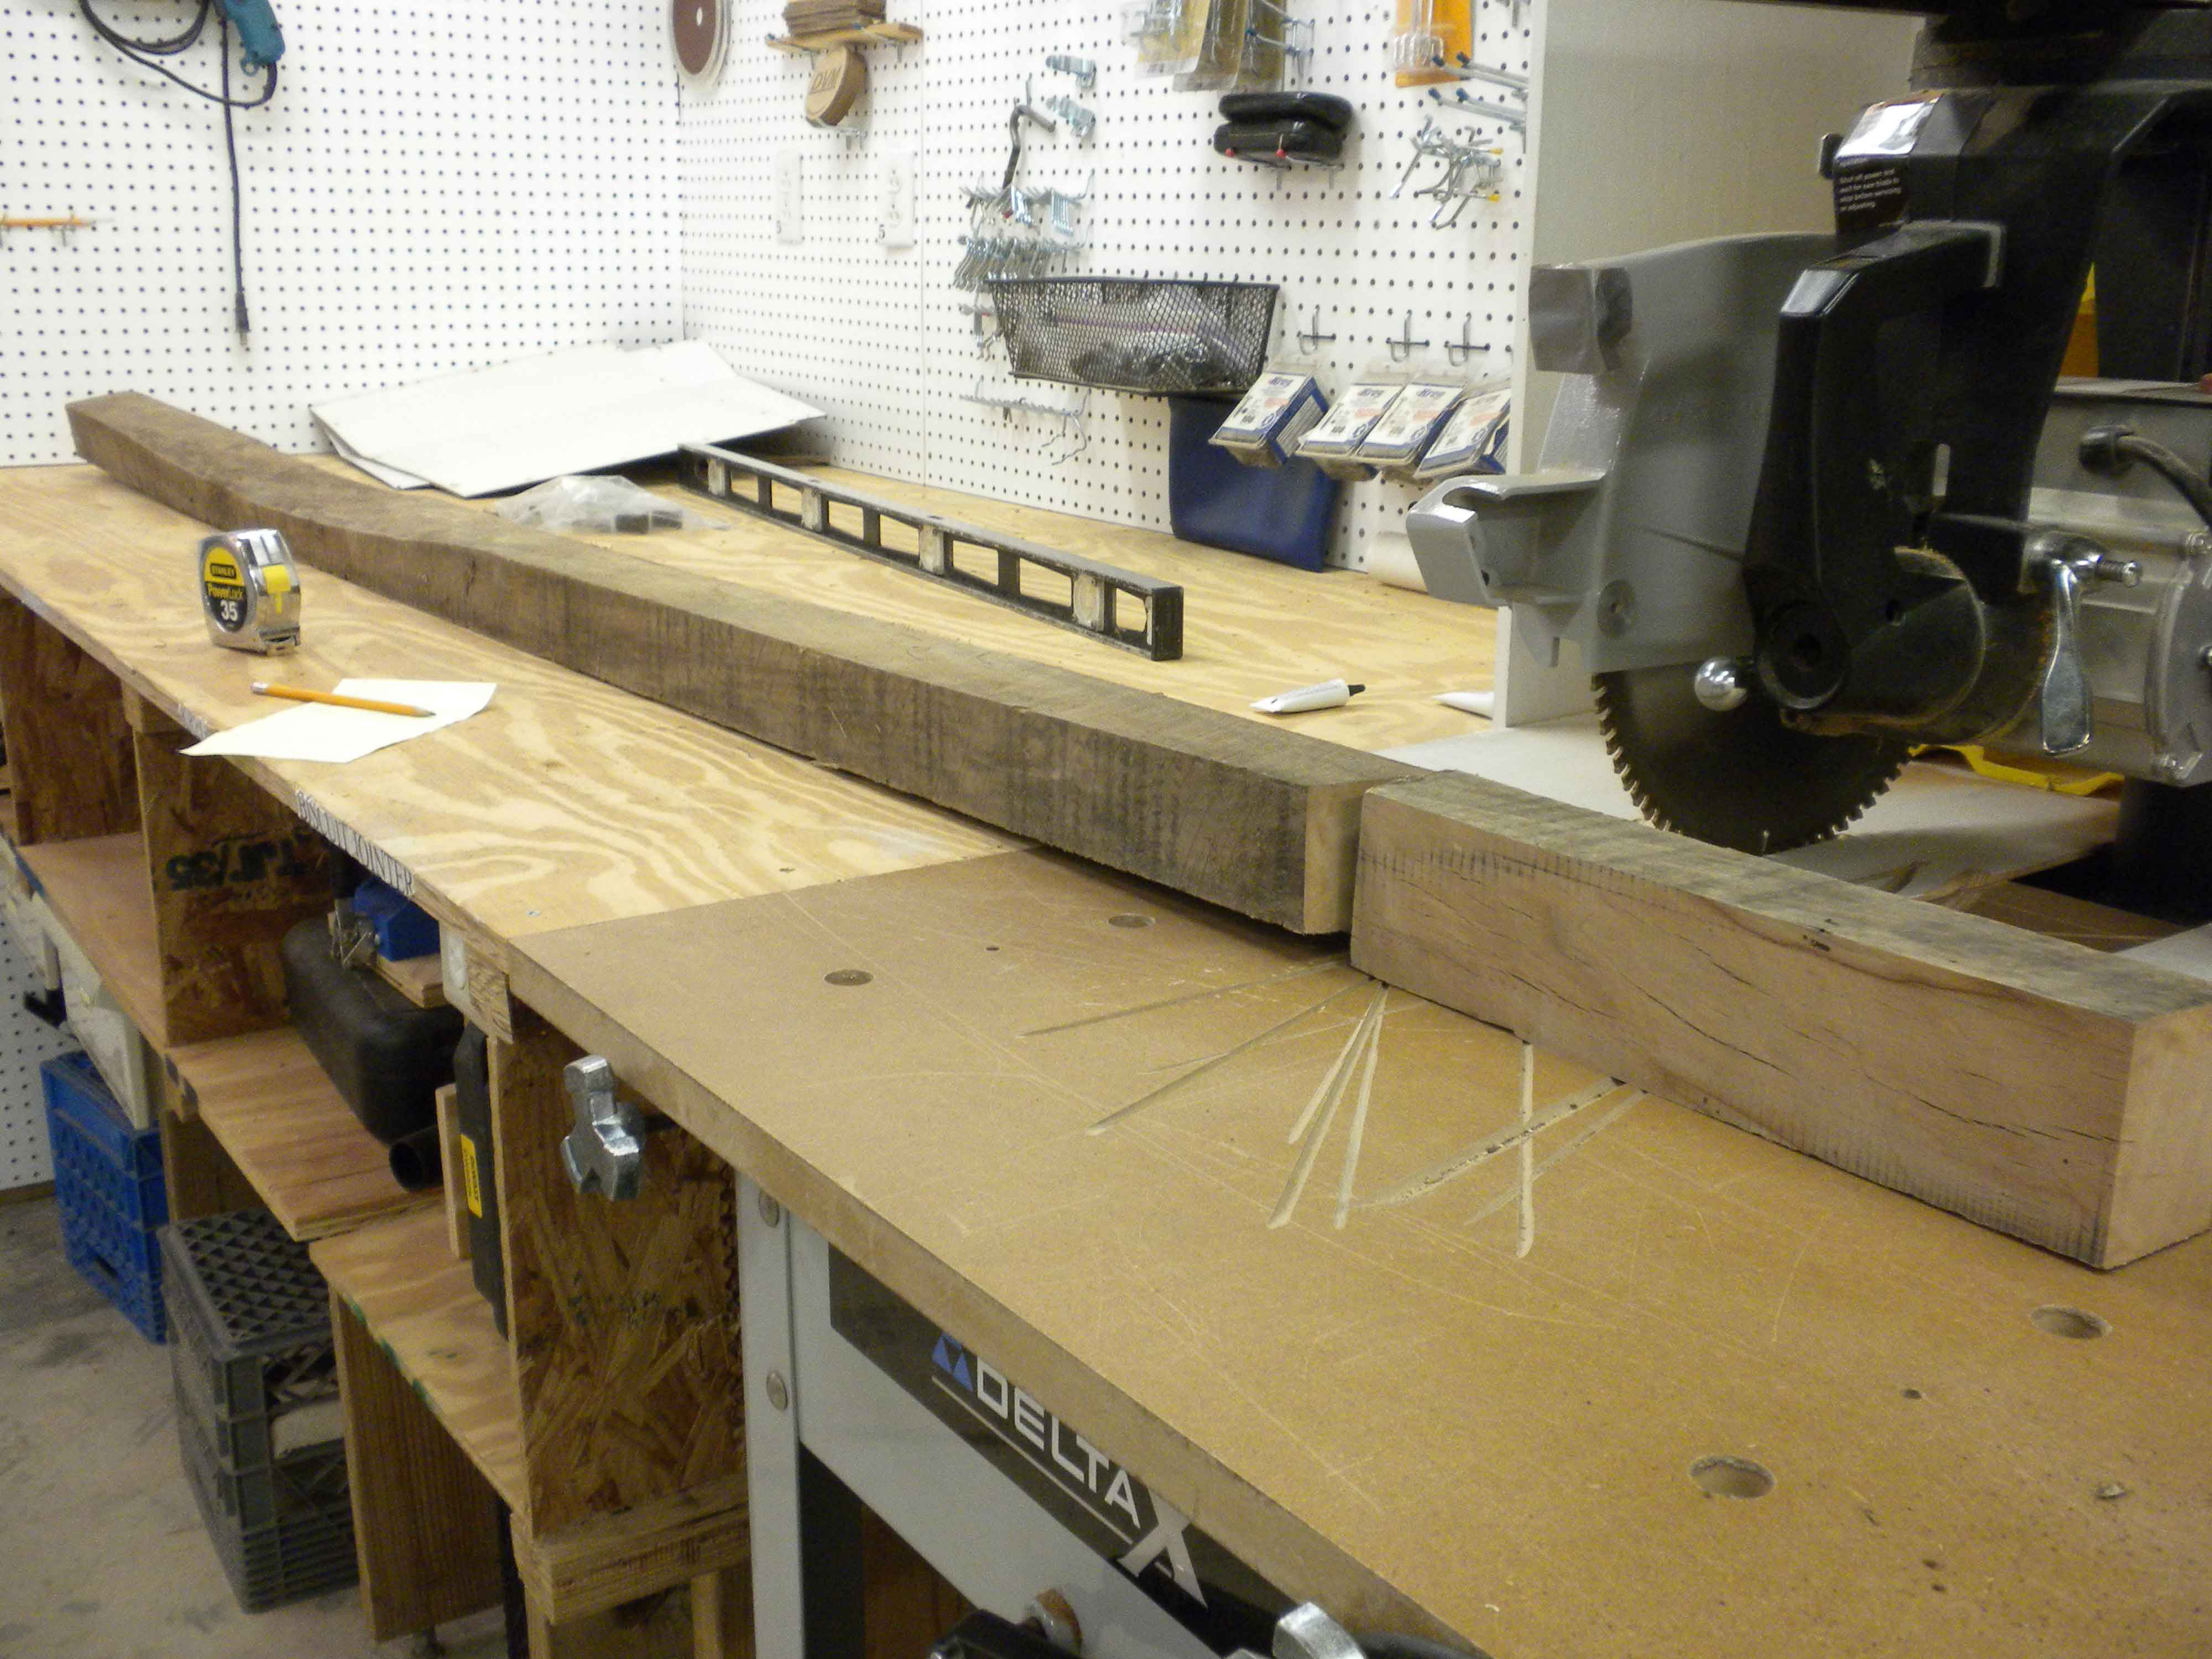
The first step was to get rid of the crookedness; not a small undertaking for a pretzel. I was able to take a lot of the bend out by using the radial arm saw to cut the 4×4 into pieces. Each piece was two inches longer than the longest measurement on the stool’s final size. The jointer did the yeoman’s share of flattening one surface, then the band saw and planer were able to turn out boards that were flat and square.
Meanwhile, I took photographs of the wood and e-mailed pictures to every woodworker I could think of. My furniture-restoring pen pal, Alan Noel, looked and confidently said “beech.” Knowing of my ignorance of wood species’ characteristics, he added, “Beech is a very waxy wood that is used primarily for chair frames and veneering because it does have some interesting figure. When finishing, be sure to wash it with shellac (1lb. cut) to seal in the waxy surface and finish with anything after that.”
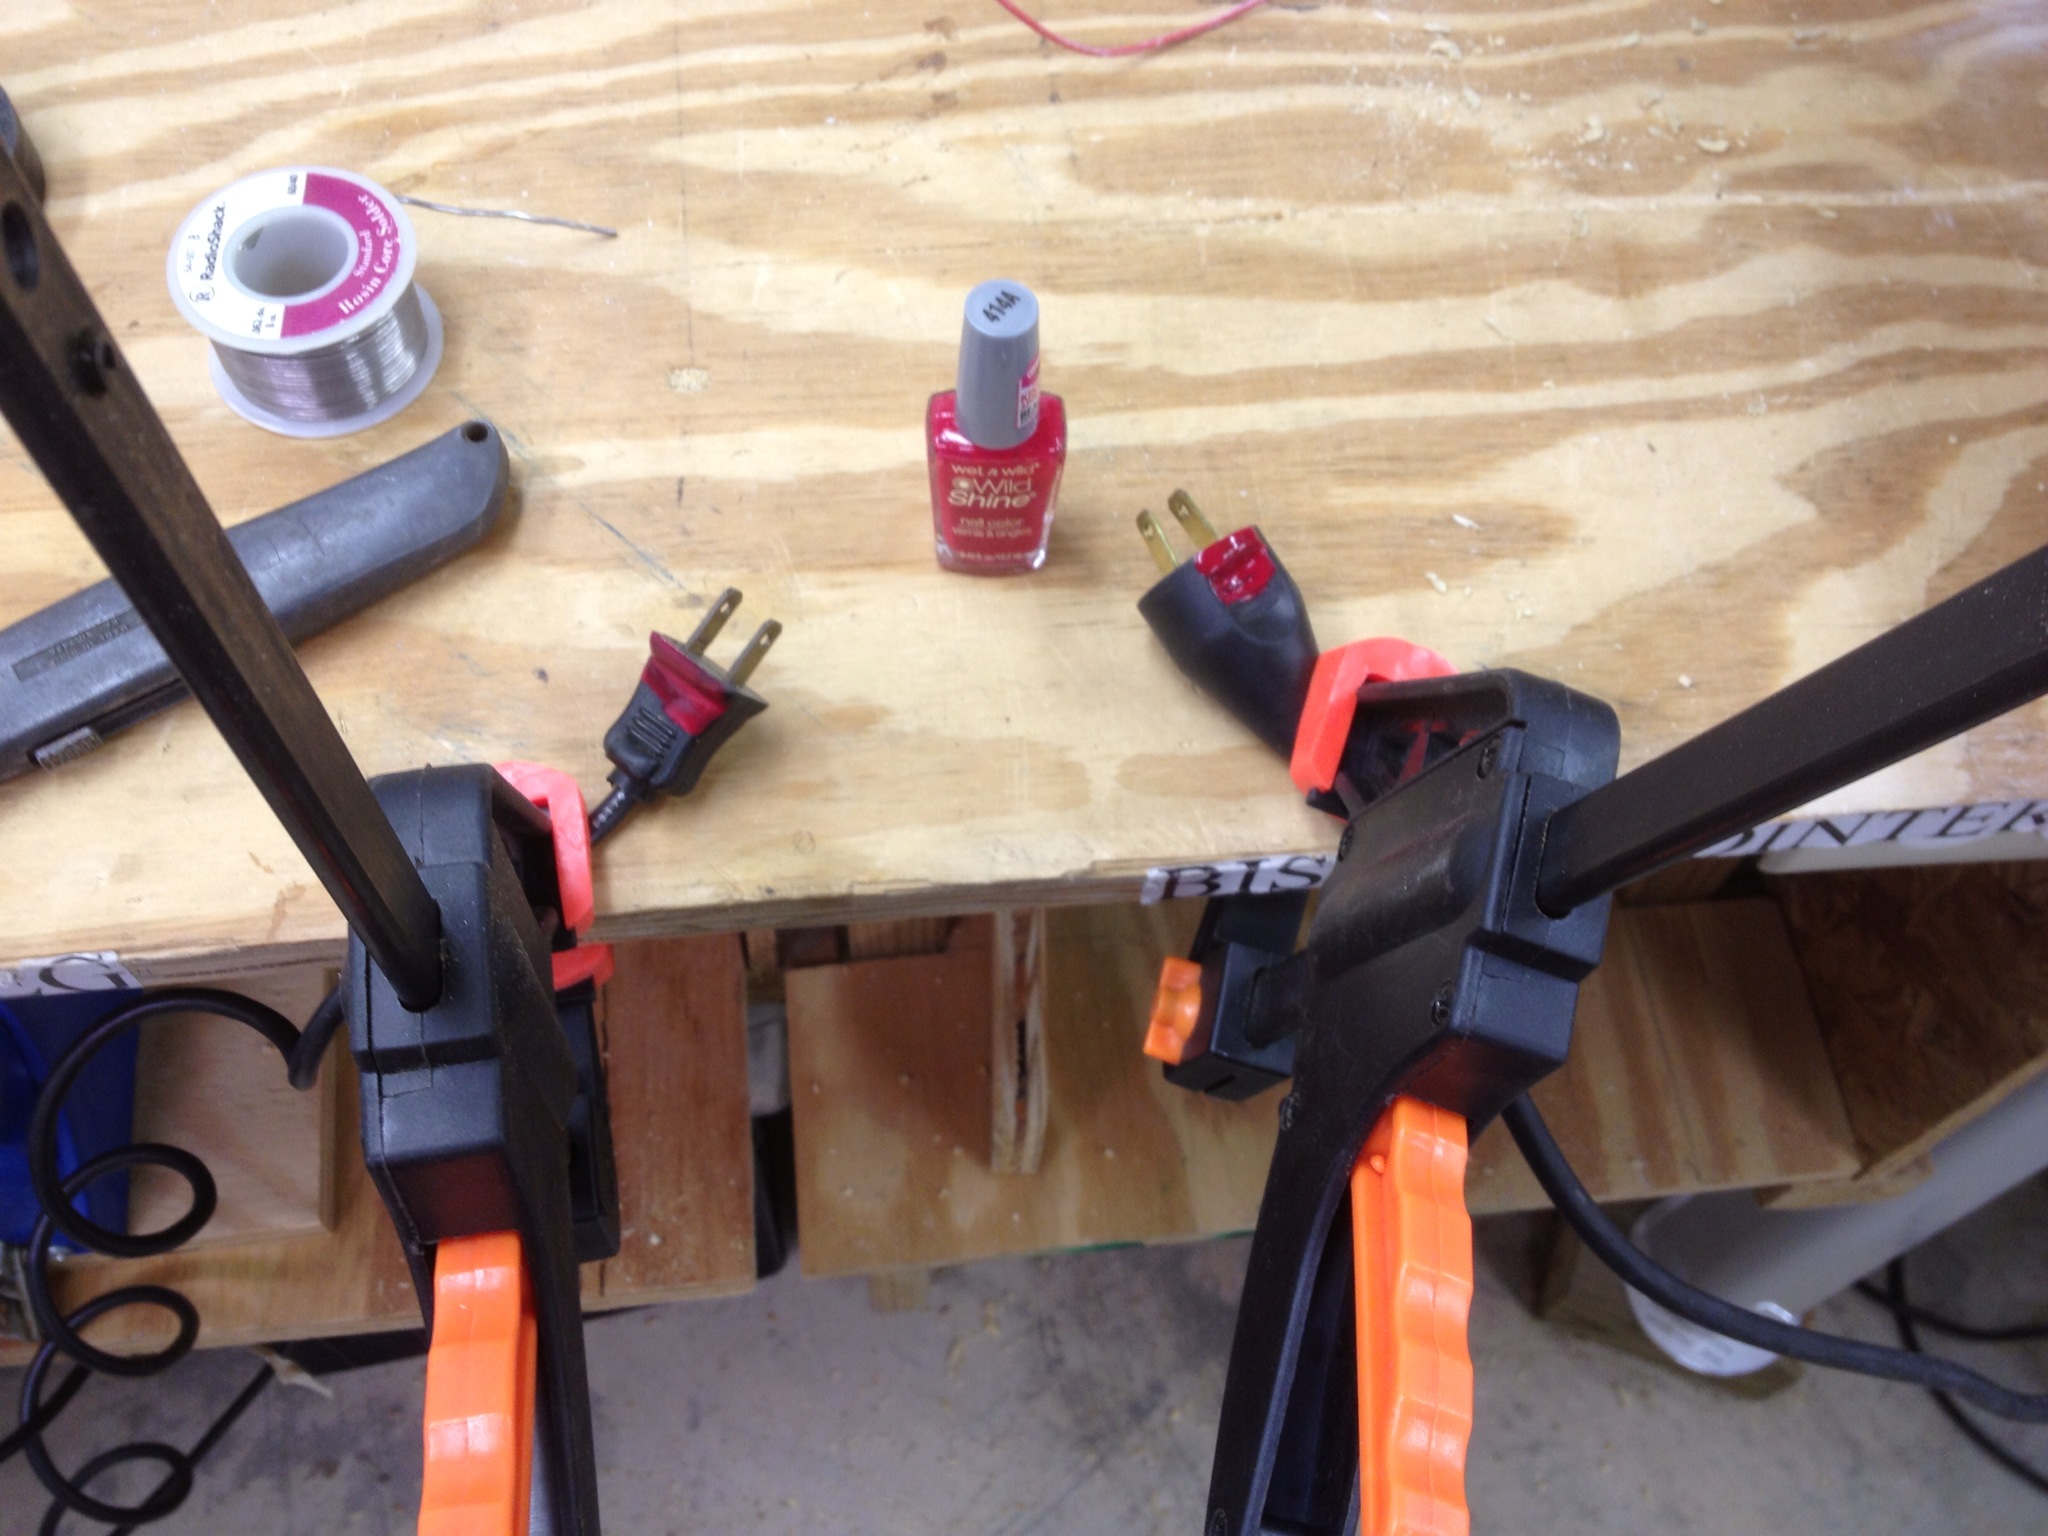
Armed with that information, I proceeded to scroll-sawing initials, assembly and final sanding.
Meanwhile, I had sent out e-mails to other experts at the same time as Alan’s e-mail. Bert Scarbrough, owner of Peach State Lumber, offered his guess as quartersawn sycamore. Charles Brock took a look at the same photos and concurred. Bert also suggested sending a sample to the US Forest Products Laboratory (FPL) in Madison, Wisconsin. I found their Web site, took note of the sample submission requirements and sent specimens in. A disclaimer on their homepage says that it may take 4-6 weeks to receive an ID. No problem; that still put me in a good range to finish Owen’s stool before his second birthday, although it would be close. Knowing absolutely nothing about shellac, I didn’t know whether to follow Alan’s suggestion and assume the wood was beech and seal with shellac first, or wait for the final identification.
I elected to wait.
Eight weeks came and went. I called FPL and asked them about the ID. The very nice lady said she couldn’t even give me a guess about when my wood sample would be identified.
My next step was to contact Alan for advice about progressing with the shellac base before finishing. “No problem,” was Alan’s response. “Shellac under polyurethane is safe regardless of what the wood species turns out to be.” With that confidence, I repeated my “final” sanding, and purchased a can of spray shellac. The rest of the finishing steps were uneventful, and, after a few days of drying time, I wrapped Owen’s stool in waxed paper, several blankets, and put it in the mail.
The clerk at the post office asked if I wanted insurance. I told her I didn’t think a million dollars was excessive. After she told me the fee for that level of coverage, I said maybe a thousand would be OK.
If I had to start this project over, I wanted to be well-compensated!
Fast forward.
Fast forward 11 months. That’s how long it took to get the ID from FPL. After a Web site claim of 4-6 weeks! Of course, we had the federal government on “sequestration” during that time, and, I can’t say enough about how polite and patient the phone receptionist was.
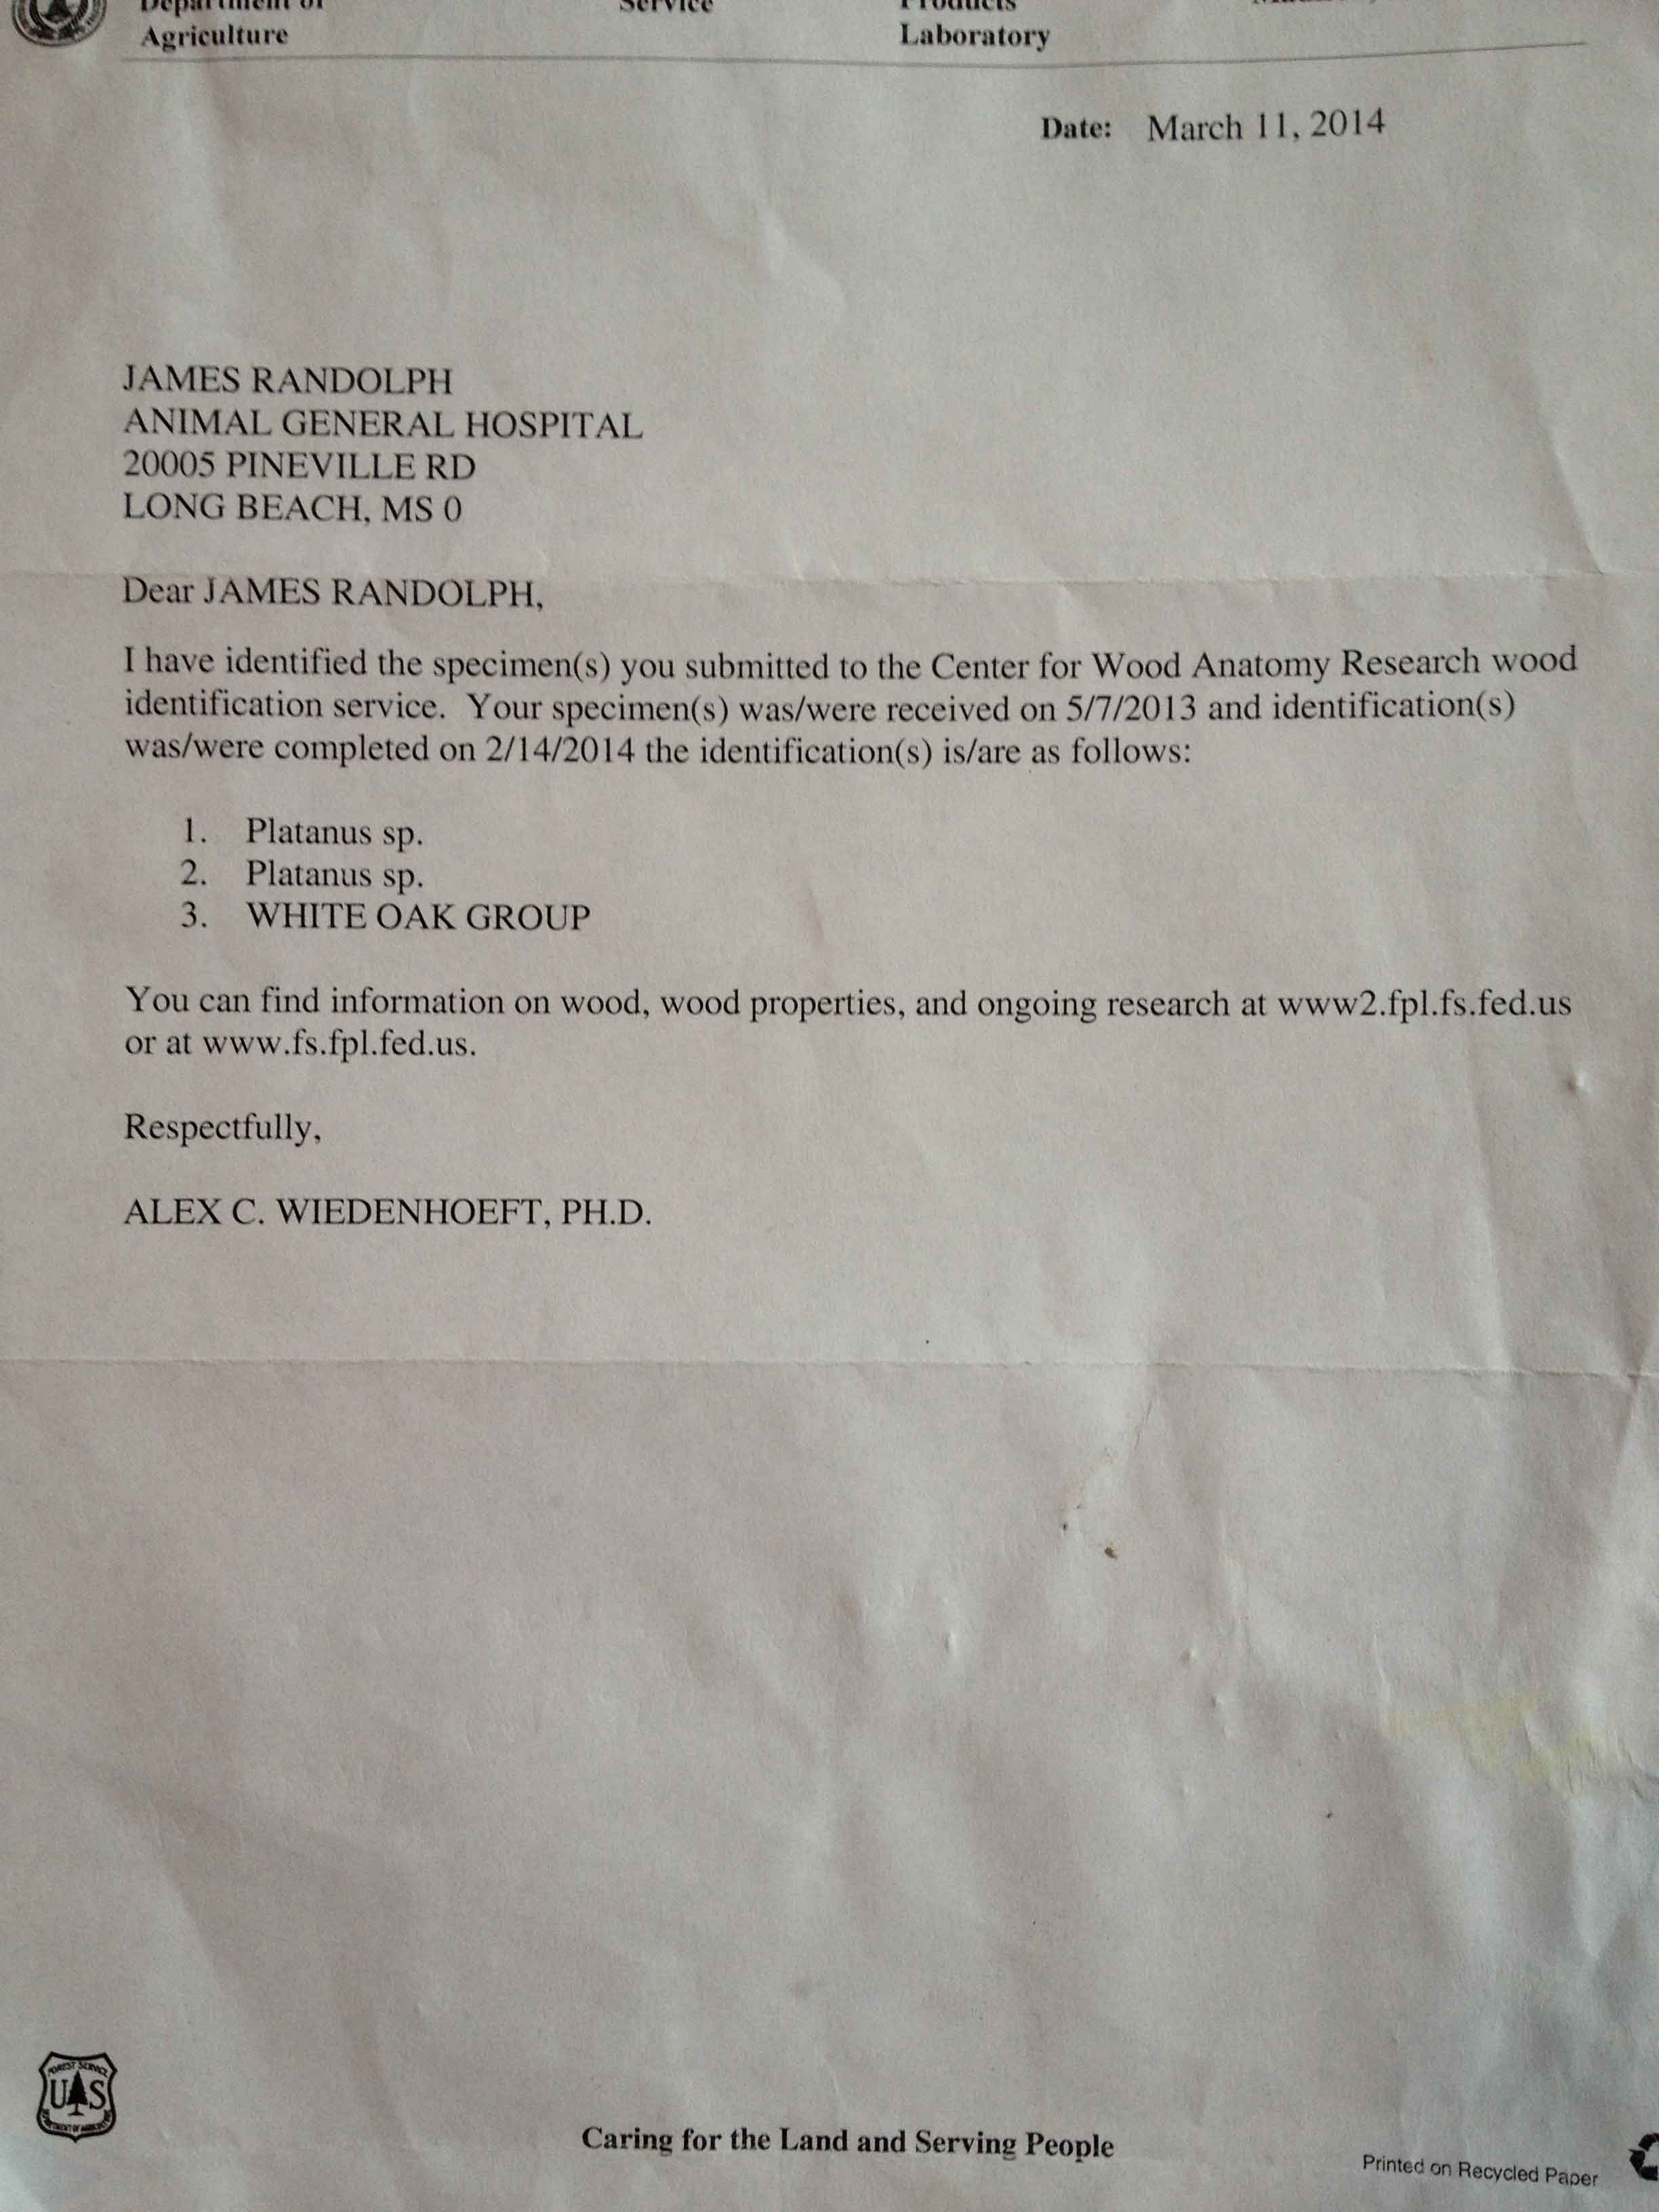
But, there was another area of letdown, too. Take a look at the report.

Genus name only! Nothing else! My hopes were high that I was going to really “nerd out” on their analysis based on what Bert had said in his initial email: “ I have used them in the past and they give you more information than you care to know by looking at the sample with a microscope; like the region it grew and the scientific name and maybe how old it is. It usually takes them a few weeks to get back to you but they will.”
So, hand it to Bert Scarbrough and Chuck Brock; they nailed “sycamore.” Which is the most likely Platanus(pronounced PLAT-uh-nuss) possibility for pallet lumber in the continental US. Quartersawn sycamore is sometimes called “lacewood,” but lacewood is properly Cardwellia sublimis, from Australia, and I can’t picture anyone making pallets or tractor-trailer supports out of exotic wood!
The bottom line is that Owen was happy with his stool, and his big sister is happy that he won’t be commandeering hers all the time. There is the unfortunate side effect, though, that his parents report: Now he has a tool to reach even more things he has no business getting into!