No Southern-fried Southern boy wants to be called a Yankee, but we share the characteristics of shrewdness and thrift. Thus, each month we include a money-saving tip. It’s OK if you call me “cheap.”
Search the Web for “wood storage” and you will be inundated with more articles and videos than you can digest in a lifetime. Every woodworker has his own take on where and how to store materials for future use. And, I believe that most will agree that the answer to our storage problem is, “put it somewhere that can’t be used for anything else.”
In my case, the majority of wood storage is between the front wall of our house and a wall that supports a porch above.
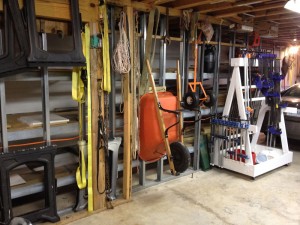
This wall was originally made of wood, but the studs were weakened by Hurricane Katrina’s floodwaters, so I replaced it with a galvanized steel wall.
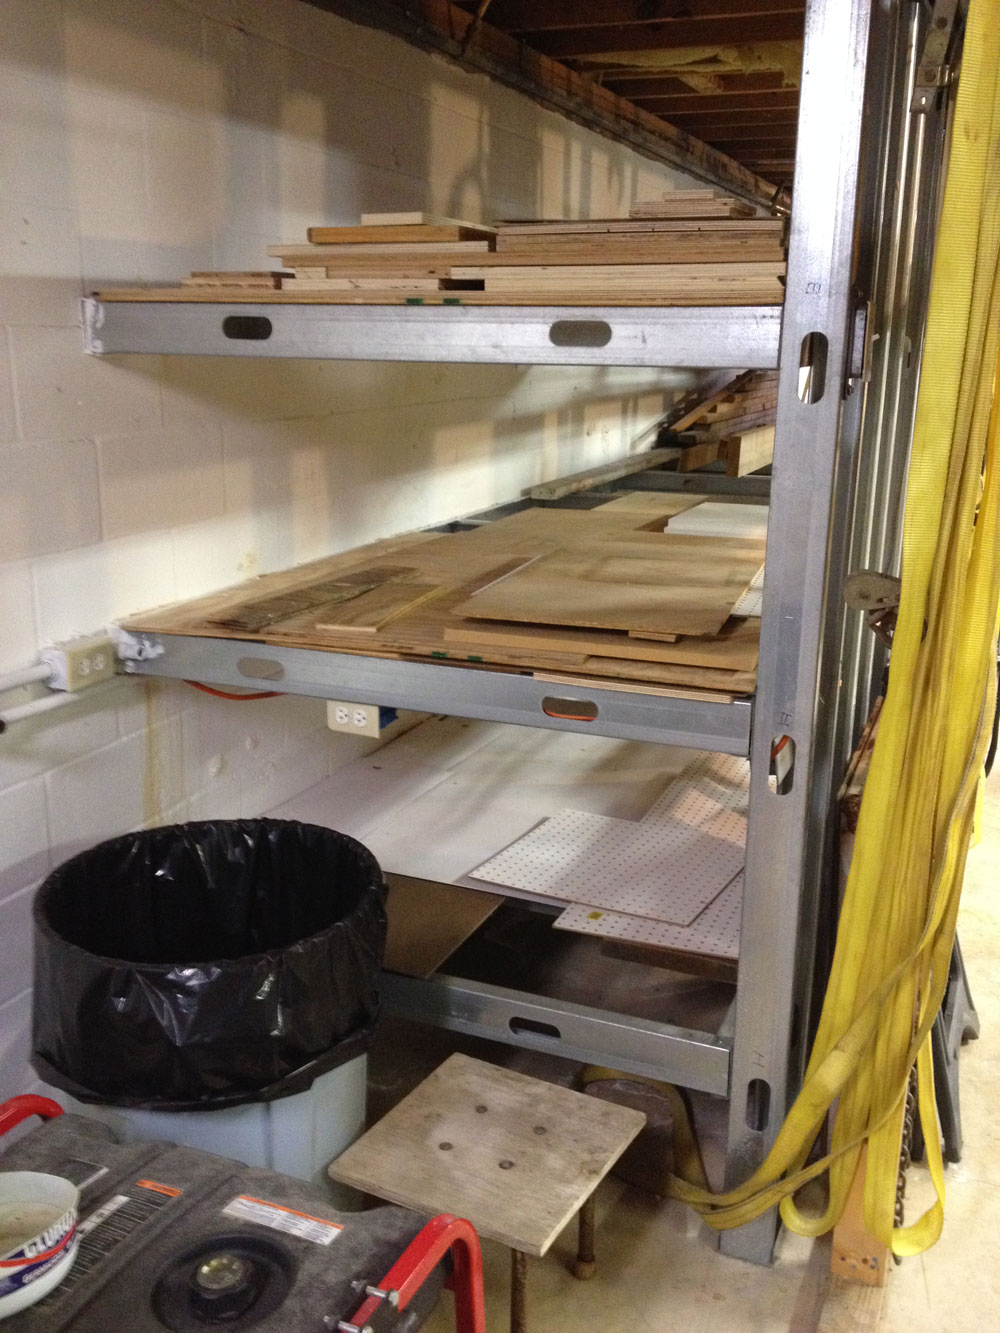
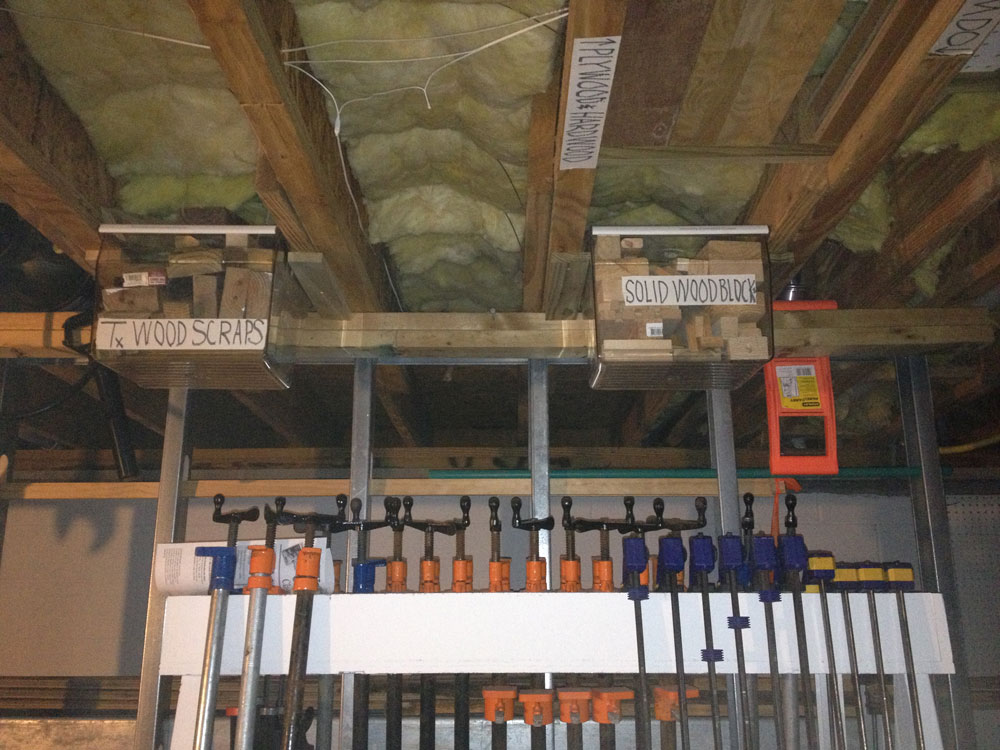
That space is too narrow for parking, so I made a rigid frame to support materials of all shapes and sizes. One end is dedicated to sheet goods and, with an inexpensive layer of lauan as the foundation, I can add everything from full sheets to small scraps.
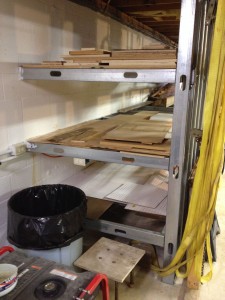
The plywood end of the storage area allows for full sheets down to small scraps, as well as room for expansion by simply adding cross members for additional layers
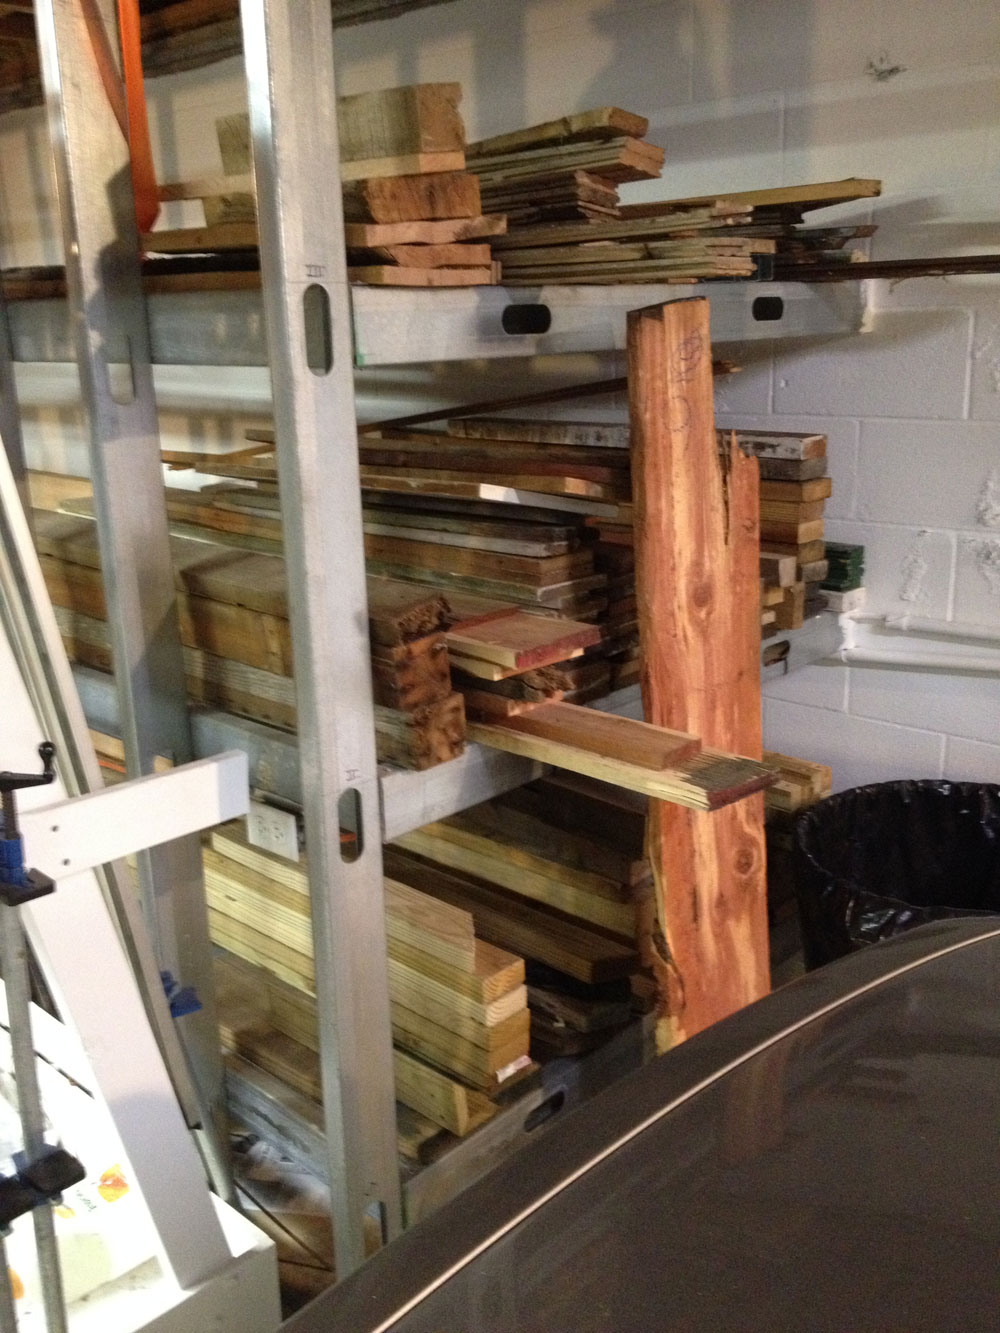
The other end is for solid wood and is organized by species, with the bulk of the space going to treated pine.

Because I handle all of our home’s maintenance, I keep plenty of treated lumber for outdoor use, as well as leftovers from previous projects.

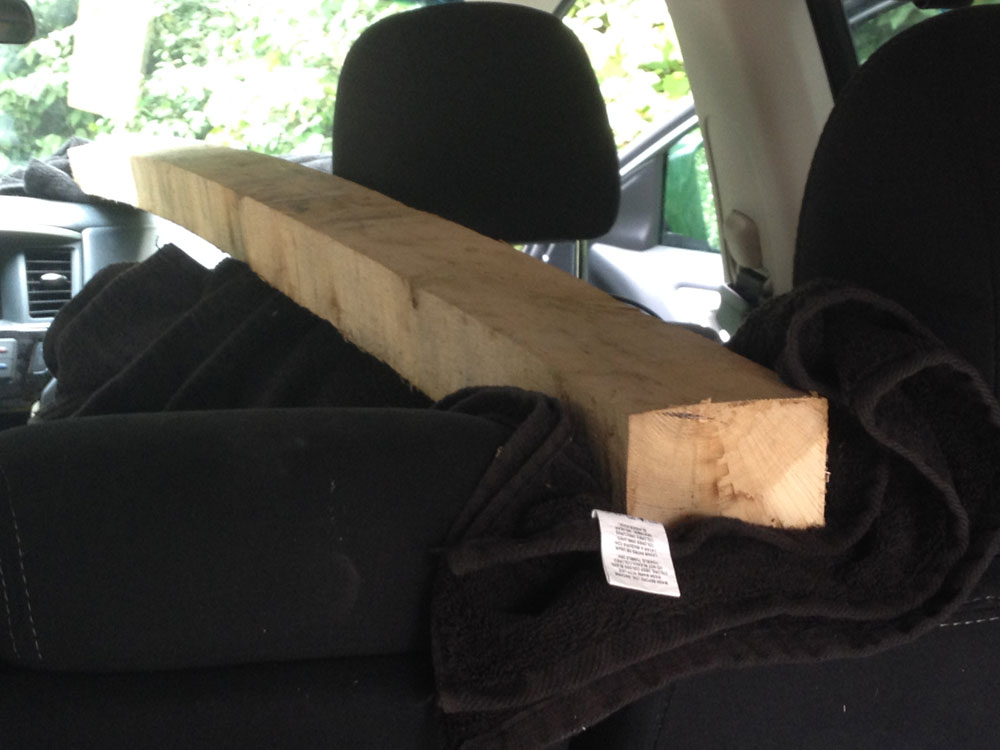
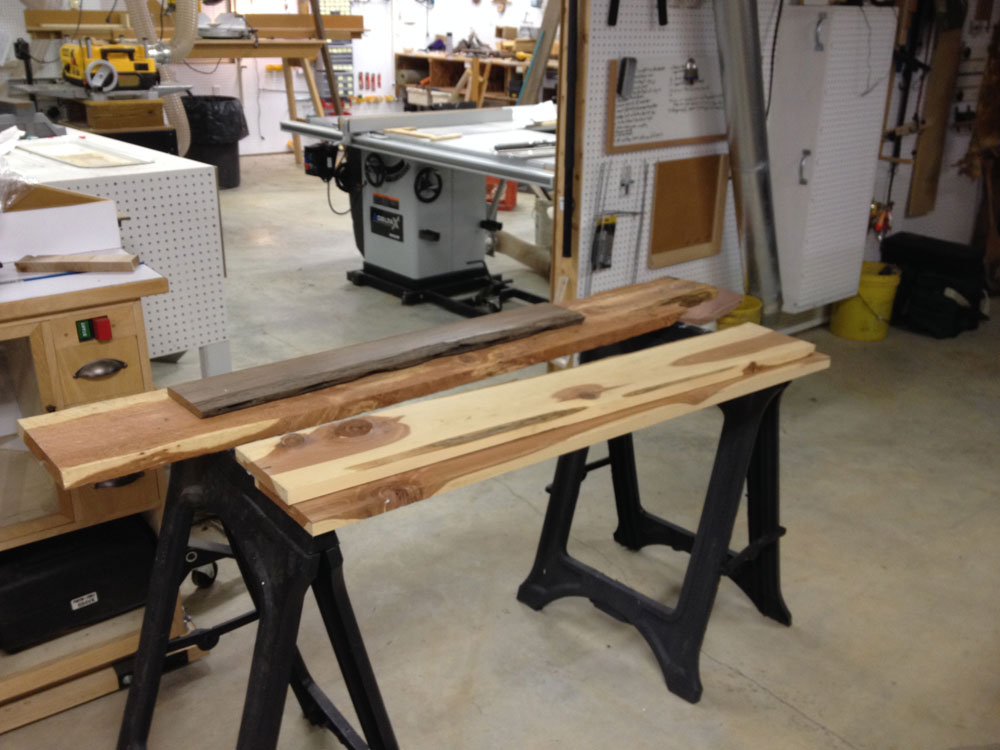
Lumber for a current project could be stored, but I usually keep it close at hand on sawhorses nearer to the work area.
Under the house is the roughest of the rough; mostly construction lumber, cedar siding left over from our home’s original construction, posts and poles.
Having experienced, “Don’t I have (fill in the blank with a wood species and scrap size) somewhere?” many, many times, I try not to throw away any scrap I think might be usable. Perhaps the best part of this storage system is that there is nearly zero monetary or space cost to this system.
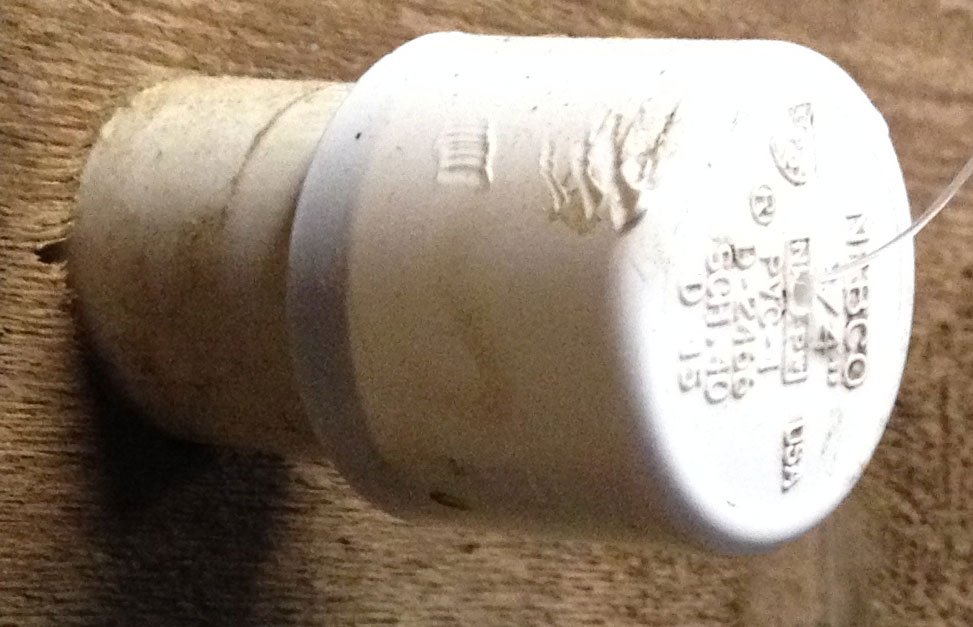
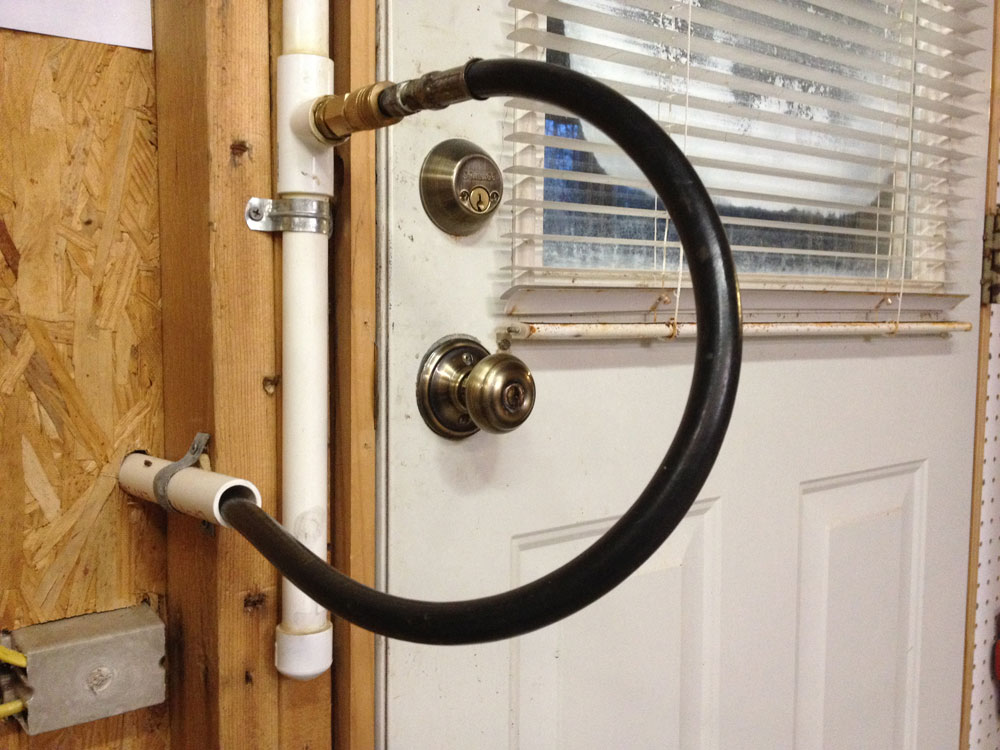
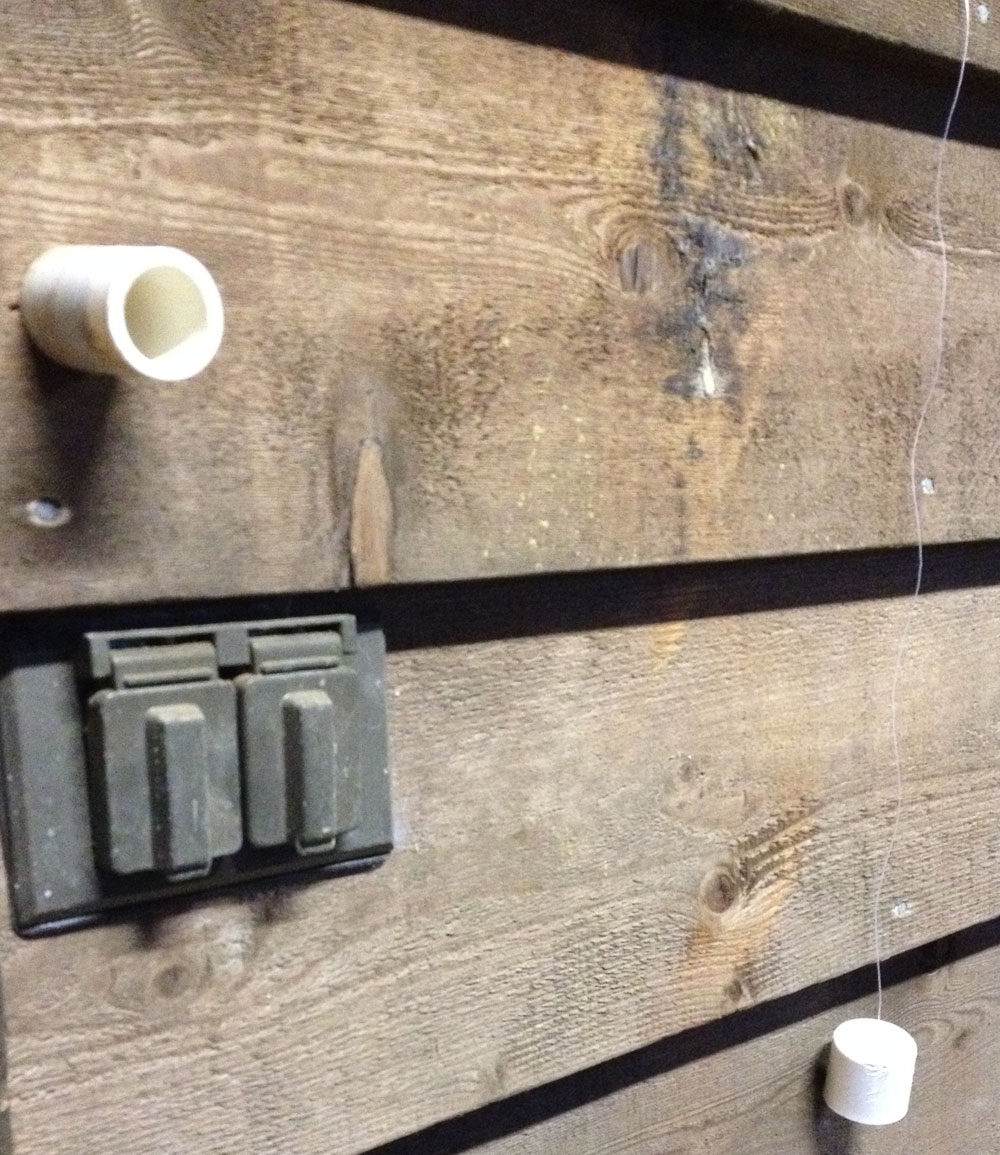
The inspiration started with a tip I read online, suggesting the storage of dowels in PVC gutter downspouts attached to the underside of ceiling joists in the shop. I was convinced this was the storage solution for me, and I got on a ladder, measuring for the lengths of downspouts I wanted to purchase when it hit me: “I can store stuff up inside these wooden I-joists without sacrificing ceiling height and without buying anything.”
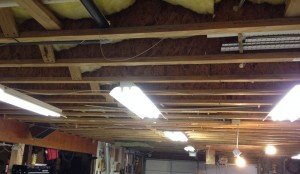
An overview of the parking side of our garage to orient you for the ceiling photos.
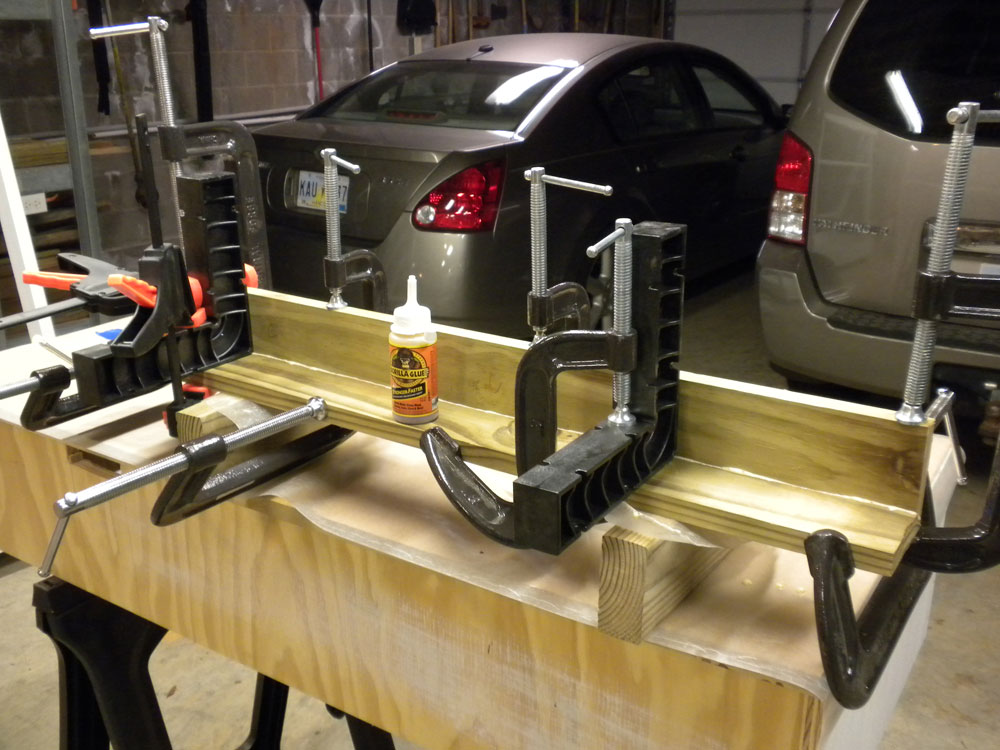
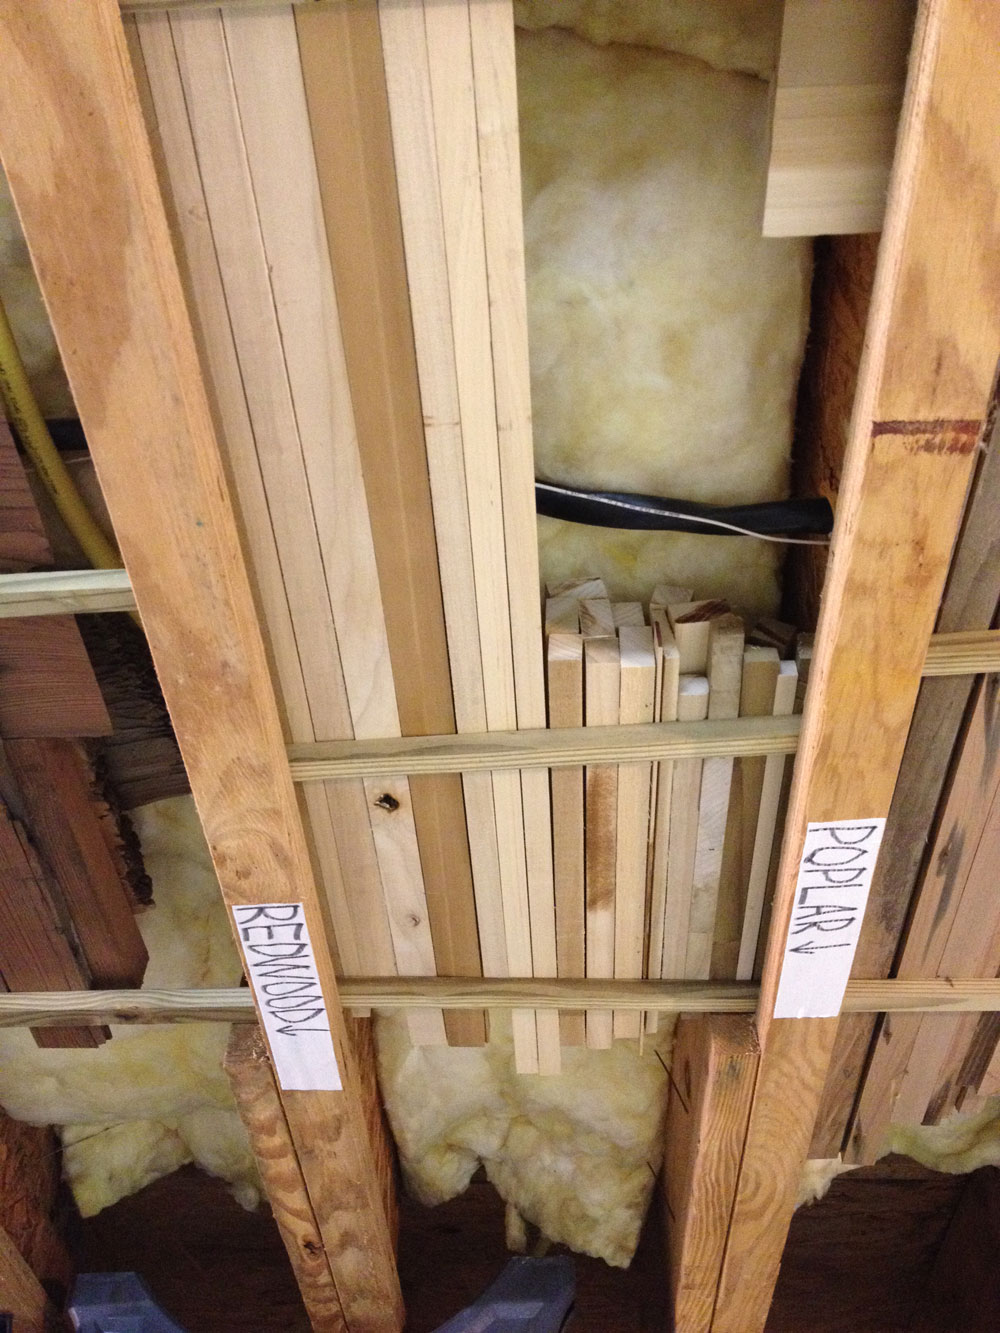
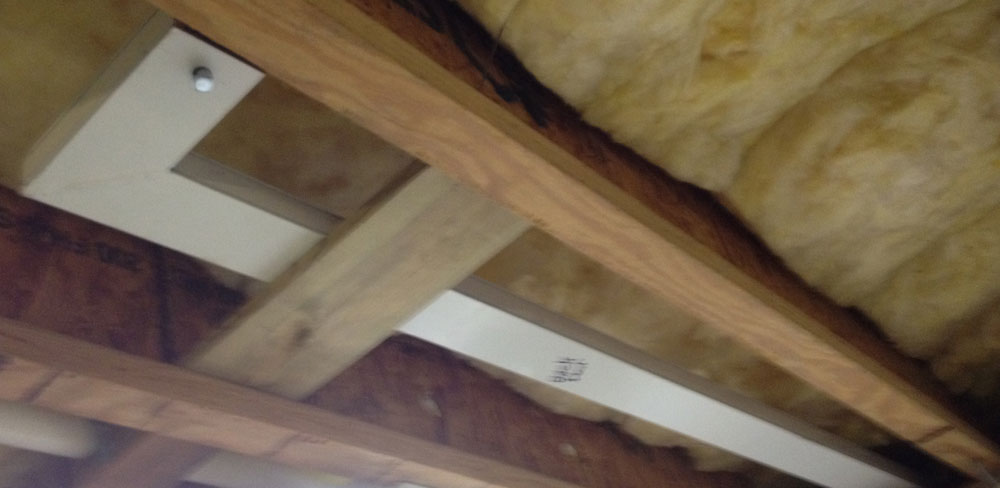
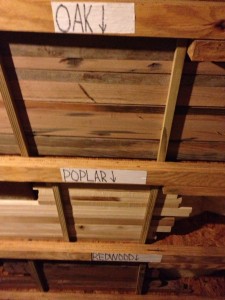
Here’s how I did it: I already had little strips of treated lumber I use for stakes and a thousand other uses. It was a simple matter to take an inside measurement of the space between joists to customize roughly 14″ pieces of the little stakes (the space between joists is not always equal) to fit tightly, where they act as supports for the scraps. Close together for short scraps, far apart for longer pieces or even letting long lengths span several supports. Each collection is organized from longer to shorter.
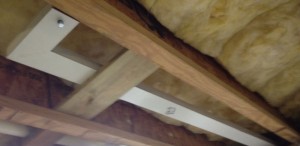
Short scraps are accommodated with supports close together.

Long scraps not only need supports far apart, they need support in the middle to prevent warping. Good organization helps. Taking the time to sort from short to long pays off when you need a scrap of a certain length.
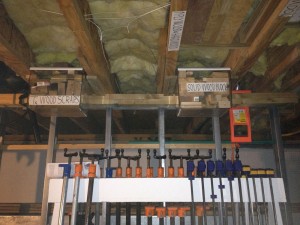
At first, when I had only a few rafters in use, it was easy to look up and see what kind of scrap was stored where. Now, I have 20 rafter storage spaces, necessitating an identification system. Initially, I used blue painter’s tape, but the lack of contrast between blue tape and black Magic Marker made reading difficult, especially against the glare of ceiling lights. Two-inch adhesive tape (enter the tiny bit of cost) solves the problem, with excellent contrast between black and white.
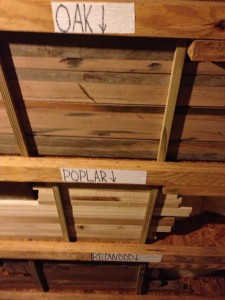
Like your grammar school teacher said, “Neatness counts.” Take your time with lettering for a neater job and greater legibility.
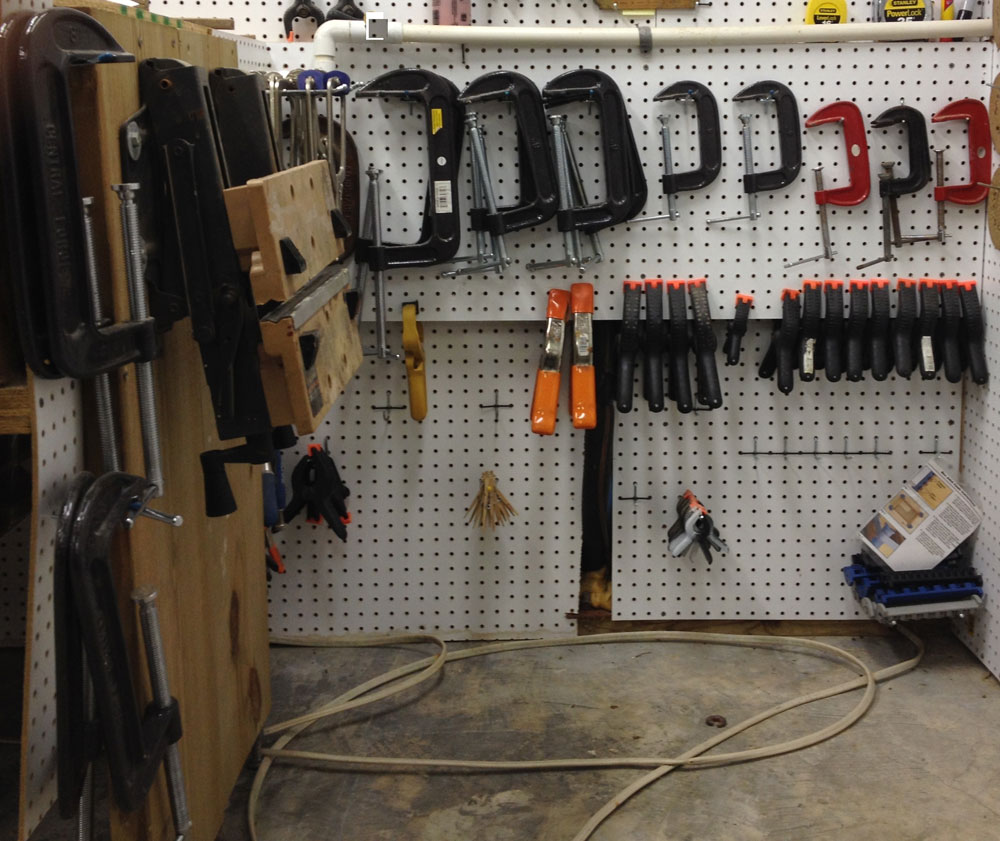
I also use this free space for storing very long pipe clamps, garage door hurricane supports, and anything else that will fit.

You’re not paying for “router pads” are you? If so, CLICK HERE to learn how to get all you want for FREE!
Some very, very small scraps are still worth keeping, but they won’t easily fit into or onto conventional storage. For that, 5-gallon buckets are the cat’s meow.
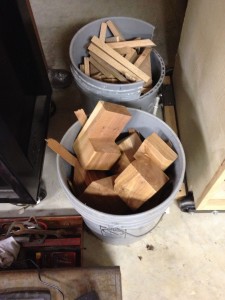
This bucket holds all of my very small cedar scraps and stores neatly out of the way.
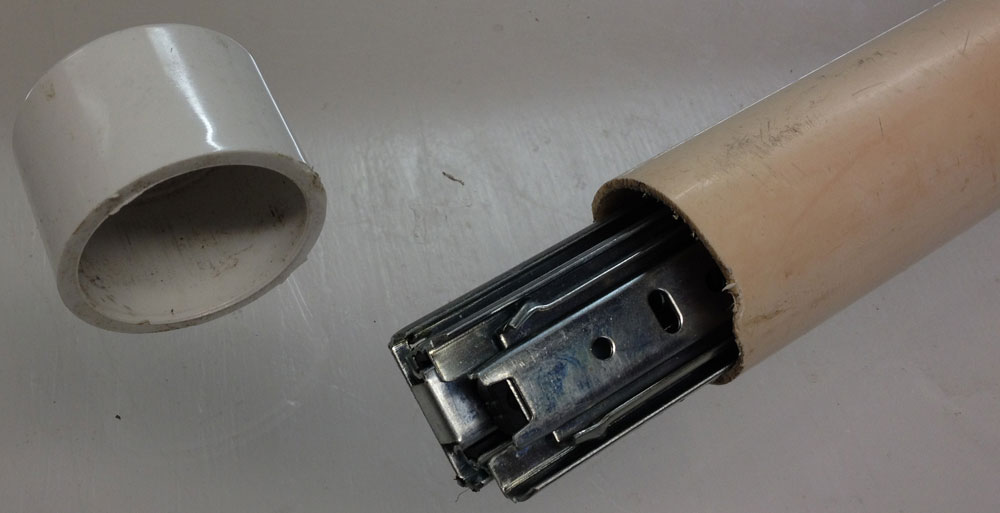
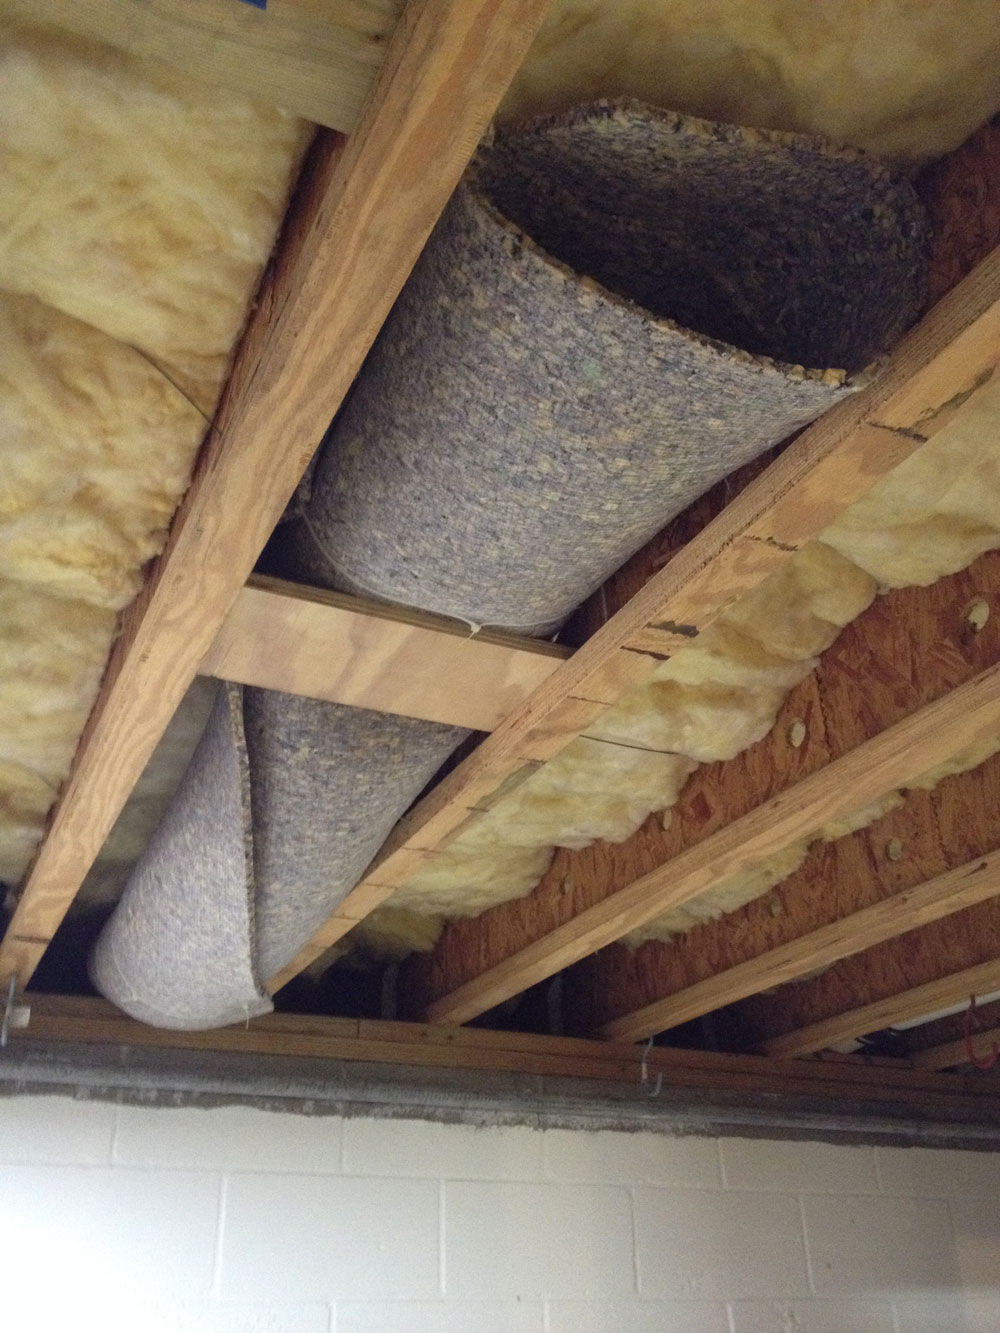
Then, there’s the wild card scrap storage: drawers salvaged from old refrigerators. The vertical standards can be used to hang the drawers in their original fashion, or you can improvise by fashioning wooden runners to support the drawer edges.
While this storage does hang down below ceiling height, I chose an area where it didn’t matter. Also, if it ever presents a problem, it’s a simple matter to take it down.
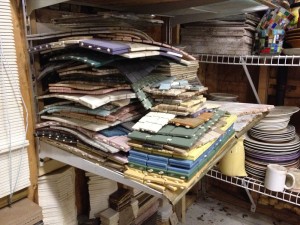
In my wife’s tile studio I used refrigerator shelves for storing some really heavy pieces. They are up to the job.
—
Jim Randolph is a veterinarian in Long Beach, Mississippi. His earlier careers as lawn mower, dairy farmer, automobile mechanic, microwave communications electronics instructor and journeyman carpenter all influence his approach to woodworking. His favorite projects are furniture built for his wife, Brenda, and for their children and grandchildren. His and Brenda’s home, nicknamed Sticks-In-The-Mud, is built on pilings (sticks) near the wetlands (mud) on a bayou off Jourdan River. His shop is in the lower level of their home. Questions and comments on woodworking may be written below in the comments section. Questions about pet care should be directed to his blog on pet care, www.MyPetsDoctor.com. We regret that, because of high volume, not all inquiries can be answered personally.