When I looked up and saw this snake skin in the un-likeliest of places, I immediately froze.
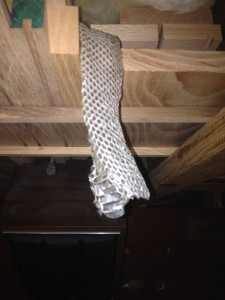
I couldn’t believe my eyes. Our practice doesn’t include exotic animals, but I knew enough about snakes to know this one wasn’t alive. Still, I was instantly terrified. I knew, at some point, its live owner had been here and could still be lurking. Maybe even right here!
Standing on a ladder, it reminded me of when I worked in microwave communications electronics. Our teachers always told us, “It’s not the big voltage that will kill you. You’ll be careful around it. But the little voltage, if you let your guard down, will startle you, make you jump, and you’ll inadvertently throw yourself into a high voltage circuit.” I could just picture myself seeing a real, live snake and falling off the ladder in response:
“What killed ol’ Jim?” asked one mourner.
“A nonpoisonous snake.”
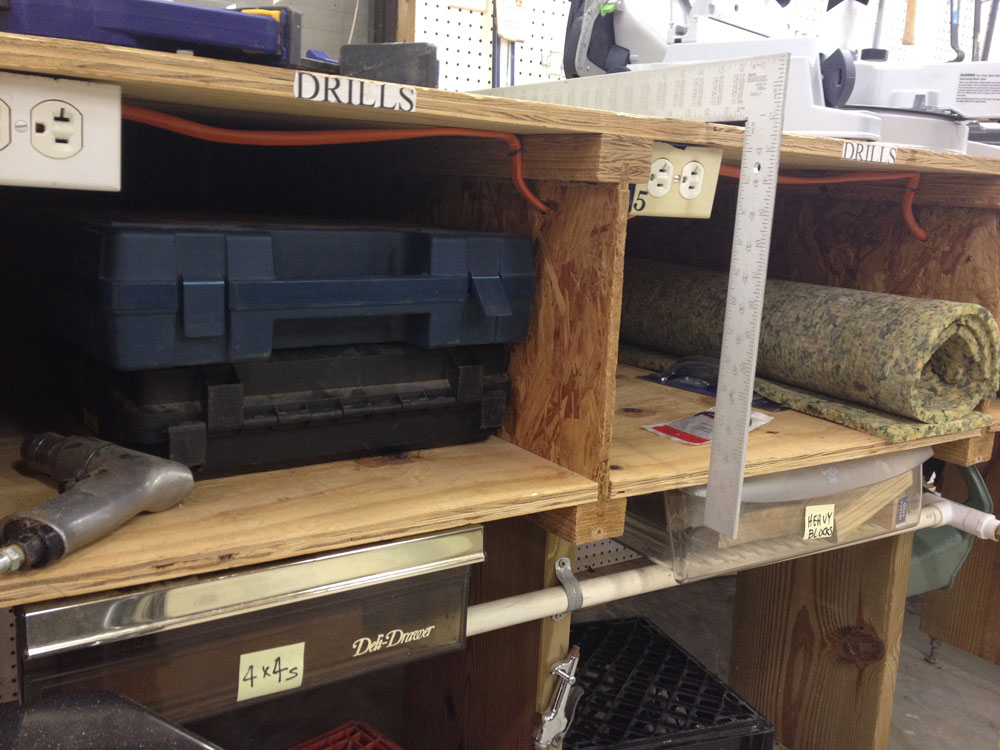
In the March, 2015, issue of Wood News Online we published a
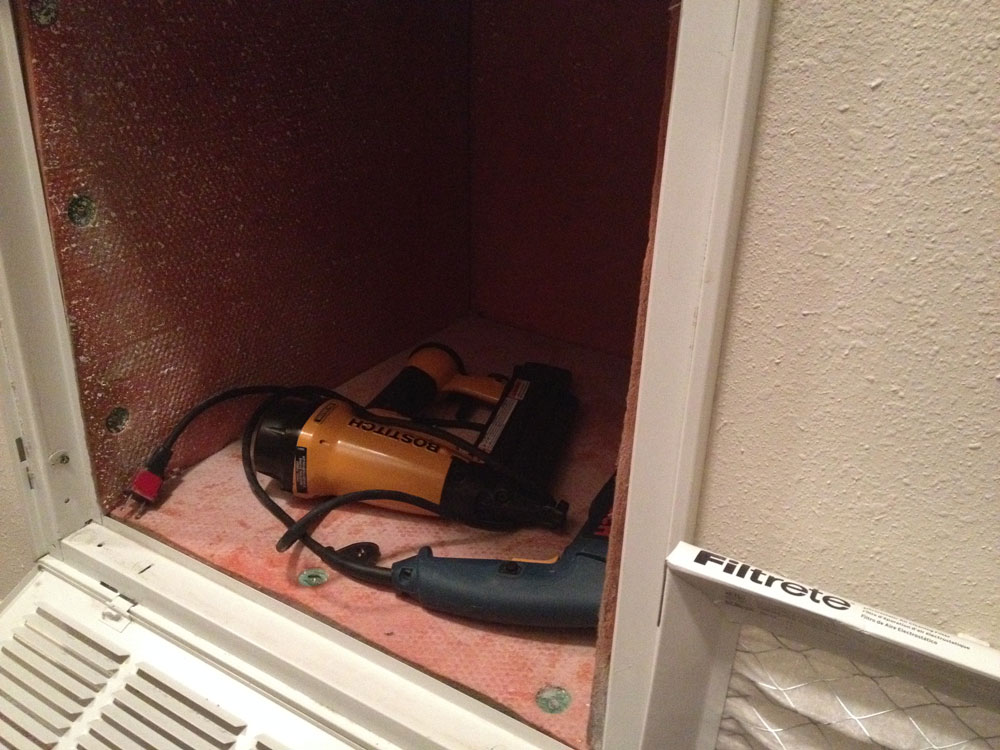
tip designed to save you space while making the most of scraps of wood you want to save. The gist of the tip was to use the area between ceiling joists for storage. By arranging materials appropriately, you can store anything from big-enough-to-fit to small-enough-to-sit-on-top-of-
the-big-stuff. Of course, there’s a practical limit to how small you really want those smallest pieces to be, yet, it’s ultimately a personal decision.
For example, I have some redwood that came from the sign that stood in front of our veterinary practice for 24 years, until Hurricane Katrina knocked it down. I’ve made some projects out of that wood that are priceless to me. Not everyone is sentimental, much less about wood, but I am, so I have saved some pretty small pieces of that redwood just in case I have some use for a tiny bit of it somewhere.
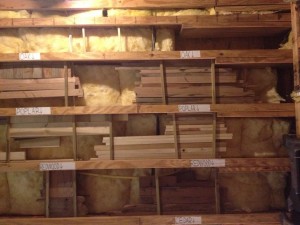
As you can see, some of these redwood pieces are really small, some are really rotten, but every scrap holds a memory, and stands a chance to be fitted into a project someday.
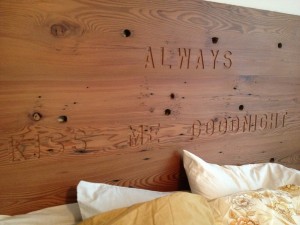
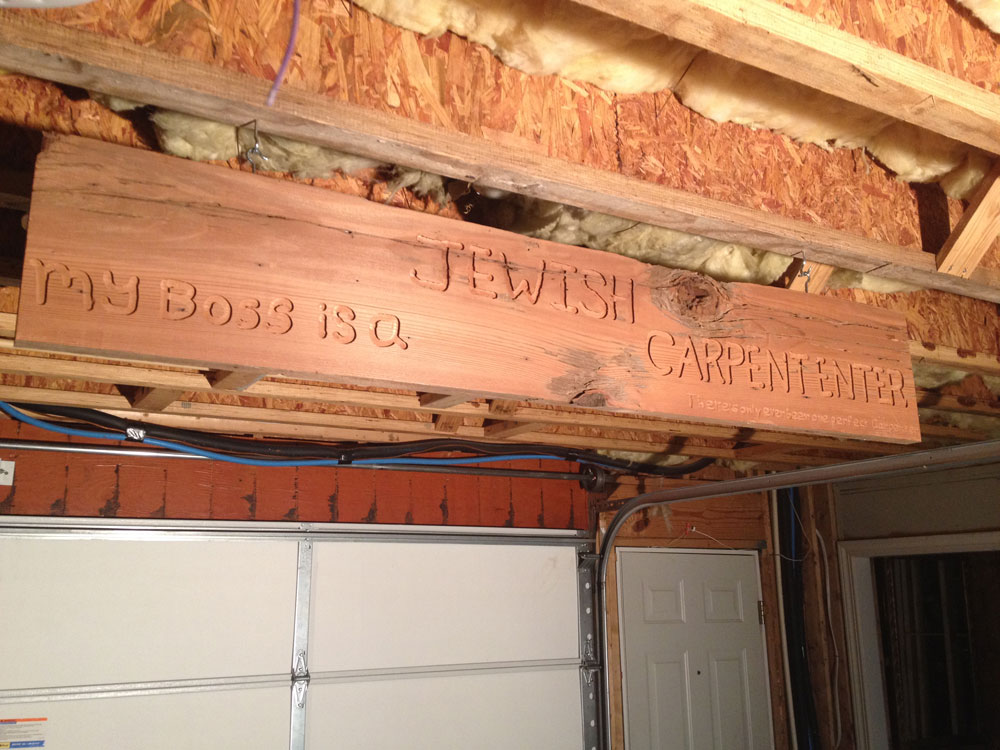
The 2×12 redwood boards that made the rails of our pre-Katrina Animal General Hospital sign were planed, sanded and glued up to make this simple, rustic headboard. The engraved phrase came from a Delta Airlines SkyMall catalogue advertising a needlework project. I wrote down the expression while on a flight to see our grandchildren, and kept it tacked to the shop wall for years before finding the right place to use it.
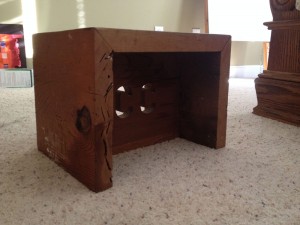
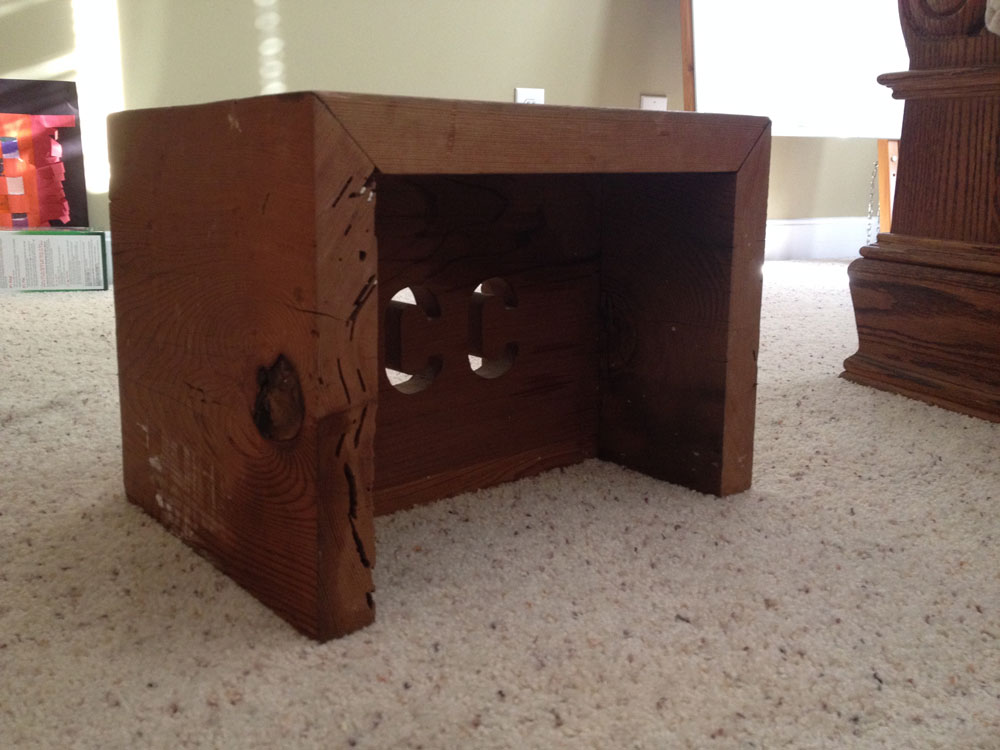
My Grandson Charlie’s stool was made from cutoffs of the same 2×12 redwood.

This sign hangs in the automobile-parking area of our garage, which shares space with the woodworking area. There’s a story that goes with the inscription underneath, but that’s for another post.
Likewise, I have some oak tongue-in-groove flooring with an interesting backstory. My wife bought some really cheap bedside tables from the “real wood” store, but she needed more top surface on hers. The best I could come up with for short-term use was an old lauan panel I’d attached to some 2x4s with a picture-frame molding around it. It was so ugly that Brenda covered it with a red cloth, awaiting a suitable and appropriate top for her “real wood” chest.
That task dwelt on my honey-do list for a long time until, one day, I got the idea to go to Lowe’s for some oak flooring. I could just glue and nail it to a substrate, attach the top, and with a little sanding and some finish Brenda’s new table surface would be ready to reveal itself to the public.
At Lowe’s, I looked around, but I couldn’t find any oak flooring. Third in line for the attention of the Lowe’s employee on duty in the hardwoods department, I waited, only to hear him say, “Oh, we don’t carry that.” “Oh, well,” I thought, I would just have to find out who does. Then, I heard a sweet female voice behind me, saying: “Excuse me, sir. I don’t mean to butt into your business, but I heard you asking about oak flooring. I have some. Does it have to be new? My husband and I salvaged it from one Katrina-flooded house to use in another Katrina-flooded house. If you would like to come by and look at it, just call me. Here’s my address and my cell phone number.”
Now, this lady didn’t know me from Adam, yet she stood there with her little six-year-old daughter beside her, giving me her address and phone number, like it was 1946. There is still a little trust and innocence in the world!
We met, she showed me the old floorboards, and I knew I had found a treasure trove. “Take whatever you’d like, but we still need about this much,” she said, motioning to a small portion of the stack. Well, “stack” might be a little generous. “Pick Up Sticks,” the child’s game, comes to mind when trying to describe the way the boards had been haphazardly thrown into the old garage.
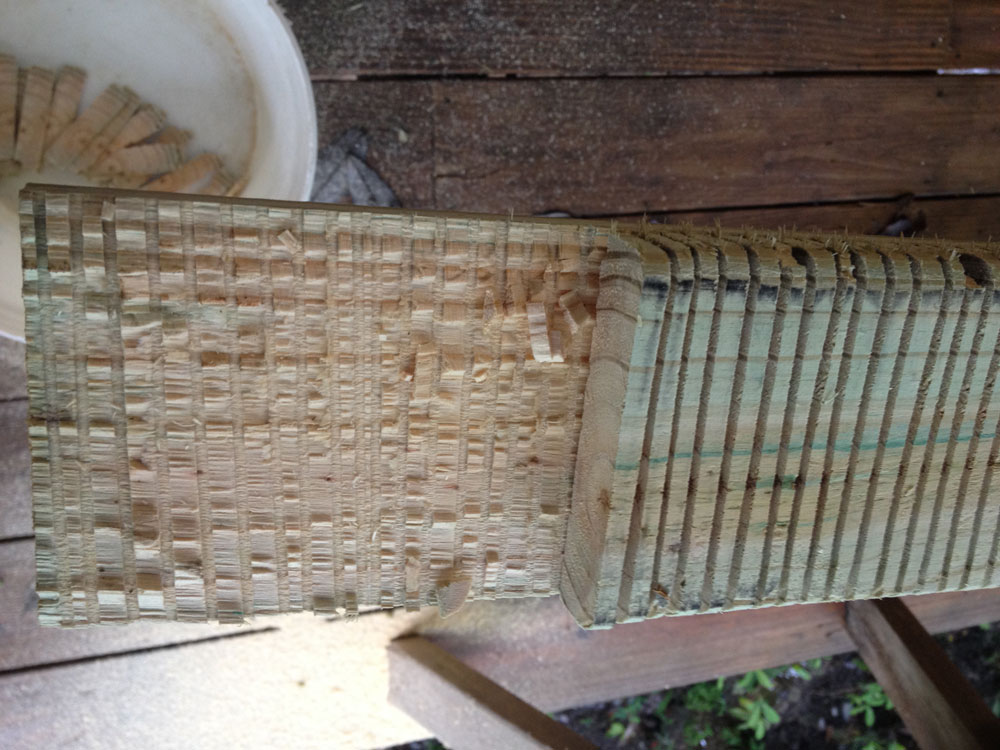
I did some selecting as I went. Some were curved along their length. Many were twisted, and I do mean wickedly twisted. Some were cupped. Because these two homes were so close to the Bay St. Louis, MS, beach, they were probably underwater for days after Katrina’s winds were gone. Even the best pieces would require a good bit of milling. But, OH! The character! Worm holes, termite holes, nail holes!
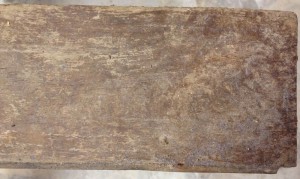
This is what the oak flooring looked like before cleanup and milling.
Trying not to be greedy, I took about the square footage I thought I’d need for a big top for Brenda’s side of the bed and a small top for my side, plus about 50% for waste, plus about 15% for miscalculation. There were still a lot of boards left.
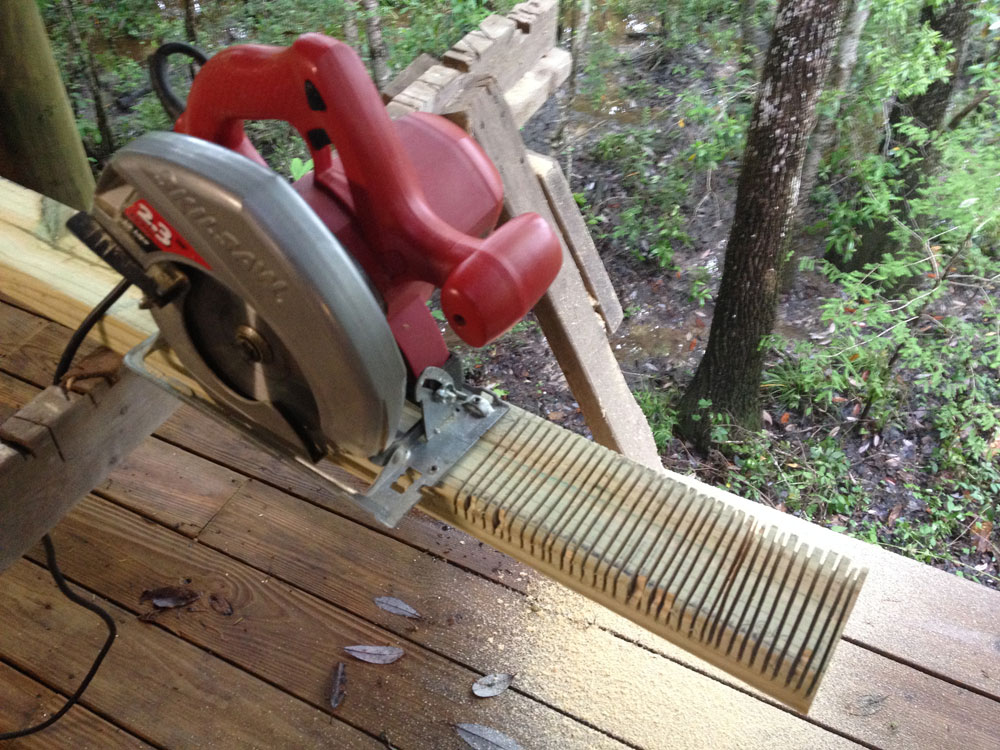
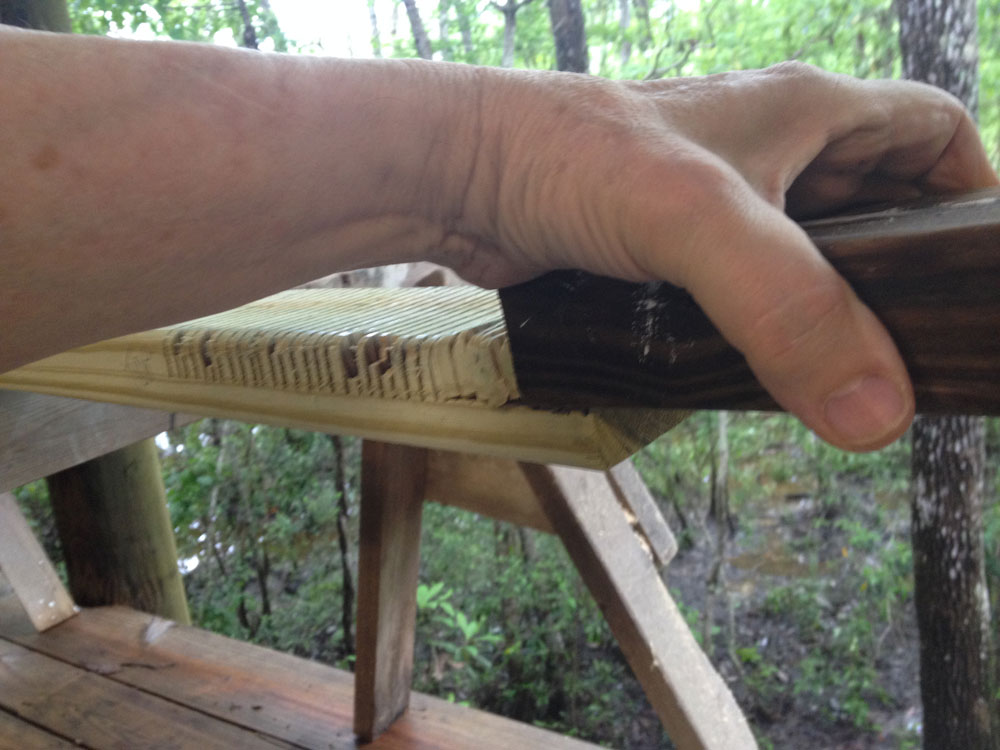
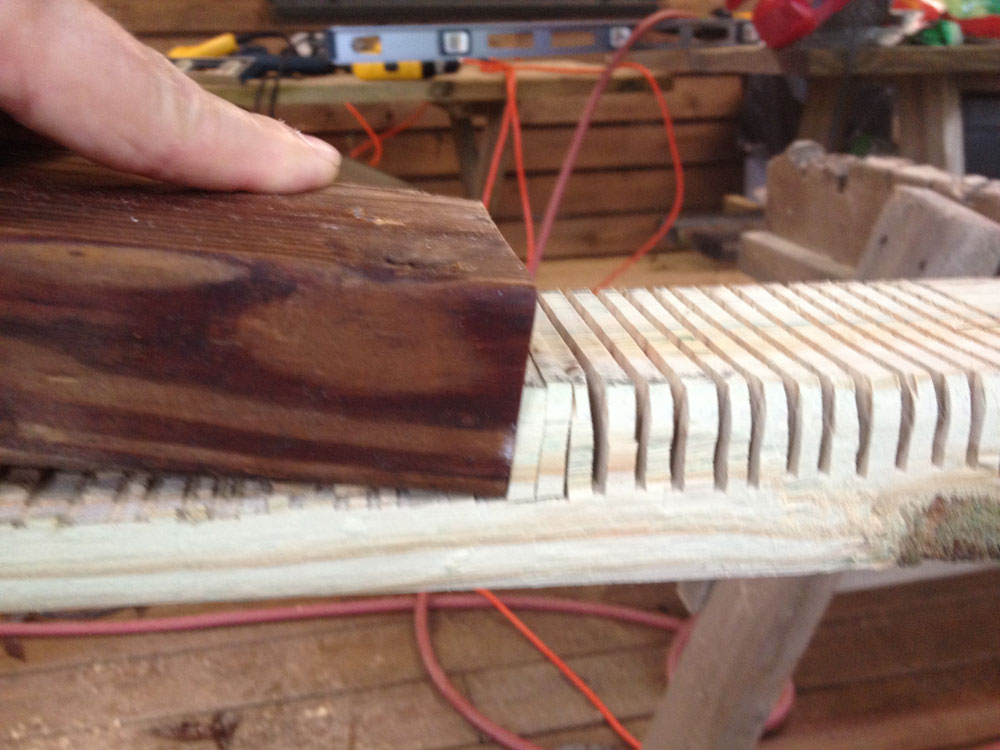
I could hardly contain my eagerness so I began to unload, sort, and stack as soon as I arrived home. Decades of grit filled the grooves and clung to the tongues, so each piece needed to be steel-bristle-brushed by hand before machining.
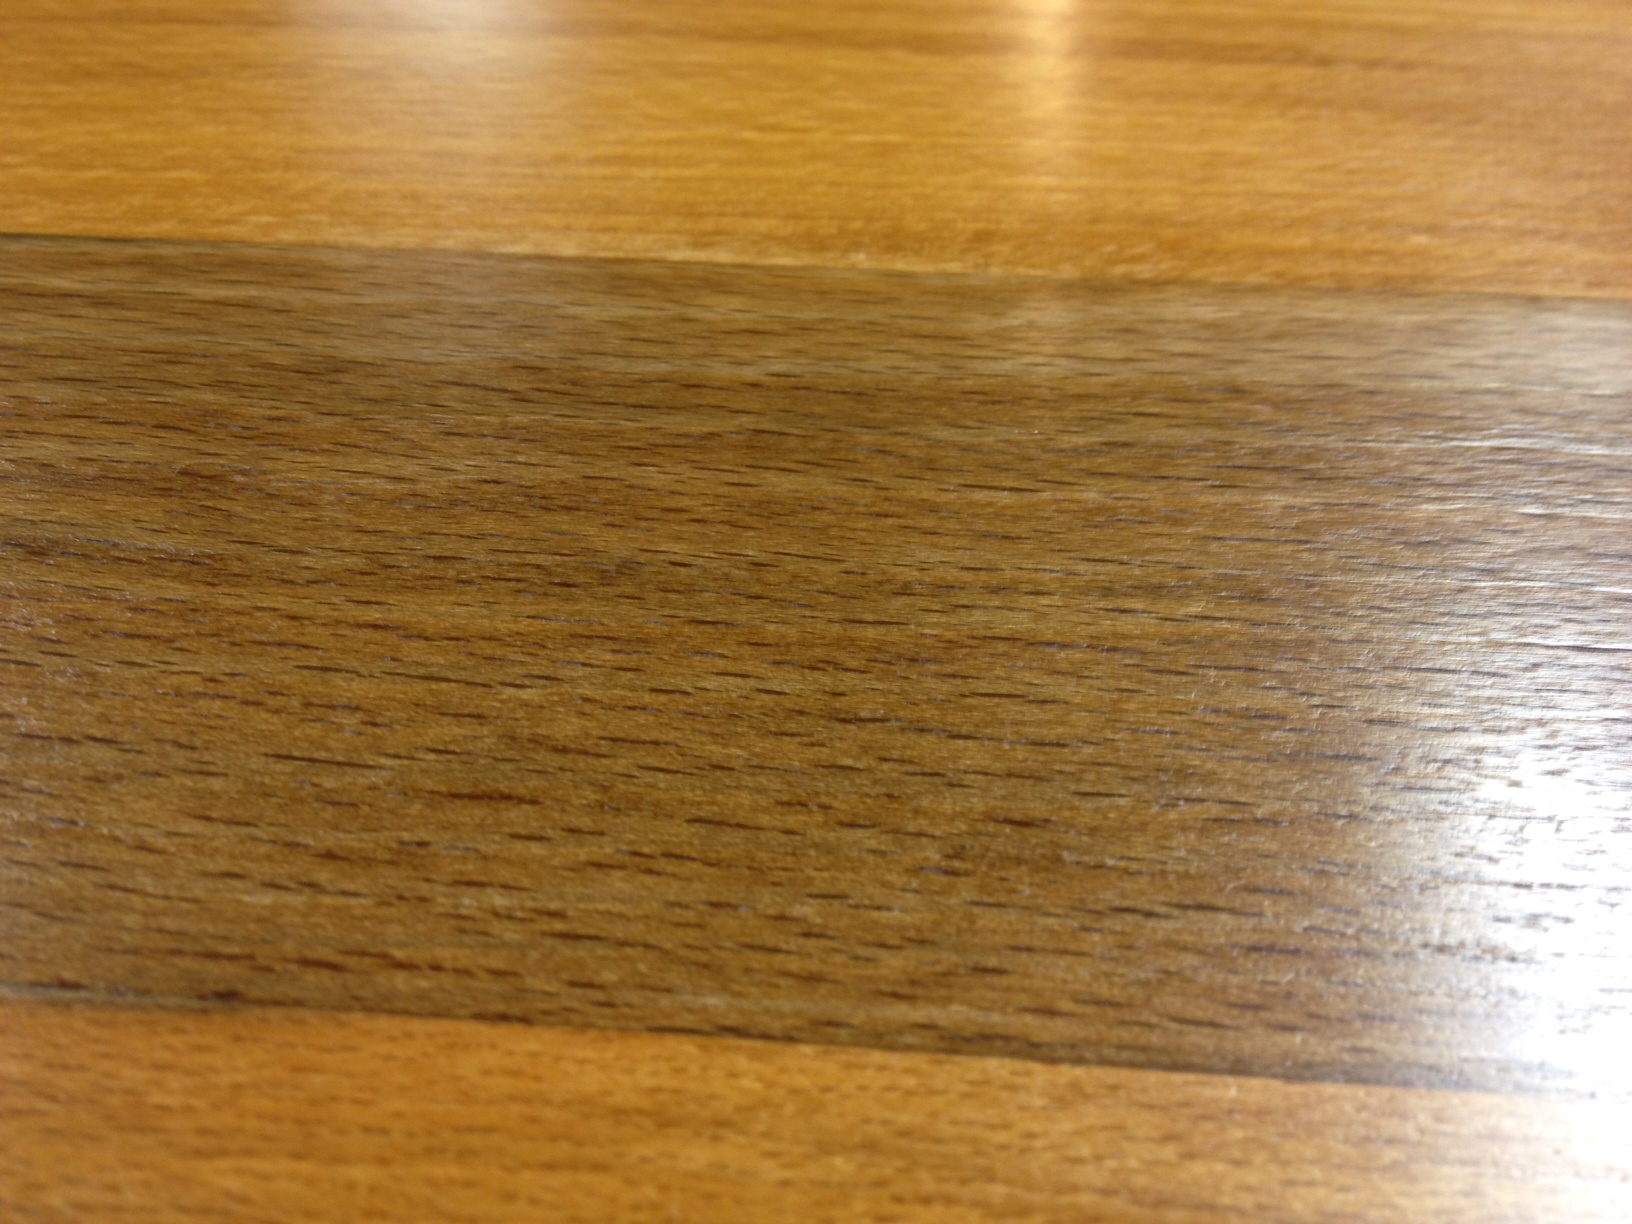
As soon as the first board came from the planer, I knew I had some epic wood.

And, this is what those ugly boards turned into!
And a problem….
“How can I possibly put boards this beautiful atop a 1/4-inch-thick ‘real wood’ table?” I asked myself. The obvious answer was, “I can’t, it would be an insult.”
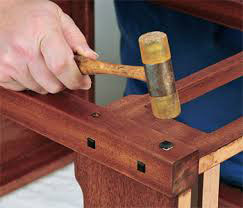
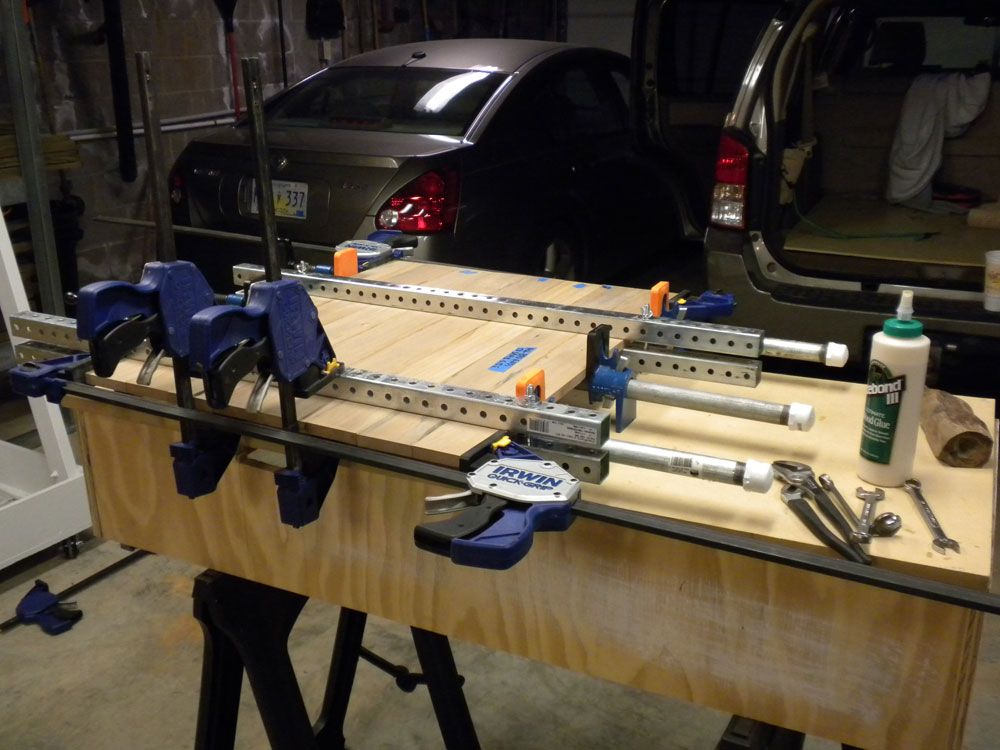
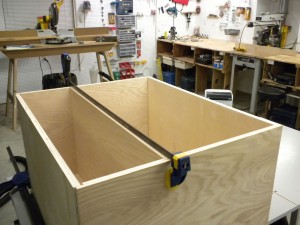
Thus were born the oak bedside tables in the accompanying pictures. It took several forevers to cull enough boards for the top to make it reasonably flat and produce acceptable joints. Grain-matching was out of the question, so I just tried to keep adjacent boards from clashing.
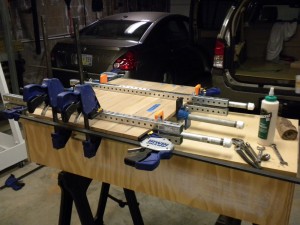
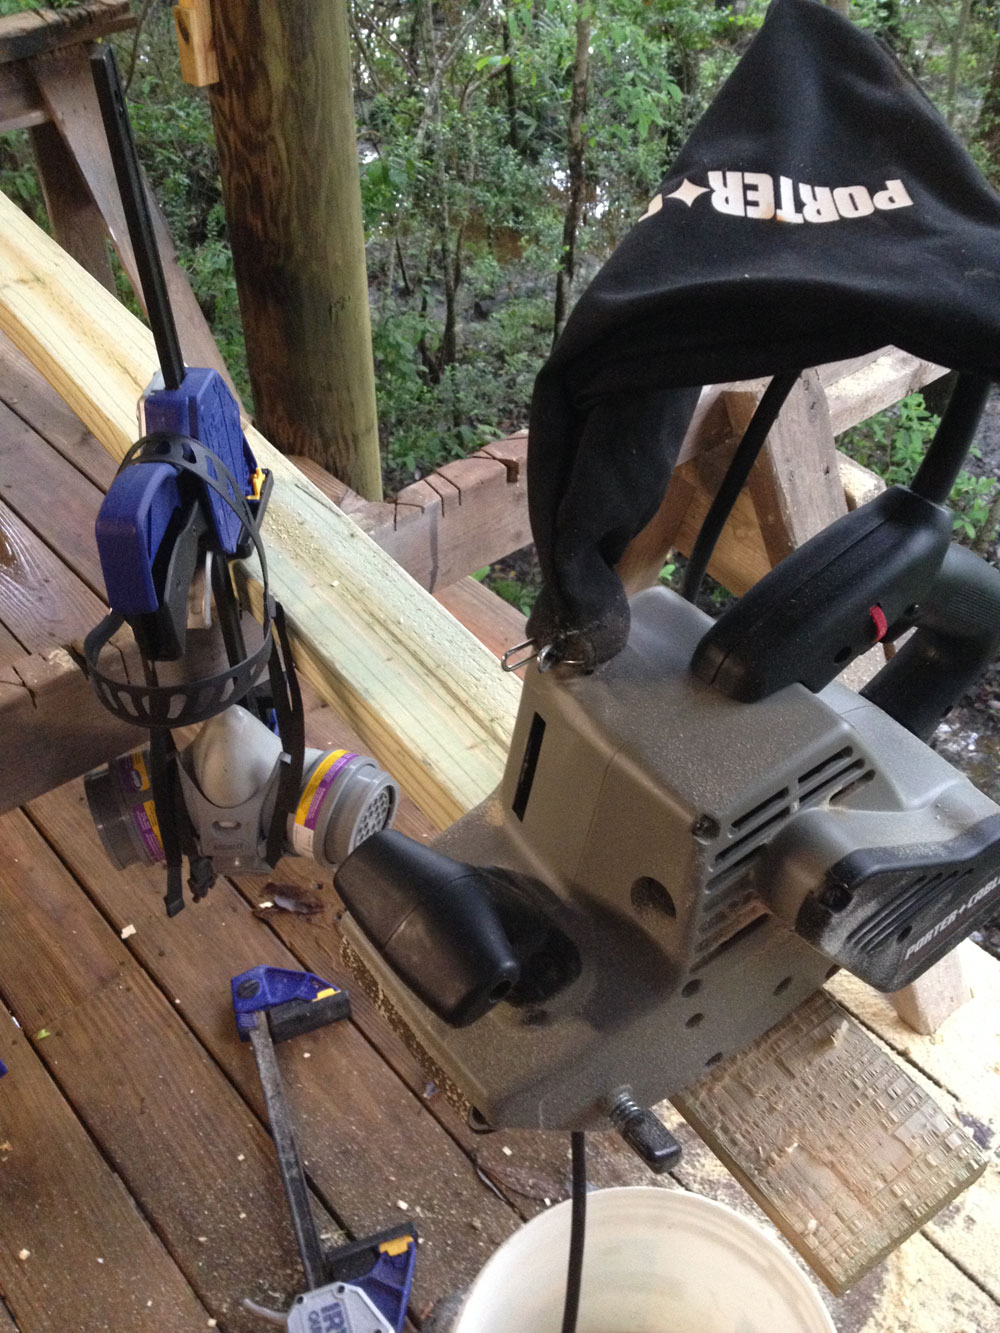
As you can see from the abundance of clamps, keeping this panel flat was a challenge. Stiff, square steel cauls helped. A glue with more open time would have helped too.
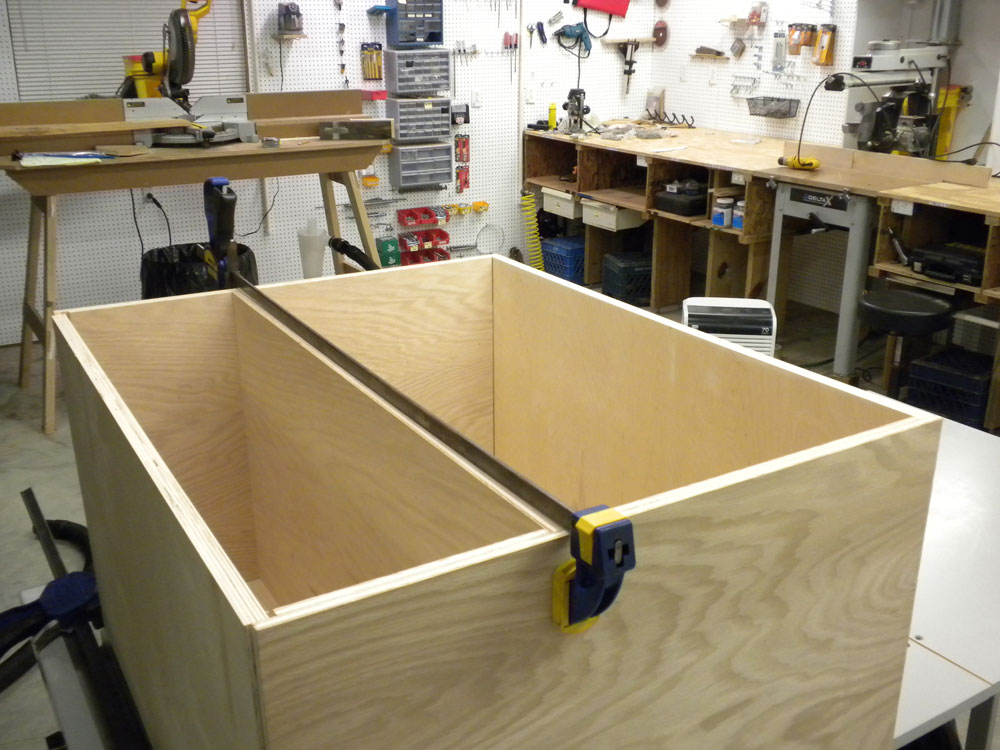
As nice as it would have been to have solid wood for the sides, there just wasn’t enough material to make panels, but we are fortunate to have a good hardwood plywood dealer close by. I didn’t think it would be possible to stain to match, so I just tried to coordinate.
When home center plywood just won’t do, it’s great to have a source for really good hardwood plywood. No voids, no patches, no blemishes.
To make the top appear thicker I glued up a 10-inch-wide panel from cutoffs, then cut four strips and glued them along each edge, with a full-width board across the front.
Alan Noel taught me his wool-waxing technique via email.
CLICK HERE to read Alan’s column on wool-waxing. The technique is as simple as applying wax with 4/0 steel wool and yields a surface with unbelievable smoothness.
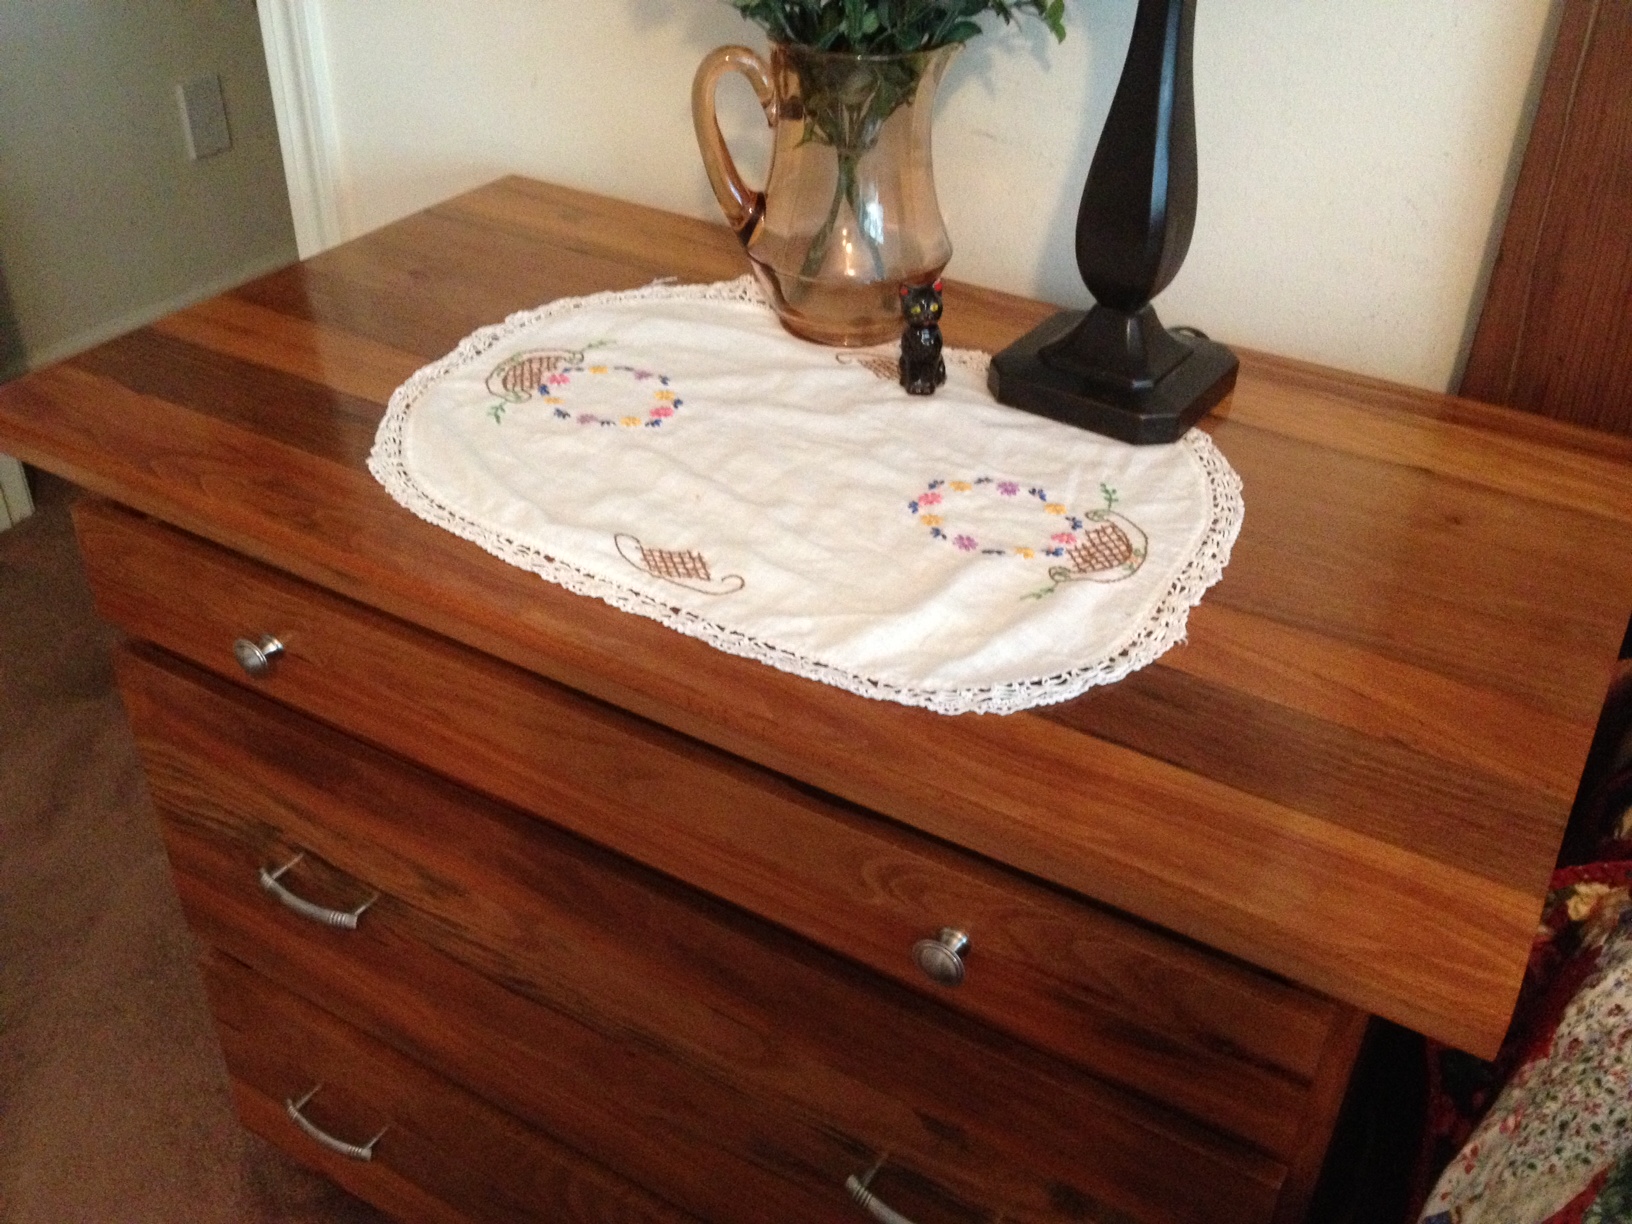
The project gets Brenda’s seal of approval. Like me, she’s sentimental, and using wood with a story for these two tables makes them all the more valuable.
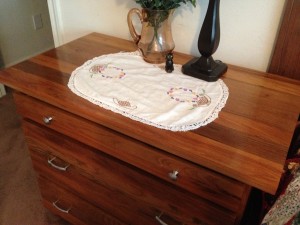
Brenda was pleased with the final result. A smaller, matching unit is on my side of the bed.
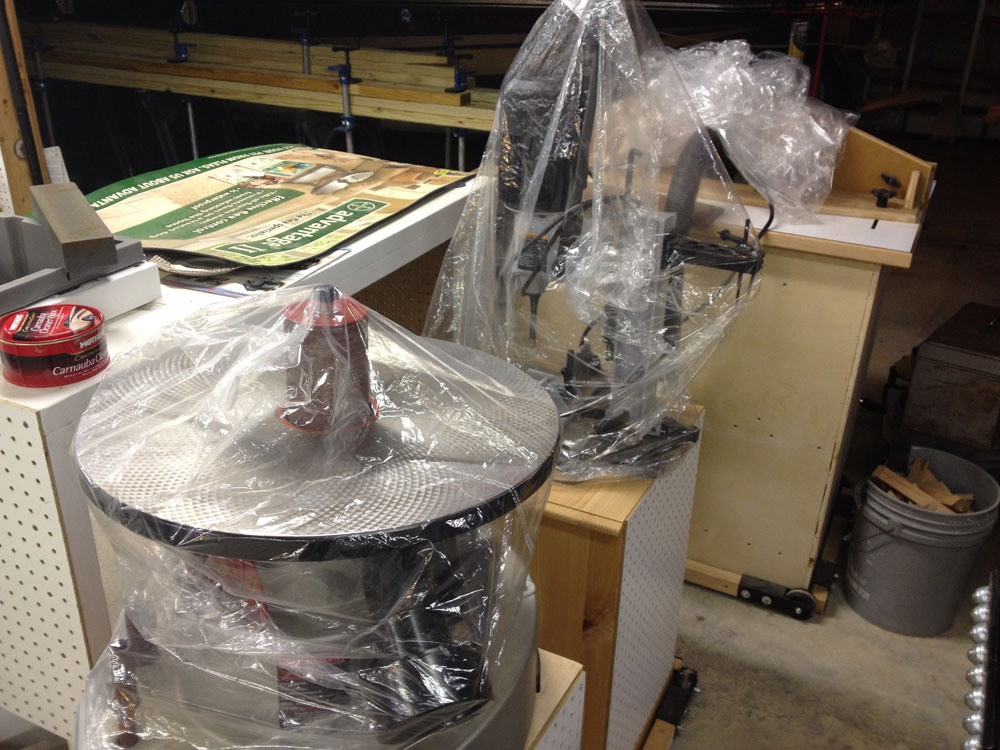
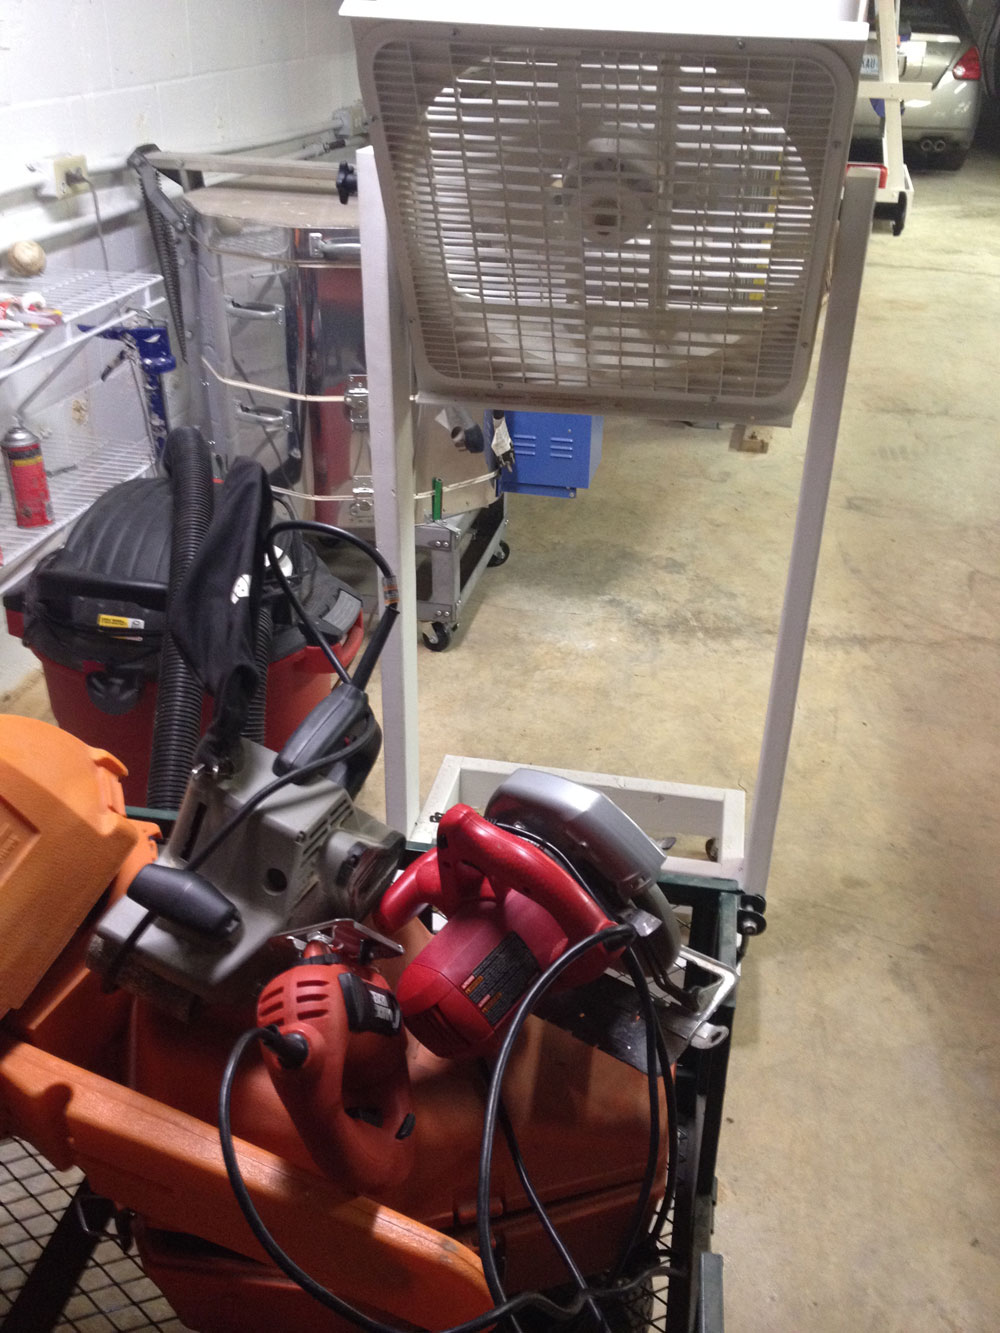
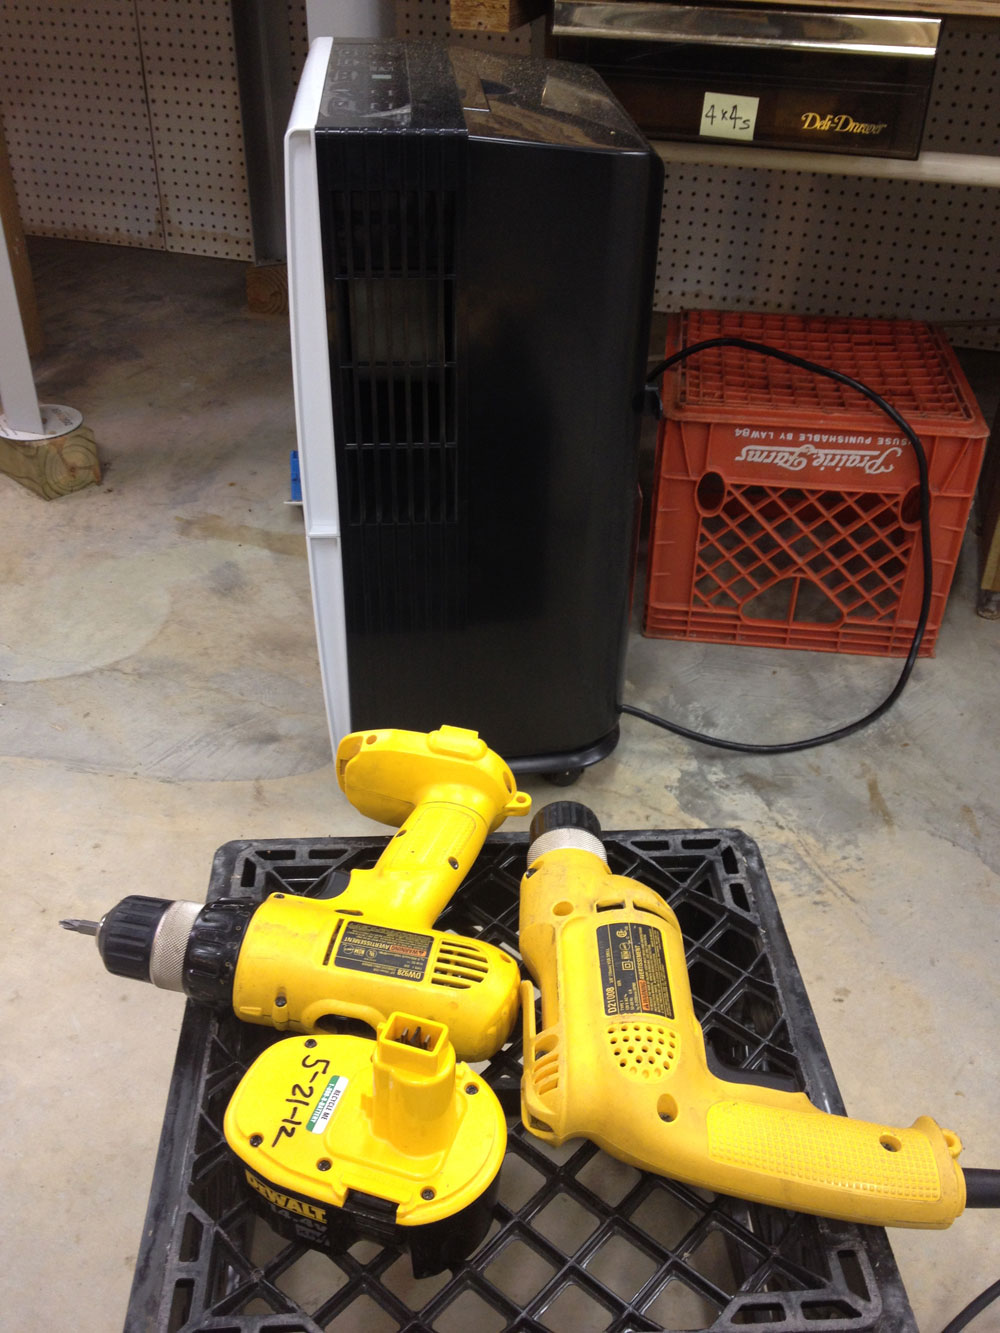
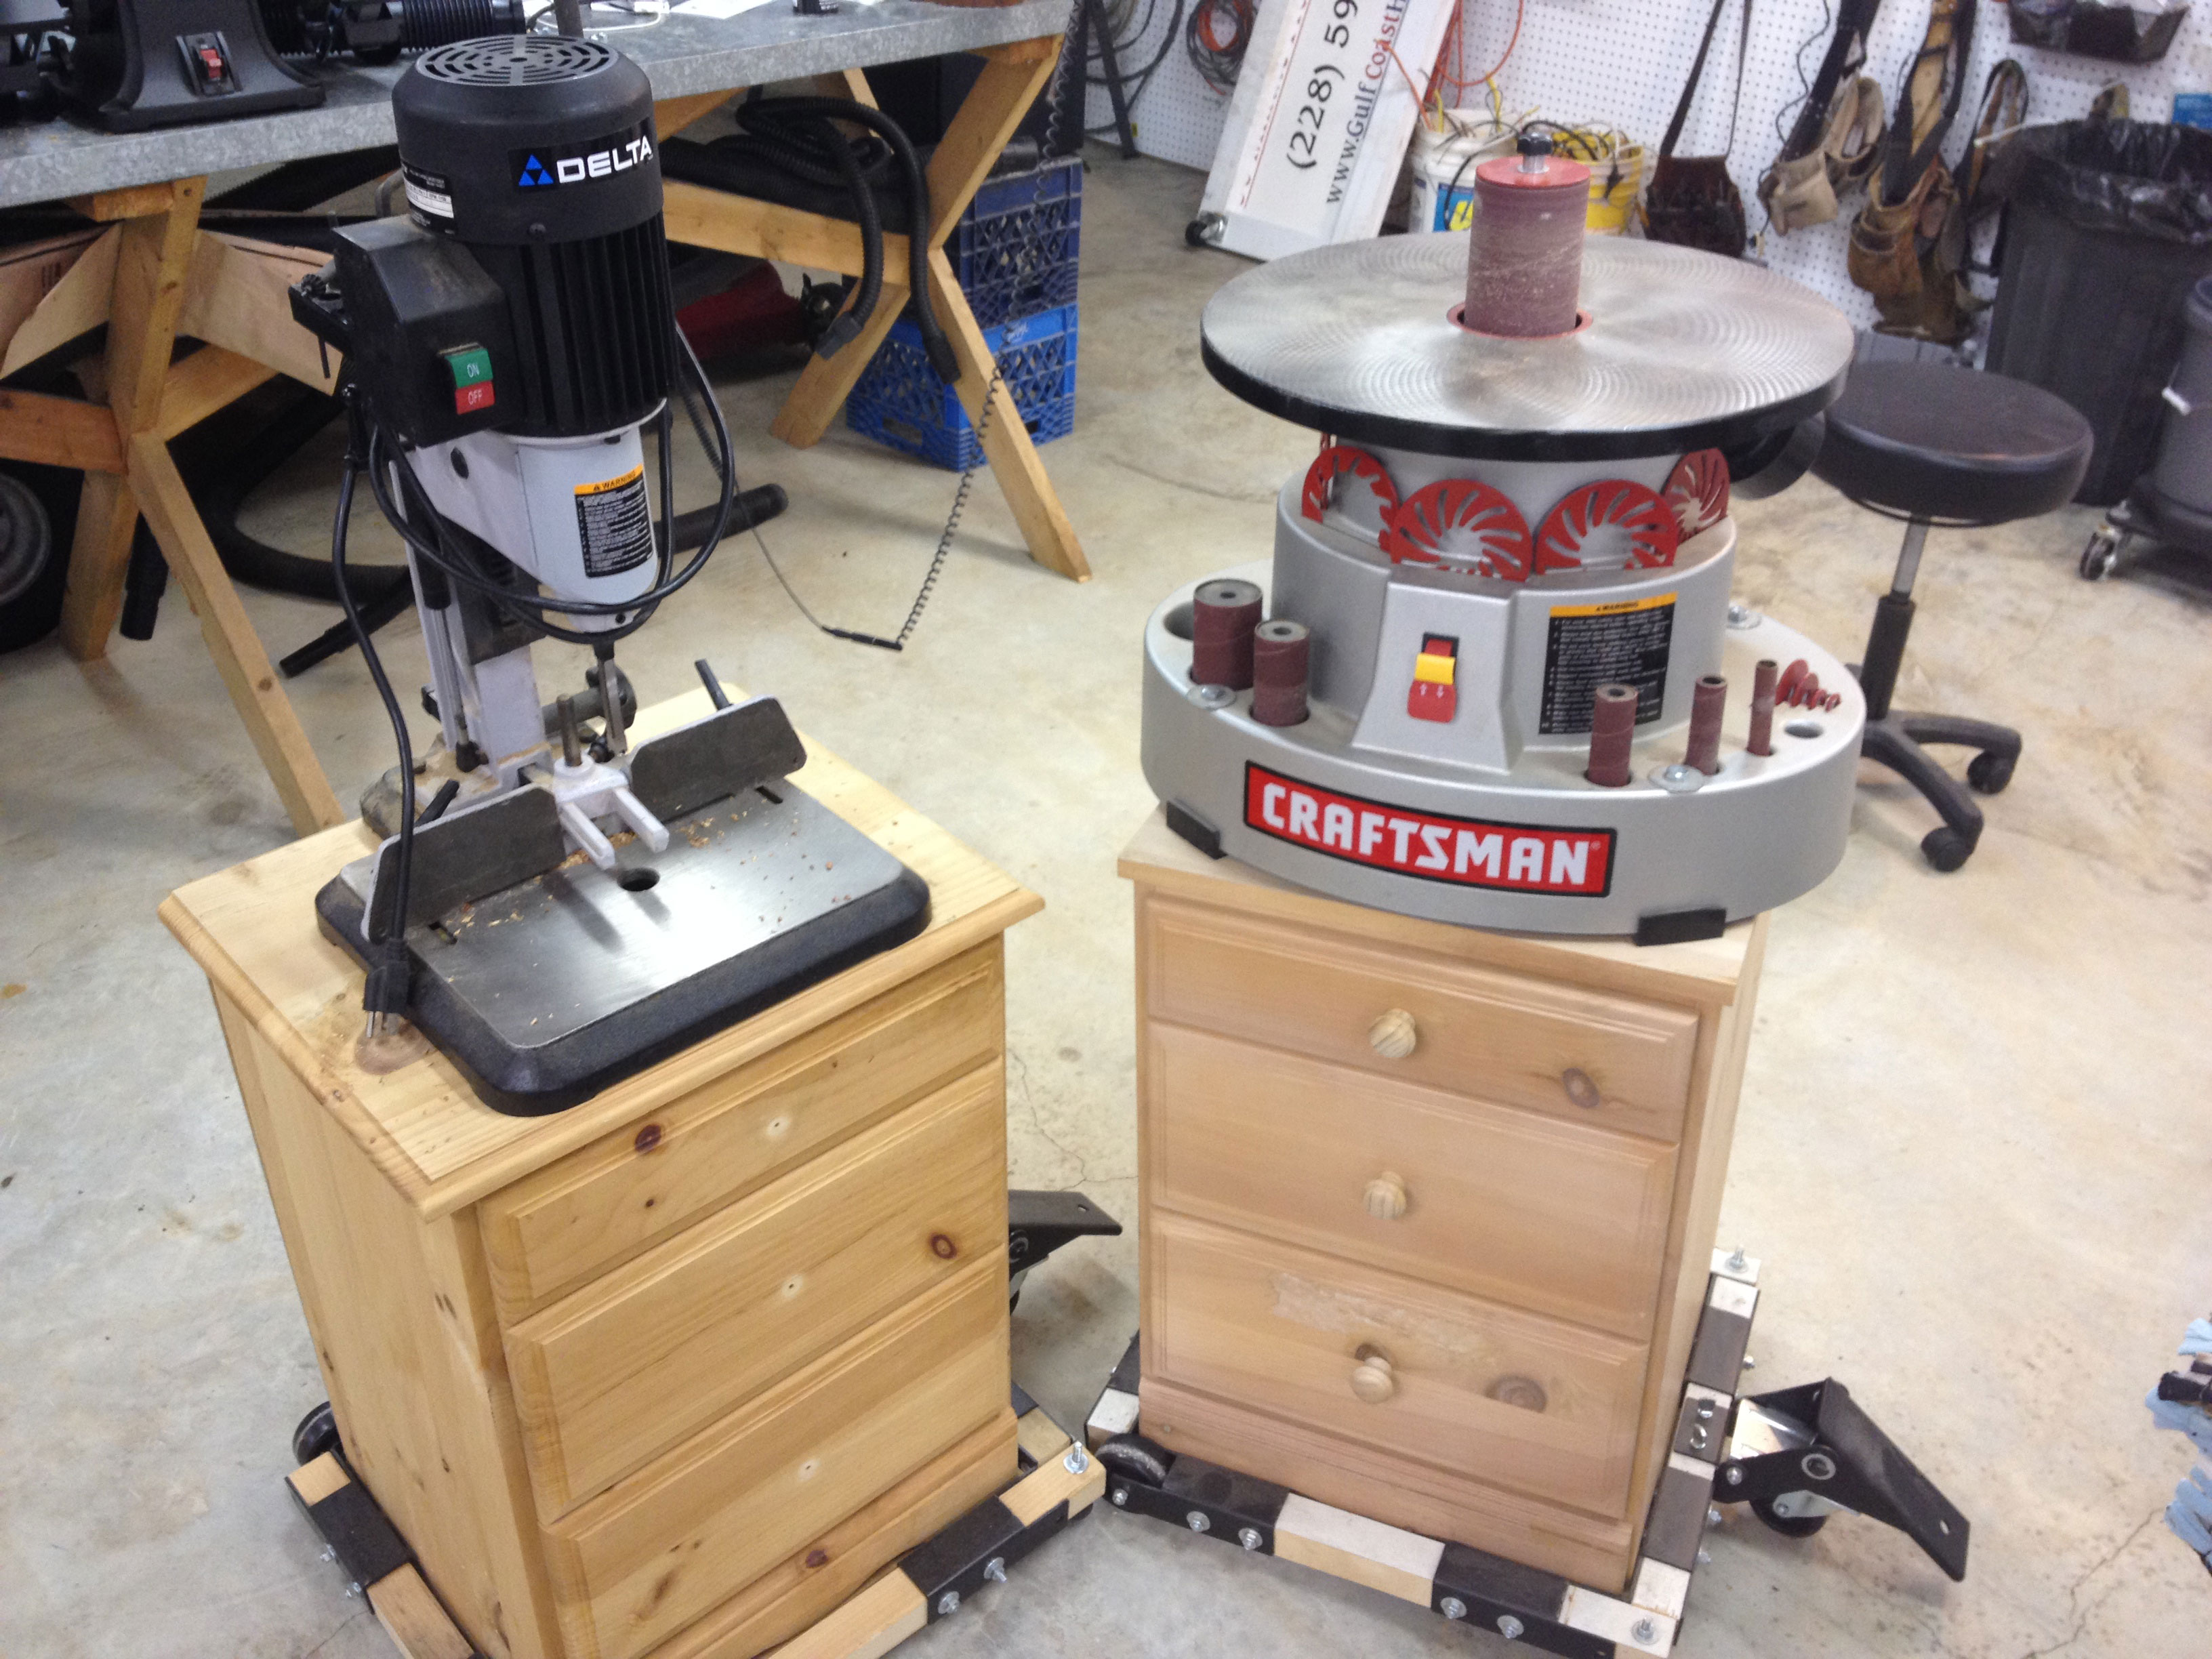
Oh, and the original “real wood” bedside tables? They became rolling stands for our oscillating spindle sander and stationary mortising machine. With drawers to hold accessories, they do a pretty good job. I have mobile bases on every tool in the shop.

Not calling for heavy-duty function, these “real-wood” cabinets are up to the job of holding the oscillating spindle sander and stationary mortising machine.
Thanks to the rigid portable bases that always fit because you determine the dimensions, they are very stable when in use, and just the right height.

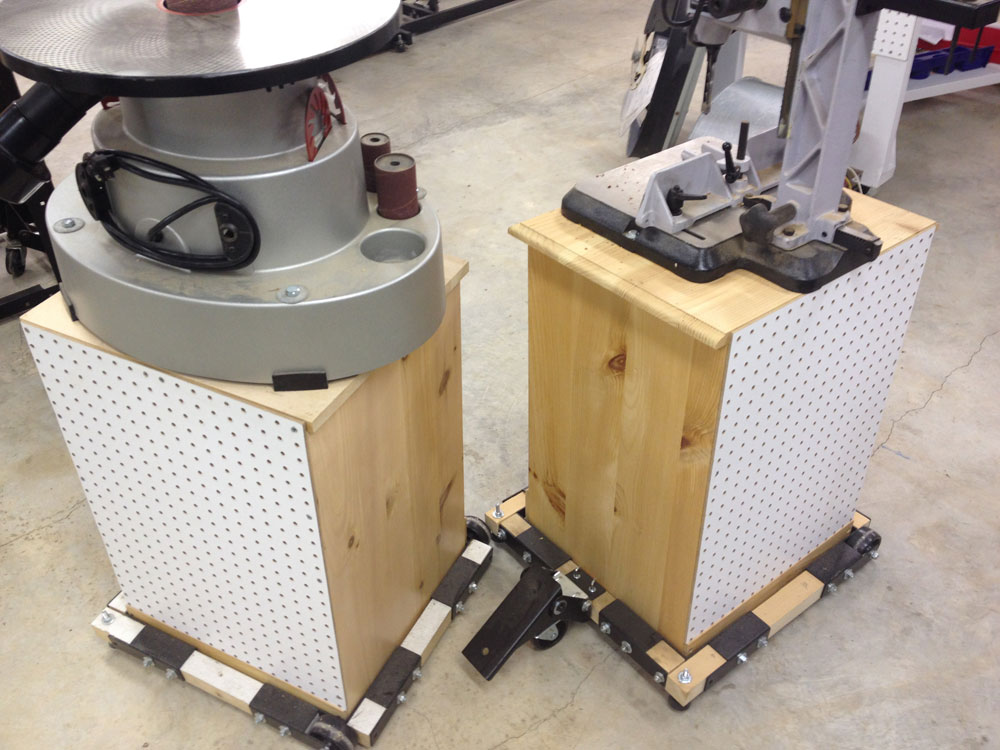
As the backs of the units are several inches from the backs of the drawers, they just seemed to cry out for the space to be utilized for storage, so I attached some pegboard. I haven’t found a use for it yet, so I tell myself it stiffens the thin “real wood” carcass.
And, the snake skin? I had to use a pair of pliers to pull it down. I couldn’t bring myself to touch it. Trying to figure out how he got there with no ladder, I inquired of a colleague whose practice includes a lot of exotic animals. From a closeup of the skin he said it was probably a rat snake; we have a lot of them around our house. He also sent me a
link to a video showing just what good climbers snakes can be.
—
Jim Randolph is a veterinarian in Long Beach, Mississippi. His earlier careers as lawn mower, dairy farmer, automobile mechanic, microwave communications electronics instructor and journeyman carpenter all influence his approach to woodworking. His favorite projects are furniture built for his wife, Brenda, and for their children and grandchildren. His and Brenda’s home, nicknamed Sticks-In-The-Mud, is built on pilings (sticks) near the wetlands (mud) on a bayou off Jourdan River. His shop is in the lower level of their home. Questions and comments on woodworking may be written below in the comments section. Questions about pet care should be directed to his blog on pet care, www.MyPetsDoctor.com. We regret that, because of high volume, not all inquiries can be answered personally.