Sometimes I hear woodworkers talk about avoiding repair jobs around the house and it makes me wonder, “Aren’t most woodworkers also do-it-yourselfers?”
My first introduction to woodworking was in Wood Shop class in junior high school. No one in our family worked in wood, built furniture, or anything remotely associated with what we call woodworking today. However, every male member of the family was “handy” and self-sufficient.
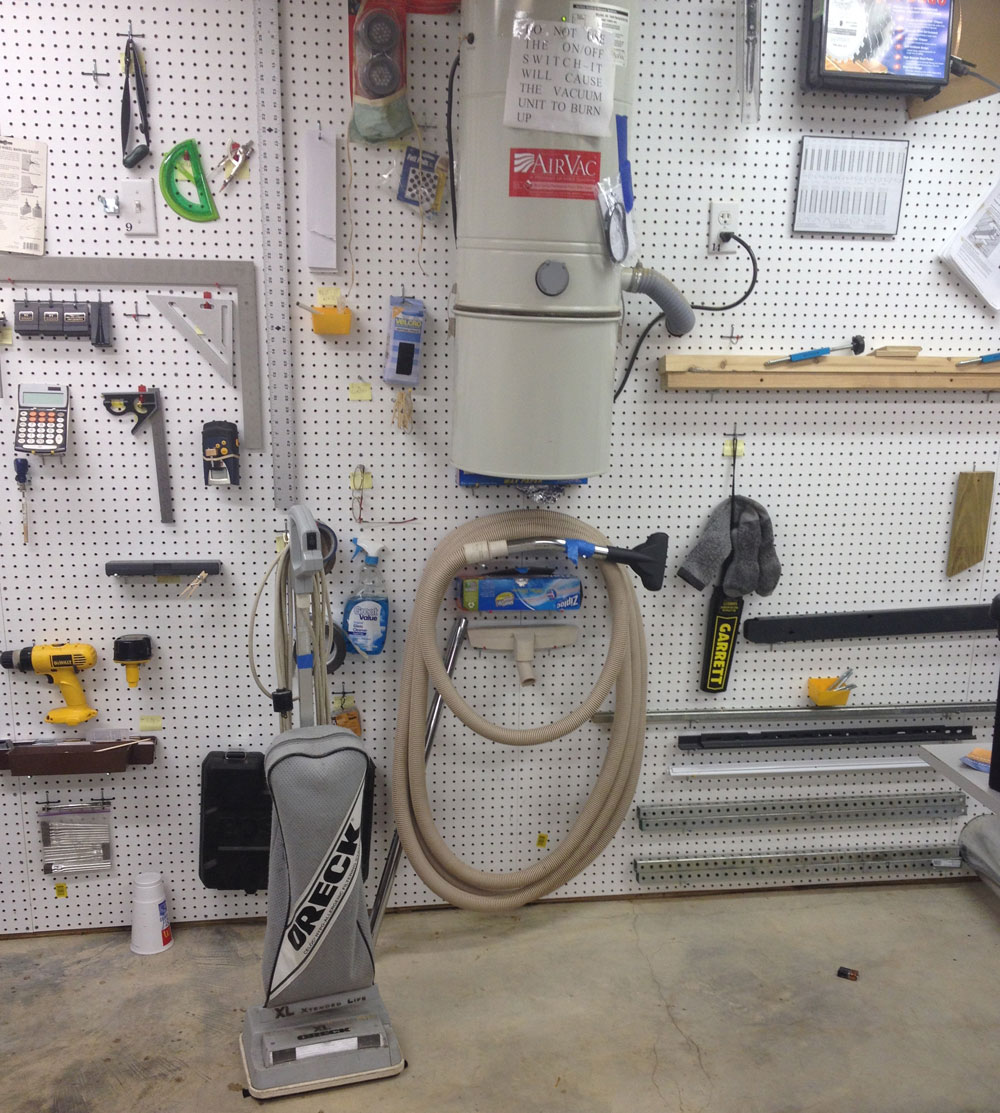
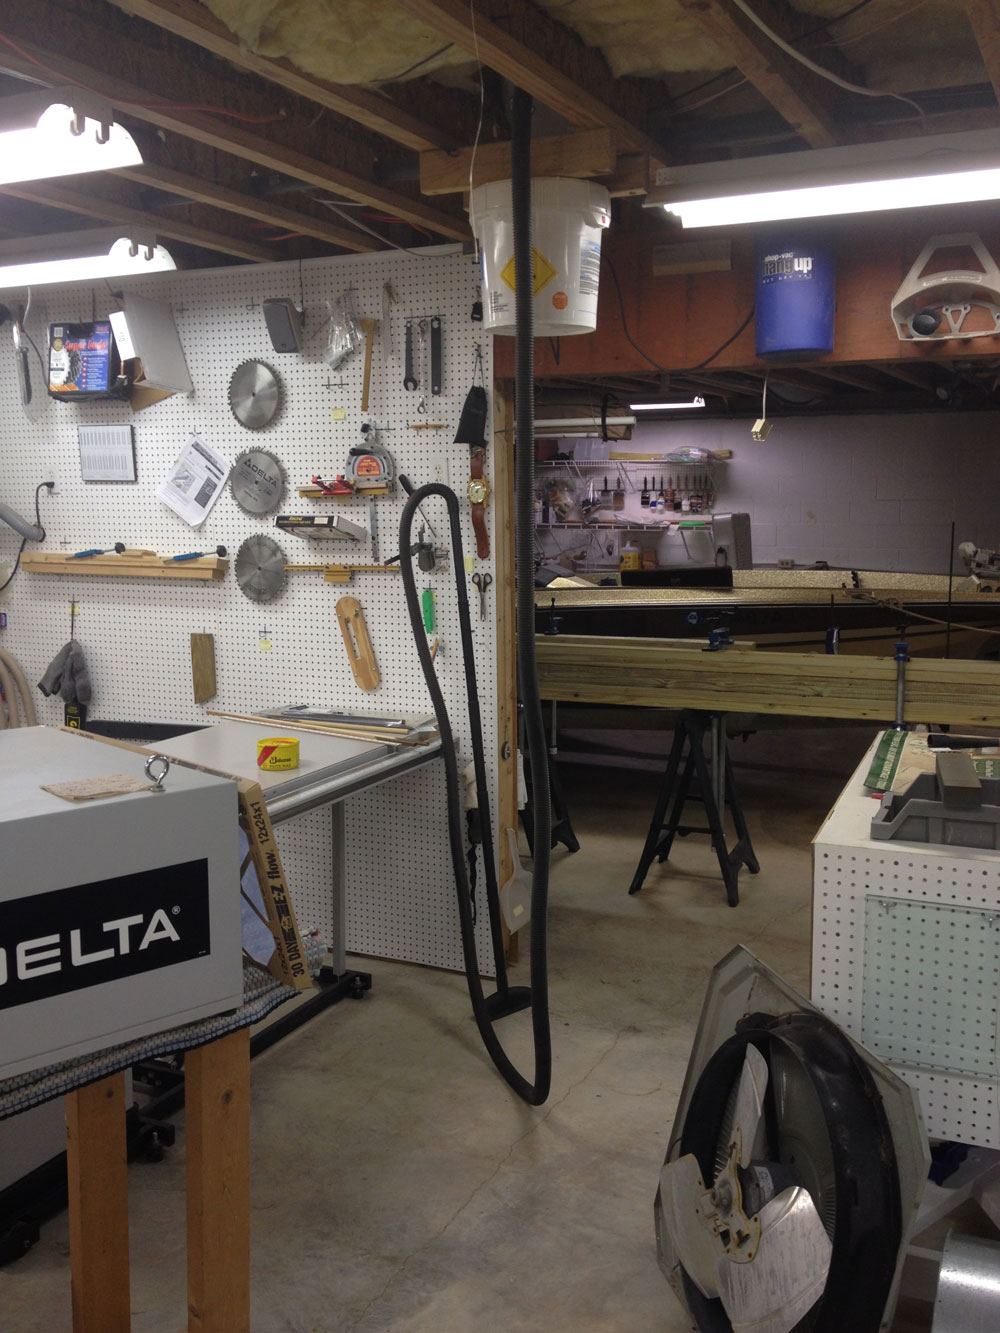
I got into home construction after the Air Force and, as much as I enjoyed it, I didn’t want to make a career of it. Still, I stayed with it long enough to approximate journeyman status, and the skills I learned there I apply to nearly every session in the shop. Germane to the present conversation, though, is the fact that, with the exception of a flooring installer (actually, Brent Wilson should be called an artist!), we’ve never had a carpenter or wood-oriented repairman come to our home in 30 years of marriage.
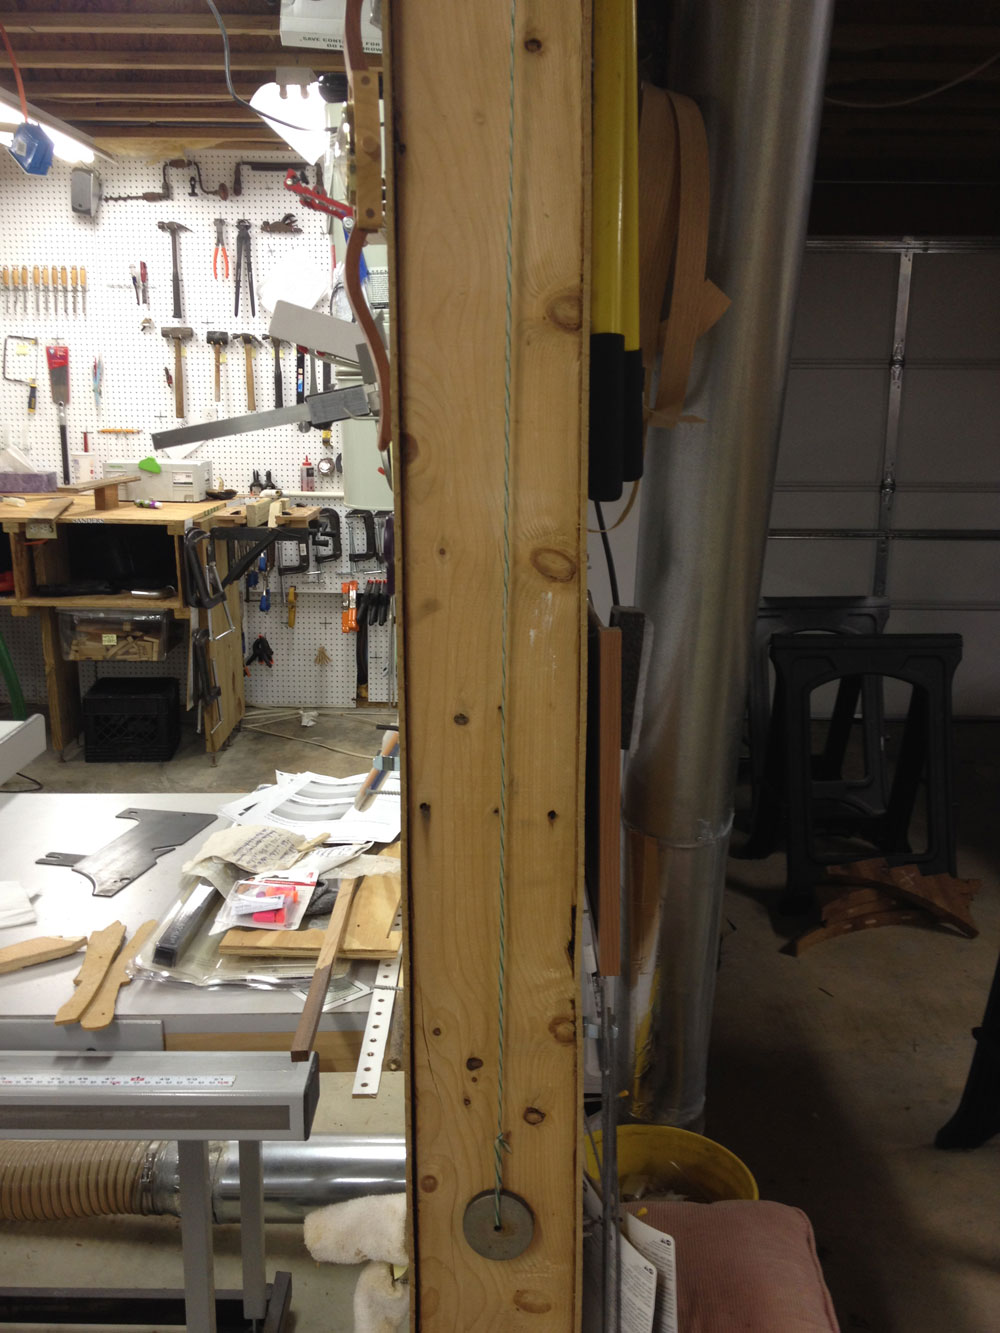
If something needs to be fixed, Brenda says, “Sweet Baaaaaaaabeeeeeeee, can you put a shelf here for me?” Or something similar. Sweet-talk gets me every time! When we moved into the new house, 19 years ago this Thanksgiving, I set up a rudimentary shop in the lowest level and trekked up and down two flights of stairs until her art studio was completely outfitted. It was only after that when I got to begin formalizing my own work area.
A list of well-known do-it-yourselfers:
- Steven Johnson renovated his Down To Earth Woodshop. Click here to read Steve’s story and his trials with the legacy of the unhandy homeowner.
- Michael Smith built his own shop in a series on Highland Woodworking. Click here to read Michael’s story and the trials of being one’s own contractor.
- The Wood Talk podcast crew (Marc, Matt and Shannon) even weigh-in on the topic. Click here to listen to the episode they discussed DIY in detail.
—
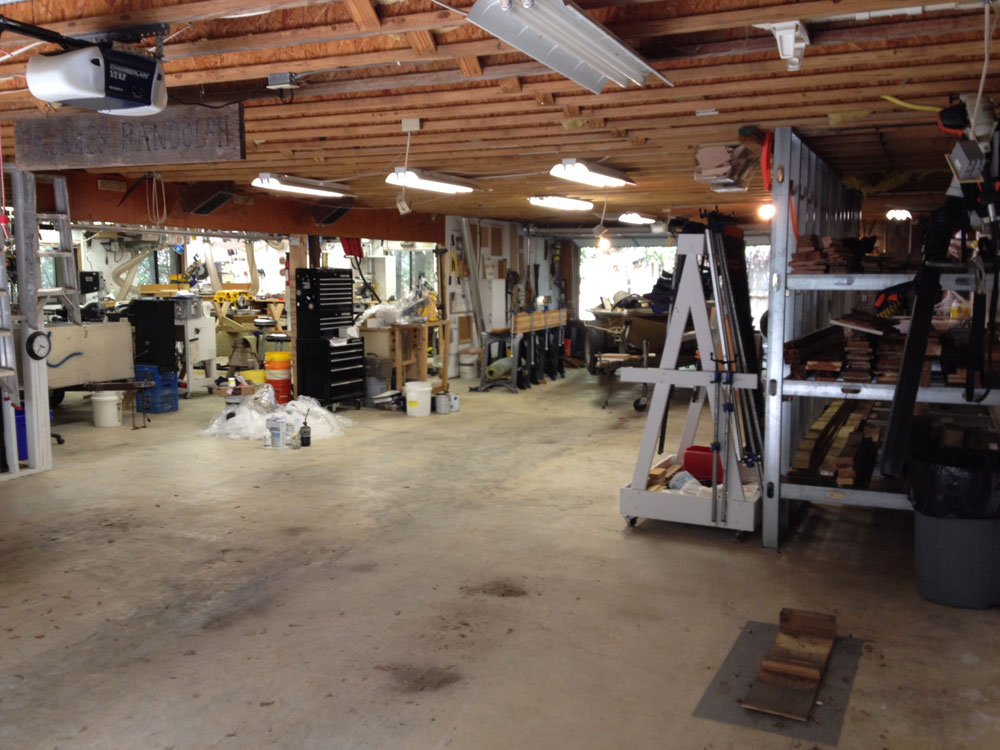
Jim Randolph is a veterinarian in Long Beach, Mississippi. His earlier careers as lawn mower, dairy farmer, automobile mechanic, microwave communications electronics instructor and journeyman carpenter all influence his approach to woodworking. His favorite projects are furniture built for his wife, Brenda, and for their children and grandchildren. His and Brenda’s home, nicknamed Sticks-In-The-Mud, is built on pilings (sticks) near the wetlands (mud) on a bayou off Jourdan River. His shop is in the lower level of their home. Questions and comments on woodworking may be written below in the comments section. Questions about pet care should be directed to his blog on pet care, www.MyPetsDoctor.com. We regret that, because of high volume, not all inquiries can be answered personally.