Welcome to “Tips From Sticks-In-The-Mud Woodshop.” I am a hobbyist, not a professional, someone who loves woodworking, just like you do. I have found some better ways to accomplish tasks in the workshop and look forward to sharing those with you each month, as well as hearing your problem-solving ideas.
As you might imagine, I’m much too cheap to have hired a lighting designer to help with the process of choosing and placing illumination fixtures in my shop.
On the other hand, I didn’t scrimp on the number of lights, and there were several good reasons:
- Insufficient light in a workplace potentially creates unsafe conditions.
- Poor lighting might lead to mistakes and do-overs, which cost time and money. Such mistakes might occur in missing a needed repair, sanding or even finishing. Not being able to see one’s tape or rule could lead to a major boo-boo!
- As we age, we need more light on our work.
We built our house 19 years ago last Thanksgiving, when I was only 43. I haven’t needed additional lights because I was generous with them in the beginning.
Still, there are times a task calls for intense light.
It’s dark in there!
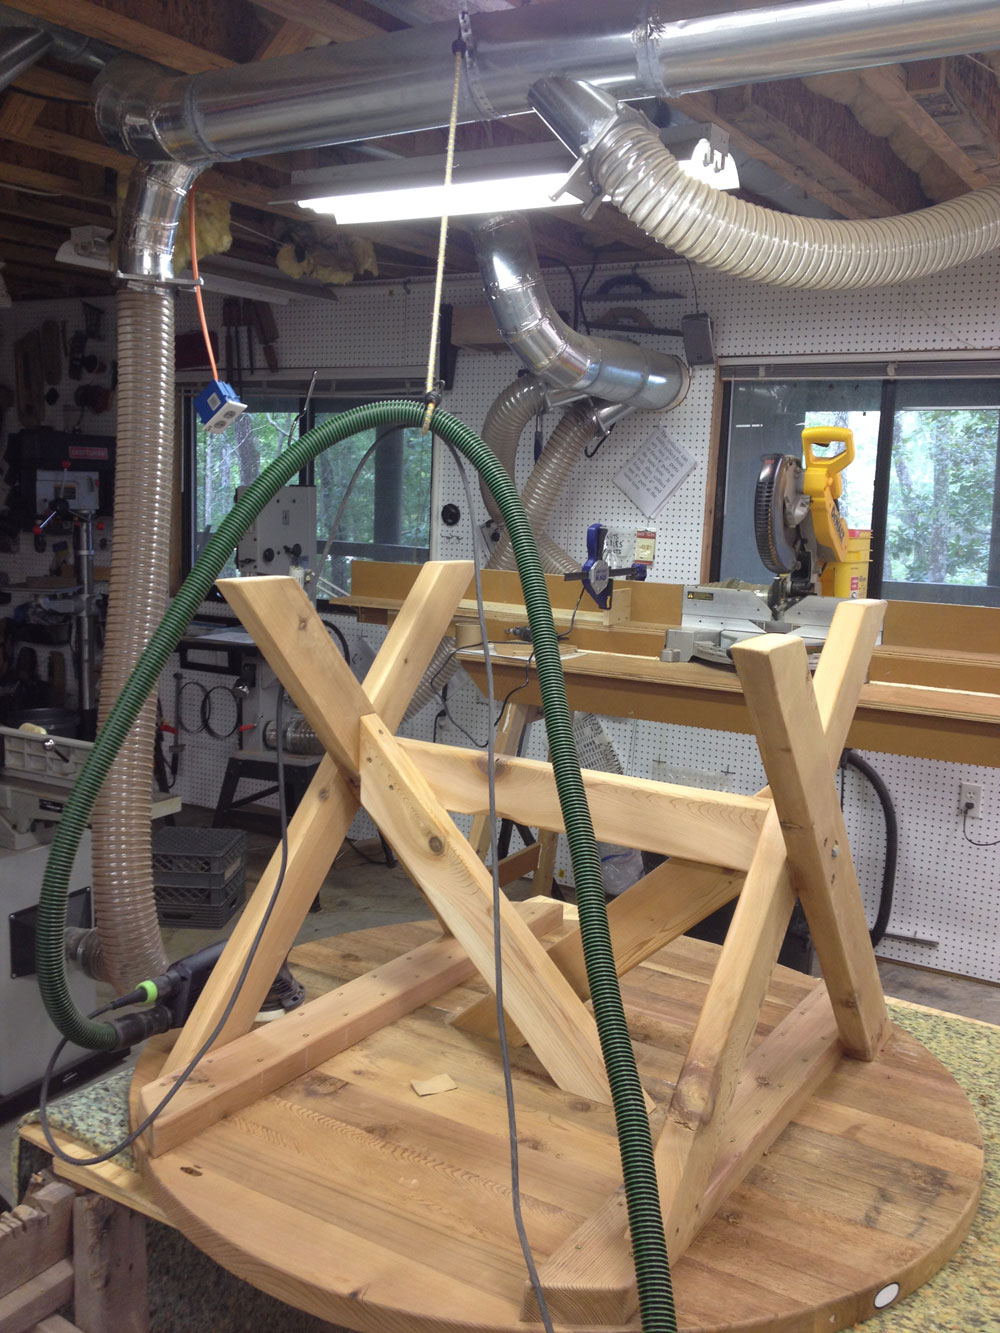
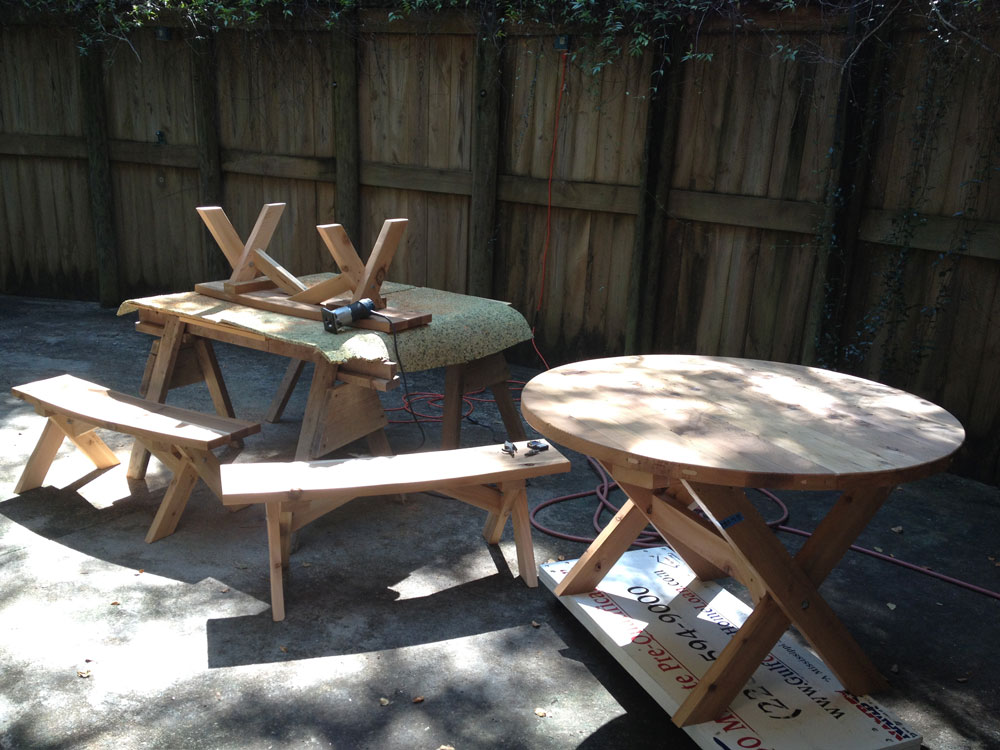
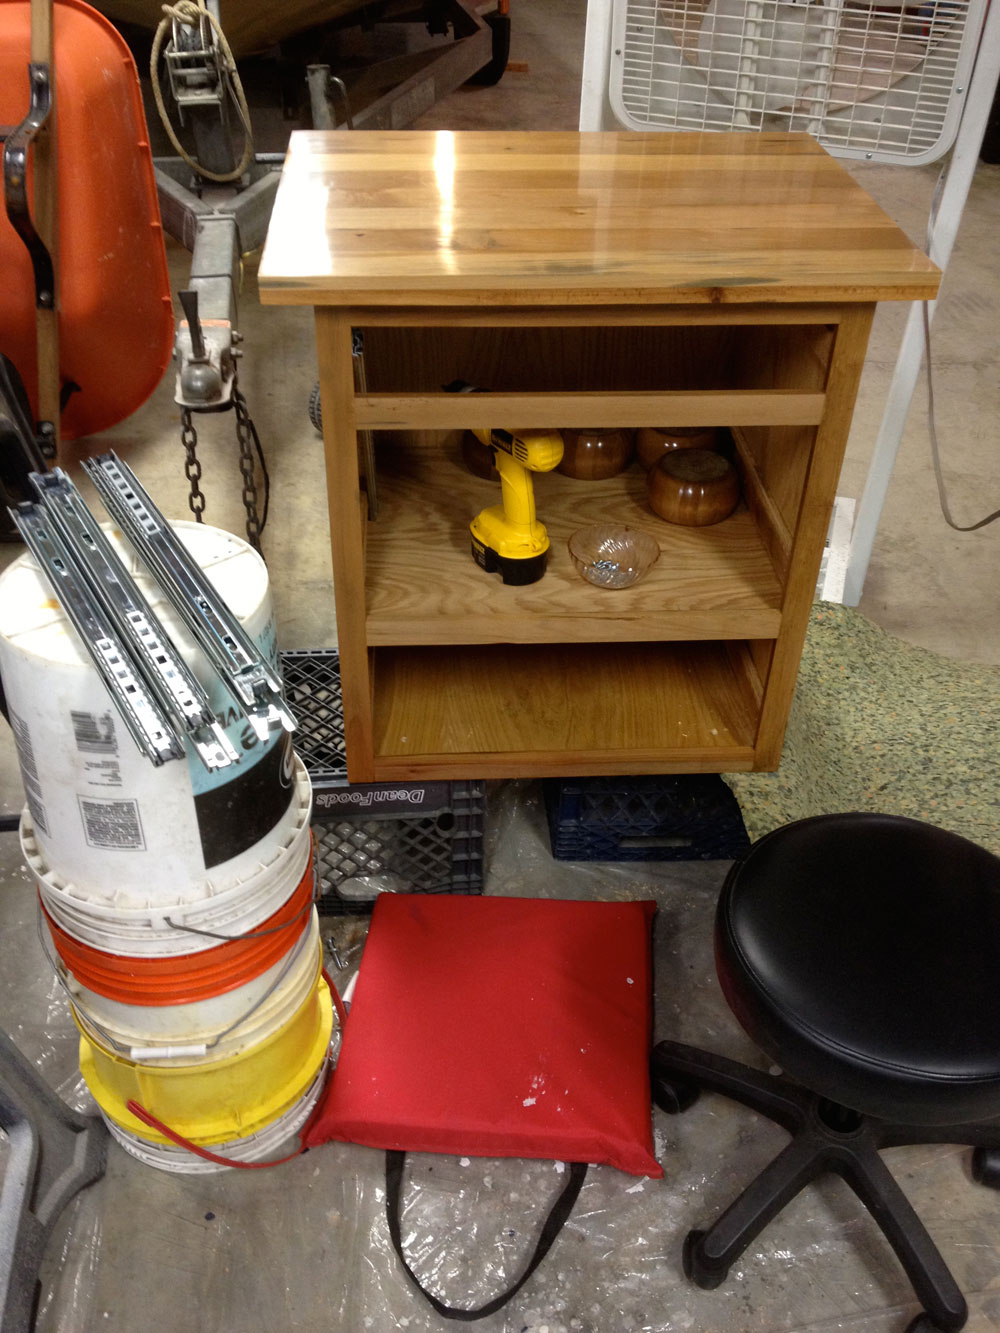
I have the work lights you see pictured, and I’m quick to set them up when a job will require extra light for a significant time period, such as installing drawer slides inside a cabinet.
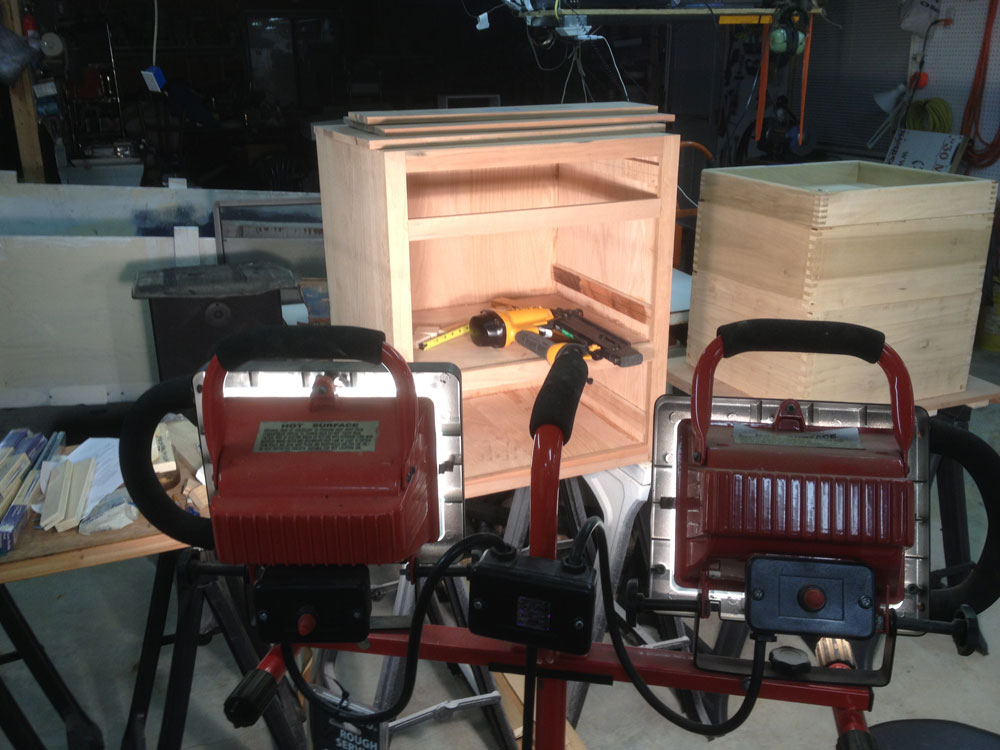
A story goes with these lights picture above. They were in the garage when Hurricane Katrina’s floodwaters came, and I was ready to throw them into the trash pile. One of our sons, Andy, wanted to plug them into the generator so we could continue our cleaning work into the night. With my background in electronics, I was more than a little nervous, to say nothing of protective of our children, who had come all the way from Kentucky to rescue us. We switched both lights on, plugged them into the silent generator, then pulled the starting rope. To my surprise, the lights came on, and have continued to operate flawlessly for the subsequent ten years.
There are other times localized lighting is needed for just a few moments. Enter my mother-in-law. Well, not exactly, but the Christmas present she gave me several years ago. Since she doesn’t read the column, I’ll admit what I thought when I opened my Christmas package a few Decembers ago: “What the heck use do I have for this?” Little did I know!
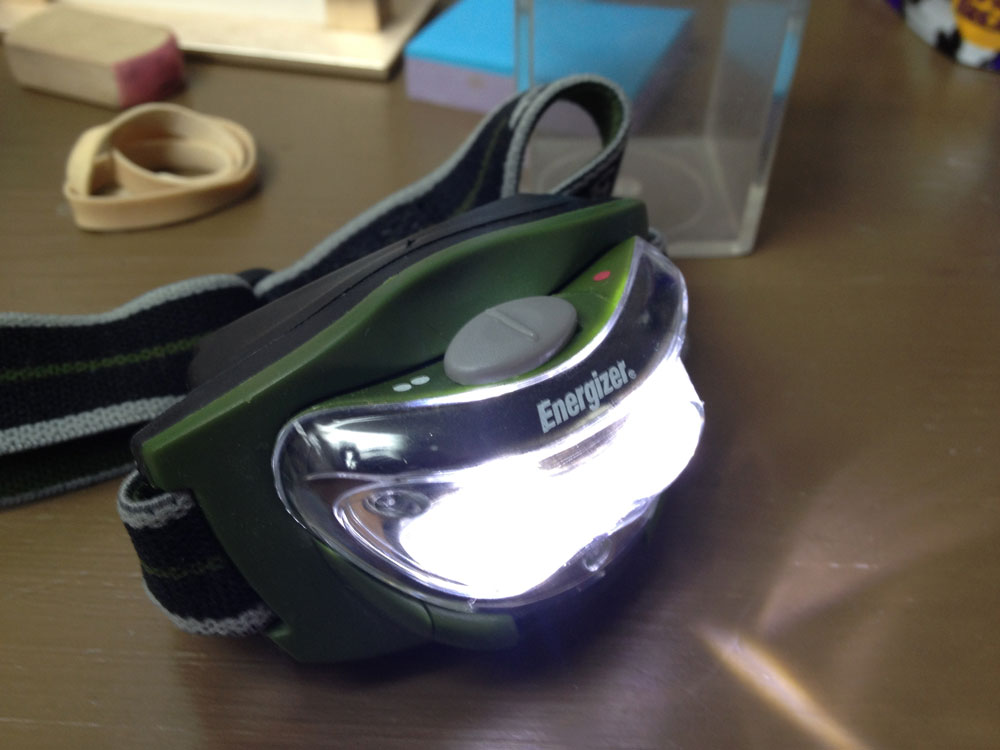
For years, I underestimated the value of this little headlight until I used it one day. Now it sees service regularly!
I kept the headlight on a peg hook for emergencies when the electricity went out. One day, I needed a lot of light in a small space, didn’t want to drag out the big lights, and thought of the headlight. It fit the bill perfectly. Since then I’ve used it many times to illuminate a hard-to-see project step. It’s especially useful when working in the inky darkness of the inside of a table saw. Elusive nuts and washers suddenly appear in its halogen blue-white glow.
You can get a perfectly suitable headlight from $12 to $30 at any big box store. There is no need to spring for the $1600 Heine model!
—
Jim Randolph is a veterinarian in Long Beach, Mississippi. His earlier careers as lawn mower, dairy farmer, automobile mechanic, microwave communications electronics instructor and journeyman carpenter all influence his approach to woodworking. His favorite projects are furniture built for his wife, Brenda, and for their children and grandchildren. His and Brenda’s home, nicknamed Sticks-In-The-Mud, is built on pilings (sticks) near the wetlands (mud) on a bayou off Jourdan River. His shop is in the lower level of their home. Questions and comments on woodworking may be written below in the comments section. Questions about pet care should be directed to his blog on pet care, www.MyPetsDoctor.com. We regret that, because of high volume, not all inquiries can be answered personally.