No Southern-fried Southern boy wants to be called a Yankee, but we share the characteristics of shrewdness and thrift. Thus, each month I share a money-saving tip. It’s OK if you call me “cheap.”
If you have any pride, you might want to stop reading right here. If your desire for a bargain can overcome your pride, read on! There is a world of building materials and other treasures available for the person willing to open his/her eyes. Not all of the treasures involve Dumpster-diving, either.
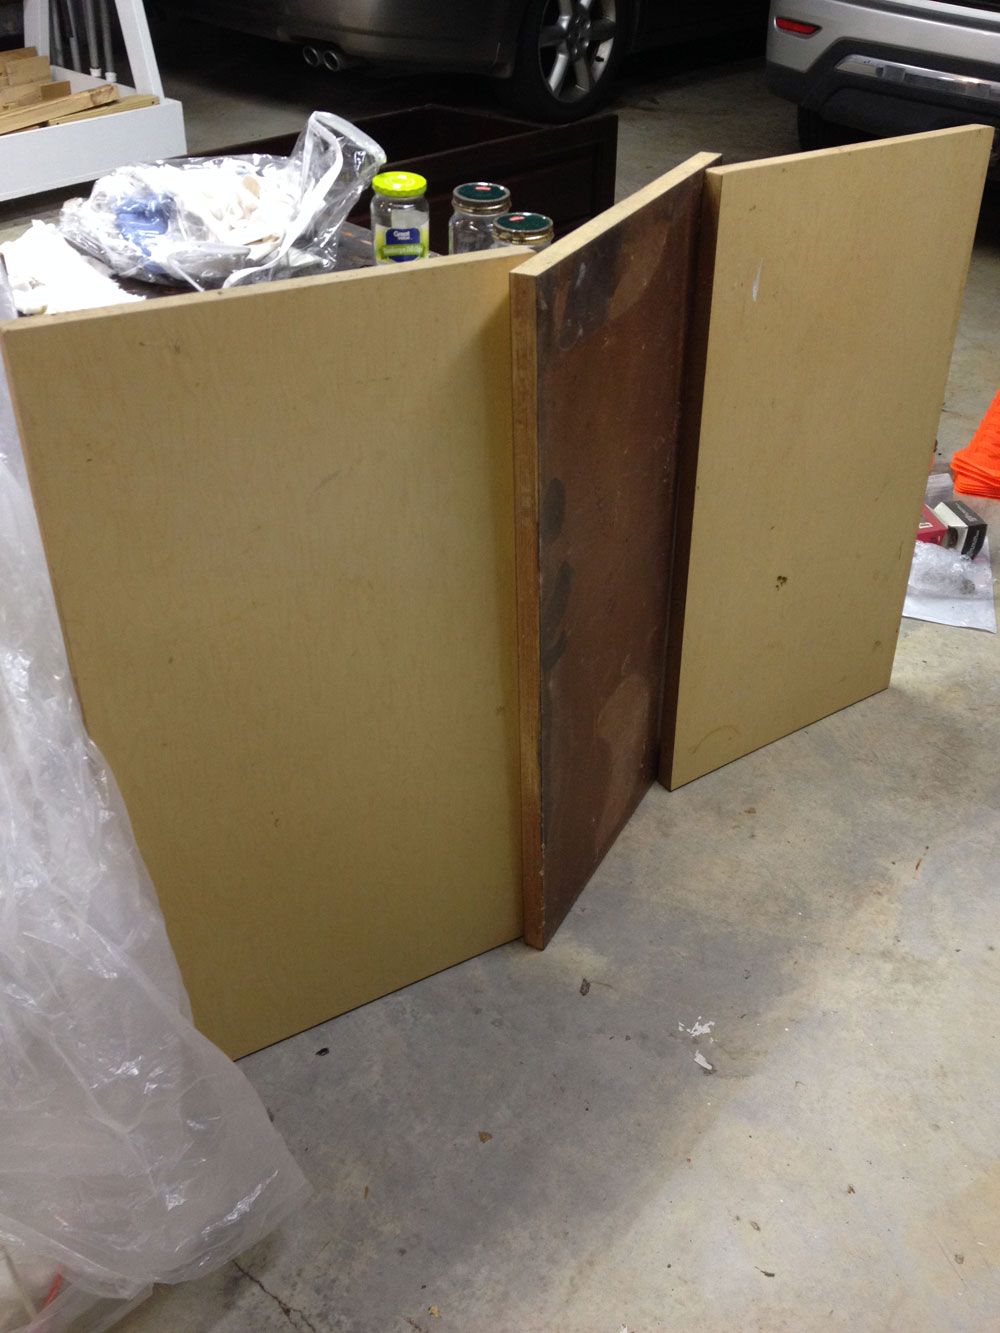
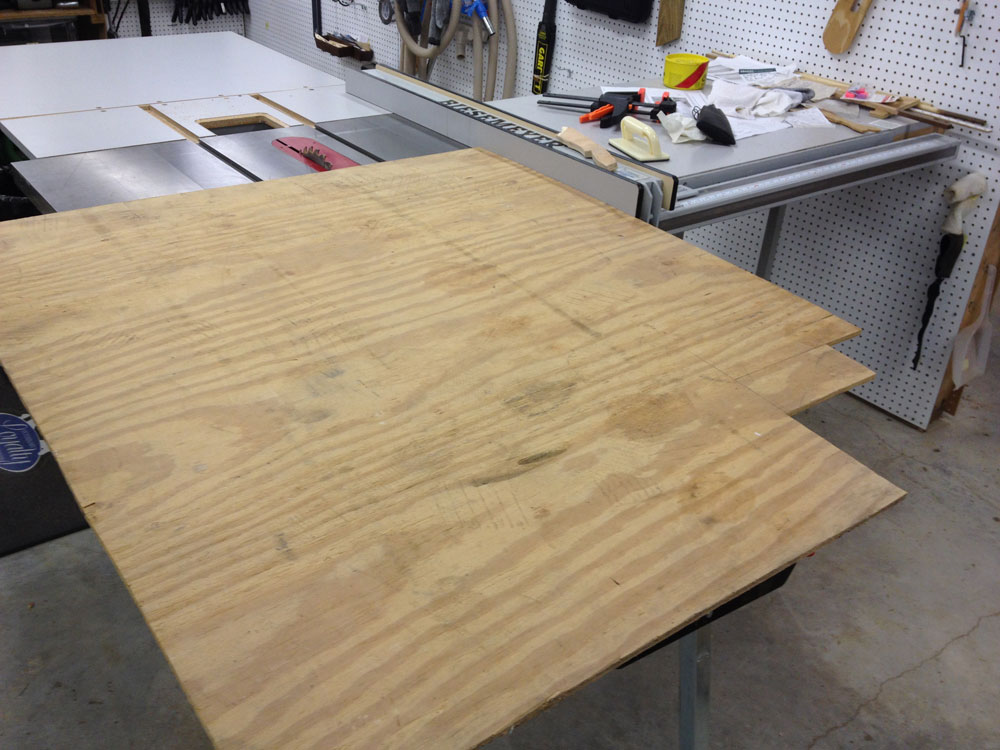
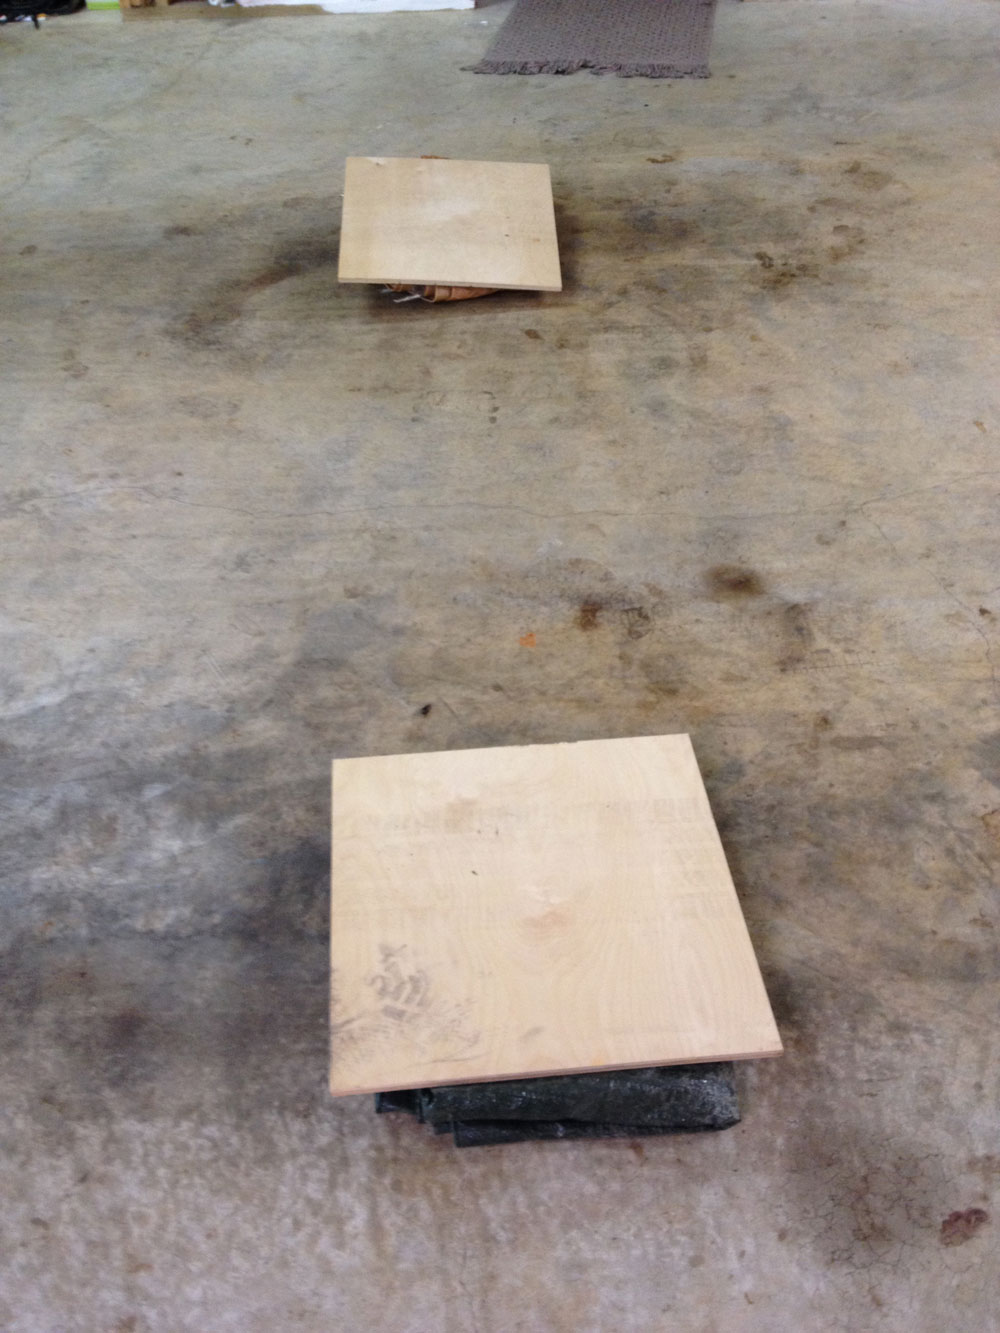
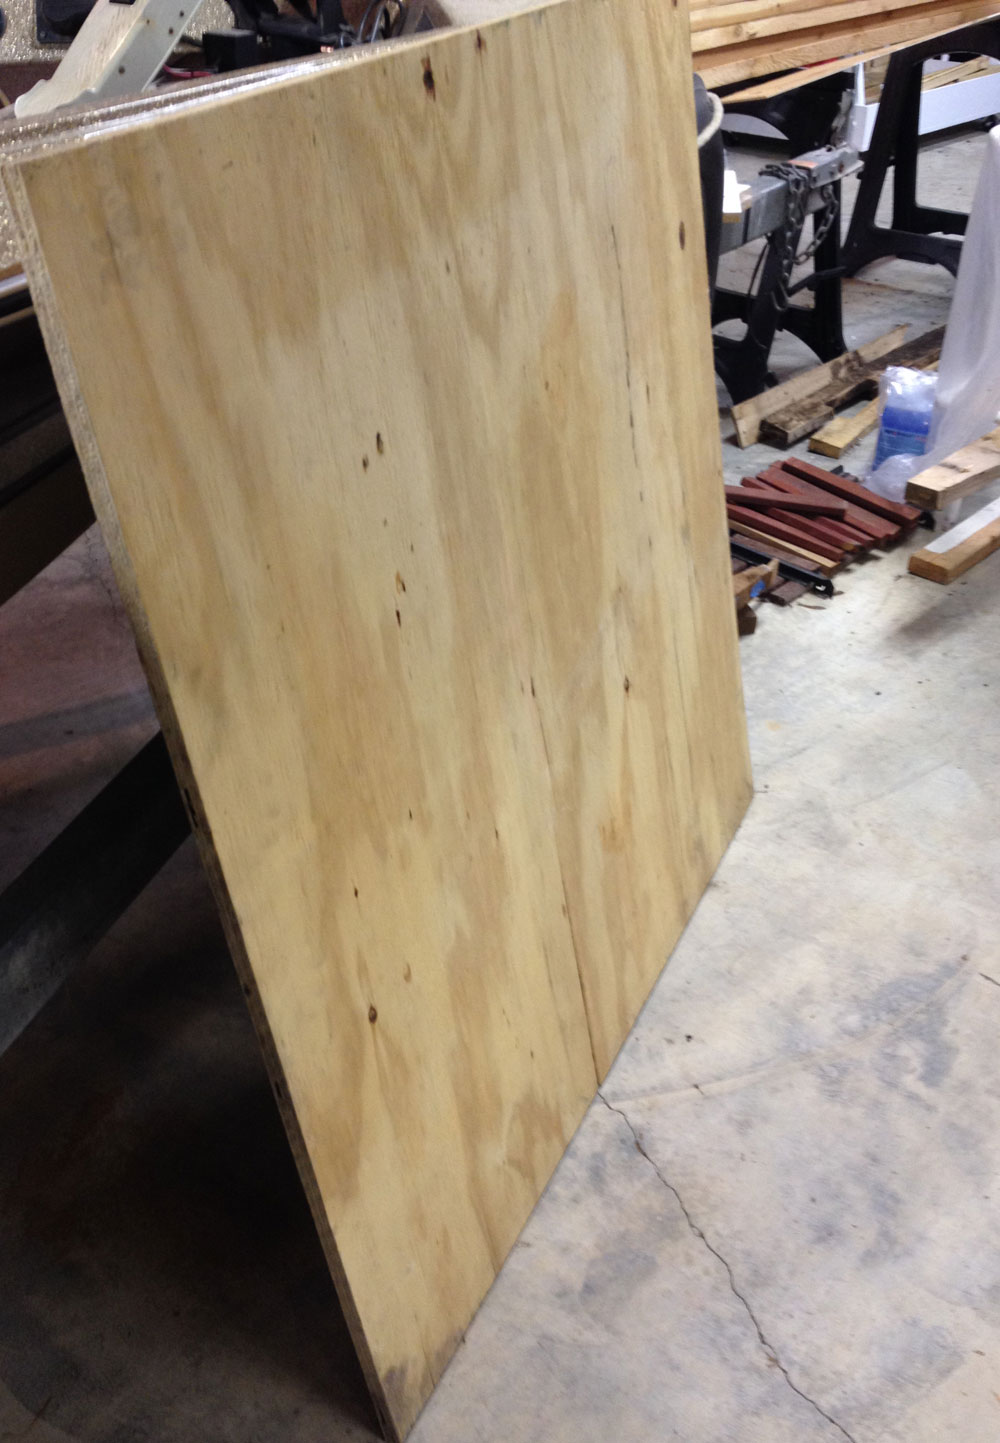
See this great plywood? Three pieces, free for nothing. It’s 1-1/4” thick and as flat as your torsion box. I found it on my morning 3-mile walk and picked it up in my car on the way to work. It’s no longer pretty, but it’s going to add a ton of strength to some project someday.
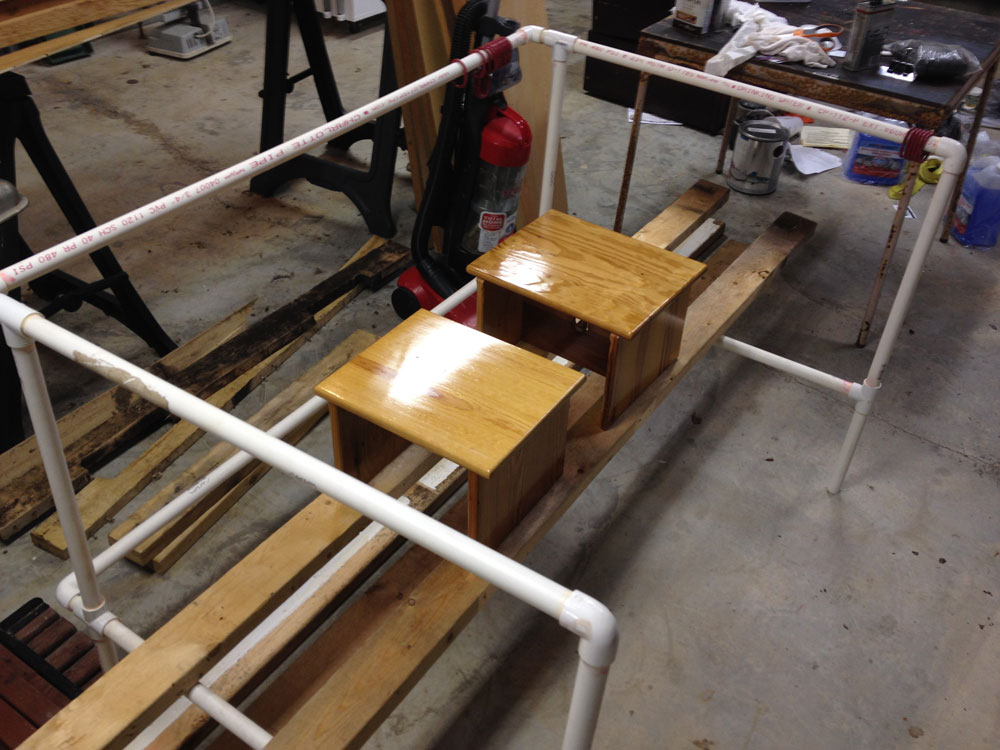
The spruce studs supporting these stools being finished? Came from a neighbor’s house right down the street. He was throwing away a whole ton of valuable stuff. By lugging it home during my morning walk, I added it to the calories I burned. They aren’t furniture-grade, but they will get used one day. In fact, several more are on the floor under the stools; about six altogether, I think. A good haul!
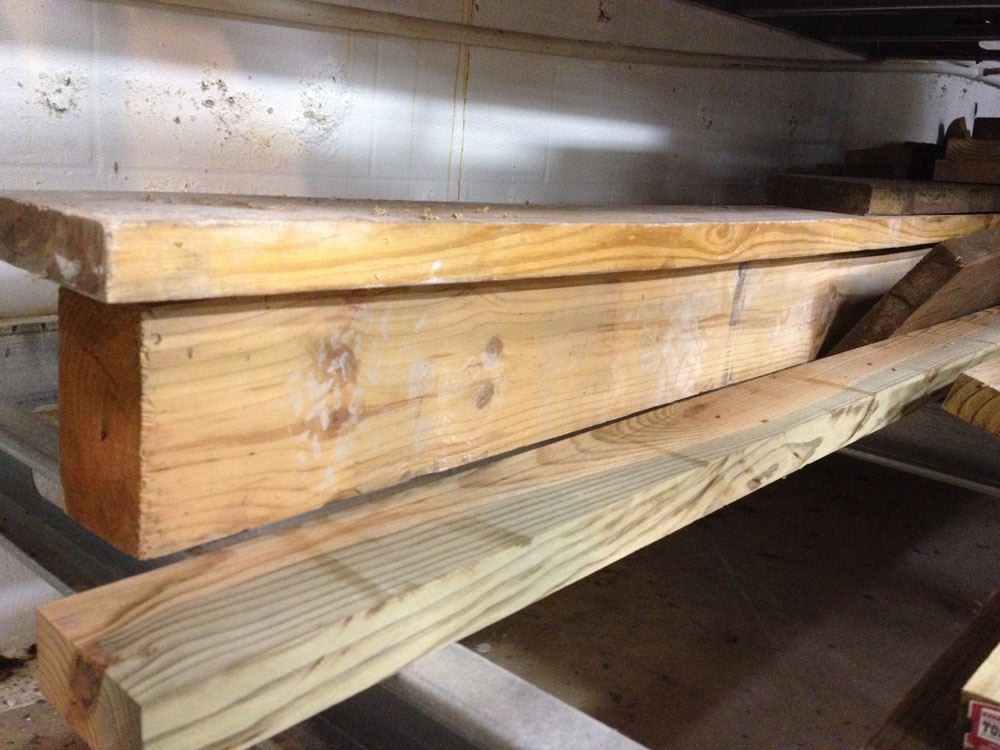
This 4x6x10′ white pine timber was lying in the mud in front of a Family Dollar store being built in our town. A little washing and scraping and it was ready to go into storage, awaiting its eventual use.
The day after I found the spruce studs, another neighbor threw away a perfectly good half-sheet of 3/4″ CDX plywood. Full sheets sell for $30-$35. Half-sheets sell at a premium because stores want you to pay for the convenience and the cut. Toted this home for $0 and about 150 calories.
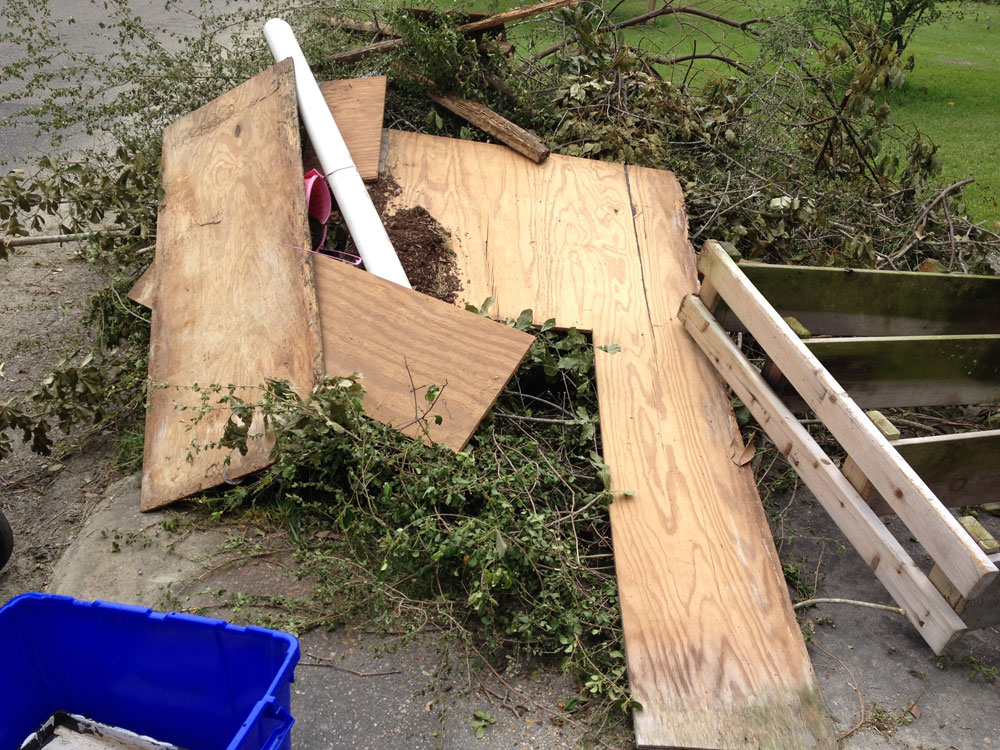
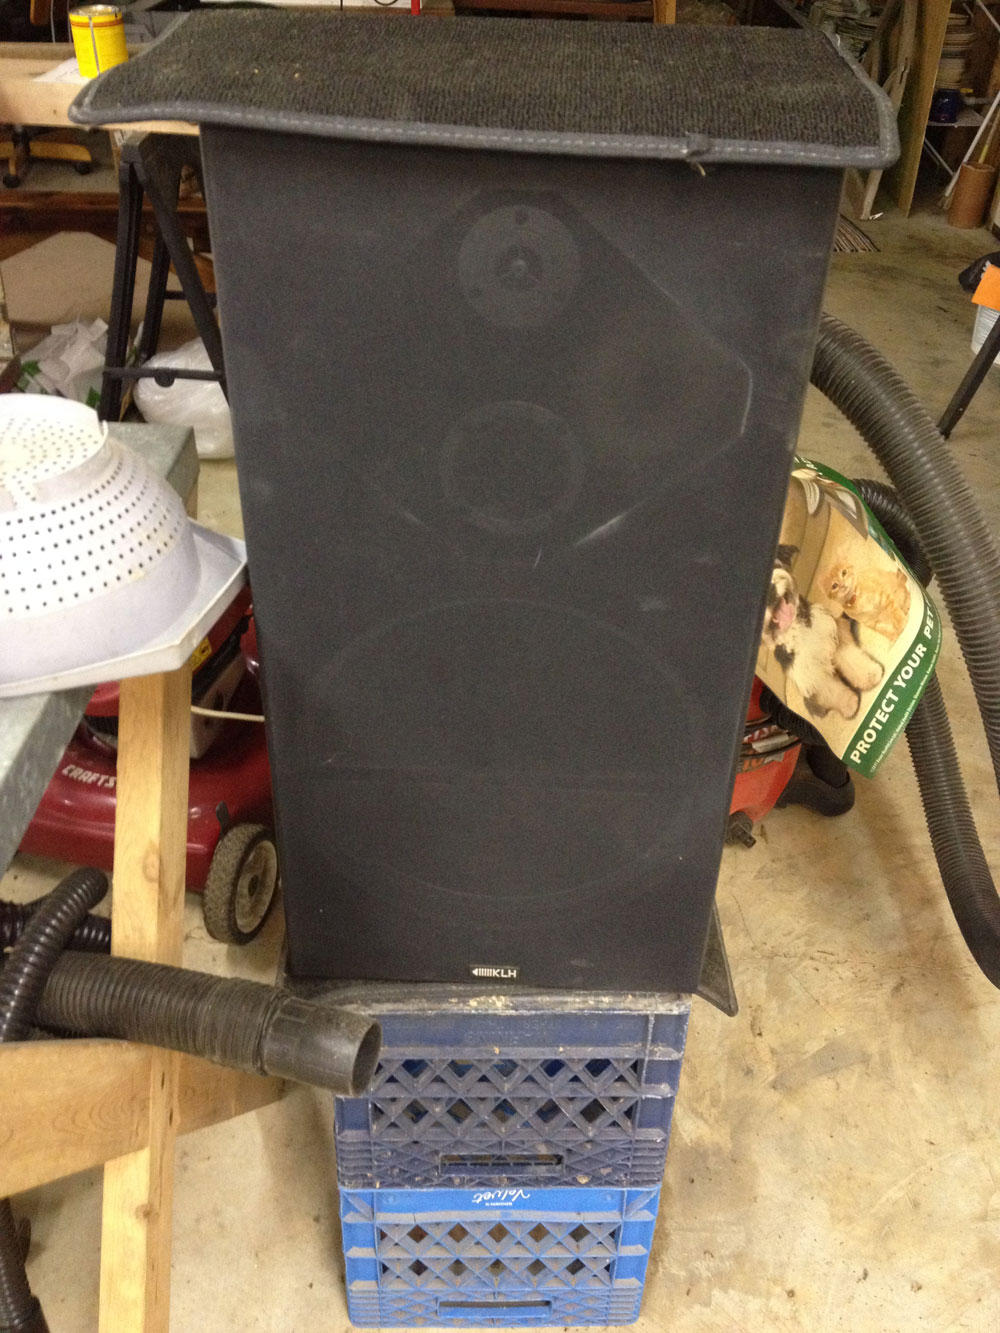
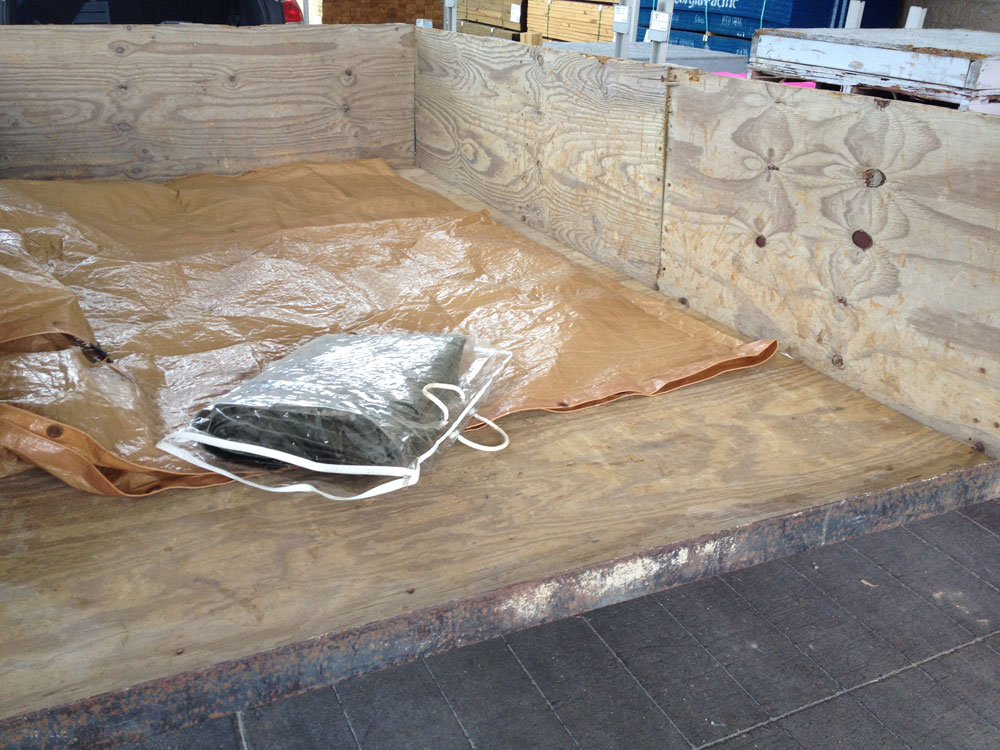
This was a “Made you look” moment. I was on my way to lunch and made a mental note to stop at this pile if it was still intact after lunch.
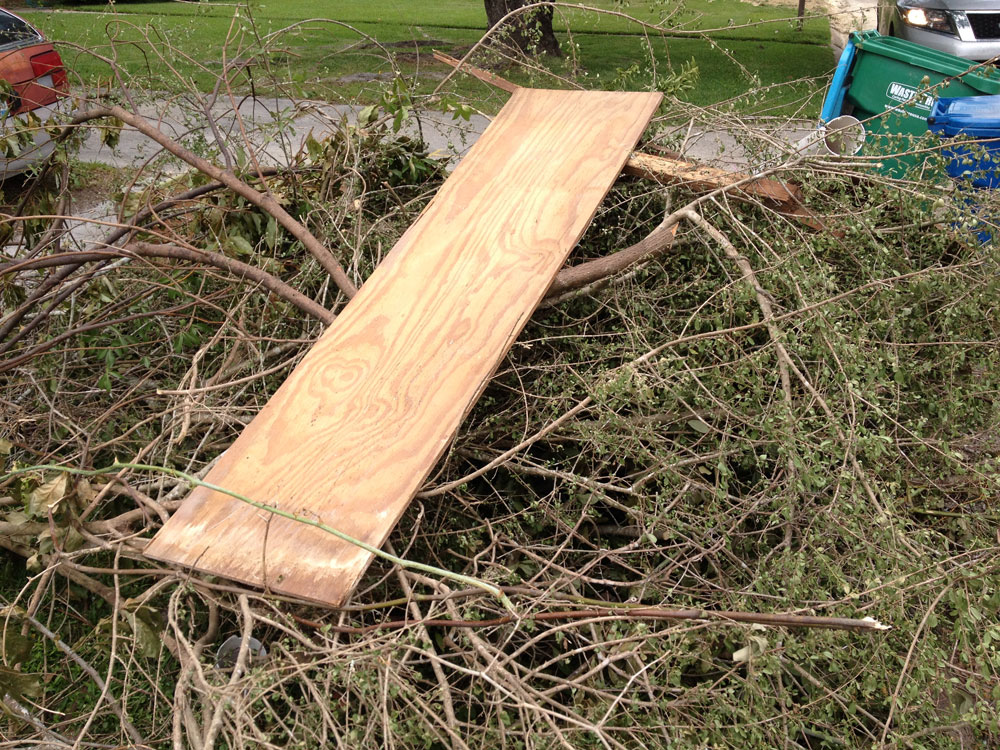
However, upon closer examination, I could see plenty of rot in the plywood and the 6″ PVC pipe was thin-walled. I wasn’t interested in taking home any termites, even if I cut the bad parts out of the plywood. Even I draw the line somewhere!
Jim Randolph is a veterinarian in Long Beach, Mississippi. His earlier careers as lawn mower, dairy farmer, automobile mechanic, microwave communications electronics instructor and journeyman carpenter all influence his approach to woodworking. His favorite projects are furniture built for his wife, Brenda, and for their children and grandchildren. His and Brenda’s home, nicknamed Sticks-In-The-Mud, is built on pilings (sticks) near the wetlands (mud) on a bayou off Jourdan River. His shop is in the lower level of their home. Questions and comments on woodworking may be written below in the comments section. Questions about pet care should be directed to his blog on pet care, www.MyPetsDoctor.com. We regret that, because of high volume, not all inquiries can be answered personally.