Welcome to “Tips From Sticks-In-The-Mud Woodshop.” I am a hobbyist who loves woodworking and writing for those who also love the craft. I have found some ways to accomplish tasks in the workshop that might be helpful to you, and I enjoy hearing your own problem-solving ideas. Please share them in the COMMENTS section of each tip. If, in the process, I can also make you laugh, I have achieved 100% of my goals.
My wife, Brenda, is an artist, and any artist will tell you the most difficult freehand stroke to execute well is the straight line. That task is difficult for several reasons. First, a straight line is the only absolute that can be compared to a standard. A face, an abdomen, a thigh, a bowl, each curved line is unique.
Second, your arm works in an arc, and therefore your hand moves in an arc. Simply put, it is unnatural to draw a straight line freehand. Speaking of unnatural, there are very few straight lines in nature.
When hand-sanding and applying finish by hand, tools (sandpaper, brushes) usually need to go in line with the grain of the wood and curving motions need to be avoided. Even if your project contains curves, unless your wood is bent, the grain still runs in mostly straight lines.
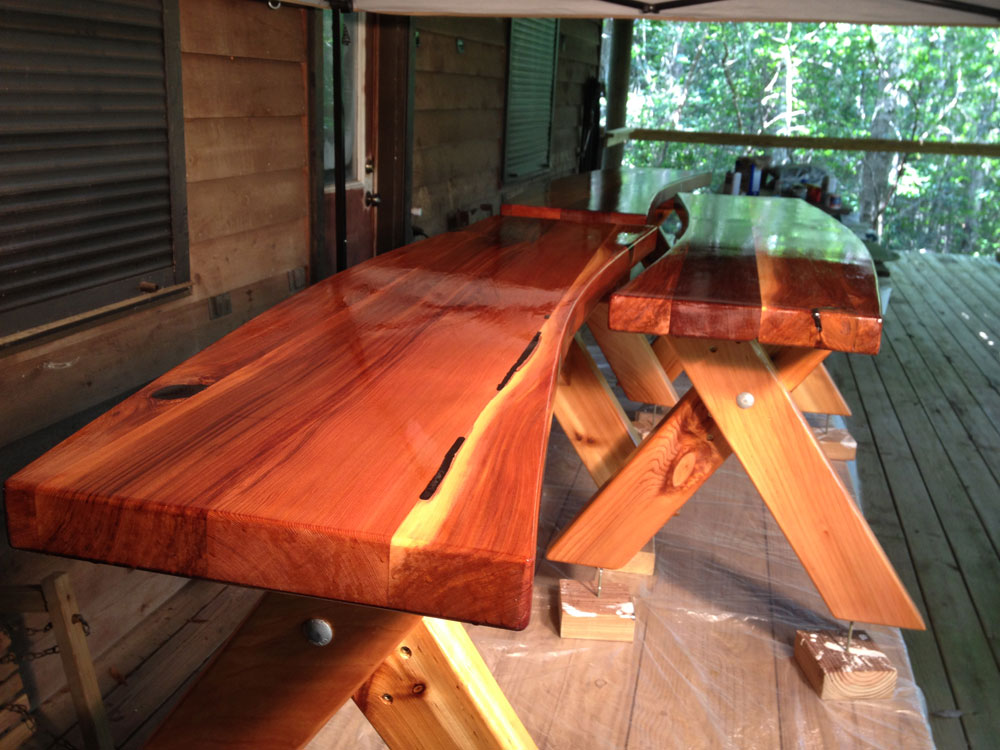
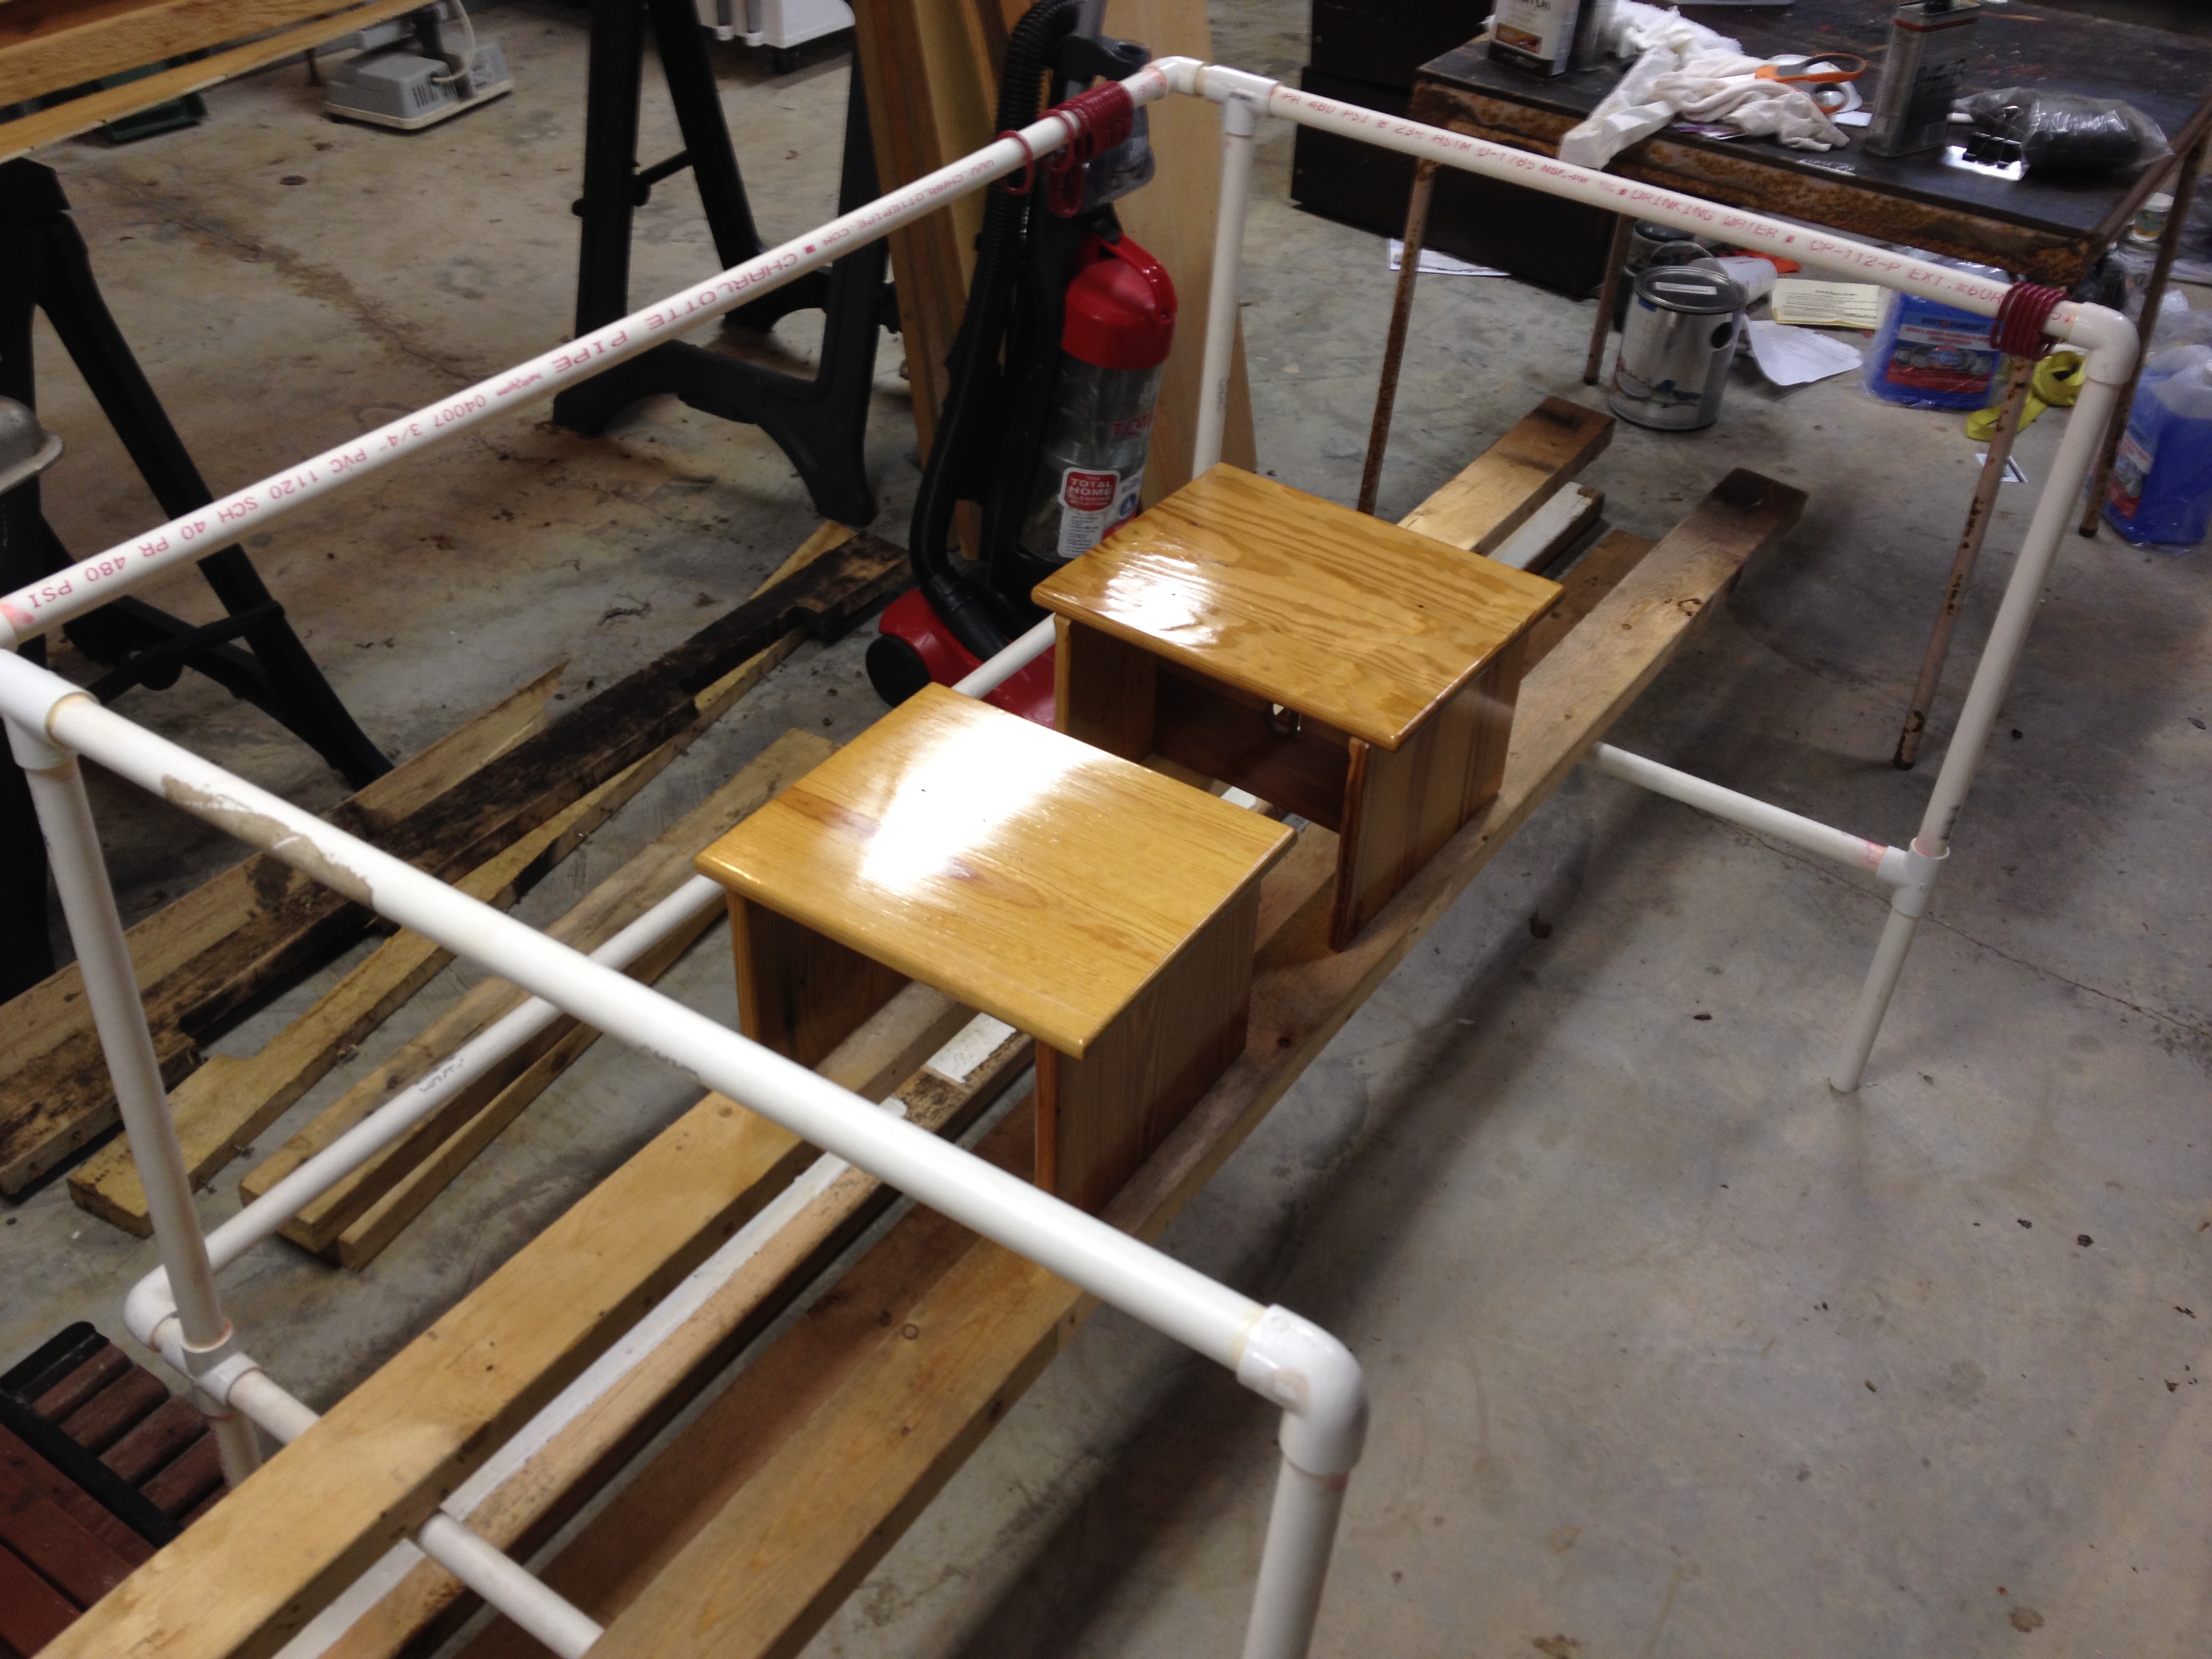
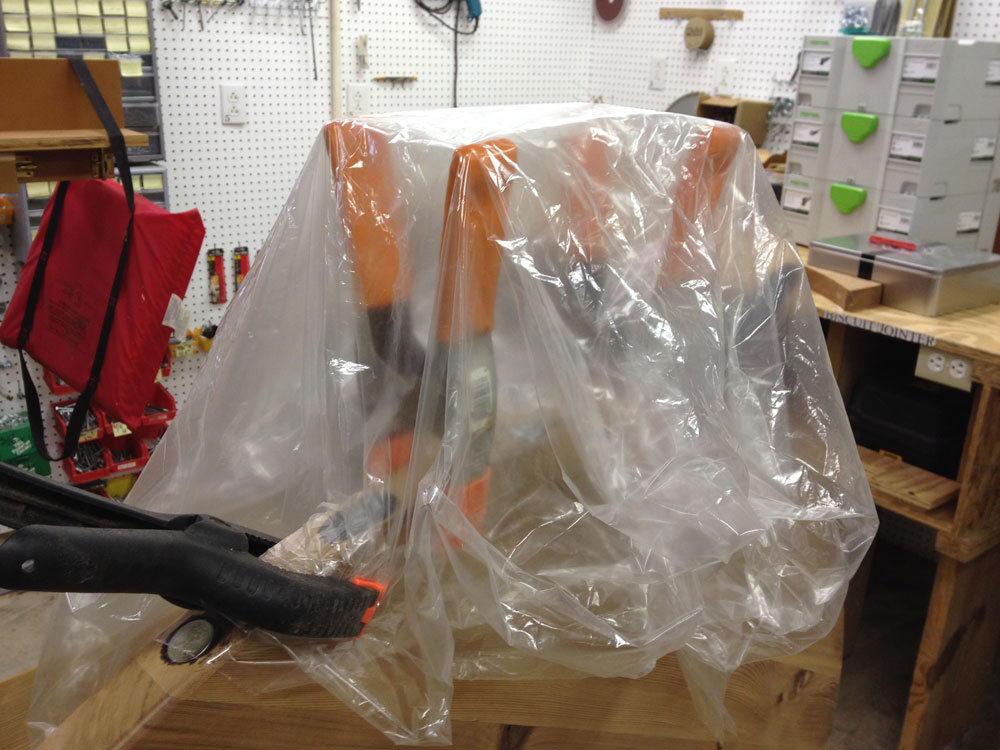
Consider this curved bench. Though it curves on its front and back, it is made from straight boards. Whether scraping, sanding or applying finish, a stroke that does not follow the grain is a stroke that will always show, until it’s corrected.

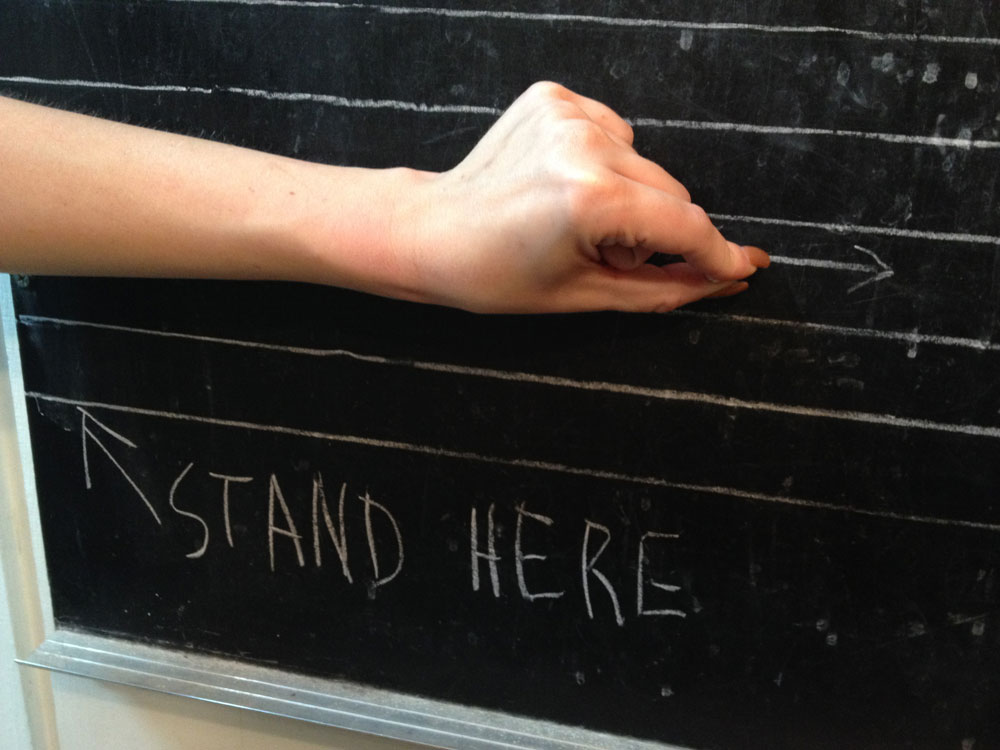
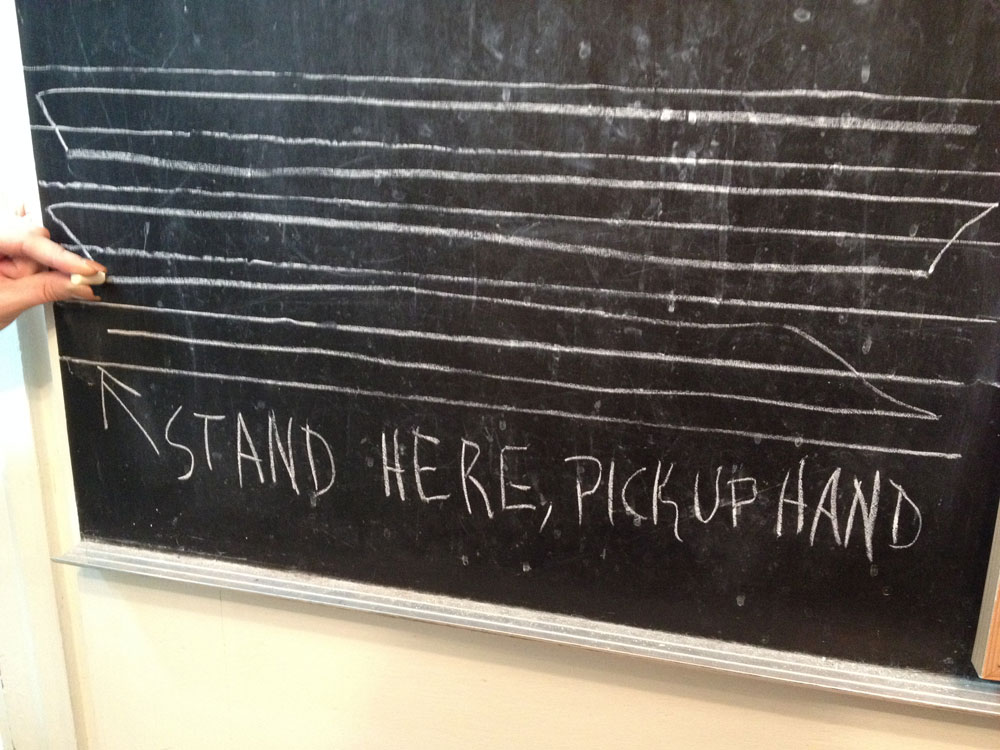
Just as a windshield wiper pivots on the shaft it’s mounted on, our arms pivot on our elbows and/or shoulders. Here, our assistant stands beside the work, perpendicular to the length of the boards and it is nearly impossible to approximate a straight line. While this arc is not perpendicular to the grain, which would yield the most displeasing scratches, it still crosses the grain instead of going with it.

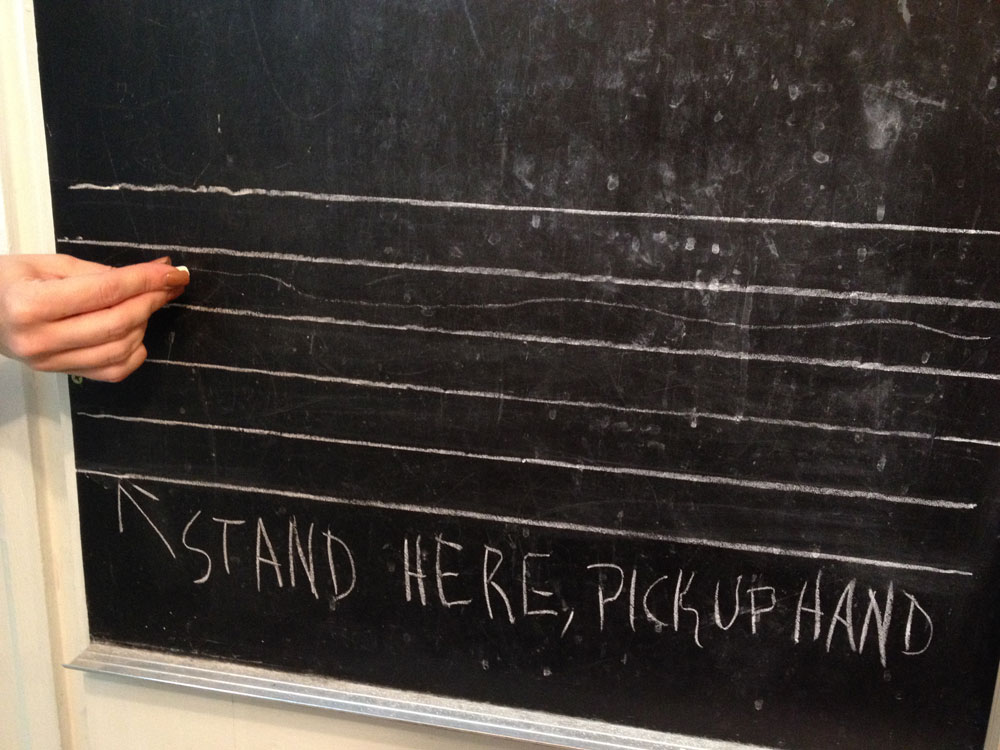
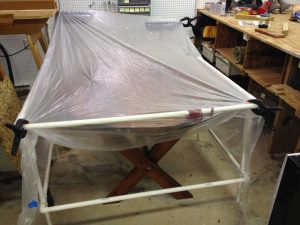
Change your position of attack, looking down the long grain, and you have the opportunity to work parallel to the boards’ edges and thus their grain.
Even when your body is lined up with the grain, you still have to pay attention to your arm’s movements. Consider that any lateral movement crosses the grain. Therefore, that lateral movement needs to occur off the project surface. In other words, you can sand one board, or span the joint of two boards, then lift your hand to move to the next area you want to sand. What you can’t do is keep sanding while making movements to the side.

Our natural tendency is to make strokes that are slightly diagonal, but, that partial across-grain movement will impart scratches that are unsightly.
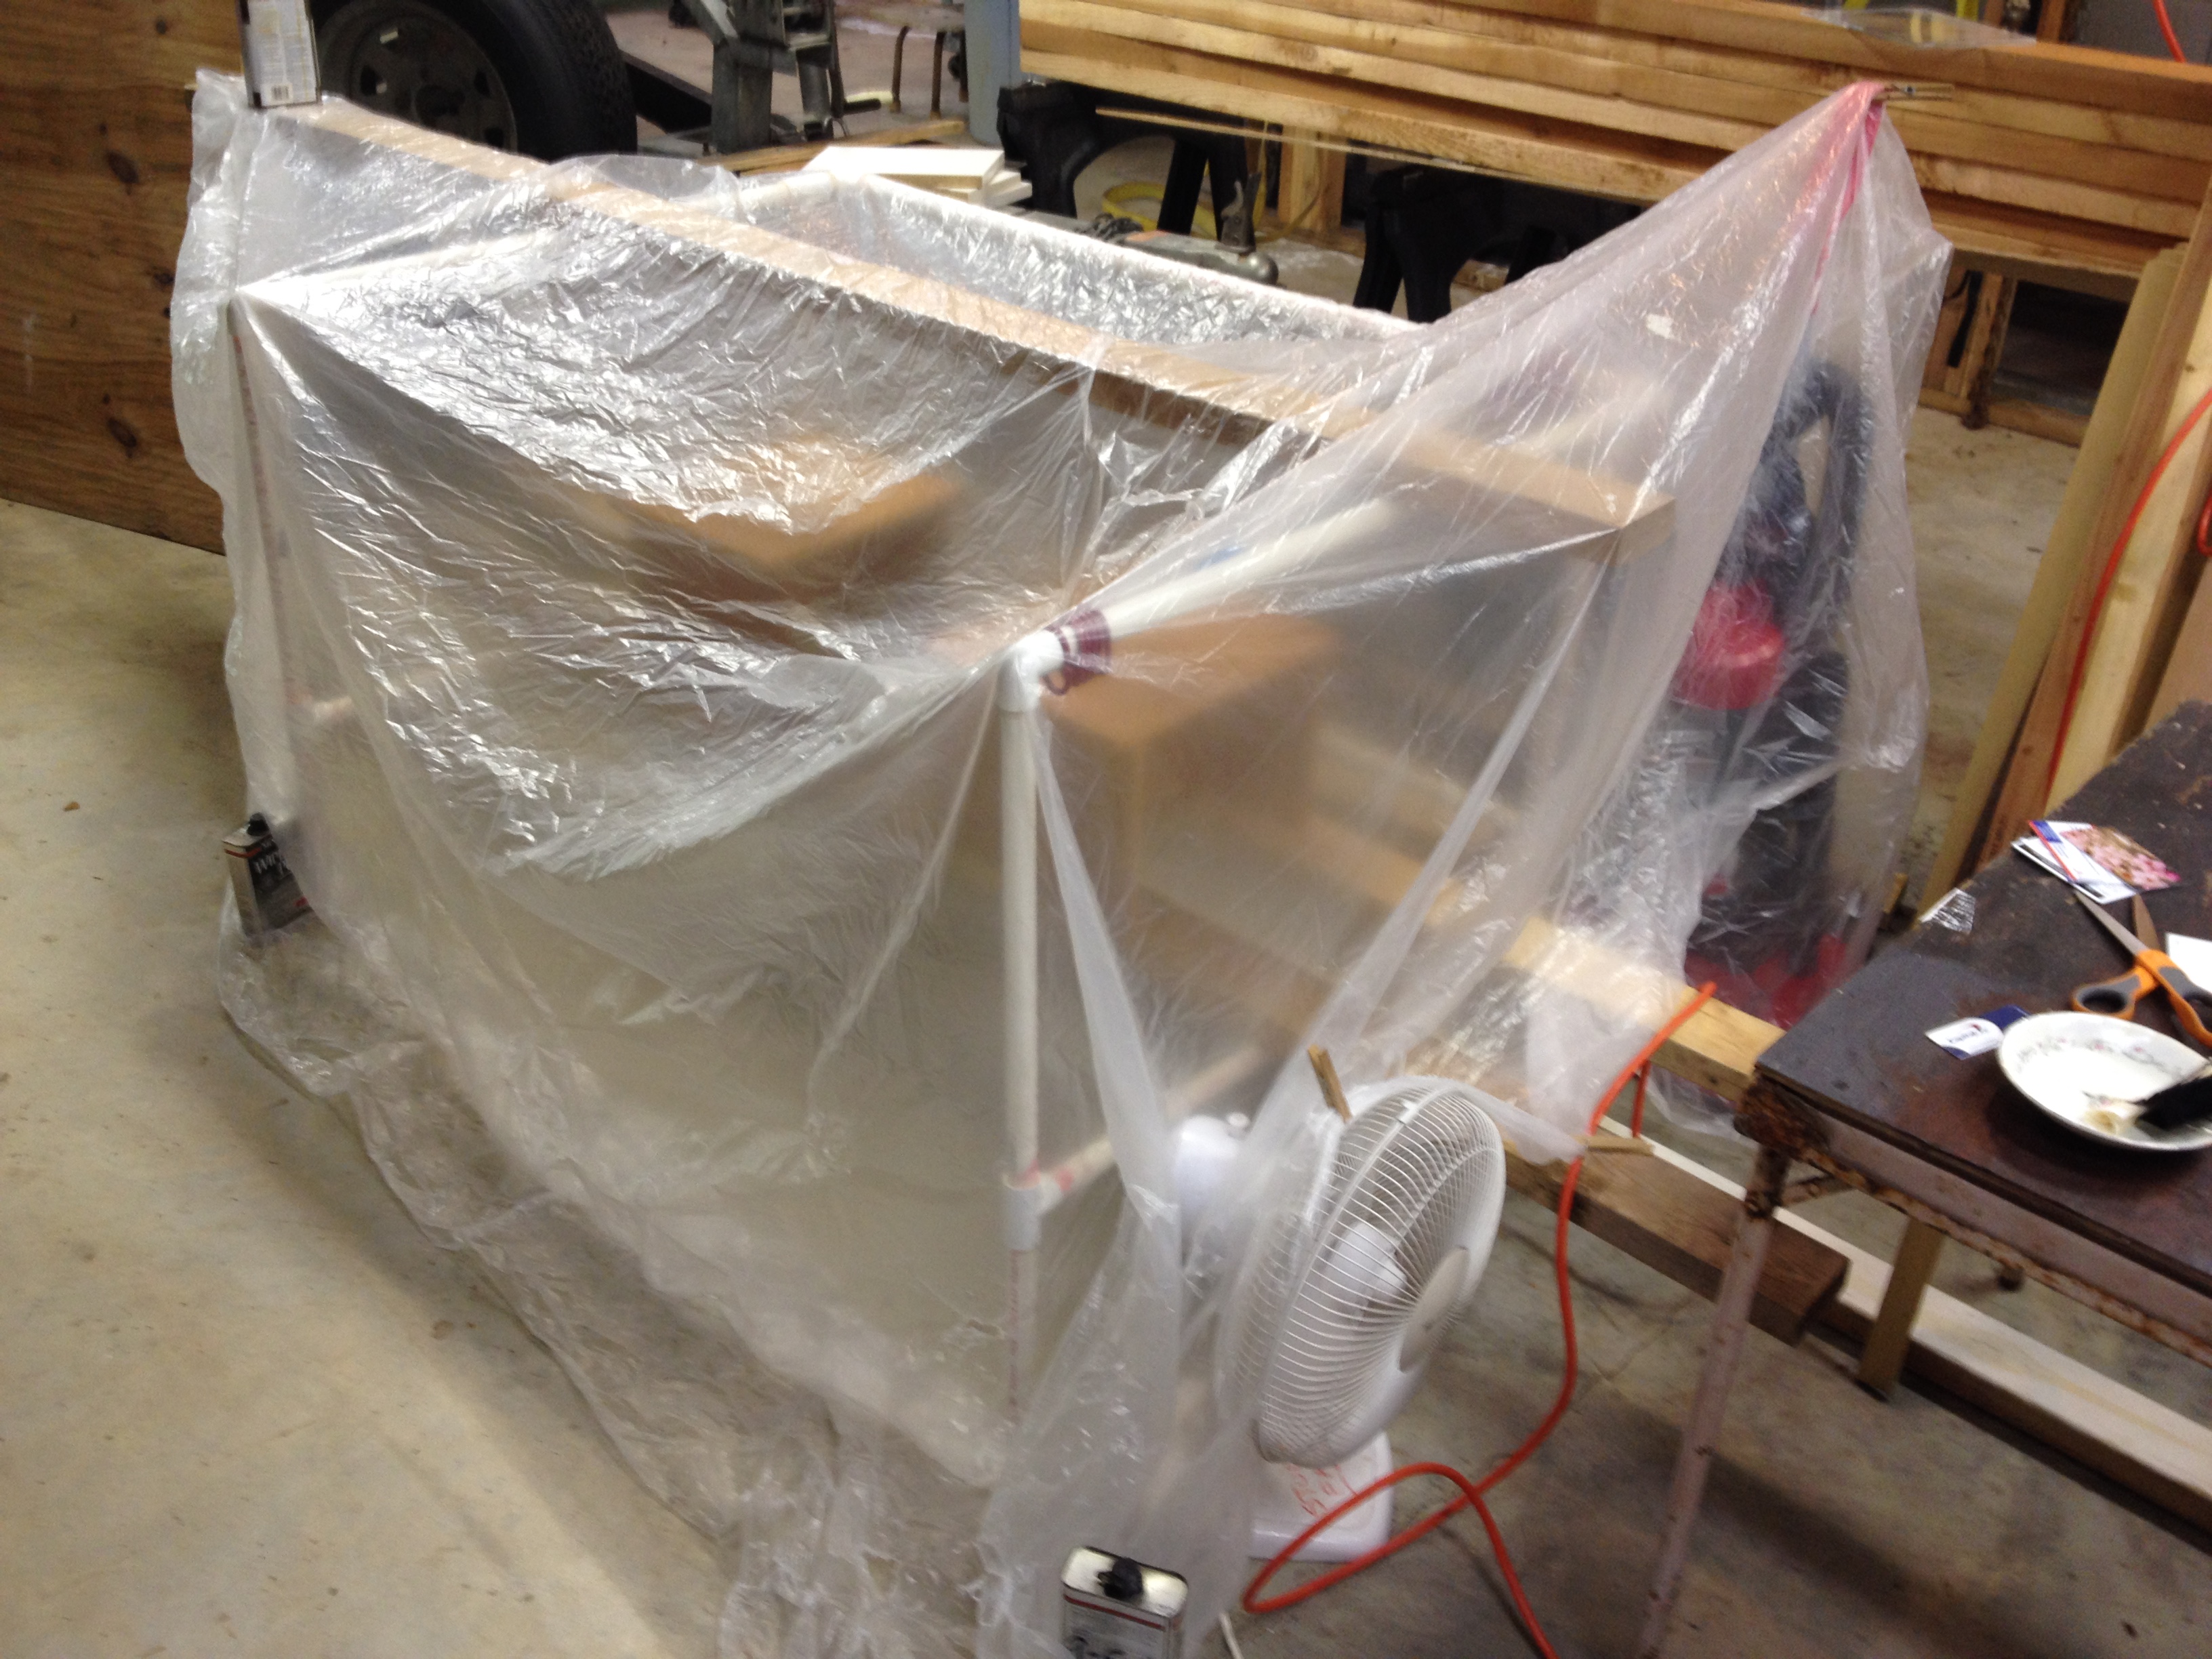
The same goes for application of finish, especially with brushes or pads. Wipe-on finishes tend to be dilute enough that they don’t show your path much. But, with a thicker finish applied with a brush, it is imperative that strokes follow the grain.
Not only is following the length important, stay focused, so that you are not wavering down the length of a board.

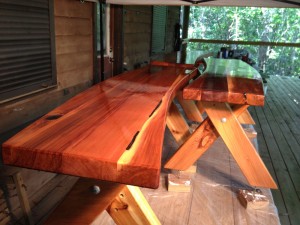
It takes a lot of concentration to make one’s arm go perfectly straight along a board’s grain. The difference is worth the effort.
Try this technique. I’m confident you’ll like the hand-sanding and hand-finishing results you get.
Jim Randolph is a veterinarian in Long Beach, Mississippi. His earlier careers as lawn mower, dairy farmer, automobile mechanic, microwave communications electronics instructor and journeyman carpenter all influence his approach to woodworking. His favorite projects are furniture built for his wife, Brenda, and for their children and grandchildren. His and Brenda’s home, nicknamed Sticks-In-The-Mud, is built on pilings (sticks) near the wetlands (mud) on a bayou off Jourdan River. His shop is in the lower level of their home.Questions and comments on woodworking may be written below in the comments section. Questions about pet care should be directed to his blog on pet care, www.MyPetsDoctor.com. We regret that, because of high volume, not all inquiries can be answered personally.