January is the month of resolutions.
February is the month in which you know whether you’ve kept up with what you’ve resolved, need to improve, or have failed miserably.
What are your resolutions for 2017?
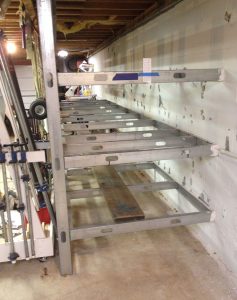
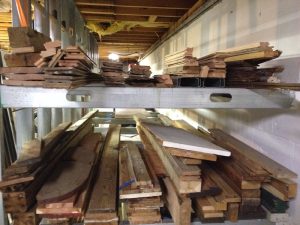
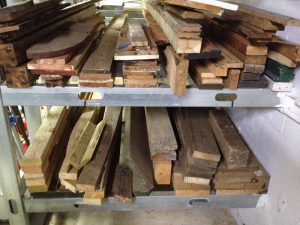
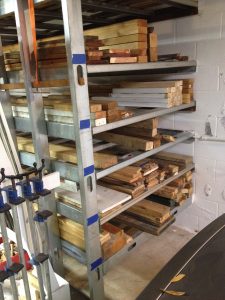
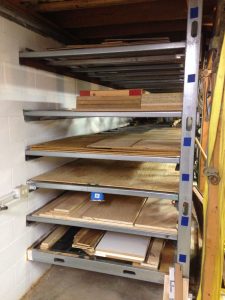
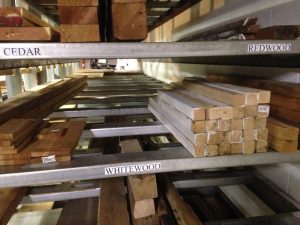
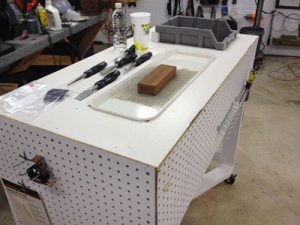
I’m confident that a lot of woodworkers have intentions of being cleaner around the shop in the new year. We could sweep more, we could pick up cutoffs and other trip hazards as we create them, we could store the things that we use infrequently, and better organize the things we leave out.
Some of you might be like me, and have tools that you no longer (or never did) use.
Take my first Skilsaw. It runs, but the bushings (I doubt it has bearings) seize on the armature and it howls when it spins. I might be able to send it somewhere to be rebuilt, but how would I justify the cost and effort? I have a TS75, and a newer Skilsaw. Still, I can’t seem to let it go. I bought it at the Keesler Air Force Base Exchange in the 1970s and, if I remember correctly, paid less than $25.
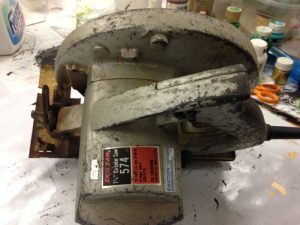
With the exception of the TS75, this is still the best circular saw I’ve ever had. Not for sale. If I could solve the seizing problem, it would still be my go-to all-around circular saw. It would beat the pants off the Skilsaw I bought in 2005.
Speaking of the BX, I have a Black and Decker one-speed, one-direction (neither reversible nor variable speed had been invented yet, I don’t think) drill that I paid just $8 for, also in the 70s. It still runs as well as it ever did. Well, maybe a little noisier. I’ll probably keep it if it ever dies. It holds some really good memories.

This is one tough drill. It came with a 1/4″ chuck, but I exchanged it for a 3/8″ chuck from a dead drill. Not for sale.
I have an Osborne Excalibur miter gauge that I’ve never used. Heck, it’s never even been out of the box. I won it in a contest and I already had a nice Incra miter gauge that I’ve always been happy with.
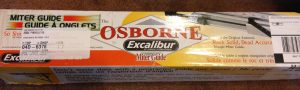
Somebody could have been using this fine miter gauge for all the years it’s been sitting in my office. I’d like to sell it, but I’m not sure where to start.
I’d like to have a bigger jointer than the 6″ Delta that I have, but what would I ever do with the old Delta? It would be cost-prohibitive to ship, but I could deliver it if I sold it locally.
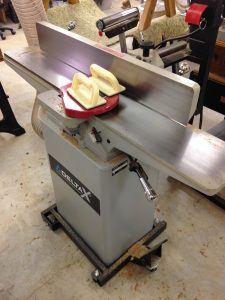
Sometimes a 6″ jointer is all you need, other times, it’s just not enough. Still, no one needs two jointers. Or does he?
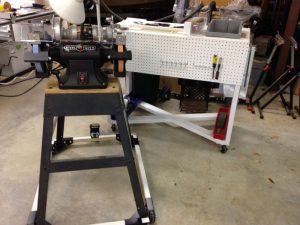
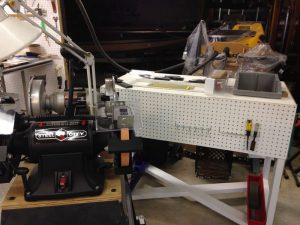
I’ve also been torn about miter saws. I took the plunge into a Festool Kapex, for a variety of reasons, but I’m still attached to my DeWalt. It’s not a sin to have two miter saws, is it?
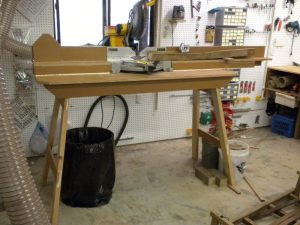
There’s nothing wrong with the DeWalt miter saw, and the Norm Abram stand is the cat’s meow. But, does one need two power miter boxes? I doubt it.
Jim Randolph is a veterinarian in Long Beach, Mississippi. His earlier careers as lawn mower, dairy farmer, automobile mechanic, microwave communications electronics instructor and journeyman carpenter all influence his approach to woodworking. His favorite projects are furniture built for his wife, Brenda, and for their children and grandchildren. His and Brenda’s home, nicknamed Sticks-In-The-Mud, is built on pilings (sticks) near the wetlands (mud) on a bayou off Jourdan River. His shop is in the lower level of their home.Questions and comments on woodworking may be written below in the comments section. Questions about pet care should be directed to his blog on pet care, www.MyPetsDoctor.com. We regret that, because of high volume, not all inquiries can be answered personally.