Highland Staff

Apr 132017
 

Most folks will use 9″ x 11″ sandpaper sheets at some point in their sanding endeavors. And most of us typically will cut the sheets down in size to suit some particular sanding pad size, or to make a more appropriately sized piece of sandpaper for hand sanding.

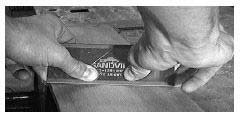
Ways to tear sandpaper paper down in size range from the “fold a crisp crease”, then pull it apart like spreading continental plates method, to folding it over a sharp 90 degree table edge (like on a machine’s cast iron table) and yanking down to tear the sheet. There is also the “use your spouse’s fabric scissors” method to cut sandpaper and is definitely one way I can attest to that should be avoided. Sometimes these methods give a clean “cut” and other times the “tear” ends up being ragged, jagged and anything but straight.

Wise use of a consumable commodity like sandpaper can save money in the long run and the more your sheets can be cut nice and clean, at just the right size, the farther your sandpaper budget is stretched. To that end, take some scrape wood and an old hacksaw blade (or a new one if your budget allows) and make yourself a sandpaper sheet cutting jig for making straight & clean sheet tears, right on your mark, every time.

Sandpaper tearing jig
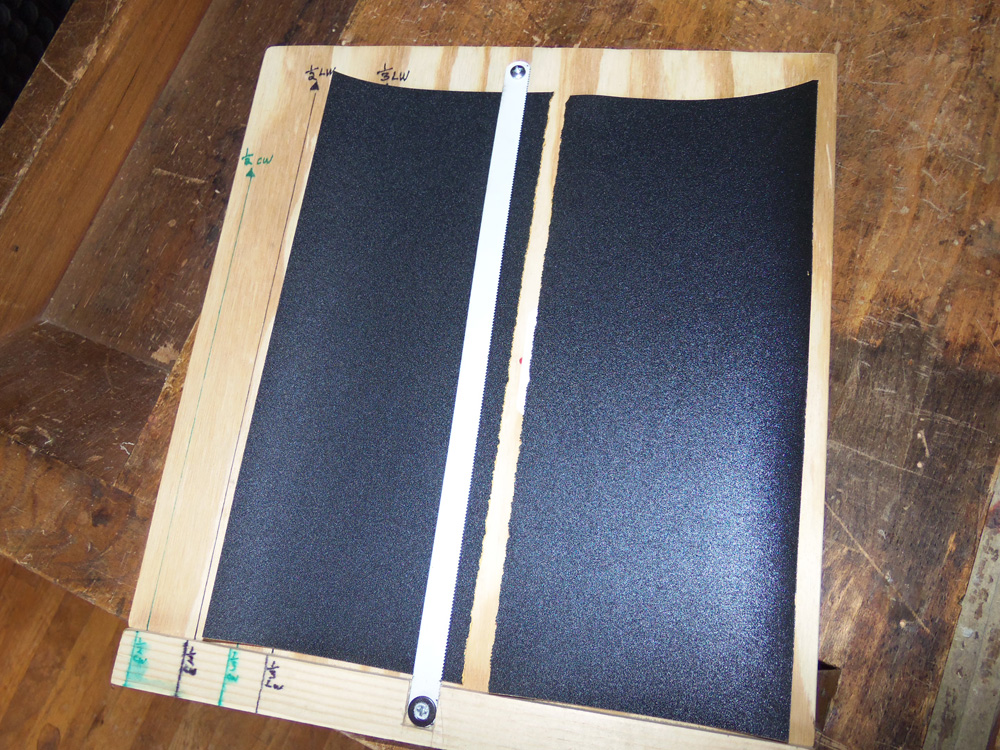
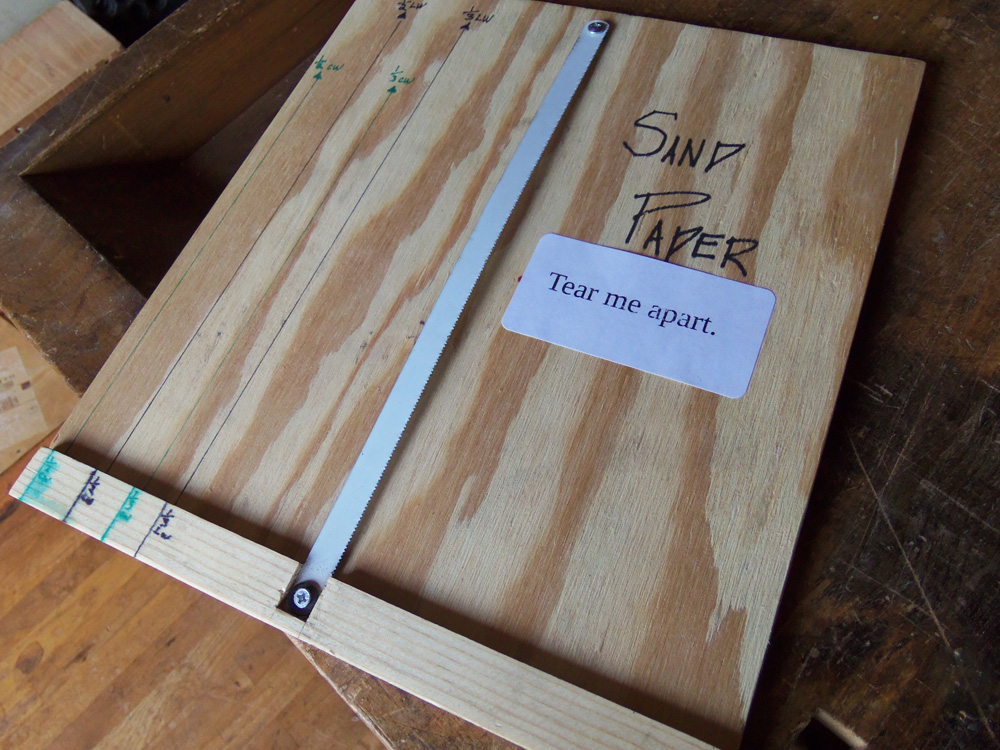
We used 1/2″ plywood and glued on some 3/4″ scrap at the bottom to give a 1/4″ high lip to be a reference fence. Chisel out a small mortise to “let-in” the blade to the fence, keeping the mortise depth about 1/16″ above the plywood. Square the hacksaw blade to the fence and use a washer under the blade at the top before you screw it down, leaving space between the plywood and the blade for easily sliding your sandpaper underneath the blade. We oriented the teeth on the blade so pulling up the paper goes “into” the rake of the teeth.

Size marks on sandpaper tearing jig

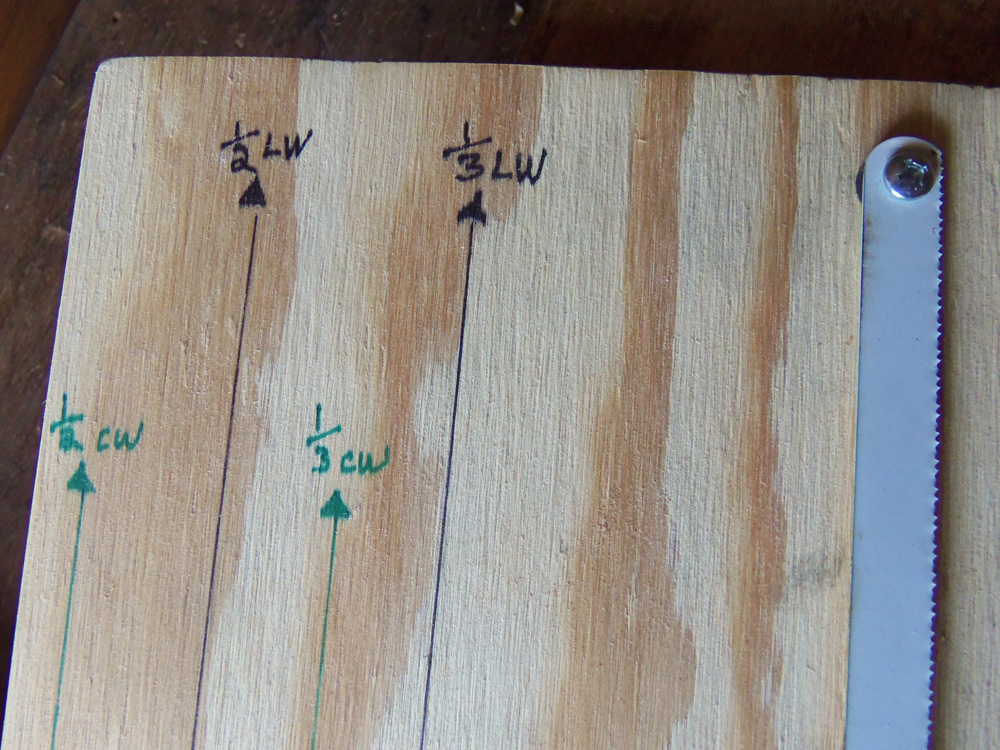
Using a fine line marker, draw witness lines at measured dimensions from the blade’s cutting edge for half a sheet and 1/3 a sheet, in both lengthwise and crosswise measurements. Add any other dimensions you use regularly when cutting sheet paper down to size.

Avoid doing what we did, don’t spray lacquer onto the Sharpie marks to “seal” them. The lacquer made the marks run like the makeup on a crying mime.

How to use the sand paper tearing jig

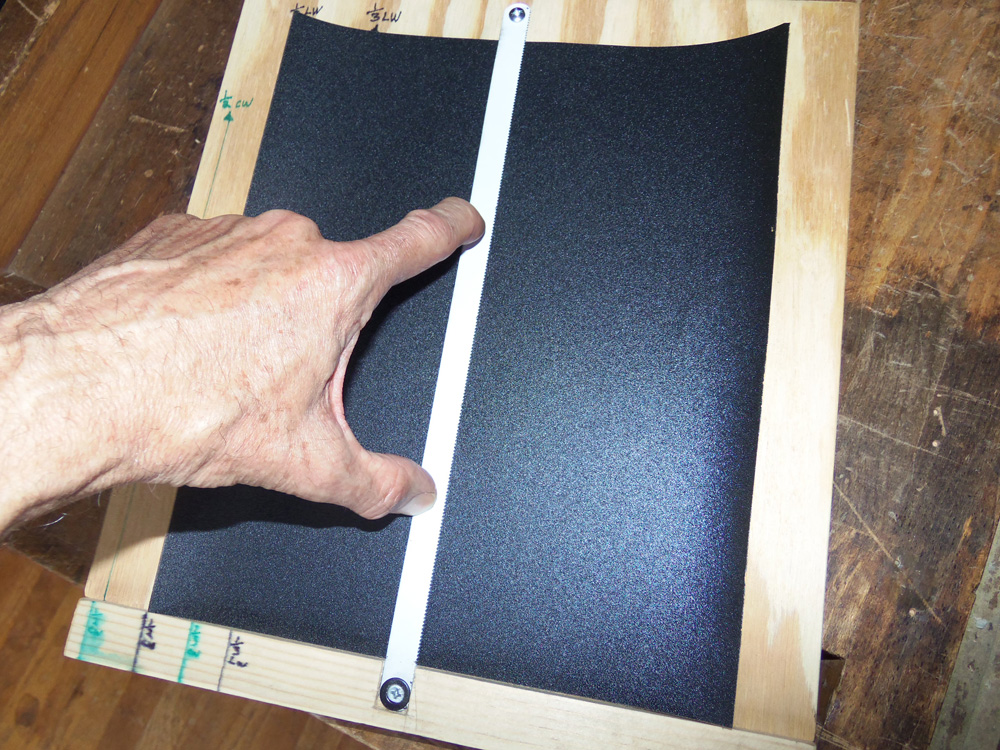
Now go tear up your sandpaper in highly predictable ways!

Mar 312017
 

Jim Dillon has been involved with Highland Woodworking for quite some time now as both a customer and a class instructor in the Highland Woodworking classroom, where he teaches monthly classes ranging from hand tool skills to building bookcases, and much more!

He became a full-time woodworker in 1998 after he taught writing, which stemmed from his college English degrees. When not teaching at Highland, you can find Jim as the resident cabinetmaker at Fernbank Science Center here in Atlanta.

Jim keeps up a regular blog, The Thousand-Dollar Shop, where he discusses his current projects, new tools, and how he accomplishes woodworking “on a less than infinite budget,” something I’m sure we all strive for.

If you’re in Atlanta anytime soon, sign-up for one of his classes! Below is his upcoming class schedule. All classes are held at Highland Woodworking.

Saturday, April 1st – Build a Tool Storage Box

Tuesday, April 18th – Wednesday, April 19th – Build a Bookcase

Sunday, May 7th – Using Hand Planes

Saturday, May 13th – Hand Cut Dovetails

Tuesday, May 16th – Hand Tool Sharpening

You can follow Jim on Twitter (@jimdillon6) and Instagram (@from_ogema), and make sure to check out his blog!

Mar 302017
 

If there were a ten-dollar finishing tool that worked ten times faster than a sander, made almost no noise, worked on finishes between coats as well as on bare wood, and did the work of abrasives from 60 to 220 grit, you’d know about it, right?

Guess what? There really is such a device: its the humble wood scraper, of course.

Learn how to tune up and use your wood scraper to improve your finishing process with this helpful article from the Highland archives.

Click here to read

Mar 282017
 

It can take just one or two successful tries at spray finishing to get why spraying is a great choice everywhere from the home shop to the industrial factory floor. Spray finishing is quite simply a fast, efficient and reliable way to lay down smooth, uniform coatings that adhere well, dry predictably, and require minimal further processing. It also turns out that spraying is easy to learn and not very hard to do well.

Take a look at our Beginner’s Guide to Spray Finishing to learn more and then try it out yourself!

Click here to read

Mar 232017
 

In the March 2017 issue of The Highland Woodturner, Curtis Turner – yes, that is his real name – shows us how to turn a box with a lid.

A spalted tamarind blank floated around my shop for years waiting for the right project. Last month, it somehow made its way to the top of the stack, where it just happened to catch my eye. I could see a small lidded box hiding in the wood. I knew it was finally time to turn this blank.

Click here to follow along with Curtis and learn how to turn a box.

Mar 102017
 

In Issue #6 of Festool Heaven, Our Sticks In The Mud (SITM) tipster Jim Randolph and our Down To Earth Woodworker (DTEW) Steve Johnson got into a discussion over which is the best Festool Track Saw, the TS-55 or the TS-75. We’re not sure who won the argument, but they both scored some pretty good shots. We just hope they’re still friends after this!

So which Track Saw is better? Click here to see what Jim and Steve had to say about it!


Mar 082017


In the March 2017 issue of Wood News, Jeff Fleisher changes up his normal review process and does a comparison review of two of our most popular selling calipers, the 6 inch Fractional Dial Caliper and the 6 inch Fractional Digital Caliper.
This will not be a typical review of each tool but rather a listing of the pros and cons to help you make an informed decision when purchasing one, or both, of the calipers.

Click here to read more of Jeff’s article