

Welcome to “Tips From Sticks-In-The-Mud Woodshop.” I am a hobbyist who loves woodworking and writing for those who also love the craft. I have found some ways to accomplish tasks in the workshop that might be helpful to you, and I enjoy hearing your own problem-solving ideas. Please share them in the COMMENTS section of each tip. If, in the process, I can also make you laugh, I have achieved 100% of my goals.
I needed to make a little tray-in-a-box. It was going to be simple, but I still wanted it to be pretty. I didn’t want defects in the wood, or any rough places, or the miter-sawn edges to blow out. I didn’t have time to make a zero-clearance backup for my DeWalt miter saw, so I made that quick and dirty, too.
The box was going to be painted, so thin, resawn poplar off the wood storage shelf would work great.
Step One was to make a rabbet along one edge for the bottom to sit in. It’s easiest to do that while there is just one board.
Next, I wanted to miter the corners, but first, the miter saw needed a backer board.
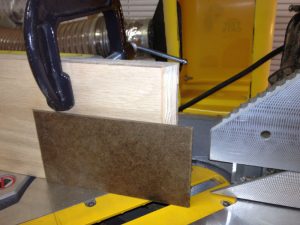
A little scrap oak veneer plywood, slightly bigger than the project piece will act as a backerboard, supporting the fibers of the poplar as the saw blade slices through, preventing a fuzzy edge. Clamp it, then make an initial cut, and it’s ready to use.
With the four sides cut, glue them together. Bessey makes a nice strap clamp, and it’s on sale right now at Highland. I used what I had. When I decided I needed two clamps for stability, I went to the other side of the garage and got a hold-down strap. It worked fine.
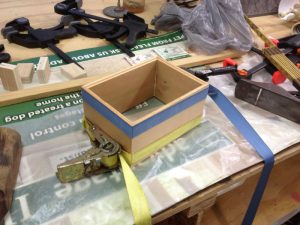
A little glue squeezeout can be cleaned up when it tacks. You don’t want glue bulging under your paint. Be sure to check the diagonals to guarantee the box is square, or the lid will never fit.
Now, on to the bottom. Again, it’s a painted box, so hardboard works fine and doesn’t take up much space.
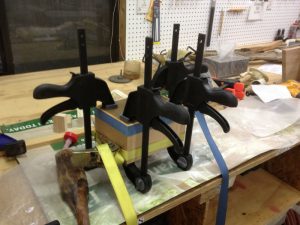
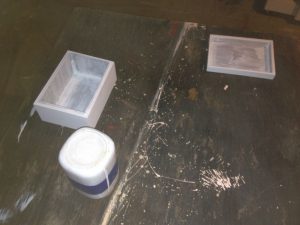
The bottom doesn’t need clamp pressure, so these little squeeze clamps hold it gently in place while the glue dries. The miters had been glued for about an hour, so I felt comfortable working with the box carefully, leaving the strap clamps on.
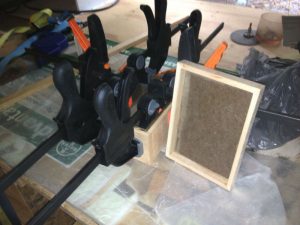
Hardboard works great to line the box and give it a lip for the lid. Again, it’s going to be painted. I glued it in place and clamped it until the glue cured.

The lid is similarly mitered, glued, strap-clamped and a hardboard top is glued into the rabbet.

… tray construction is almost identical to the lid, albeit with a slightly smaller perimeter.
A little primer and a couple of coats of paint, and it’s ready for gift delivery. I would have shown you a photo of the final box, but I asked Brenda to find it for me and she hasn’t been able to produce it yet. Take my word for it, it was cute.
Jim Randolph is a veterinarian in Long Beach, Mississippi. His earlier careers as lawn mower, dairy farmer, automobile mechanic, microwave communications electronics instructor and journeyman carpenter all influence his approach to woodworking. His favorite projects are furniture built for his wife, Brenda, and for their children and grandchildren. His and Brenda’s home, nicknamed Sticks-In-The-Mud, is built on pilings (sticks) near the wetlands (mud) on a bayou off Jourdan River. His shop is in the lower level of their home.Questions and comments on woodworking may be written below in the comments section. Questions about pet care should be directed to his blog on pet care, www.MyPetsDoctor.com. We regret that, because of high volume, not all inquiries can be answered personally.