

During my recent build of a 4’ Walnut Table for my son, I needed some extra space to work, as well as a place to leave the table horizontally after applying finish. I made a pair of saw horses (even though the name may be mostly correct, this style of horse is just so much nicer than what I see in my mind when thinking about a saw horse) a number of years ago, and since the majority of my woodworking has been with smaller boxes and musical instruments, they’ve been static a good portion of this time.
After gluing the top together the next operation (for which I needed to use the horses) was sanding the table, and as I was flipping from one side to the other (and this was with me being as careful as is possible), I noticed some light denting/abraded areas. In this early stage of working the surfaces it certainly wasn’t the end of the world, but if these same types of issues occurred after a final sanding or after finish was applied, I’d be very upset.
I looked around the shop to see if I had anything other than an old towel that I could secure over the hard edges of the horses. After a few minutes, I remembered I had an extra foam water pipe-insulation sleeve stored on a shelf.
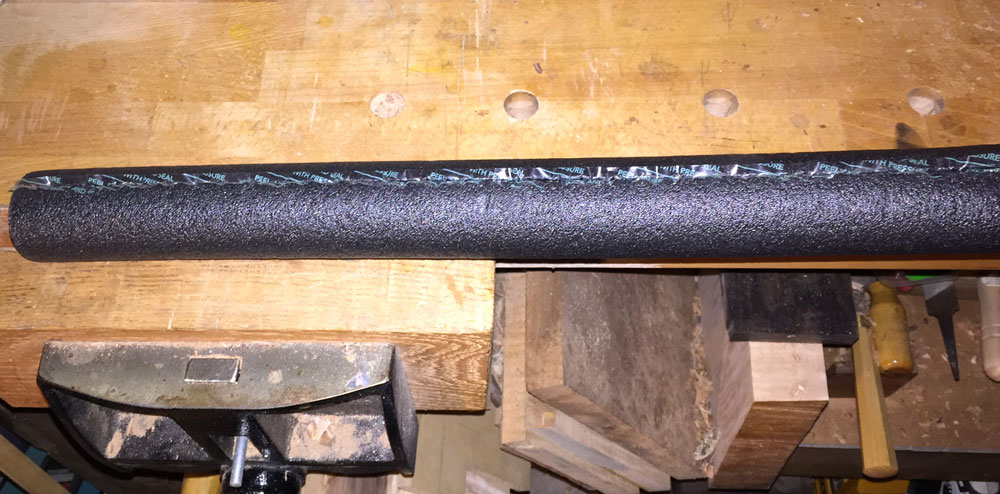
Waterpipe insulation.
I got it down and it was one that had some fairly dense foam, compared to some I’ve seen that were a bit more open-celled. After holding the sleeve up to the horse’s rails I could see I had enough to cover around ¾ of both horse’s rails. I used a utility knife to cut it in half at its midpoint, which left me two pieces of the same length.
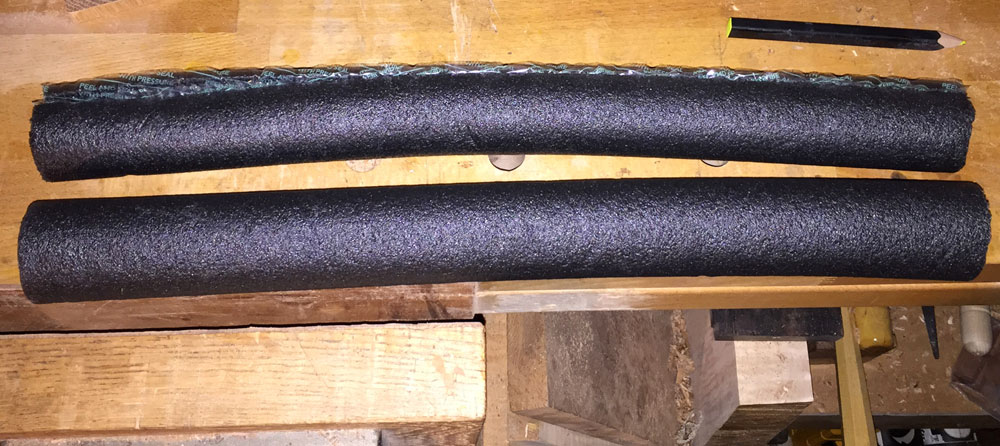
Insulation cut into two equal lengths.
After placing the two respective pieces on their horses, I put the table on it to see how it behaved. Everything felt nice and solid, and it was obvious there was a nice amount of protection.
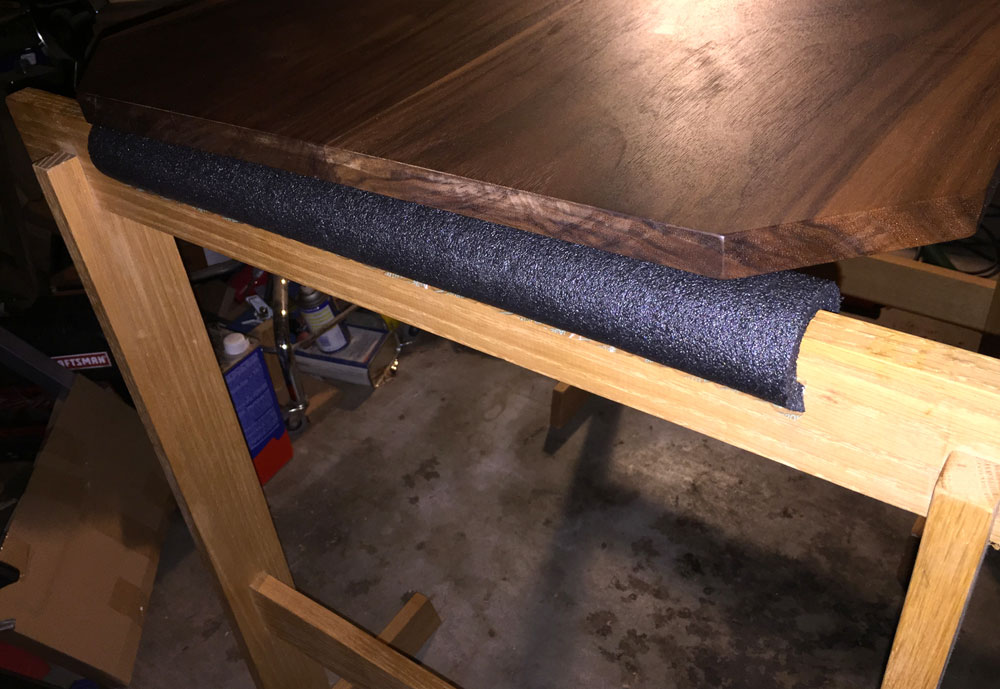
Table shifted to better show the insulation in place.
Since I planned to use an oil finish on the Walnut table and I wasn’t sure how that might directly interact with the foam (even after drying to the touch), I found I had an un-used Shamwow (sold at many places as a replacement for a leather chamois) and when I checked its dimensions, it was almost exactly what the size I needed. A quick split down the middle and I was able to lay the material over the foam and lightly tack it on the bottom of the horse’s upper rail. The Shamwow doesn’t have much lint, so I was comfortable using it for the short term, but I may decide to change the cover to lightweight leather in the future. We’ll see how the current material holds up and behaves with what is presented to it.
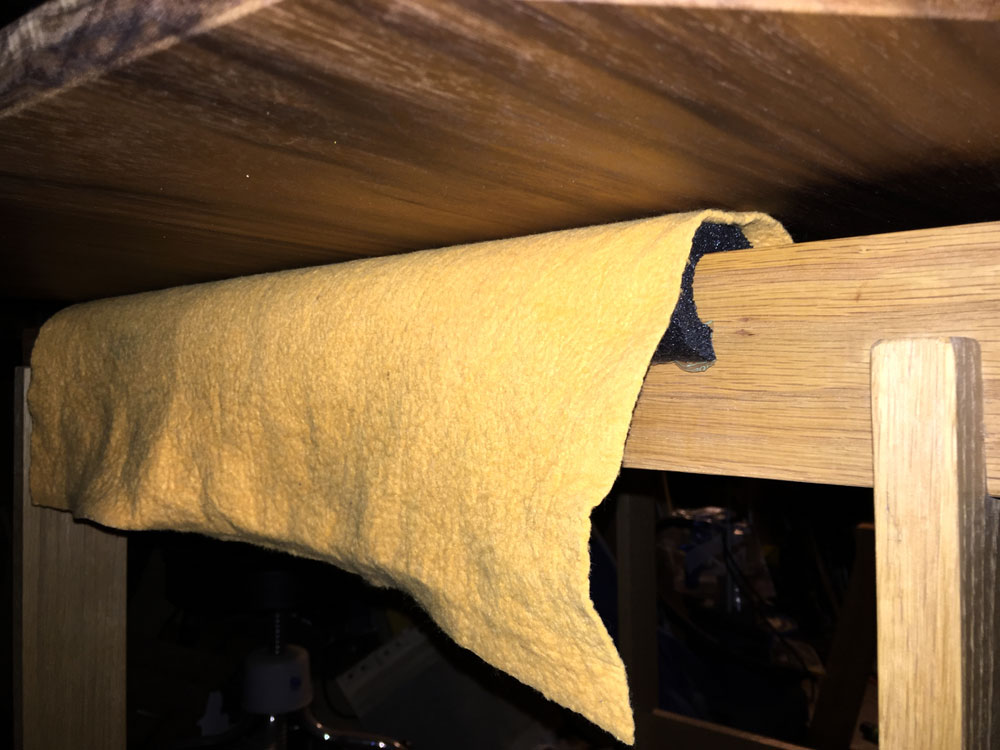
Shamwow laying across the insulation, prior to tacking it to the rail.
The padding and cover for the padding I’ve talked about are both options, but you could easily replace them with alternate materials, like using towels or old shirts as the padding, and then cover it with something that won’t interact with the products you are likely to apply on your projects.
I hope you enjoy this article and might try it yourself. Please let me know if you have any questions or comments.
Lee Laird has enjoyed woodworking for over 25 years. He is retired from the U.S.P.S. and worked for Lie-Nielsen Toolworks as a show staff member, demonstrating tools and training customers. You can email him at LeeLairdWoodworking@gmail.com or follow him on Twitter at twitter.com/LeeLairdWW