

Ever since I managed to cut a circle on a piece of thin plywood several months ago, I have been thinking I need to get the splitter back on my table saw. I have a 10 inch Delta Unisaw in my shop and after watching Mr. Norm use the same saw for years and years (actually his show is why I bought the saw), in spite of that little message about “the saw guard was removed for photographic purposes”, I took the splitter and the saw guard off and set them in the corner of the shop.
When that piece of plywood kicked back on me, flew by my head and bounced off the wall ten feet behind me, that was a wake-up call sure enough. I kept looking for alternatives since I really do not like the blade covered up for dadoes and grooves and those partial cuts we always want to make. I saw the Micro Jig MJ Splitter at the High and since I am not ready to spring for a new table saw, anything that makes this one safer is a good thing. Starting at $24.99 for the standard duty model, this Splitter is an excellent solution for updating an old saw.
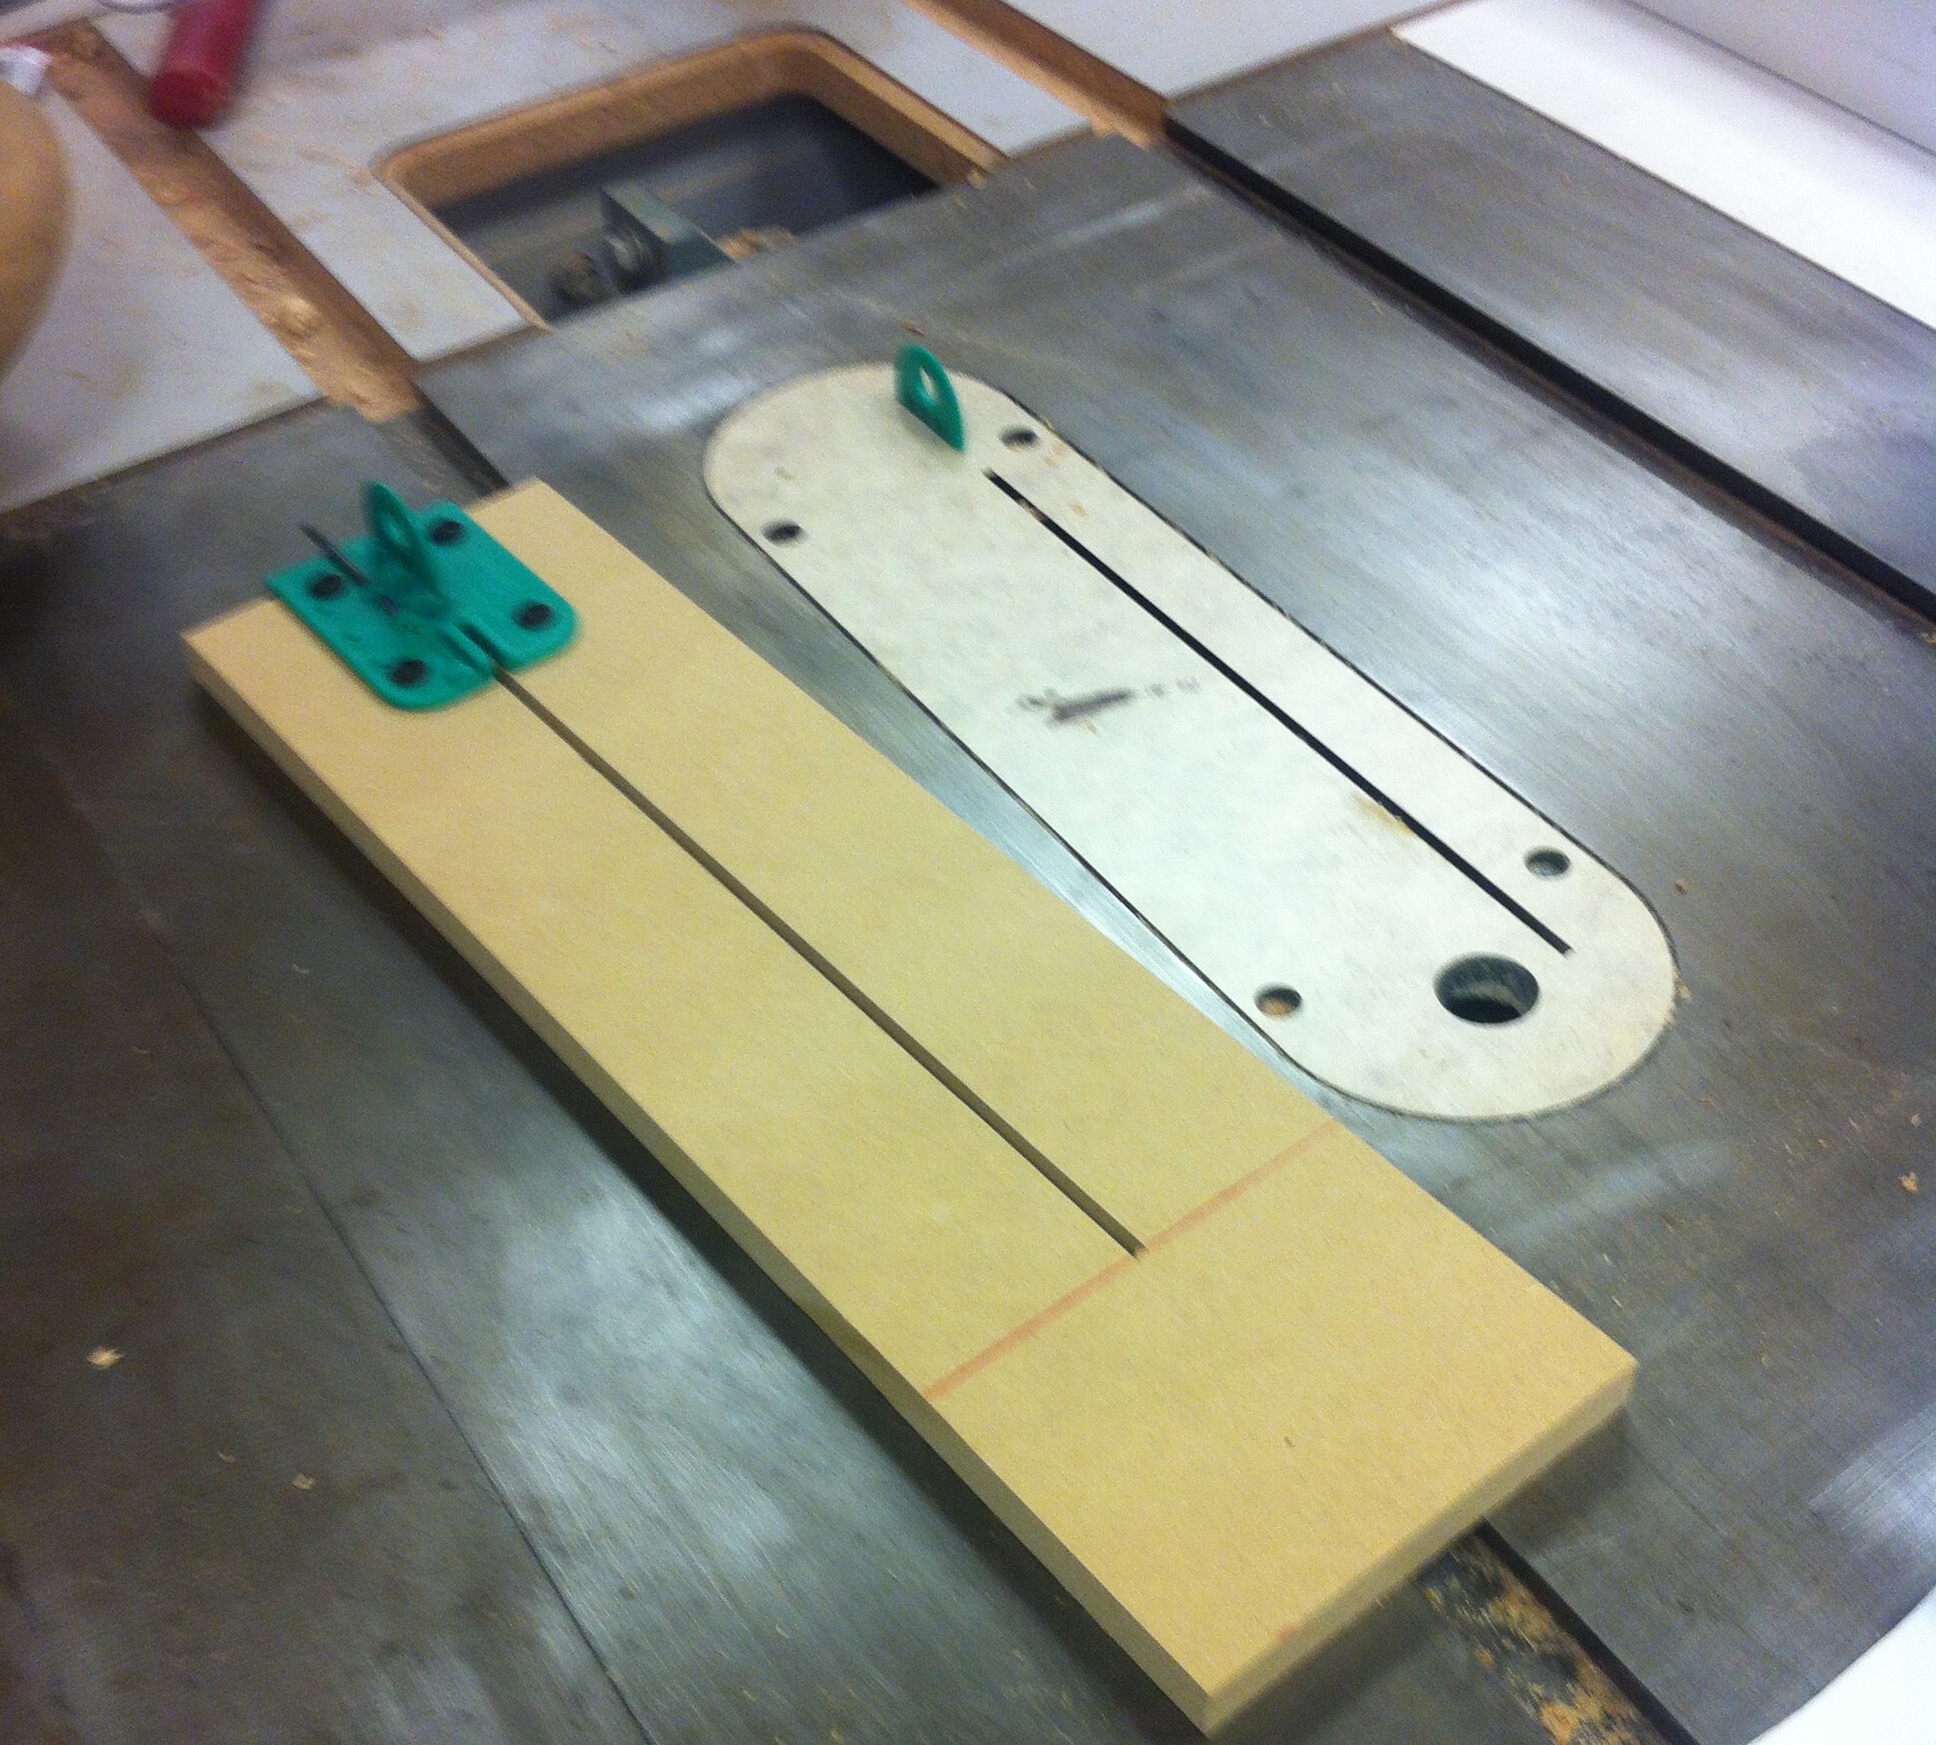
MDF Template with Jig in place for Drilling
The package comes with complete instructions of course, but you will need a blank table insert and a piece of 1/2 inch MDF. The kit comes with four screws, a drill bit and a jig needed to locate the holes required for the splitter to work correctly. Once you saw a slot in the MDF and attach the jig, drill the holes in the table insert and it is done. The standard duty model comes with two hard plastic inserts with legs that fit into the holes located with the jig.
I am not a machinist so I don’t deal in thousandths of an inch. In fact, I love rough framing a house because you can deal in eighths of an inch with no major problems (no cards and letters, please). What was surprising to me was the two inserts are made with different offsets to the drilled holes so you can adjust the splitter to the blade and to how your saw cuts. Using either side of each insert, you have a choice of four offsets, each of which is 0.003 inches more than the other. When I had my splitter installed, I popped one in and did a test cut. I was thinking, “yeah, right, my blade has more wobble than that”. Wrong–I could not push the board through with the maximum offset on the splitter. Had to very carefully turn the saw off and pull the board out and try another insert. The directions say that when you have the correct insert in place it has a “feather board” effect on the cut piece and develops a slight pressure towards the fence at the rear of the blade. It works for me and I feel much safer with the splitter in place.
Micro Jig makes two versions, the standard with the solid plastic splitters which I bought, and the Pro version, which has four steel splitters with a plastic coating. I will be interested to see how the standard version holds up in my shop.
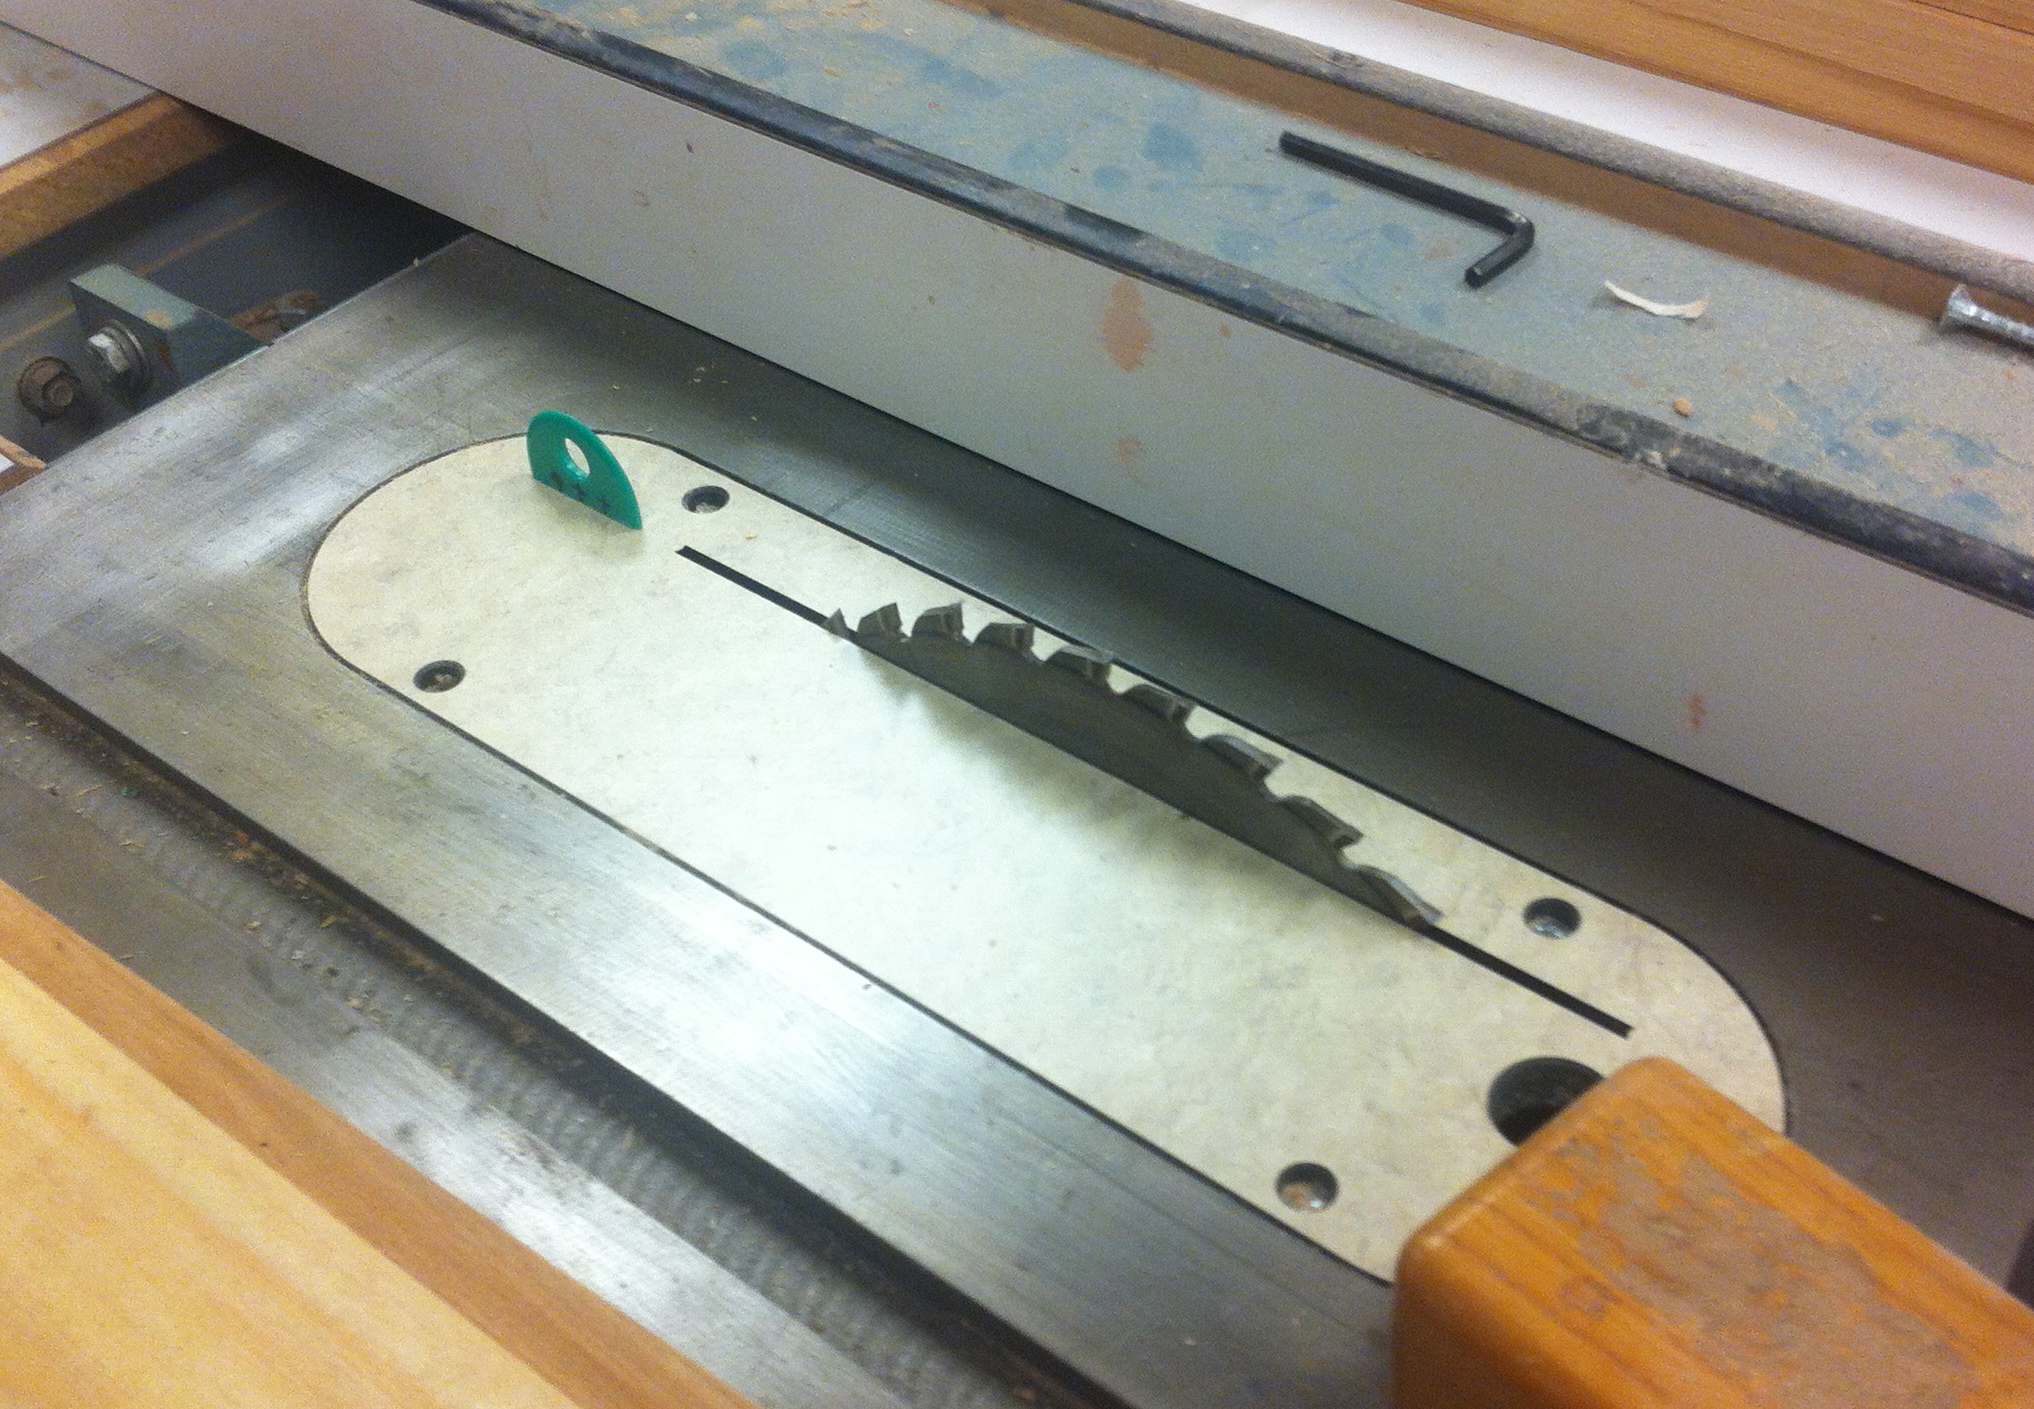
The Finished Splitter in place
Based on my impression of this kit, I am certainly going to look at the rest of the equipment offered by the Micro Jig people including the GRR-Ripper System and the MicroDial Tapering Jig. I like what I see so far.
One Response to “Table Saw Splitter”
Sorry, the comment form is closed at this time.
Used one on my ancient Craftsman, along with dynamically balanced pulleys and link belt. Bought a new Ryobi and it wouldn’t take much to make me trade back, even, for my Sears 🙁