I’ve been up north for a week working on a chair with Mike Dunbar at The Windsor Institute in Hampton, NH. I left Atlanta early on a Sunday morning and flew to Manchester, then drove about 45 miles south near the short coast line of New Hampshire. The Windsor Institute is a beautiful spot with a shop with room for 16 work stations. It is beautifully set up for making chairs and Mike, his wife Sue, and his assistant Don have this process down to a science.
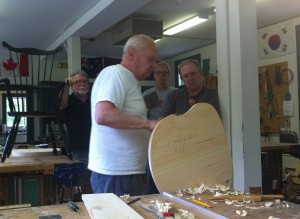
Mike runs a class by making his own chair as a demo. He will perform a particular procedure on his chair and then the students try to duplicate his work on their own chair. Turns out the ratio is more than two of our hours to his one hour of work. He is so good at what he does and so efficient at it, that even this experienced bunch of chair makers had to work at it. And I was sweating it.
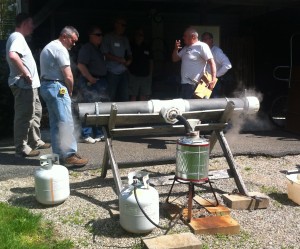
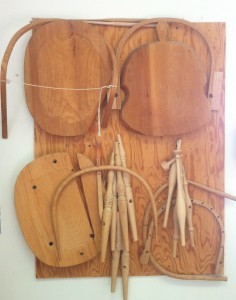
Everyone had already made the back spindles and brought them from home since there is not enough time within the class schedule for making them. We started early on by smoothing and leveling the seat blank and then having it cut out to the pattern. Next we made the the crest rail and carved the volutes on the ends and shaped the top of the rail before we stuck it in the steam box. People who have never tried steaming are always amazed to see how pliable a piece of wood can be when steamed only about twenty minutes. We pulled the crest out of the box and clamped it up in the pre-made forms and set them aside to dry for a few days while we raced ahead on the rest of the chair.
After we traced the pattern onto the seat blank, we started shaping the seat itself. This exercise started with a circular saw cut for depth and then an adze, a scorp, a handheld compass plane, a travisher (when have you ever used that word in a casual conversation?), a spoke shave, a draw knife, and lastly, a short break to get your breath back cause the room was starting to spin a little bit and we needed to open the windows to get some air.
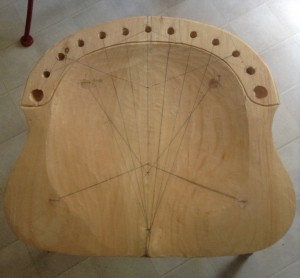
One of the things which always fascinates me about chair making is the lines of sight drawn on the seat. They are taken from those ancient sea current and wave maps the Polynesians used to navigate the South Pacific to find those little tiny islands where they live. It is amazing to me how maps from the South Pacific can be used to get the angles for the legs of a chair seat. After we used the Map to drill pilot holes we reamed a tapered hole for the leg to fit it into and adjusted the angles to make the chair sit right. It turns out making a chair correctly has some of the basic principals of roadway design, as I learned in my previous life as a civil engineer. To wit: Pleasing to the eye, soothing to the bottom — applies to roads and chair seats alike. I love the shape of the seat and the way the legs project all the way through the seat and are wedged into place; and every time you sit on the seat, it tightens the connection; and the legs are held in place with only a little Elmer’s white glue and that wedge.
You better put the wedge in cross grain or your seat will end up with your name on it hung on the Wall of Shame in the corner of the shop and even your own Mother will laugh at you every time you come to visit –”Ha! Mike got you didn’t he?” I am very tempted to leave the tool marks and the Polynesian Map on my chair seat when I finish it. The seat “in the white” may be my favorite part of the chair.
Somewhere along about the second or third day, me and the other non-Sir in the class were raised to the level of Master Chair Maker. We learned the secrets of our rank and how to recognize a fellow maker in any situation including the secret distress call reserved to chair makers. I felt very honored.
It takes a long time to tell, but as I recall, this narrative only took us to the end of the first day. We still have a long way to go, but I will continue next time.


Sorry, the comment form is closed at this time.