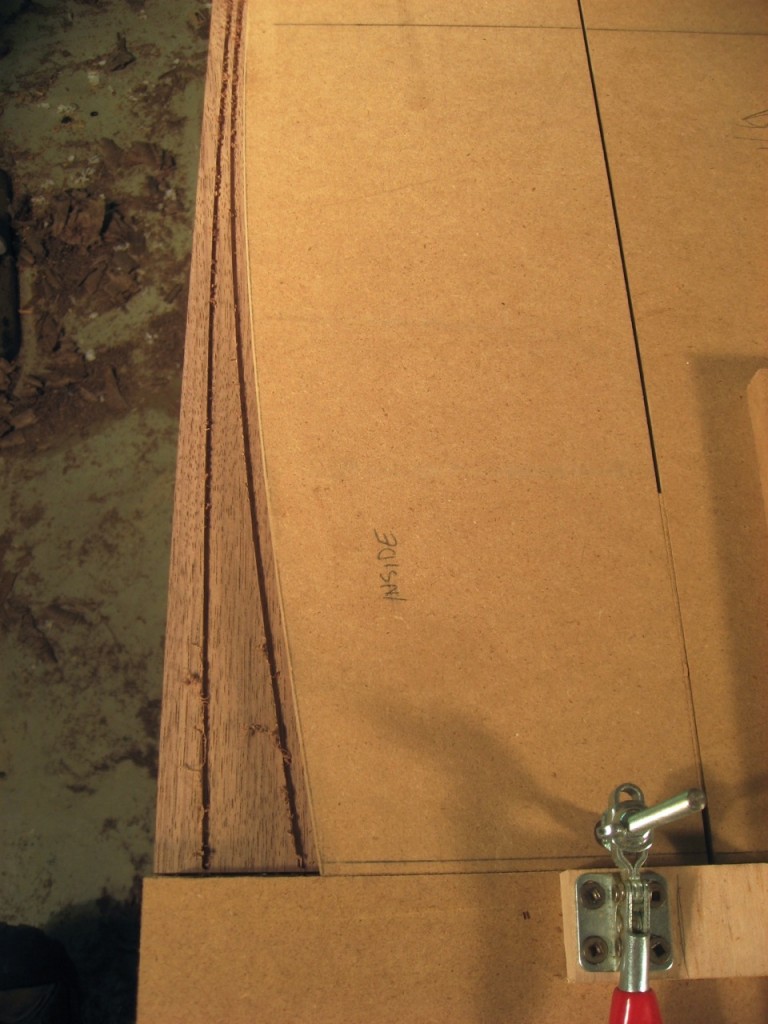
There are three arcs in the top inlay design, and I first route the inside and outside arcs.
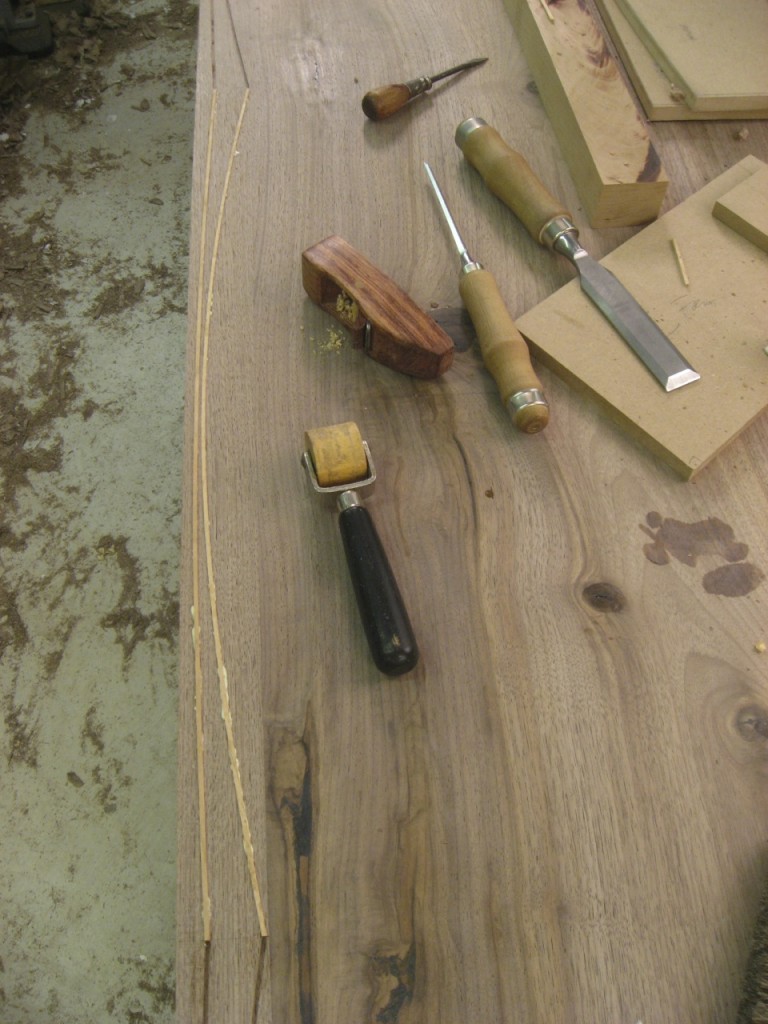
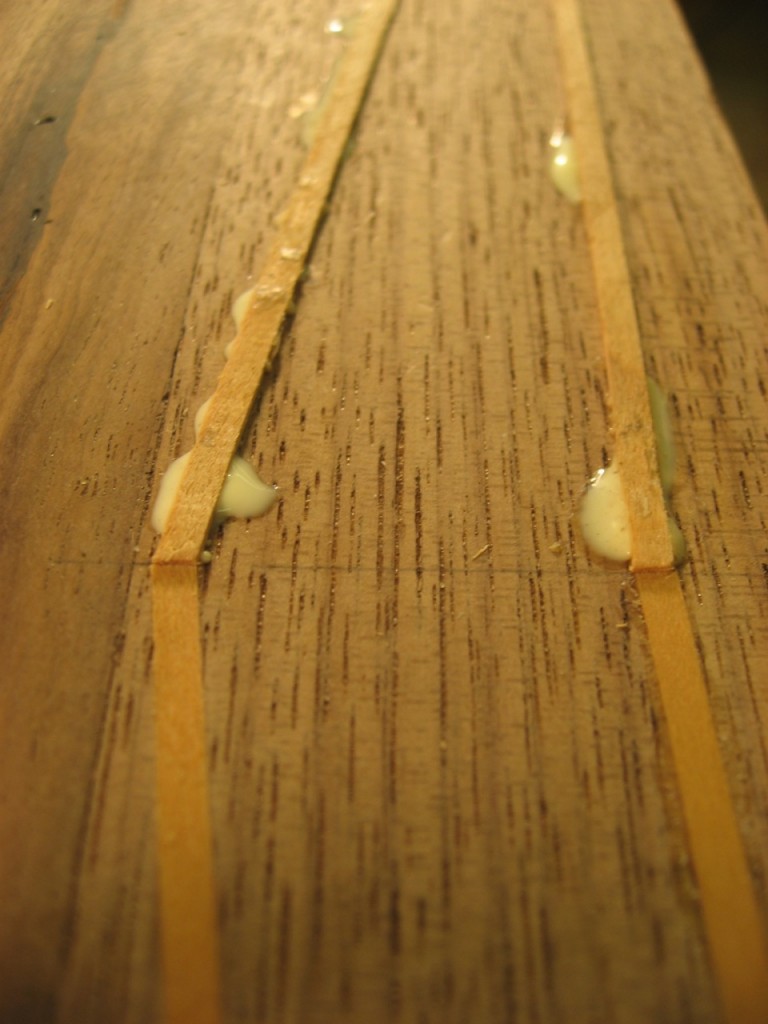
I then place inlay strips into those two grooves. (The inlay is made the same way as before.) I roll the inlay into the grooves with a seam roller – which is a perfect tool for this task (a J Roller is very similar). After letting the glue dry, I use a block plane to level it down to the table. Square up the ends of the inlay using my small chisel, then on to the next place setting.
The reason I did the two outer arcs first, placed the inlay and leveled it, is because the third (center) groove overlaps the other two very slightly at the top of the arc and so I want the inlay wood there before routing that last arc. Obviously this somewhat defeats the purpose of the holder jig for that third arc.
I also changed the design where the inlay meets to be non-overlapping, just butt joints. It”s a lot less work and especially makes the router jig much simpler (same stops at each end). It”s tricky to make sure the arcs end at exactly the same location and squaring off that 3/32″ inlay!
As I went around the table with the two outer arcs, I enjoyed the separation of the inlay (not touching at the center of the arc). Also, a third arc might make the design too busy along a small 2″ border of the table. So, I”m going to move on to the inlay at the ends and take a look at the whole table before deciding on that third center arc.


[…] the inlay has all been put in place, I took a look at the design. Recall that I wanted to see the two arcs first before deciding on putting in the third. I think it looks nice as-is and a third inlay […]