The inlay for the leg and top is 3/32″ wide – a choice based on looking at material with the actual workpieces. I also decided on cherry as a complementary wood with the walnut. Cherry can have some sap/mineral inclusions and dark grain lines – so I try as much as possible to cut around those: mostly by making a lot of strips and choosing the best ones!
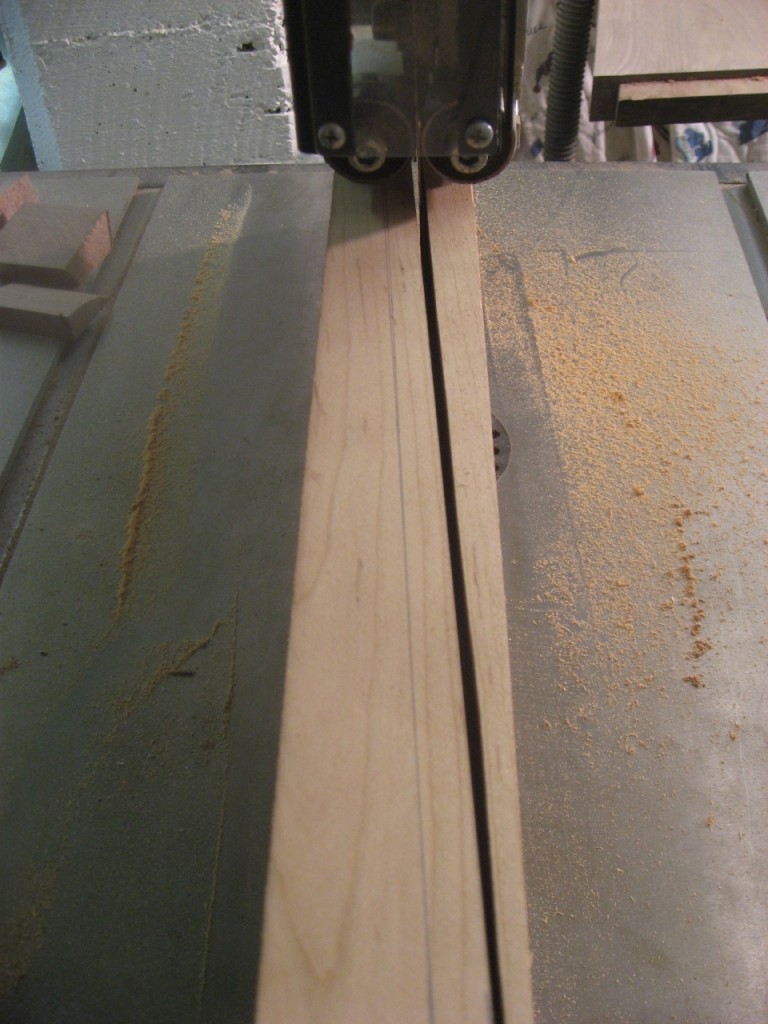
I start by cutting right along the grain on my bandsaw, to try to have inlay that avoids crossing grain lines.
Then it”s on to re-sawing close to 3/32″ using the bandsaw with the fence. I cut multiple strips, keeping track of their order in case I want consecutive pieces later on.
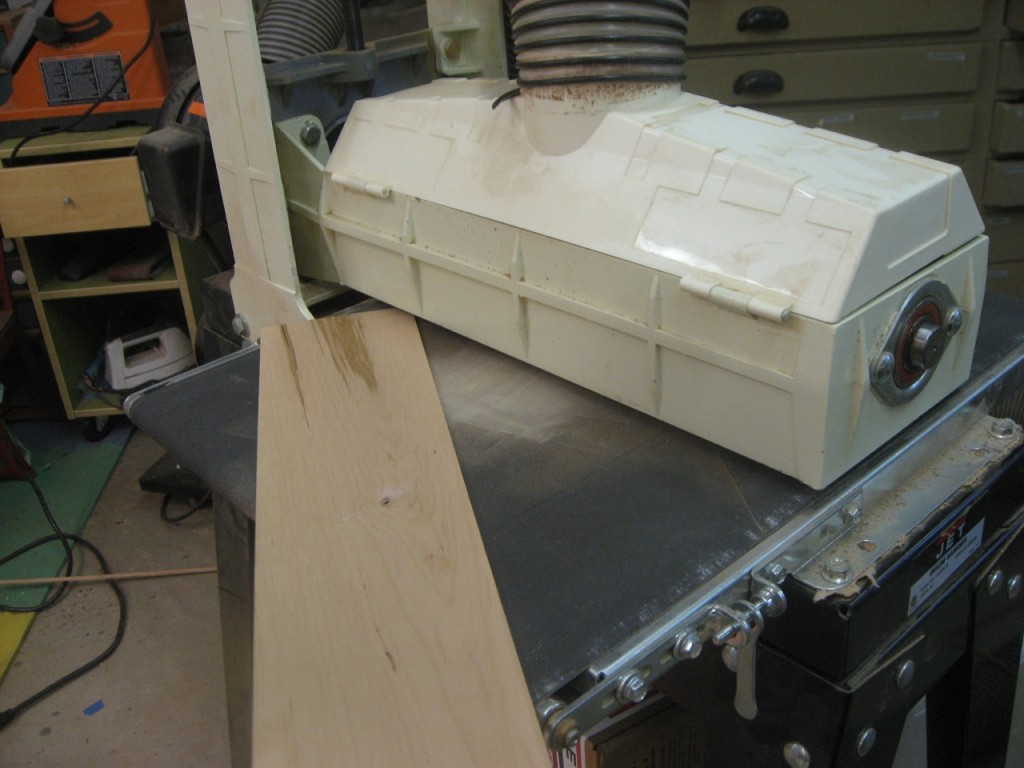
Finally I surface both sides using my drum sander to dial in the exact thickness of the router bit (3/32″) – checking as I go.
Finally, I rip strips off, again on the bandsaw, a little oversized so they end up proud of the surface and I”ll flush them down with a hand plane.


I love the fact that without the bandsaw, this woodworking task would have been impossible! This shows why DIY woodworking and construction can be very addicting. I am trying to learn more and more about woodworking using various tools I collect from a nearby tool store, and hopefully I can get as good as you are someday. lol
Thanks for the informative blog post!
[…] a Chisel Workshops & Instructors Jan 152013 When I had finished making the inlay material and tested it in sample grooves, I realized that I needed a very small chisel to square off the […]