

Wow, I have had a busy week between chair making and Thanksgiving.
Early in the week I went for a visit with the people who make the chair kit. Their building is about three miles from my shop and I wanted to meet with them to gather any information I could about the shape of the chair. They gave me a prototype of an accessory kit of plywood patterns, plus some new finishing materials. We had a long talk about a concept I am just beginning to grasp. It is this — there is a core of essential construction at the center of this kit and after that, it is up to you. You can call it artistic license, you can call it sculpting, you can call it imitation, you can call it sanding and smoothing, you can call it Ralph Kramden, but once you get the chair together, then you are free! You can shape it any way you want and chances are it will be lovely. Well, pretty good chances, anyway.
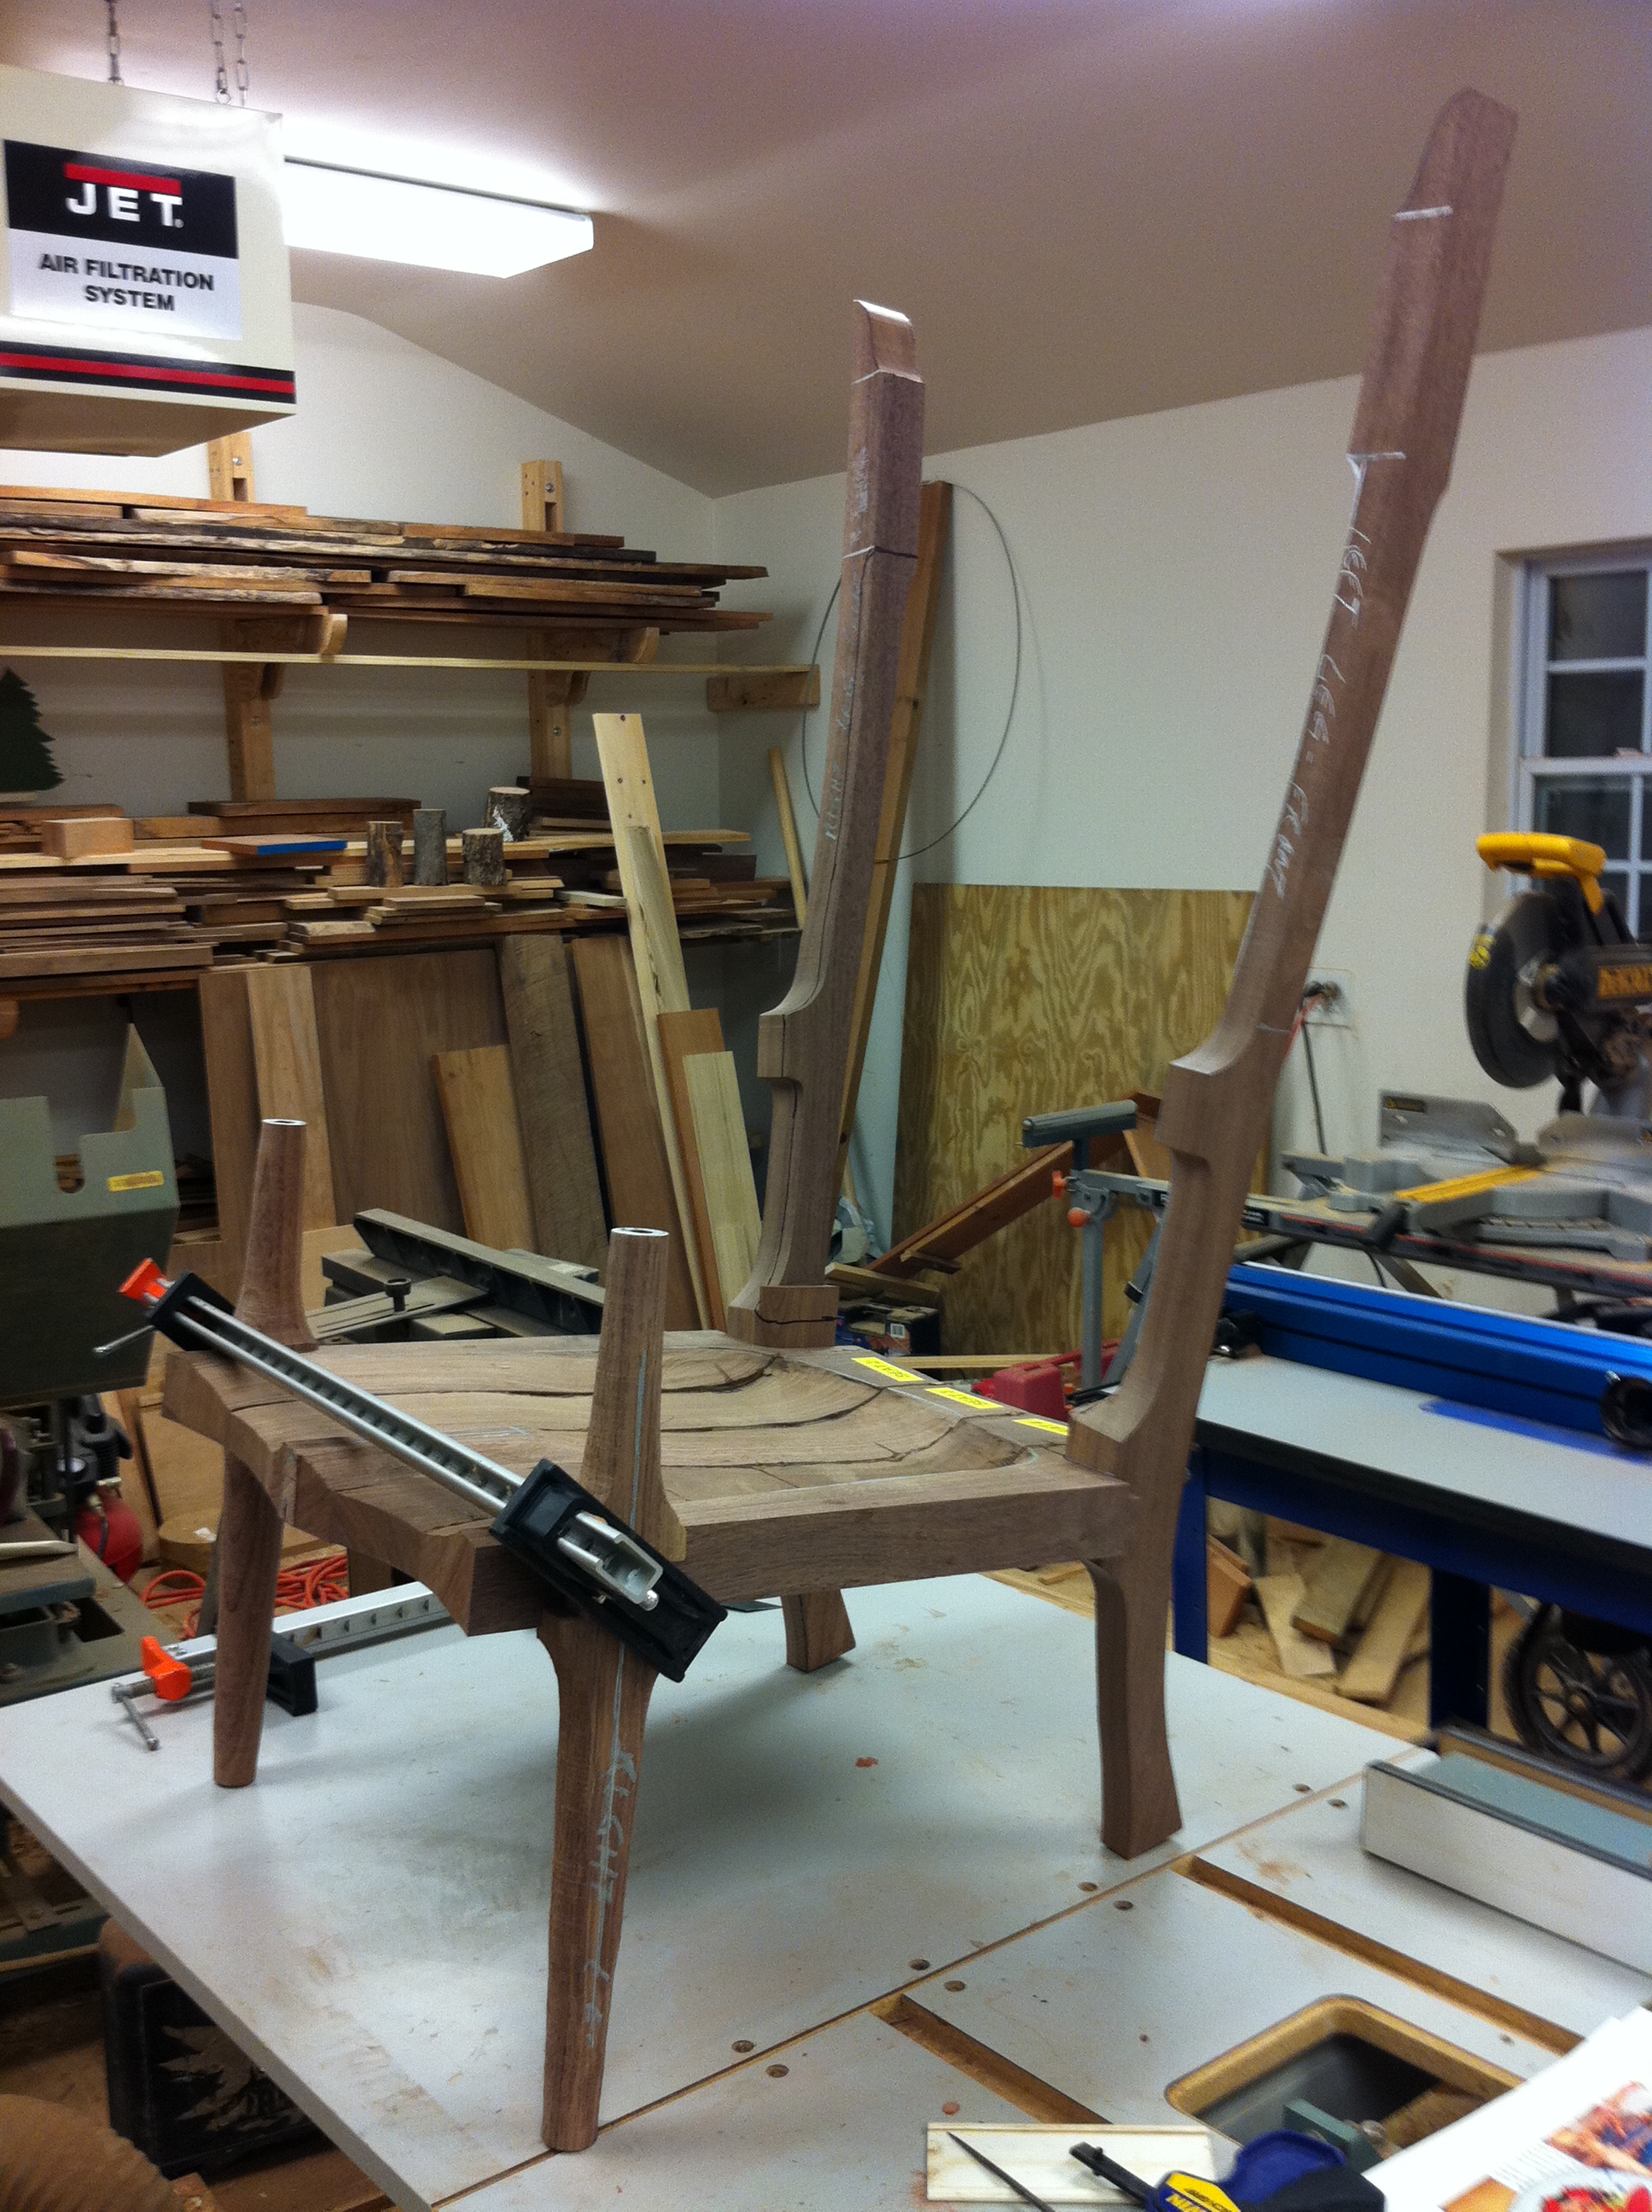
All Four Legs Mounted
Then last Saturday Charles (Chuck) Brock invited me to his studio to get my hands on an actual chair. Since I had never actually seen a finished chair, I was anxious to touch one and get a feel for the shape of the completed product. The word of concern I hear most often is “clunky”. I can’t tell you exactly what clunky means, but I know what clunky looks like when I see it, and I don’t want people to think clunky when they see my chair.
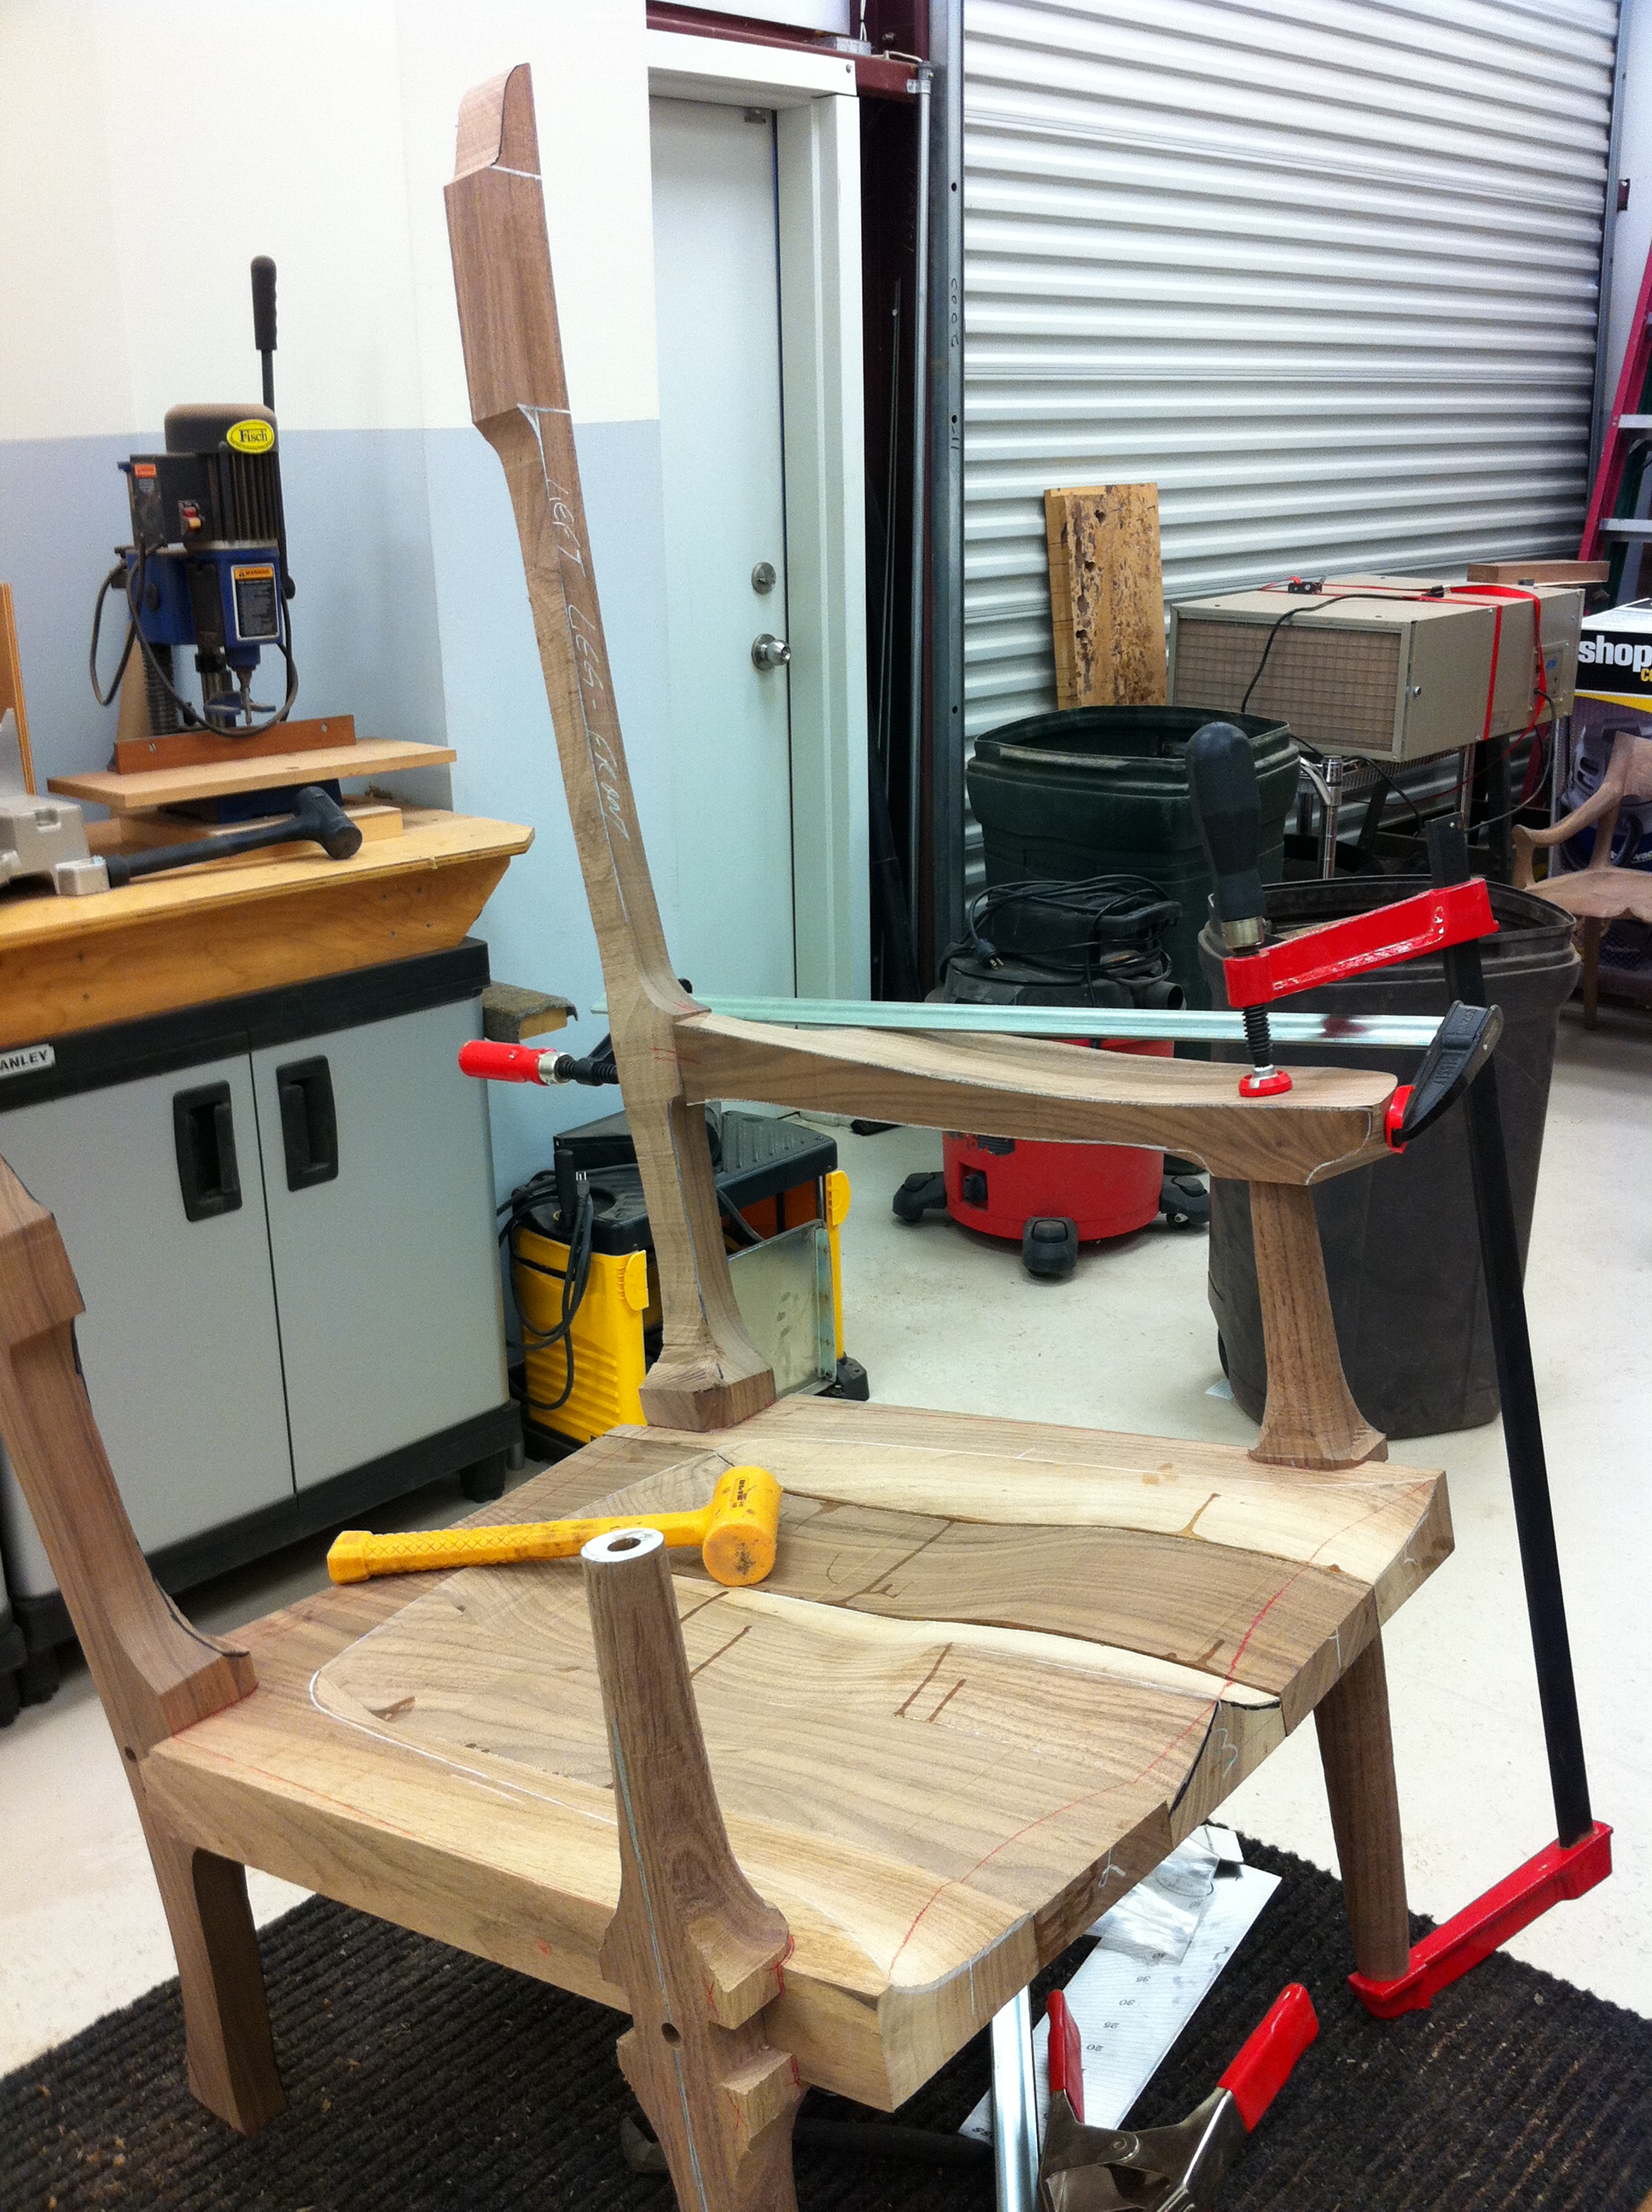
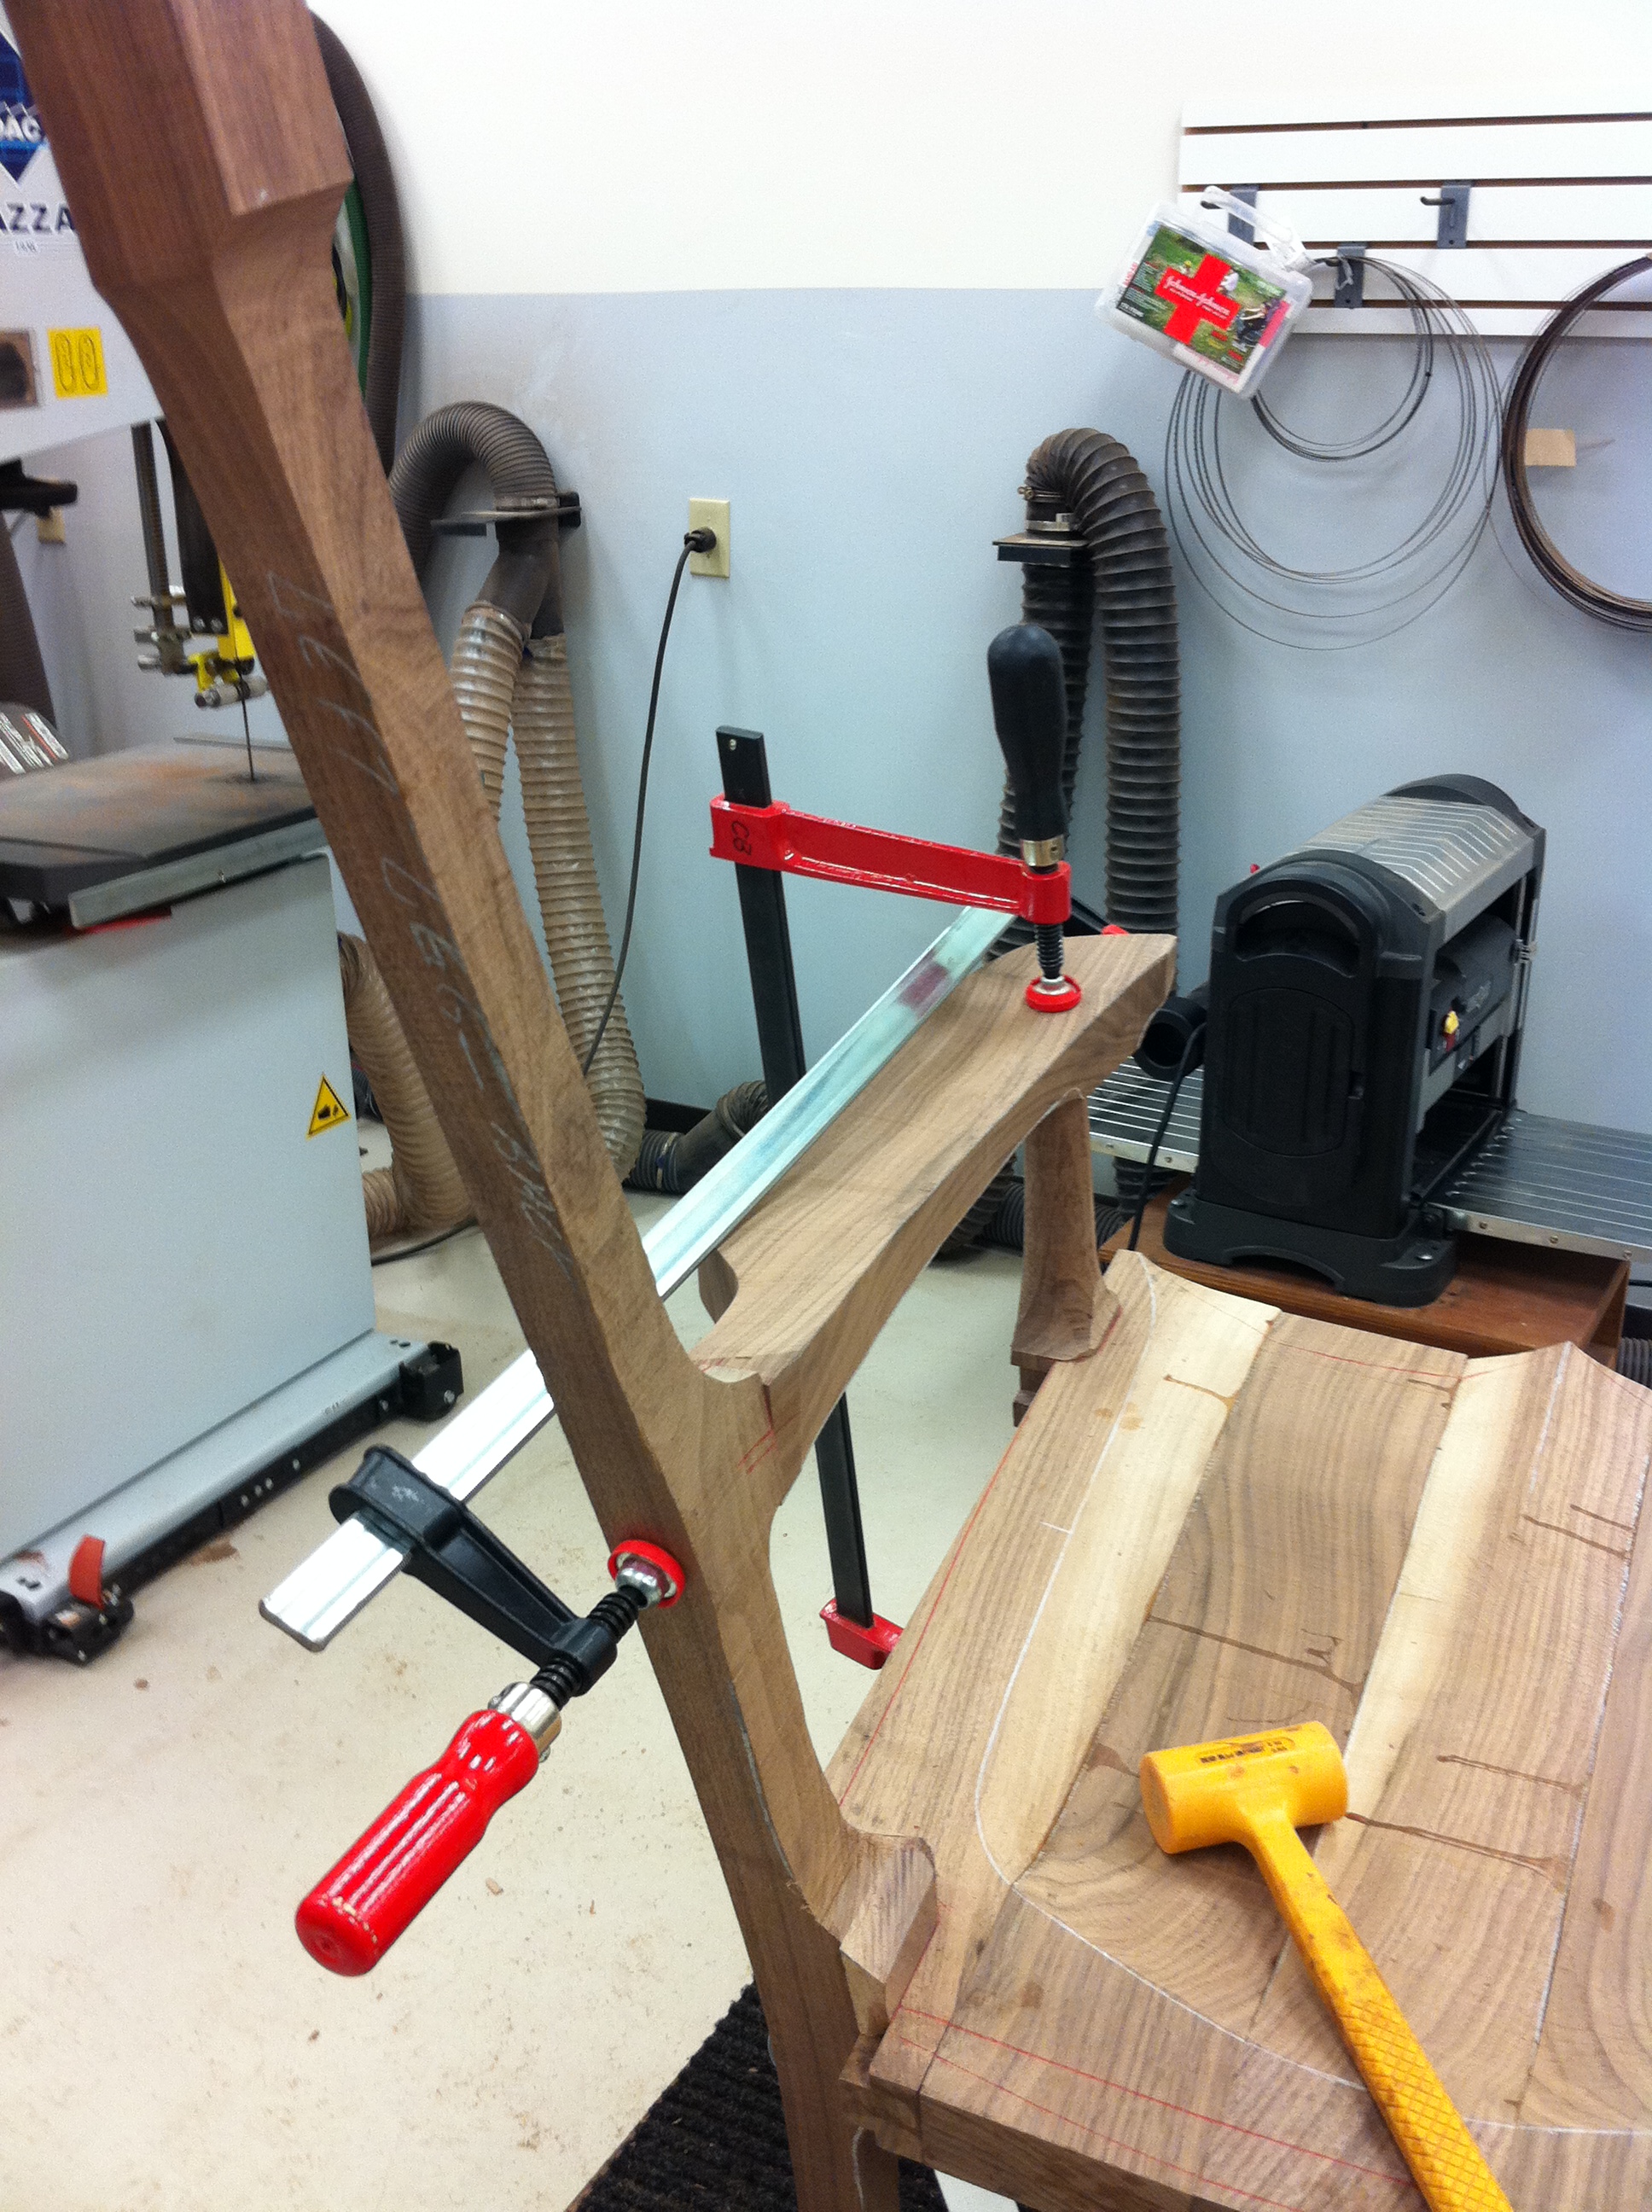
Left Arm in Place. Looks Like a Chair
Chuck asked me to bring my chair with me since he is making a new video of the finishing and shaping process. My next step was drilling and screwing the legs on, but I had hesitated since drilling that beautiful wood is a serious matter. We spent some time getting the legs and one of the arms attached and getting the headrest properly fitted – nothing really difficult, but exacting. When we finished, I watched as Chuck and his crew started filming the shaping and carving of one of the arms of the chair. (That’s me coughing in the background from the dust. Maybe they can cut that out.) The video will soon be complete and will be helpful as you make your own chair.
CLICK HERE to advance to Terry’s next post on building the rocker kit.
Total time so far:
14 hours plus 10 hour visit with Chuck last week.
Tools so far: Angle Grinder $50
Dowel-It Jig $55
Miller Drill Bit $19
Dowel Centers $3
2 Responses to “From the Chair-Man: Back to the Source”
Sorry, the comment form is closed at this time.
Thank you Mr. Chapman and Highland Woodworking for sharing this building experience. I am looking forward to seeing the remaining steps of the project to completion. I have been a Sam Maloof fan for a long time, have made furniture for myself and family, and now am looking forward to making my own rocker someday.
Thanks Roger,
This is an awesome kit and I admit I was a little intimidated at the
beginning of it. There are some three-inch-thick pieces of wonderful
walnut in the package, and I sure did not want to mess them up. Chuck
has been a great help to me, but this project is completely doable by
someone with some moderate woodworking experience. It is not for a
beginner’s first project, but if you read the book carefully and watch
the video enough (parts of it probably several times), it is all
there.
Be sure and check over the tool list on the Highland website (below
the description of the kit) since there are some specialized tools you
will want to have to complete the project.
Thanks for reading the blog and let me know if I can help in any way.