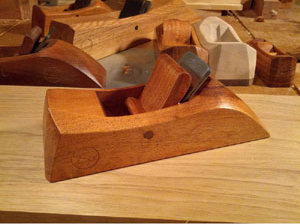
This weekend I had a wonderful opportunity to take a plane making class with Scott Meek of Scott Meek Woodworks. Scott designs and crafts fabulous wooden hand planes and was going to be teaching us his process for making a wooden smoothing plane. We started off the class by going over some differences between wooden planes and metal planes before heading to our benches and opening up the wrapped pieces of wood that Scott had brought us.
Part of our discussion at the beginning of class, and a topic that flowed through the entire weekend, was the idea that when you have the opportunity to do so, you should purchase the best tools you can. Scott gets a lot of flak on the internet because his planes cost quite a bit of money, comparable to a Lee Valley or Lie Nielsen plane and sometimes even more expensive. You might think, looking at them, that the money is not worth it, or that they are overpriced for what they are. After taking a class from Scott, and seeing everything that goes into making his tools, I think they are worth every penny.
Scott is obsessively attentive to every detail of his planes; each one is painstakingly handmade by him, all by himself. The only thing he doesn’t make by hand is the iron and the chip breaker. He is a craftsman, like many of us, and he puts the same effort and attention into his planes that we devote to our bowls, or our furniture, or our boxes.
When you buy a tool like a Scott Meek hand plane, or a Lie Nielsen chisel or plane, or a Woodpeckers straight edge, or some other tool brands that are made to last, you aren’t buying just a tool, you are buying something that is designed to last a lifetime and beyond. The plane I made in Scott’s class will be with me for the rest of my woodworking life, and because of that, the expense, spread out over so many years, is worth every penny to me. I could go on and on about tools and such, and I might in another post, but for now, let”s move on to the class at hand.
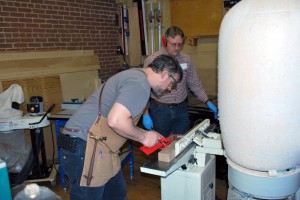
Our planes were going to be made out of quarter sawn white oak, so we spent some time discussing grain orientation and how exactly we wanted to lay out the plane within the blank of wood. We squared it up using the jointer and the planer and then took it back to our bench. Once we had our block set, we moved on to bed angle, incorporating the wear ramp, and exactly how we were going to make our first cuts.
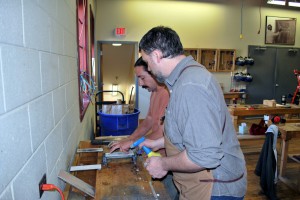
Made some Cuts
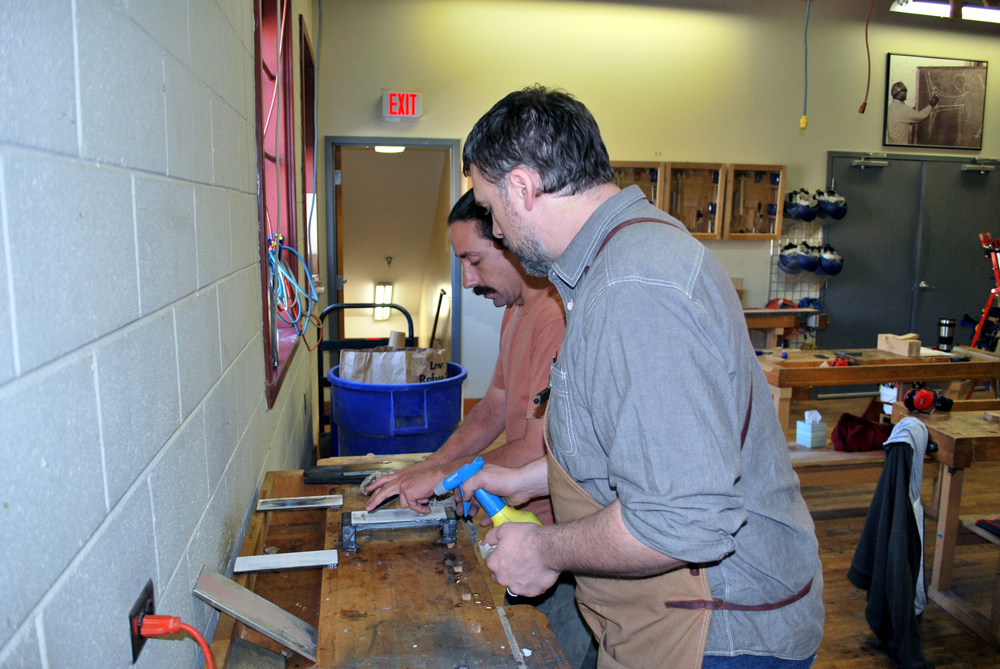
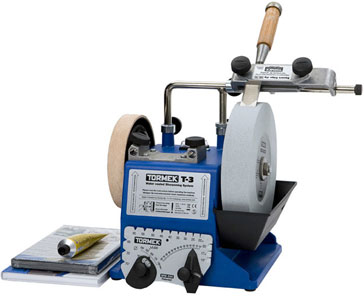
We made our first cuts and started work on truing the bed angle, sanding the wear ramp and creating the slot for the chip breaker to fit. Once we had those steps taken care of, we moved over to truing up the faces of our cheeks. We broke out the power tools once again and trued up the cheeks. All throughout the process we discussed tool choice and alternate methods of doing the various steps and then we worked on flattening and sharpening our blades. Scott was an excellent instructor, taking time to work with each of us and answer any questions we had. He worked at our pace and moved us through the steps with ease.
Sharpening
After getting our cheeks all cleaned up, we set them up with the internal plane parts and began our first dry assembly of the plane. Using screws and clamps we got the plane dry fit and assembled and ready to set the cross pin. Scott went over his method of crating the pin and discussed some other ways of creating the tenons for the pin; my favorite alternate method being turning the pins. However not having a lathe handy at the time, we cut the cross pins using Scott’s method and moved on to positioning the hole for the cross pin. Once we had the cross pin cut, the hole in the cheeks and everything lined up we were set to get the plane glued up. We took some glue, a whole mess of clamps and some handy dandy Scott Meek branded glue spreaders (also known as business cards) and got our planes all glued up. After the glue up we ended the first day of class.
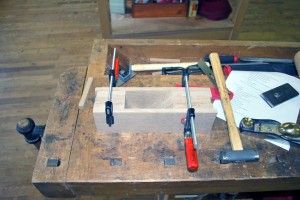
Getting ready to glue up
All glued up
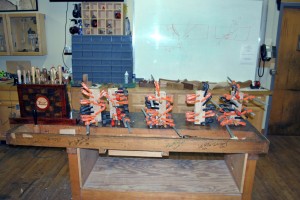
Day two of the class came on early, we hit the ground running and worked hard through the day. We walked into class and un-clamped our glue ups right away. Once we had the clamps off, we started cleaning up our squeeze out and getting things ready to start making our wedges. Scott went over designing the wedge and shaping it before we cut it out on the band saw and shaped it on the orbital sander. All the while as tools were in use we each took turns working on our sharpening skills as well.
Glued up
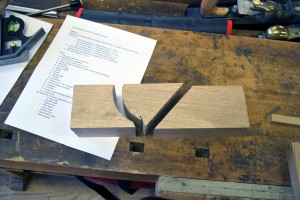
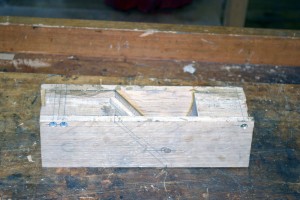
Once we had our wedges, we worked on truing the sole and the cheeks so that we could begin opening the mouth of the plane. The mouth opening is one of the most intense and crucial parts of the process, and ensuring it is done properly can be a bit nerve wracking. One of our class members, Shannon, had the mouth of his plane open up on the Jointer as he was truing the sole, this was a nerve wracking moment since he didn’t know if it opened up too far or not but he got lucky and the mouth opened up perfectly for him. Shannon was the first to take shavings with his new plane.
At the Jointer

Opening the Mouth
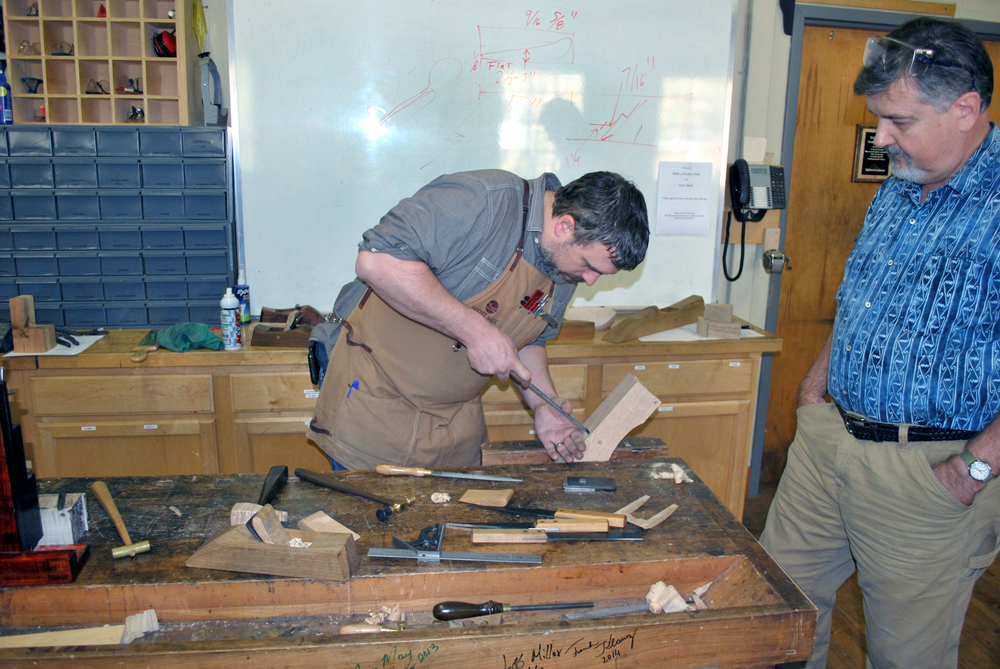
We broke for lunch and once we were back some of the class finished opening the mouths of their planes while others got to work on shaping the bodies. Scott discussed his design aesthetics for shaping the planes and we got to cutting, rasping, sanding and making the planes our own personal creations. This was my favorite part as it allowed us to truly shape the plane to our own hands.
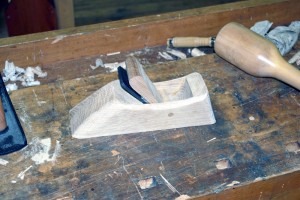
All shaped up
I will tell you all, that first moment you make shavings from a tool you created with your own hands is indescribably good. Pushing that plane across the wood and watching it work the way it is supposed to fills you with pride. You made that, and it works exactly like it should. The class was absolutely wonderful, I learned a whole bunch, and found a love for the hand tools that are the root of the hobby that I am so passionate about. Scott was an excellent teacher, patient and understanding. He worked with the four of us to make something amazing. We all walked out of that class with a skill we had not come in with, and a tool we could use to make even more.  I’ve said it before, and I will say it again, as a woodworker, the classes that I have taken at Highland have been indispensable to my growth in this hobby, and this passion. Highland offers the opportunity to learn from masters of the craft, opportunities that you really can’t find anywhere else. If you get a chance, and I recommend you do, take a look at the class calendar at Highland. It is filled with amazing learning opportunities to elevate your skills to the next level.
Matthew York has been a woodturner since 2004 and has been interested in woodworking since he was a teenager. He currently lives in downtown Atlanta and has a small shop in his basement. He is an avid woodworker and is always available to talk about the craft. He can be contacted at fracturedturnings@gmail.com or visit his website at fracturedturnings.com. You can also follow him on twitter at @raen425