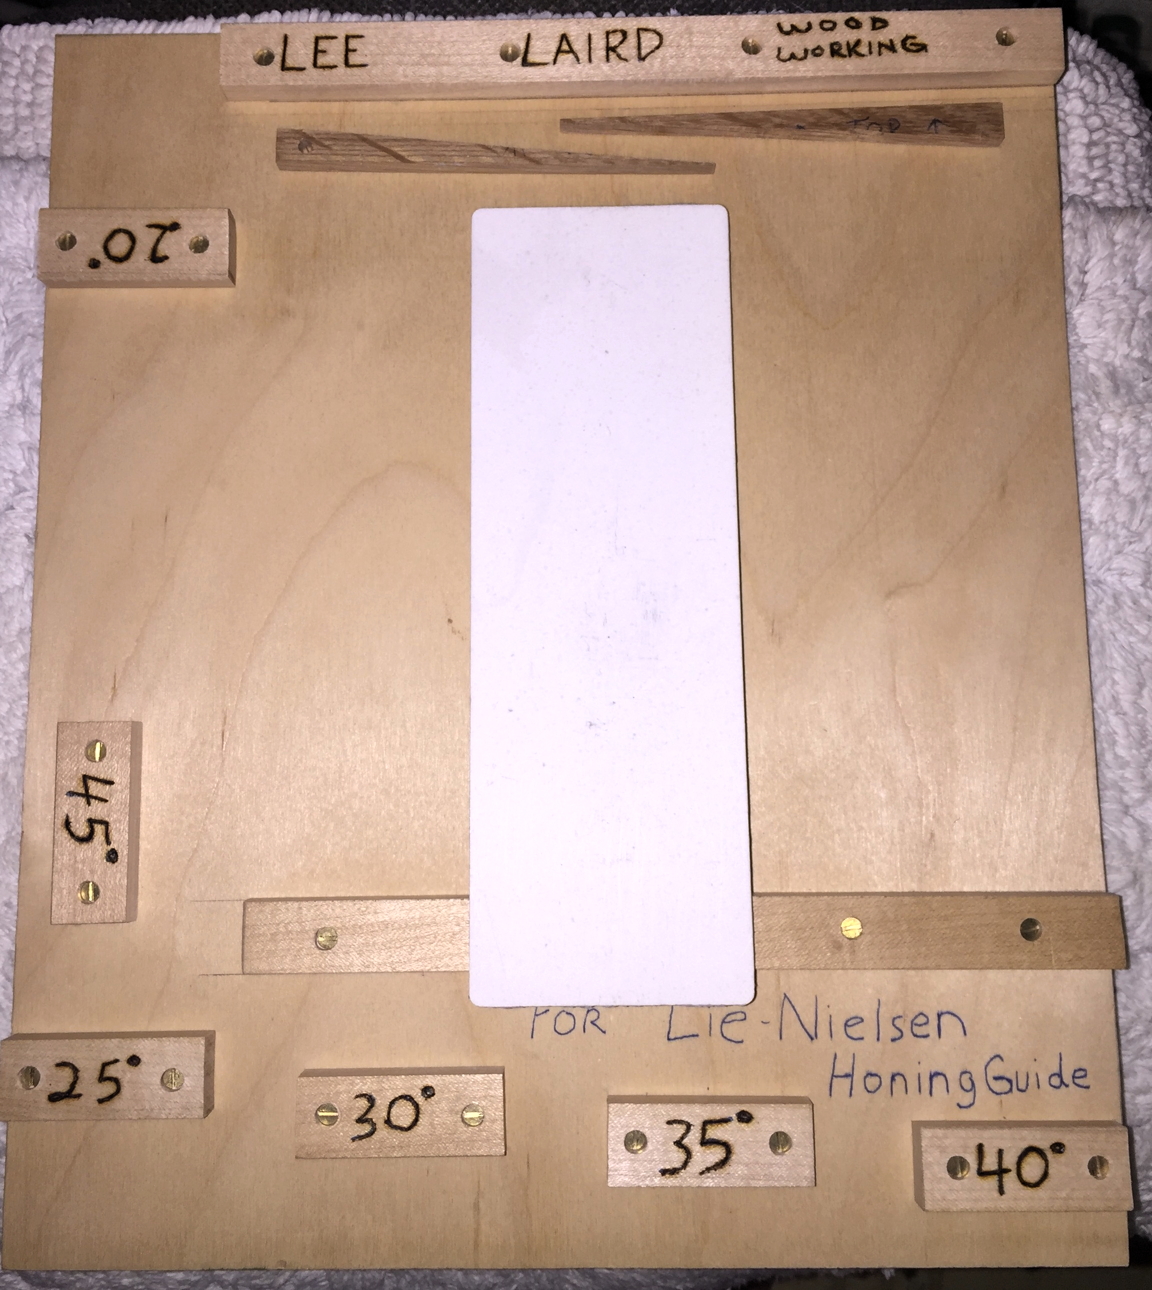
In a previous article I wrote about updating a honing guide board so it would work with my new Lie-Nielsen Honing Guide, and to make sure the angle blocks match the reality of my new tool. In this article, I’ll try to provide enough basic information so that anyone reading this can hopefully glean enough to start using the Honing Guide and the Honing Guide Board, for repeatable sharpening and honing.
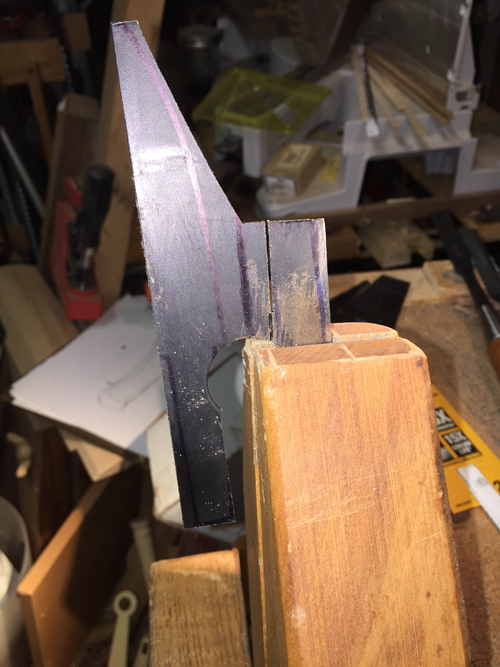
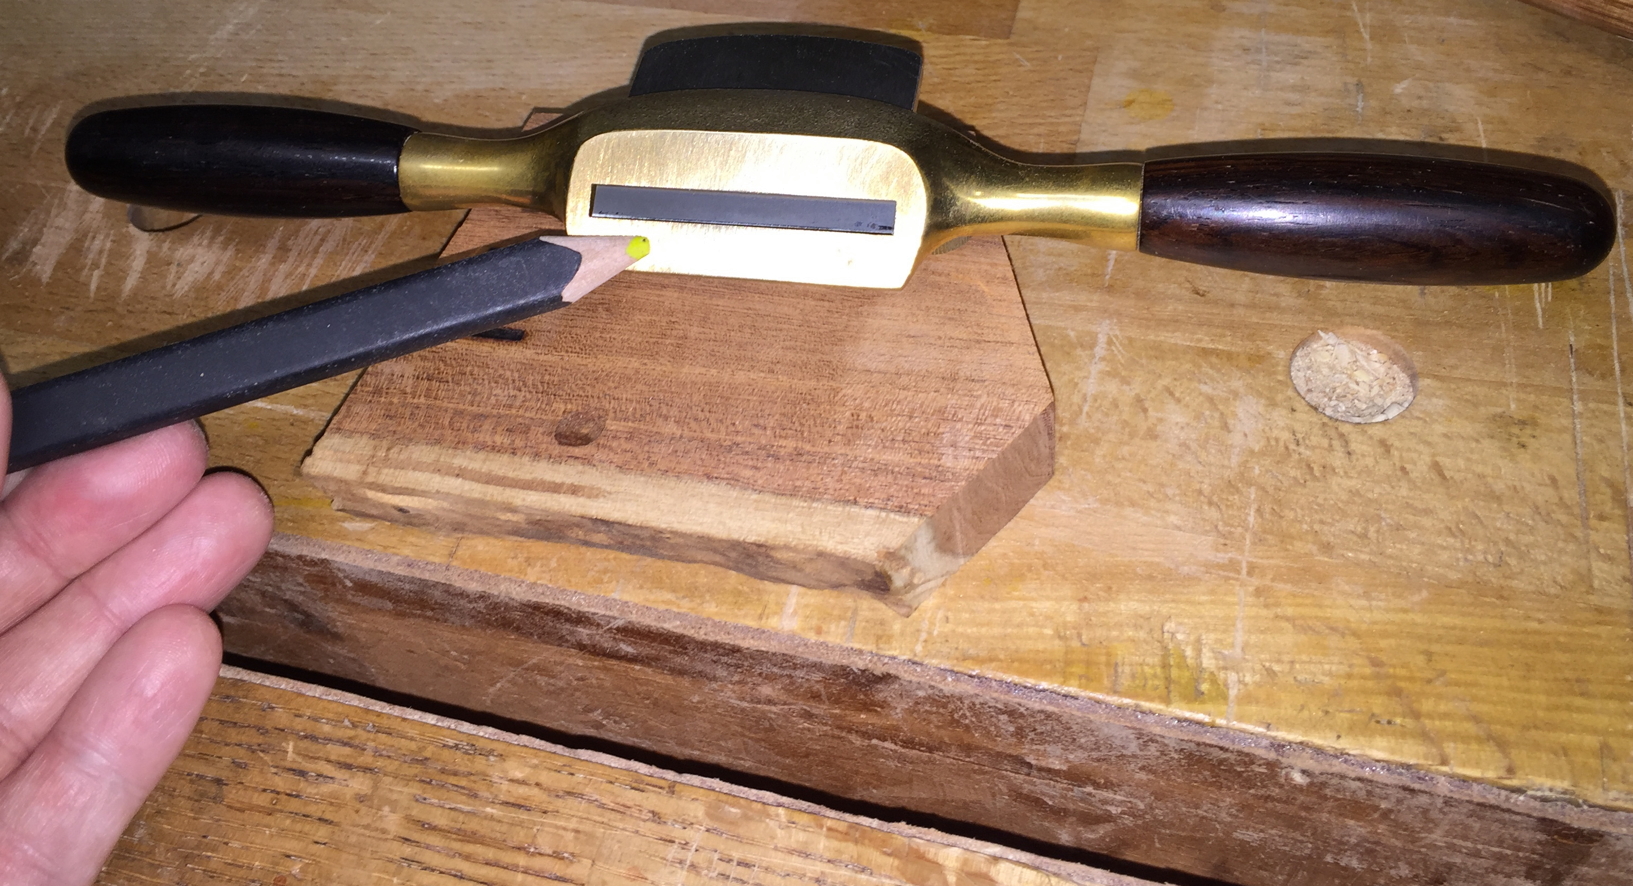
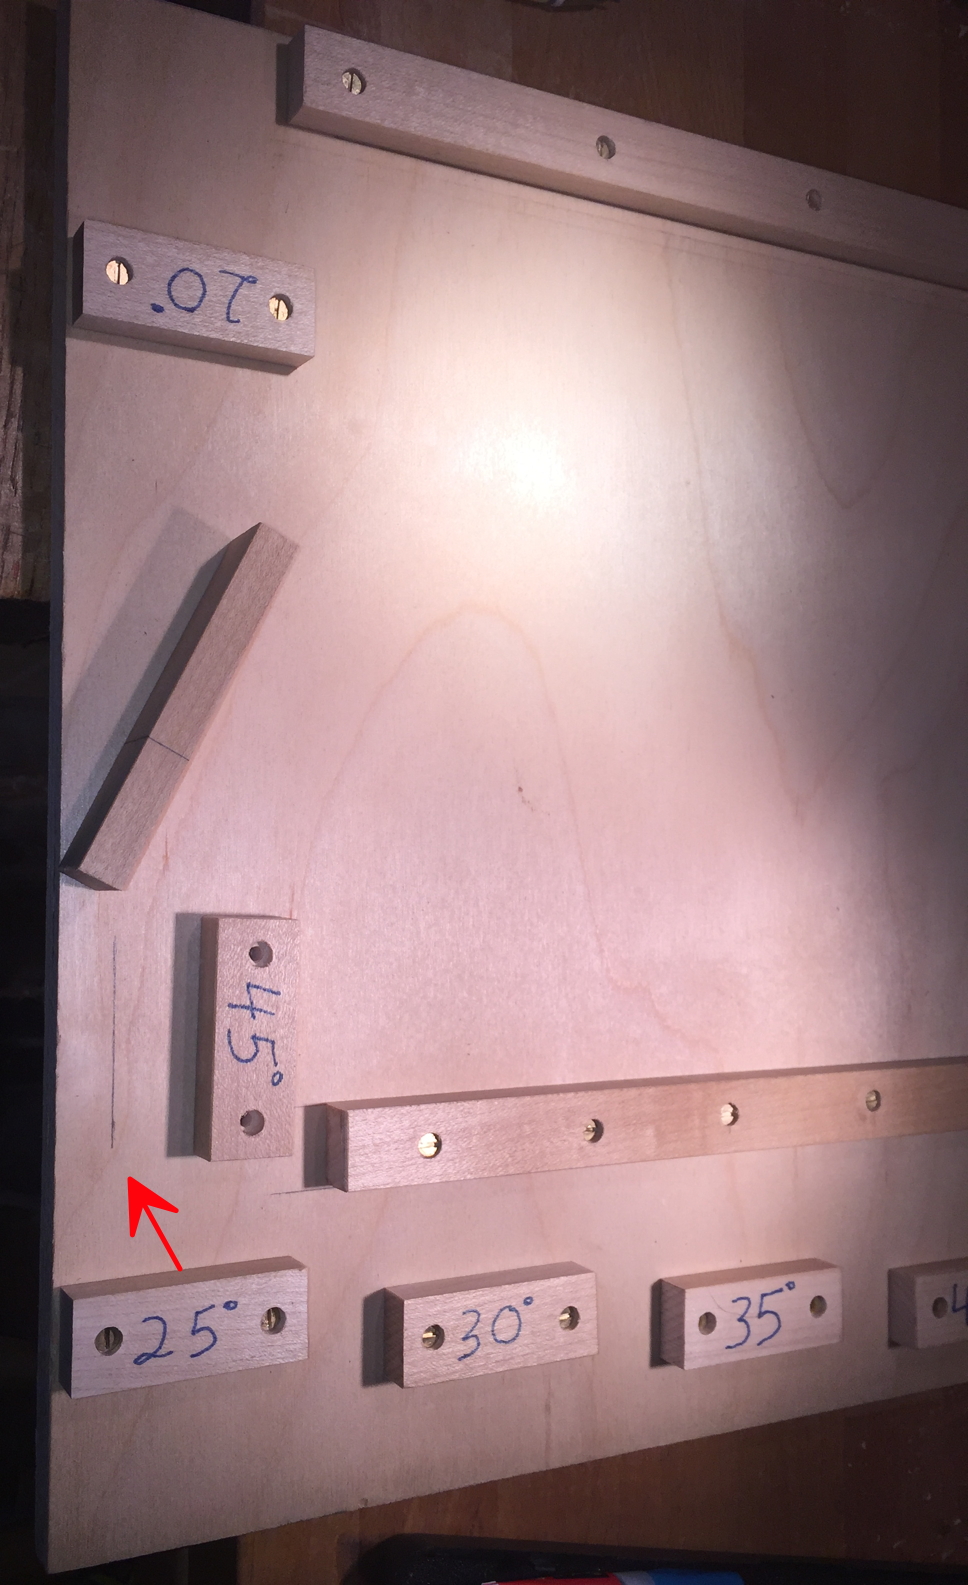
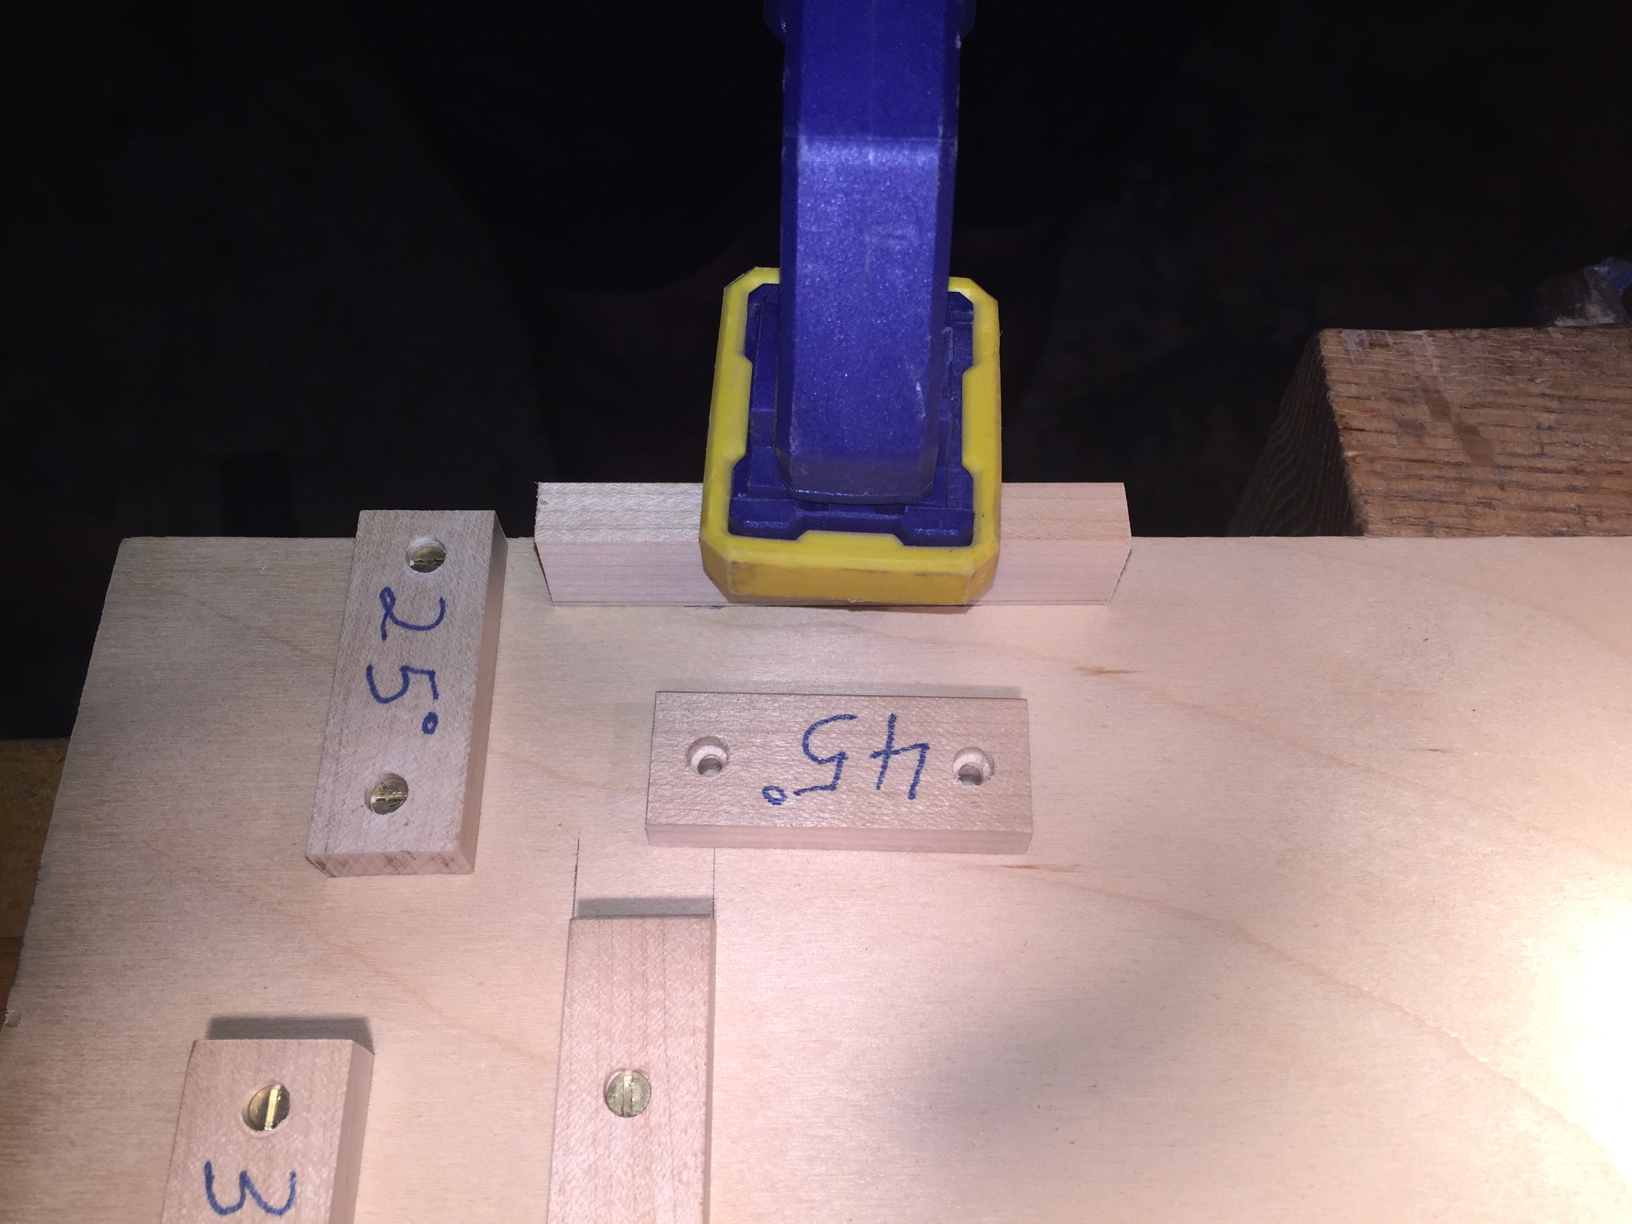
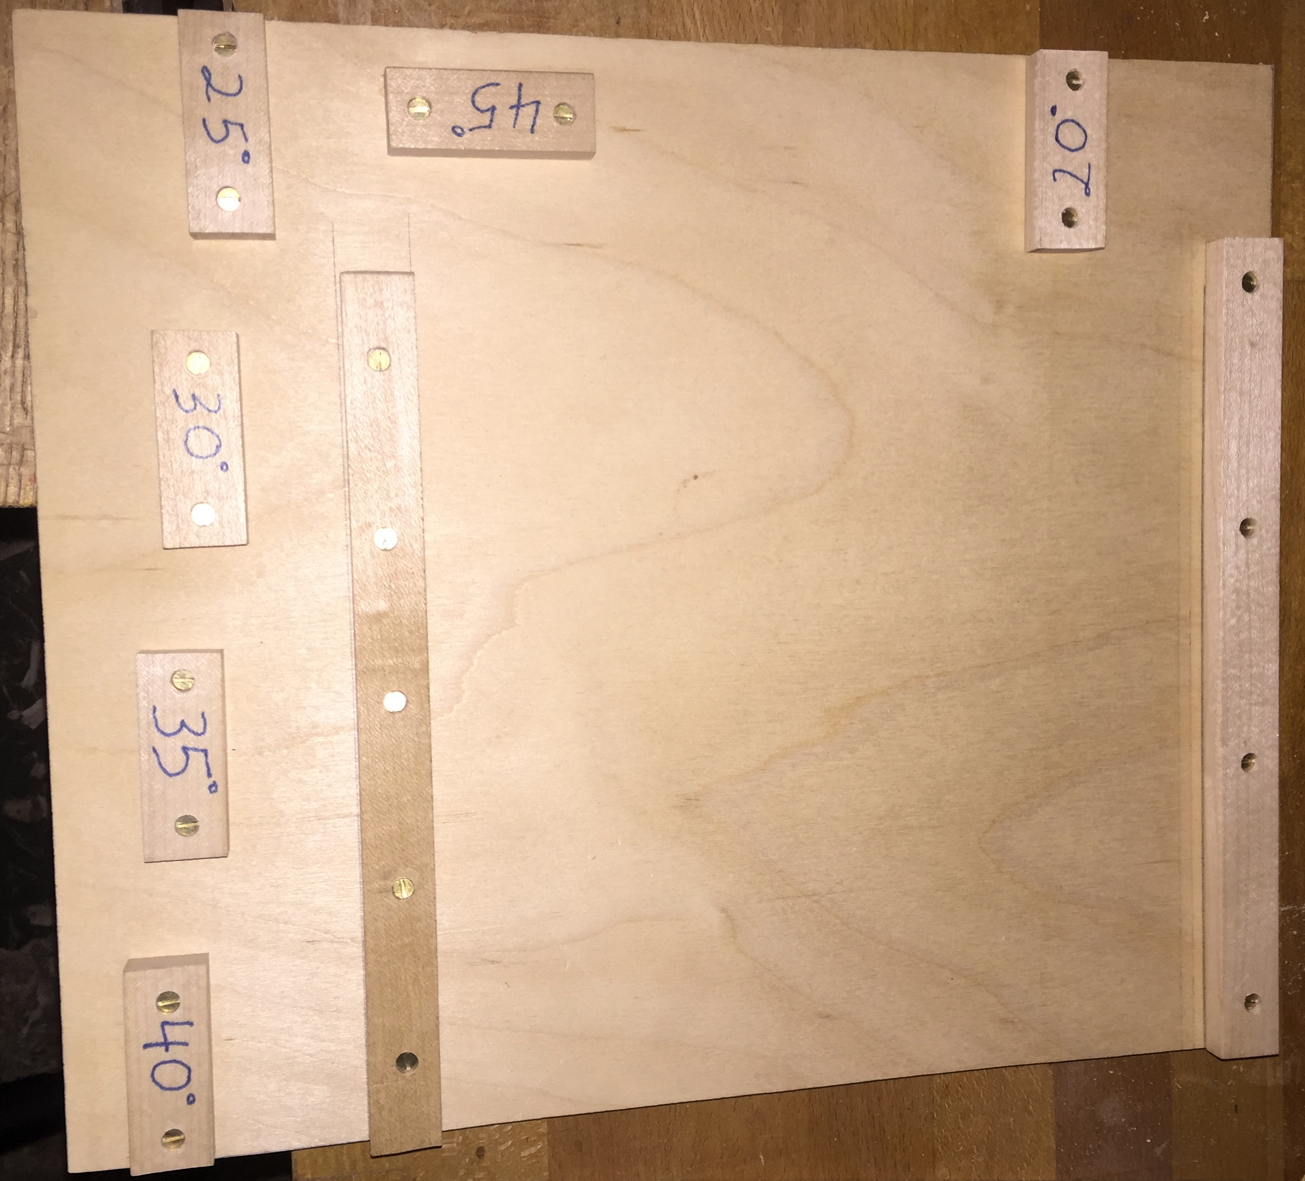
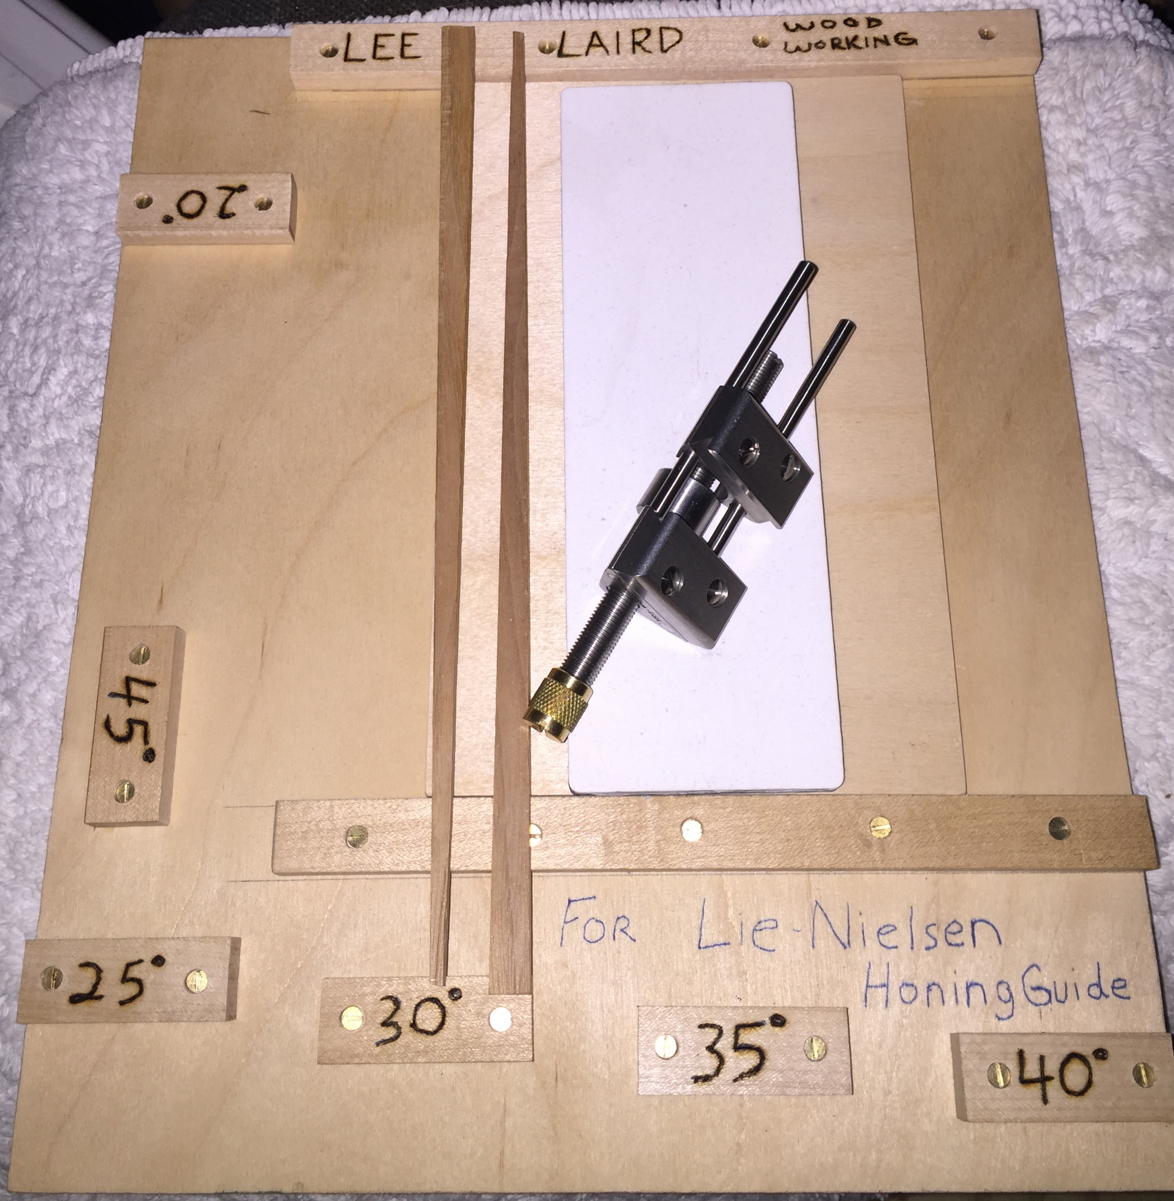
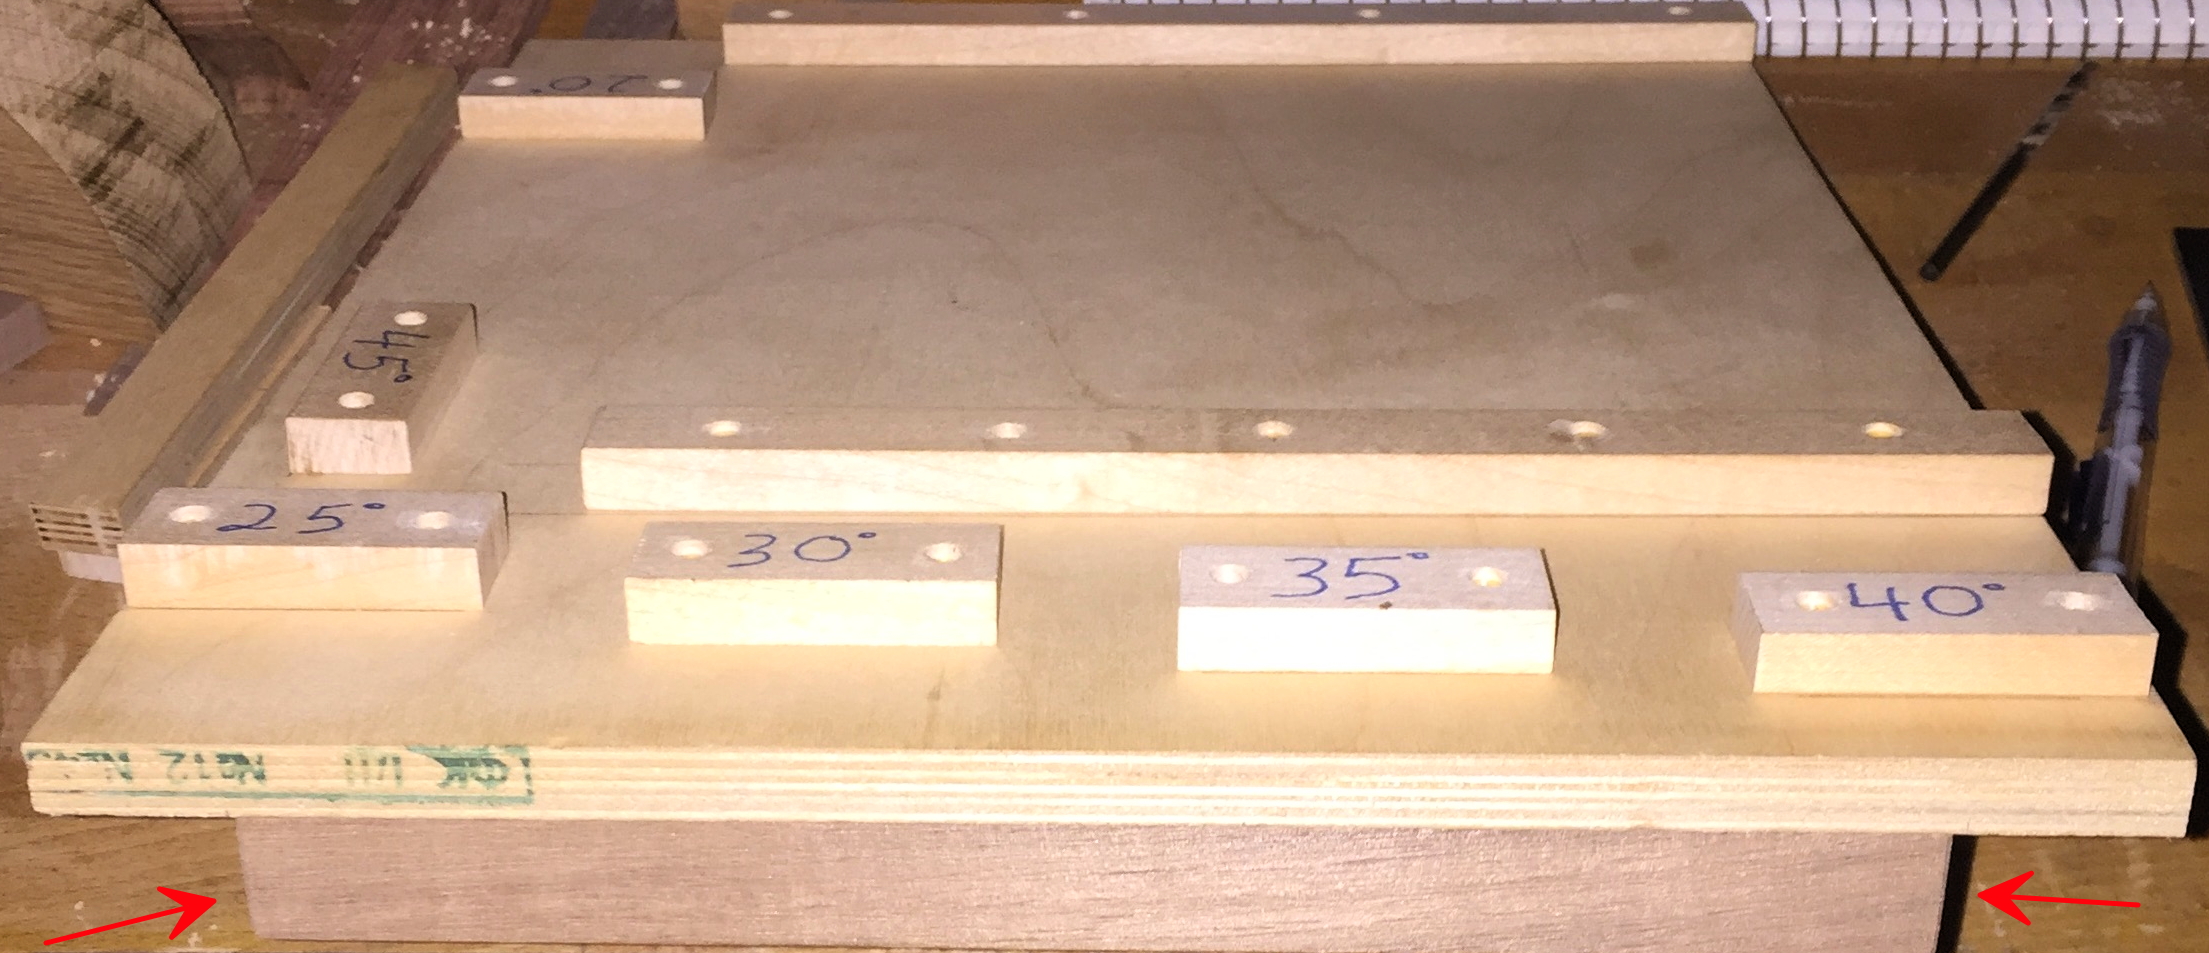
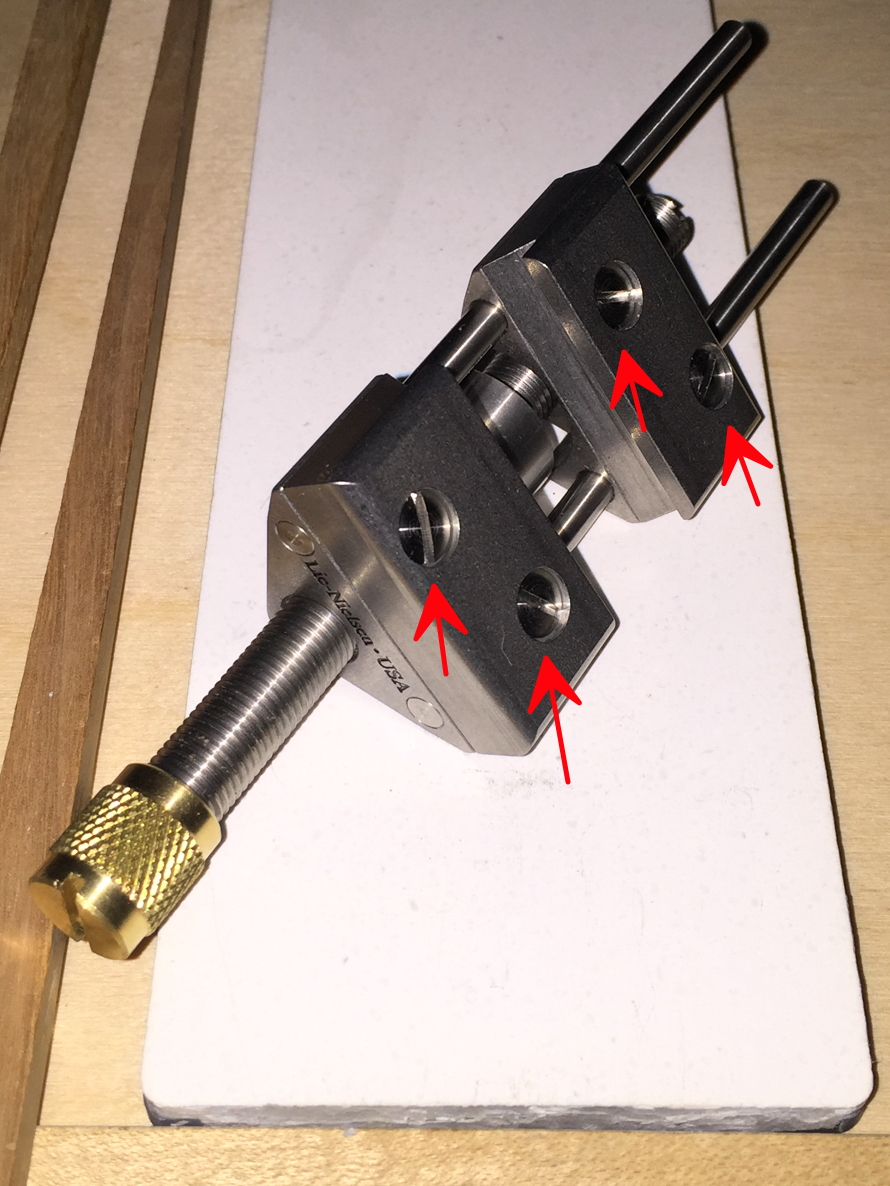
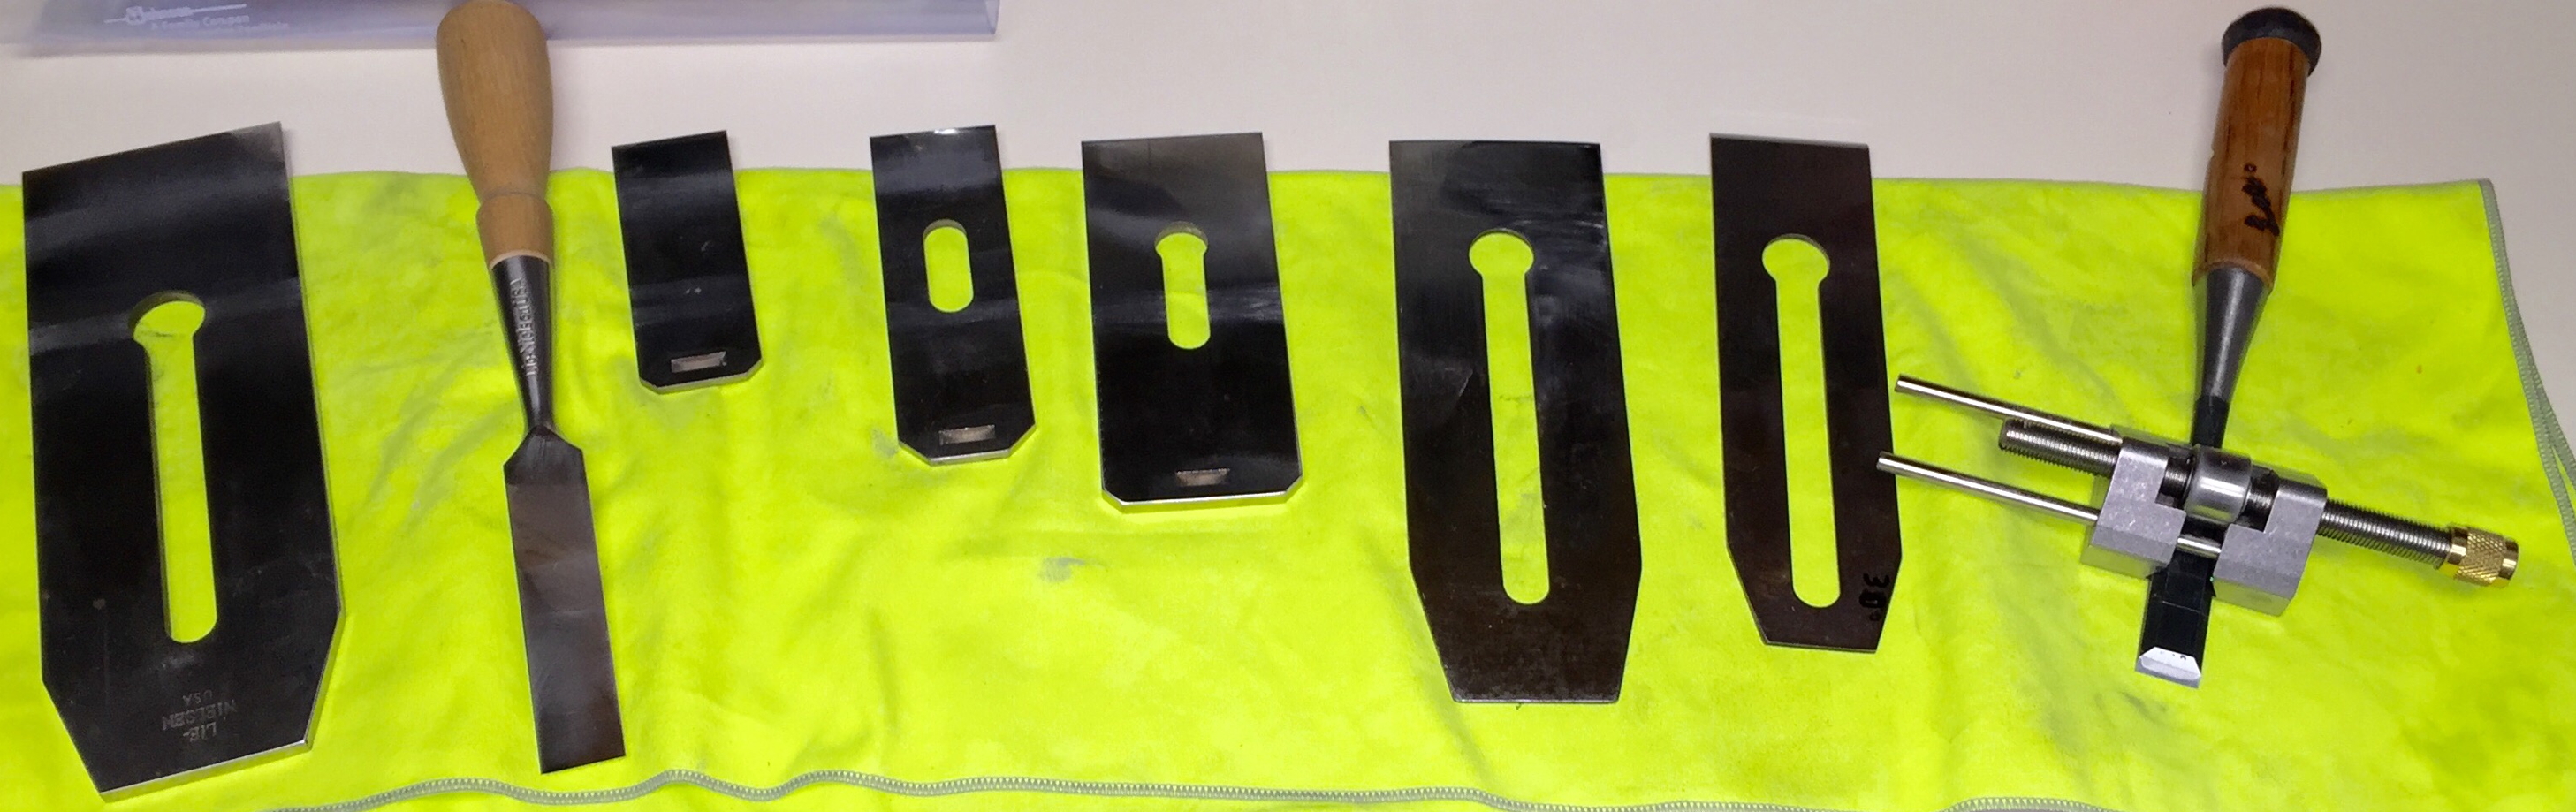
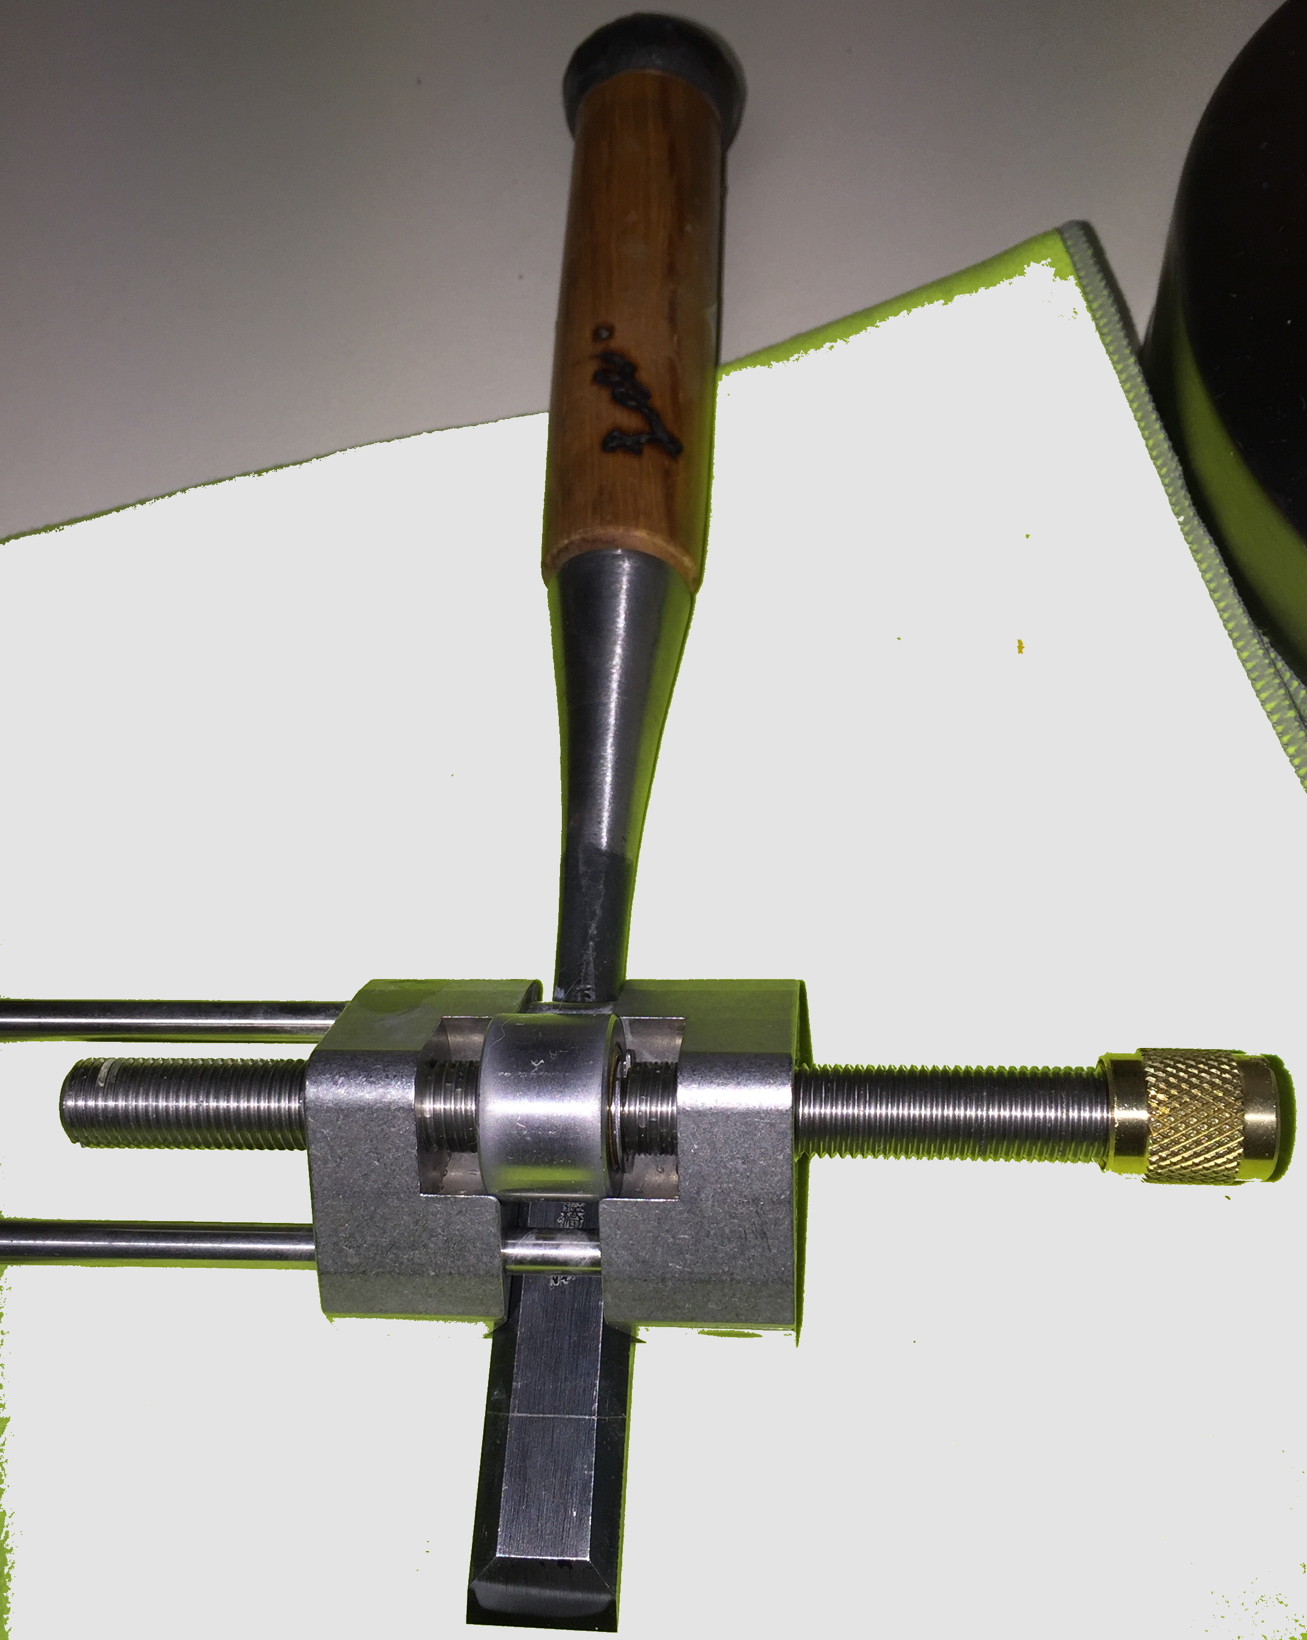
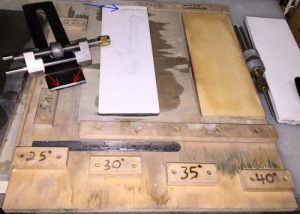
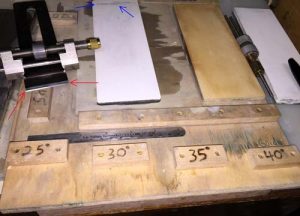
First, lets talk about what all the rectangular blocks on the Honing Guide Board are for, and how it all works. On one edge you’ll see I have one block for 25-degrees, 30-degrees, and so on up to 40-degrees. These are the most commonly used angles in my shop, but there is still a block for 45-degrees on the left side, and one for 20-degrees on the back of the board. When you put a plane iron (or chisel for that matter) into a honing guide with its bevel facing down (towards the side of the honing guide that has the wheel), the cutting edge of the tool will make contact with the block for whichever angle I’ve chosen (30-degrees this time), while the front side of the honing guide is up against the front edge of the Honing Guide Board (Note: the protruding iron is also laying flat on the board between the block and the edge)
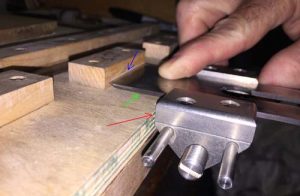
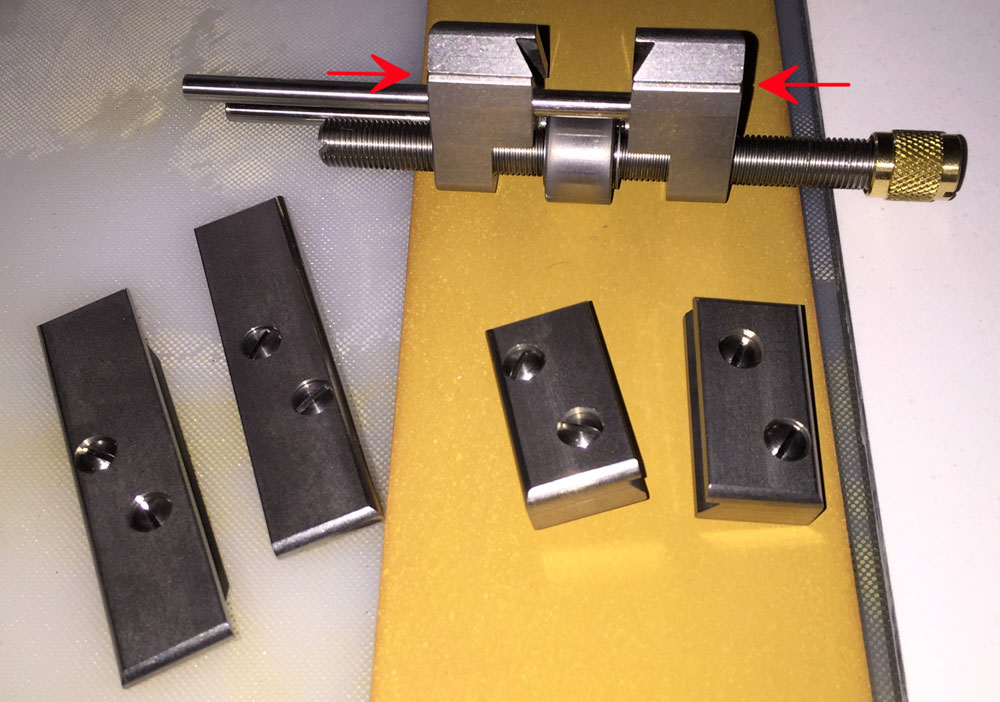
While the iron and guide are against their respective surfaces, tighten the honing guide so the iron is held securely. You have just set your iron for a specific angle. Each and every time you go through this process, as long as you have the cutting edge up against a block, the honing guide against the board’s front edge (as well as keeping the iron flat on the board), you will get repeatable results, like I mentioned earlier.
Before you let a tool touch a honing stone, make sure it is flat! An out-of-flat stone will transfer its shape to whatever you are sharpening and it is much easier and quicker to flatten the stones than to work to remove all the steel needed to get a tool back to flat.
Before I start sharpening, I put some dark Sharpie onto the bevel of the tool, just so I can confirm I’m sharpening at the correct angle.
With a splash of water on my 1000-grit stone, I set the honing guide’s wheel down onto the stone first, gently letting the iron’s cutting edge touch the stone. I set the iron/honing guide at the far end of the stone, with the iron’s cutting edge away from me. With no real downward pressure, I pull the iron/honing guide combo towards me. Just one stroke. Pick up the iron/honing guide and look at the iron’s bevel. Was the Sharpie removed from the existing micro-bevel?
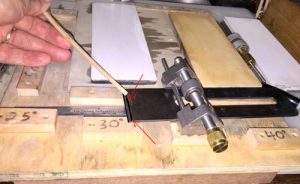
If not, like you can see, take the iron/honing guide and move to the block for the next higher angle (35-degrees in this instance), slightly release the pressure on the honing guide, and then re-tighten when the cutting edge is against the block, as well as the honing guide against the front edge of the board. When I tested the setup with it set at the 35-degree block, all of the Sharpie was removed from the micro-bevel, with my one stroke test.
Since all of the Sharpie was removed, this indicates we have the correct angle to match the previous sharpening, and we can proceed to work on our 1000-grit stone and then our 8000-grit stone.
There are times when you purchase a new iron, where they may intentionally blunt the iron for safe shipping. I bring this up as some folks like to tell themselves that they should take ten strokes on the bevel, and then move to the next stone. Is this a good idea? I’ll let you decide, but I find a better method is to only shift to the next higher grit stone (1000-grit to the 8000-grit, for instance) when you can feel a burr all the way across the iron, on the back side of the bevel. To feel for this burr, hold the iron vertical with its cutting edge at the highest point, and this part is critical, you always move your finger lightly from low to high. (Note: You never want to move your finger along the cutting edge from side to side. This latter move can cut you extremely quickly.) If you do not yet feel a burr, you should go back to the 1000-grit stone and continue working until you do. Move to the 8000-grit stone when you feel a burr on the full width of the iron.
After you complete the sharpening/honing on both the 1000-grit stone and then the 8000-grit stone, the back of the iron also needs some attention. I use the David Charlesworth method called the ruler trick, where I use a very thin metal ruler laid along one edge of the 8000-grit stone.
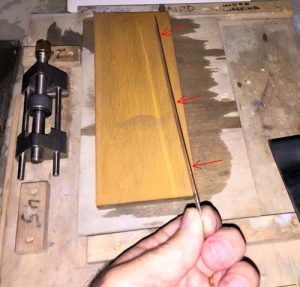
The iron is removed from the honing guide for this, and placed so it is across the stone’s width, while resting on the ruler. Since the honing of the bevel created a small burr on the back of the iron, start with the cutting edge just hanging off of the stone, and move it straight back, so the cutting edge comes onto the stone, but no more than ¼” or so.

I repeat this process a couple of times, then shift to moving the iron up and down the stone, while the iron is still laying across the stone, and riding on the ruler. This creates a very small micro-bevel on the back of the iron, which only takes a few moments, taking the place of all the time spent honing the whole back of the iron, which literally has taken me hours.
Lee Laird has enjoyed woodworking for over 30 years. He is retired from the U.S.P.S. and worked for Lie-Nielsen Toolworks as a show staff member, demonstrating tools and training customers. You can email him at LeeLairdWoodworking@gmail.com or follow him on Twitter at twitter.com/LeeLairdWW