

Welcome to “Tips From Sticks-In-The-Mud Woodshop.” I am a hobbyist, not a professional, someone who loves woodworking, just like you do. I have found some better ways to accomplish tasks in the workshop and look forward to sharing those with you each month, as well as hearing your problem-solving ideas.
The first time I ever saw a milk crate, those modern, commercial plastic holders for 4 gallon jugs of milk, was in the early 70s. Rummaging around behind a grocery store, they were stacked 10 feet high. There must have been 100 of them. I thought they were there because they were going to be thrown away. I had no idea that they were to be reused by the milk delivery people.
Yes, I was that young and that stupid.
I loaded a dozen or so into the back of my car and took them home. I made myself a perfectly fine hippyfied music stand with some old 2 x 4’s and proceeded to place on it my hippyfied stereo to play my hippyfied music.
Yes, I was one of those.
Today, I have milk crates, but I can honestly say I came by these legally, having found all of them on the side of the road or in someone’s yard on garbage day. I mostly use them as little stepstools that are easy to store. Except for four that hold my stereo speakers.
Old habits are hard to break.
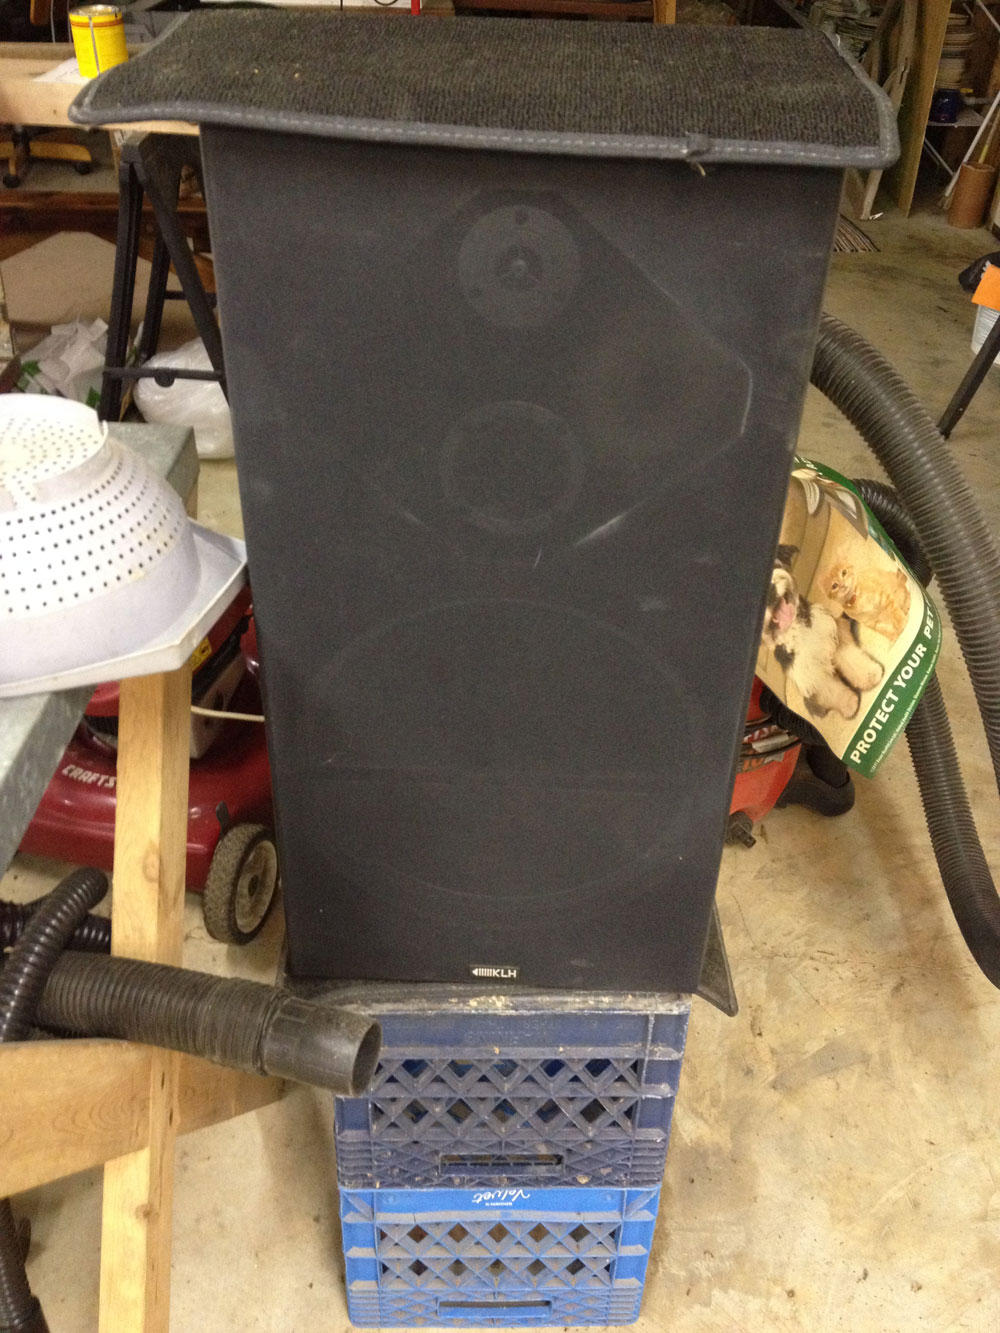
Two milk crates are just the right height for stereo speakers to be off the floor.
Some are old and the plastic has become brittle, and brittle is a not a good trait for a stepstool. Step up on cracking plastic and you could find yourself on the floor, and not in a controlled way!
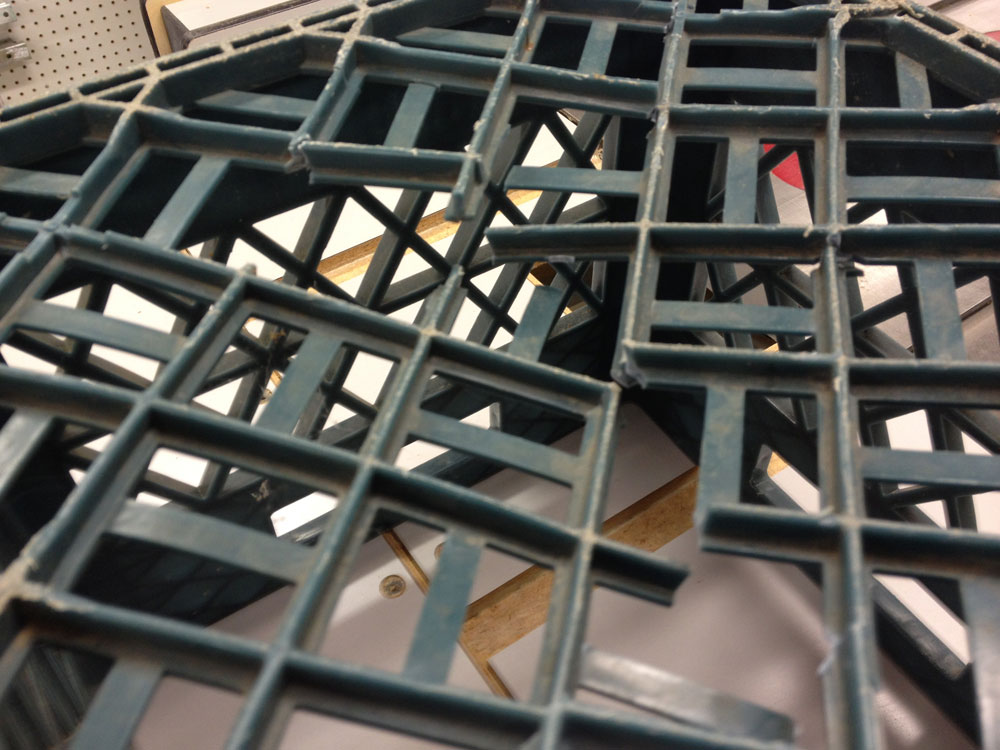
One day I was on top of this milk crate and heard a “crack.” A very uncomfortable sound that leaves one feeling highly vulnerable.
Alas, there is no need to throw the baby out with the bath. Simply cut a piece of plywood slightly larger than the outer perimeter of the crate. Quarter-inch plywood is too flimsy, and won’t add to the safety of this project, defeating its entire purpose. Three-eighths plywood will probably do. Half-inch will suit just about everyone. Three-quarter inch plywood may make your milk crate too heavy, but, if you were ever featured on My 600-Pound Life, go with 3/4″ or even thicker. Better yet, order an actual heavy duty ladder. Avoid MDF. It has little structural strength to begin with and even less if it gets wet.
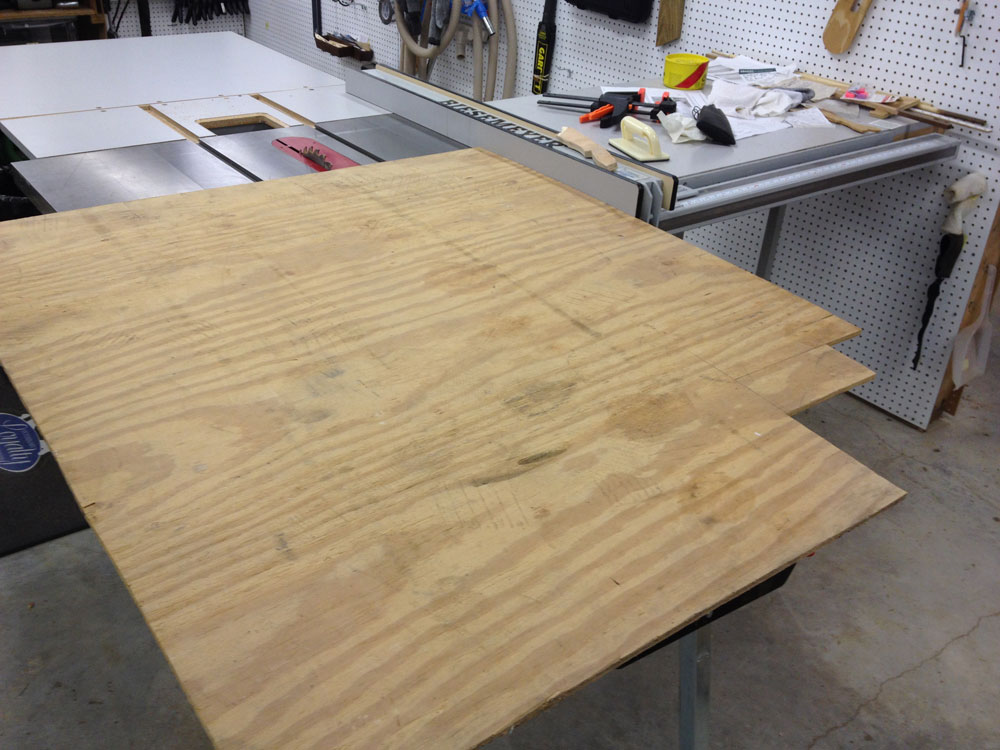
I settled on this scrap of 3/8” plywood and cut a 13½” by 13½” square. Why, yes, now that you mention it, I did save the jagged-edged scrap. You just never know when you might need a jagged-edged piece of plywood!
To proceed with milk crate improvement, drill a hole about an inch inboard of each corner. Drive in a carriage bolt long enough to go through the plywood, through the crate’s web and through something that a nut can tighten to on the inside. That “something” can be a fender washer or another piece of plywood.
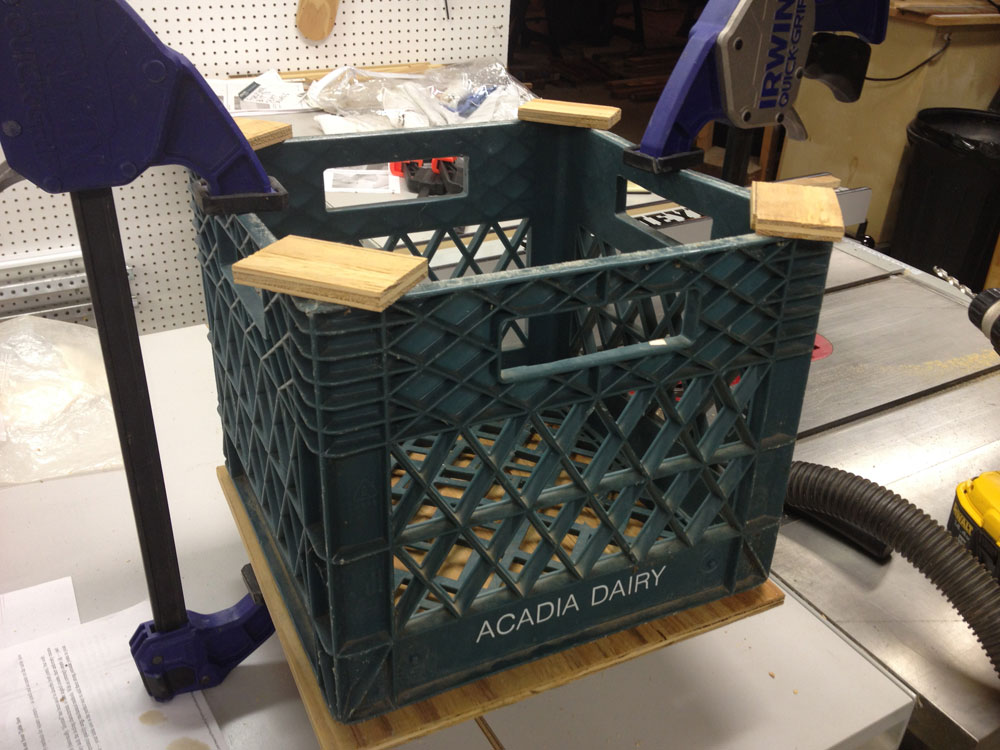
You will have to pay for a fender washer. A 2″ x 2″ plywood scrap is free. I centered the new plywood top, then marked openings in the web where bolts could go through.

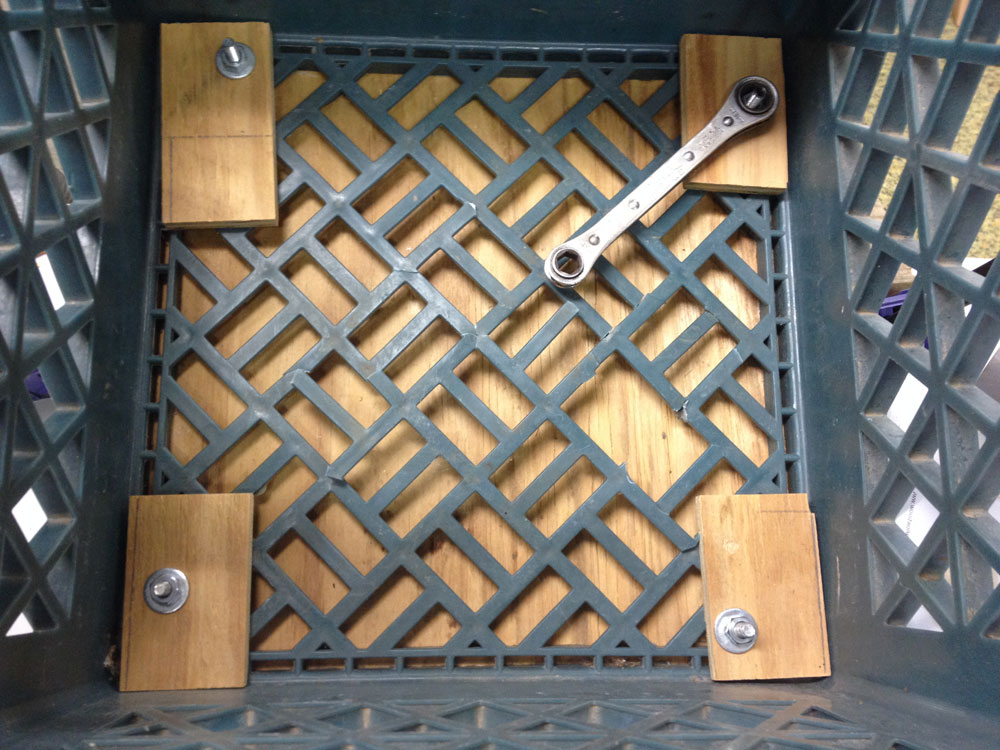
Remember that jagged-edged scrap? Never throw anything away; it pays! I made these 2″ x 2″ plywood washers from it.
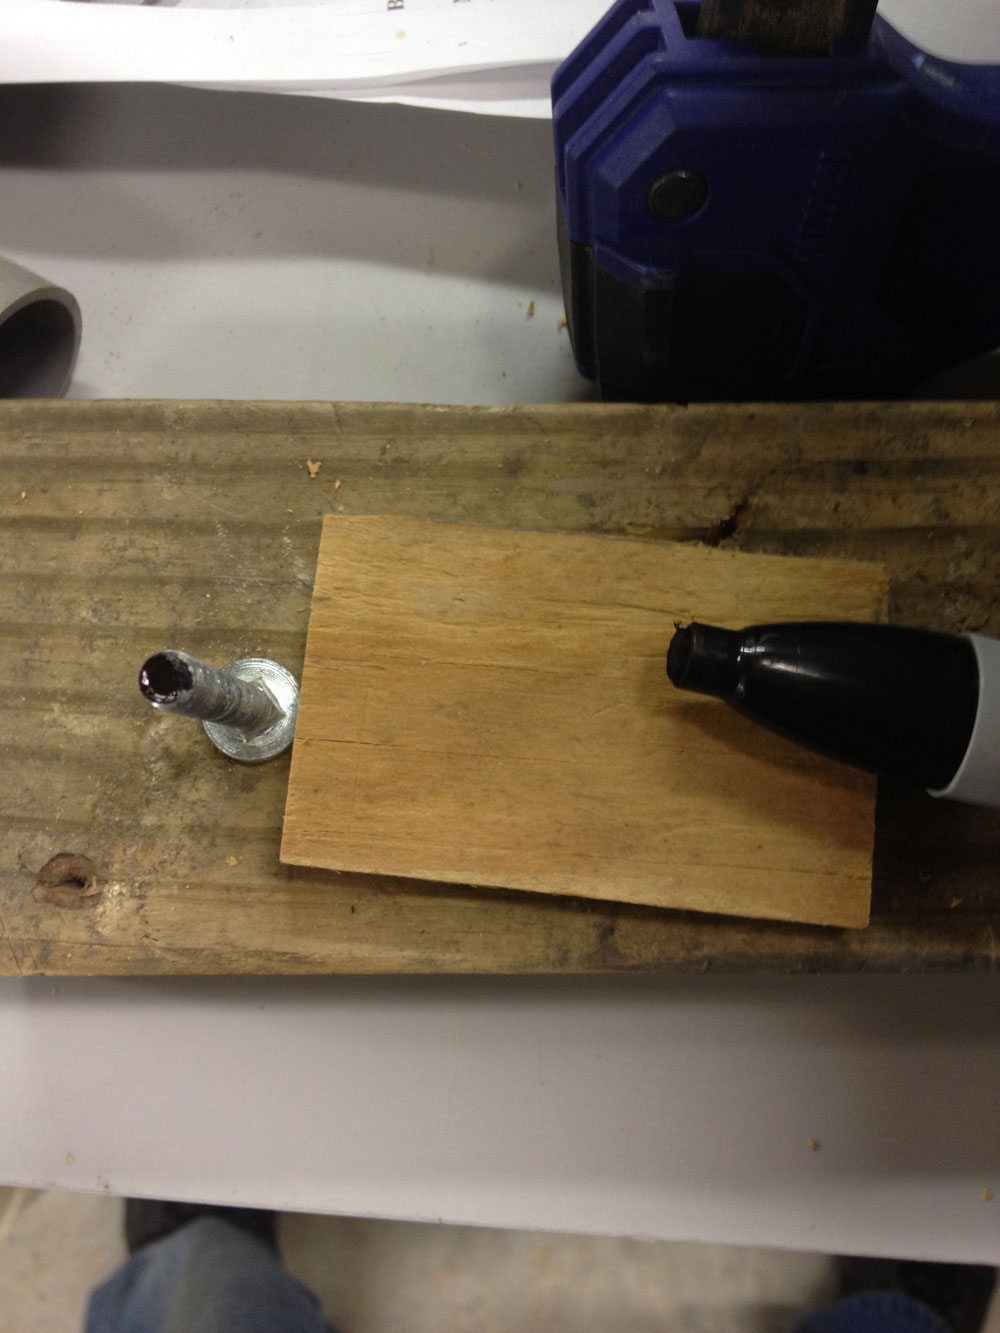
Most of the washers I could mark by simply scratching the plywood with the bolt. Once, I couldn’t see the scratch, so I enhanced it with wet Magic Marker, turning the bolt into a quill.
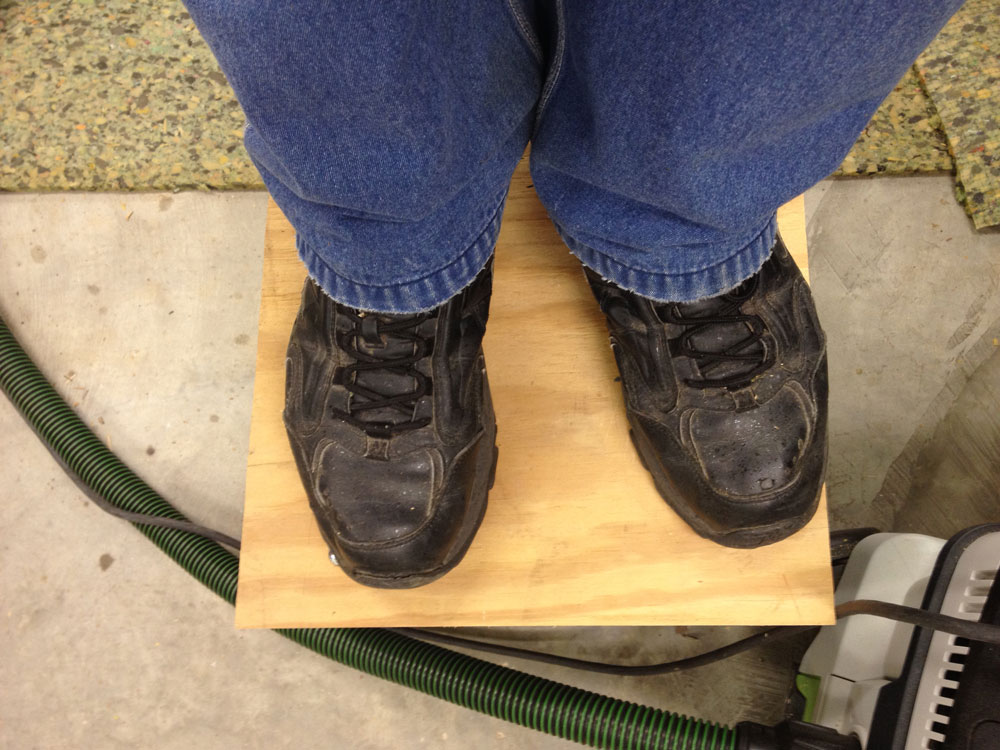
Sturdy enough for my 189 pounds now.
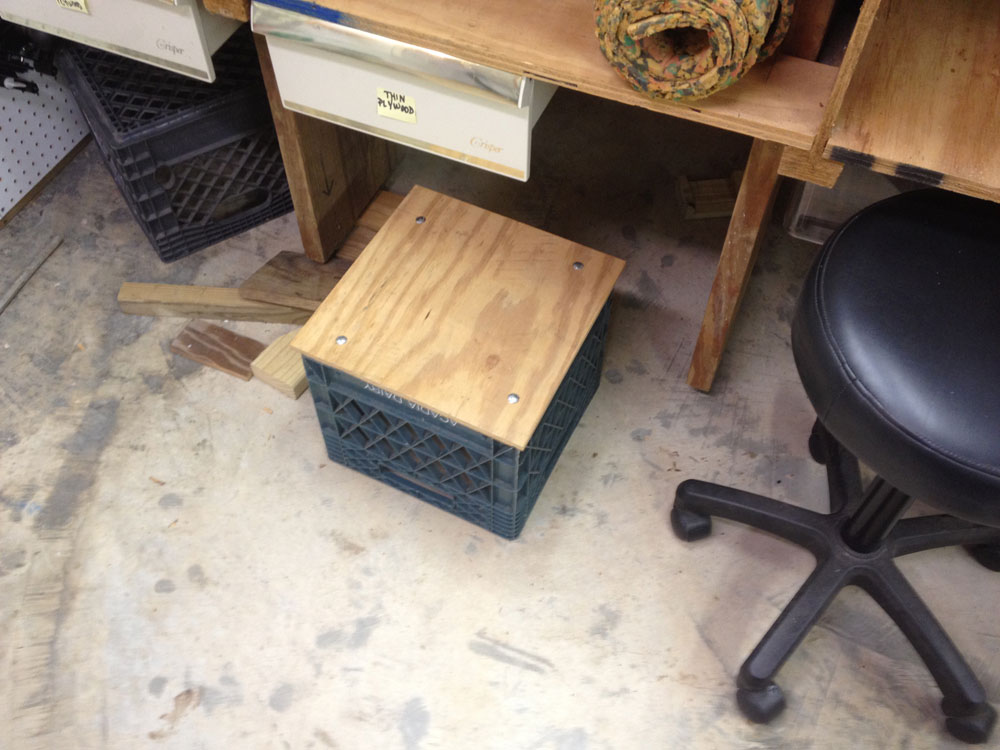
Ready for rugged duty.
Drill some finger-holes in the middle of the plywood top for easy pickup, but not so close together that they weaken the plywood.
Jim Randolph is a veterinarian in Long Beach, Mississippi. His earlier careers as lawn mower, dairy farmer, automobile mechanic, microwave communications electronics instructor and journeyman carpenter all influence his approach to woodworking. His favorite projects are furniture built for his wife, Brenda, and for their children and grandchildren. His and Brenda’s home, nicknamed Sticks-In-The-Mud, is built on pilings (sticks) near the wetlands (mud) on a bayou off Jourdan River. His shop is in the lower level of their home.Questions and comments on woodworking may be written below in the comments section. Questions about pet care should be directed to his blog on pet care, www.MyPetsDoctor.com. We regret that, because of high volume, not all inquiries can be answered personally.