

As many will clearly recognize, using powered drills with twist bits can at times grab the wood and very rapidly pull itself deeper than expected. With the recent Walnut table that I made for my son being almost complete minus attaching the base, I didn’t want to take any chances that all of my hard work could end up with a hole through the top.
The best scenario is to drill any needed holes using a Drill Press with the depth stop set appropriately. Unfortunately, the size of this table wasn’t really lending itself to using my drill press, so I came up with a jig that would easily prevent disaster. I chucked up the drill bit that I intended to use for the provided fasteners and made sure to leave that same bit in the drill with absolutely no adjustments to how deep the bit is in the chuck until all holes were drilled. This made certain that the jig I was creating would work as required.
I found an off-cut of some Ash I used to build a draw bench a number of years ago. This piece had a gentle slope on one edge and the opposite edge was square to the end and both face sides. With the chuck against the sloped side, I moved my drill along until the drill bit protruded the amount that I wanted. I made a couple of marks on each side of the drill bit and brought them across to the sloping edge (see photo 1 below). I took my off-cut over to the drill press that had a bit just slightly larger than the one I had in my drill, so the pilot hole was just large enough for my drill’s bit to spin freely. With the square edge of my off-cut on the drill press table, I drilled the pilot hole all the way through.
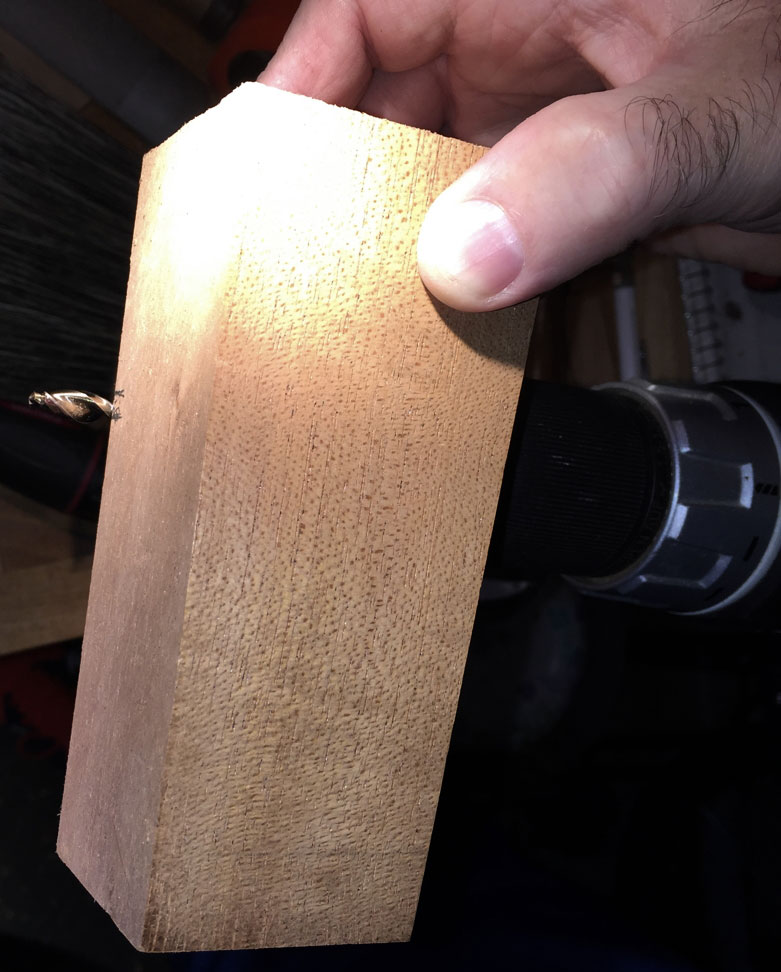
Bit extending beyond the jig, just long enough for the screws, but too short to drill all the way through the Walnut.
I tested my new jig on a few scrap pieces of wood prior to using on my table, as I wanted confirmation nothing could cause it to fail. It proved to be rock-solid, which kept me moving on the build with no extra trips to buy accessories.
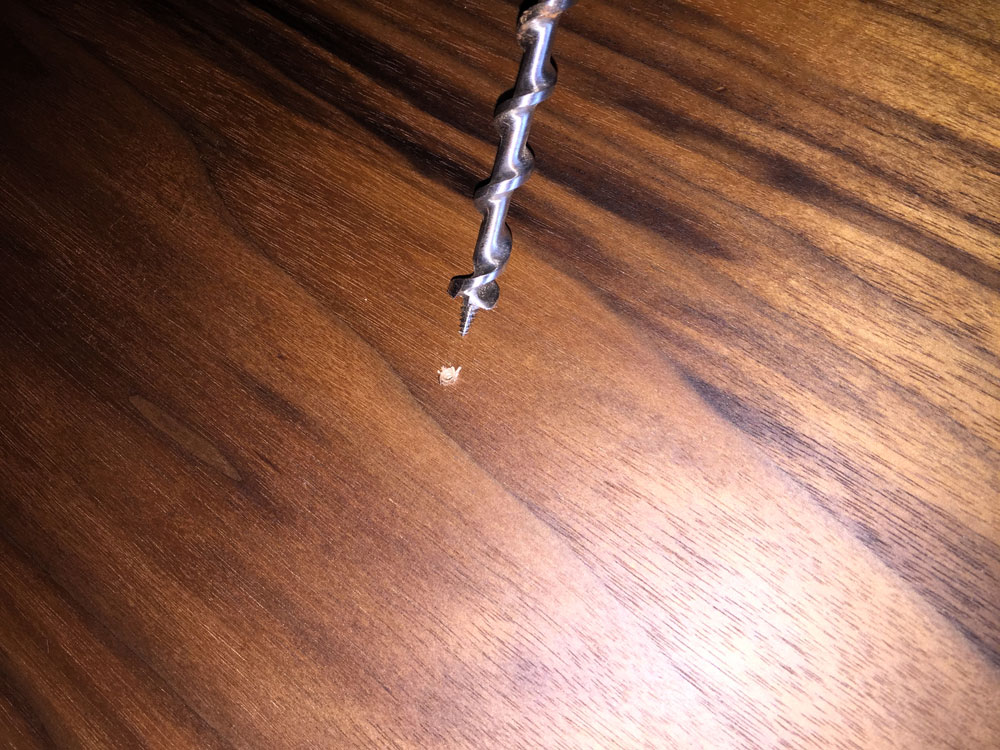
With the location of all six mounting holes marked with an awl, I followed with a hand-powered drill and a bit just large enough to capture the special lead tips on my DeWalt bits.
With this accomplished, I centered the jig over each hole, and while holding my new jig so the bottom edge was flat on the table, drilled down until the chuck on my drill contacted the wooden jig. Since I drilled the hole through the jig at the drill press, and my press is setup to drill at a right angle, all of the mounting holes were the correct depth and perpendicular to the table’s surface.
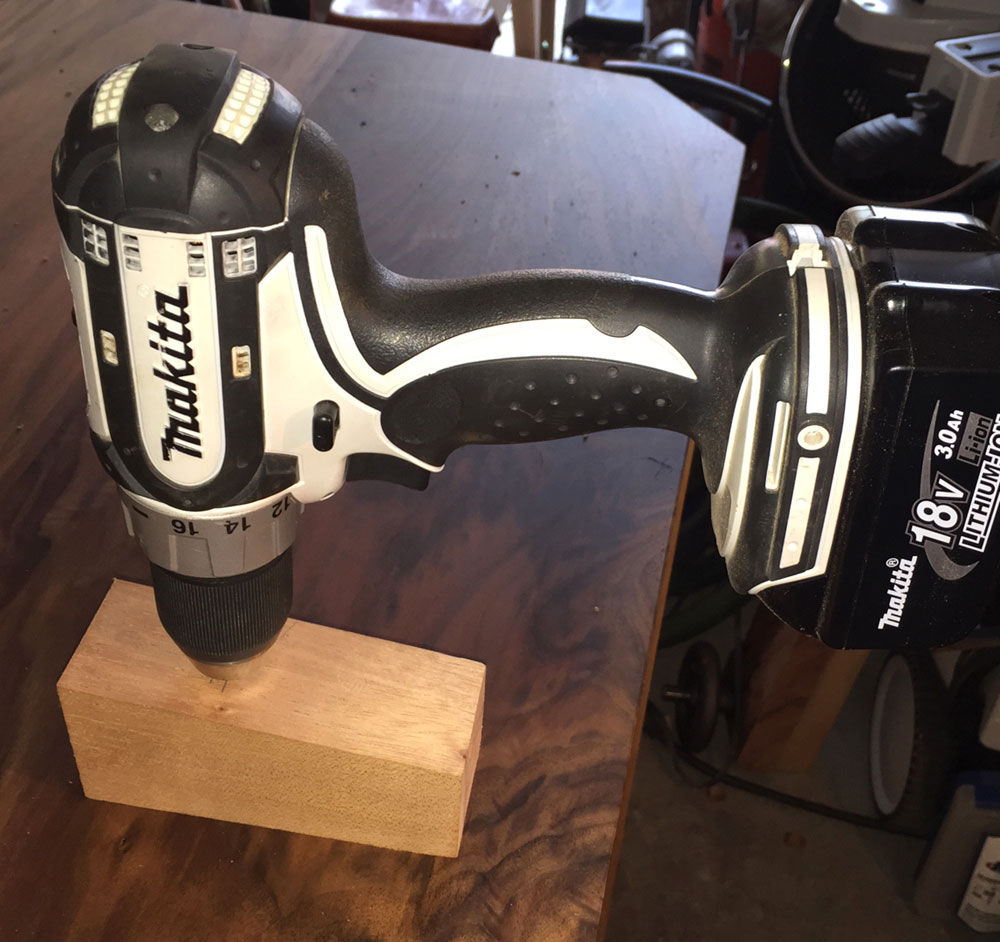
Drill at full depth with the sole of the jig flat on the table’s surface.
There are a number of different types of accessories available that can limit the drilling depth, and some work quite well, but I’ve personally experienced a few depth-stop designs that slipped during use, and of course happened to occur at the worst time possible.
I hope you decide to give this jig a try, or perhaps it will give you an idea for a jig of your own design. Thanks for checking out my article. Please let me know if you have any questions or comments.
Lee Laird has enjoyed woodworking for over 25 years. He is retired from the U.S.P.S. and worked for Lie-Nielsen Toolworks as a show staff member, demonstrating tools and training customers. You can email him at LeeLairdWoodworking@gmail.com or follow him on Twitter at twitter.com/LeeLairdWW