

CLICK HERE to read Part 1 of Lee Laird’s Wooden Square Build.
Now that we’ve created a perfectly fitting half-lap joint, let’s move on.
First we’ll address the shaping of each leg, at the opposite end from the half-lap joints. On my design, I measure from the outside edge of each leg, and mark it at 1/2”. Using a marking gauge, start at this point and mark down the leg about 1 1/2”. Using a small square, draw a line from the last mark, approximately ¼” towards the inside edge of the legs. This is laying out the flat between the two curves that are on the end of the legs. From this line drawn across the leg, measure down an additional 1 ½” and make a small pencil mark on the inside corner of the leg. Take your pencil and draw a curve from the outside corner of the end of the leg, to the outside most portion of the line across the board. This curve should bulge towards the inside edge of the board. The second curve is drawn from the pencil mark on the inside corner of the leg, back to the square line across the board, but meet at the portion closer to the inside edge of the board. The second curve’s bulge is towards the outside edge of the board, or the opposite from the first curve.
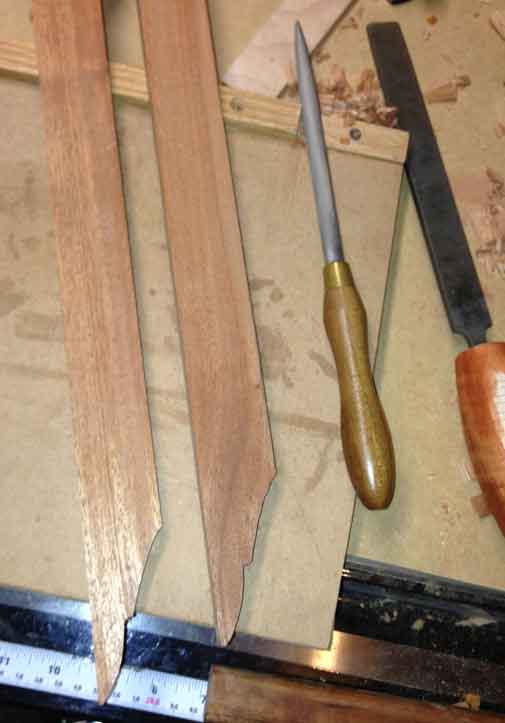
The first cut to make is from the inside edge of the board, along the square line you drew. This makes it easier to cut the curve at the end of the board, and not need to back out after reaching the end of the cut. Next cut the remaining curve from the inside edge of the board. You can make the curved cuts with a band saw, a coping saw or any tool you have that you feel comfortable using. Since I planned to make multiple squares, I made a small wooden template for this double-curved section as well as the upcoming ogee. The ogee template is something I might make, even if I was only making a single square, so all six of the ogees on the square are close to identical.
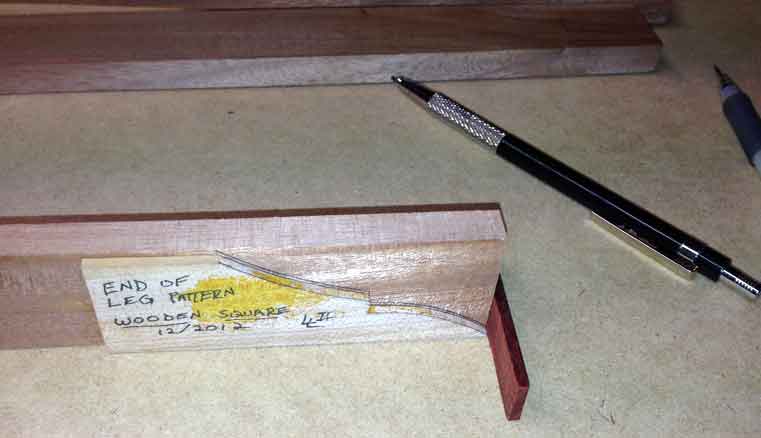
This is the pattern for the double curve for the end of the legs.
This is how the curves look on the end of the legs.
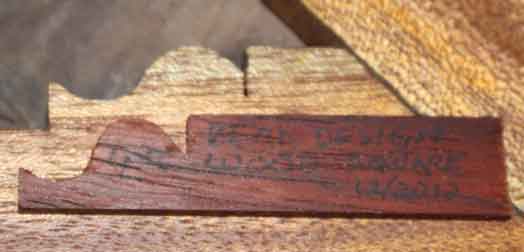
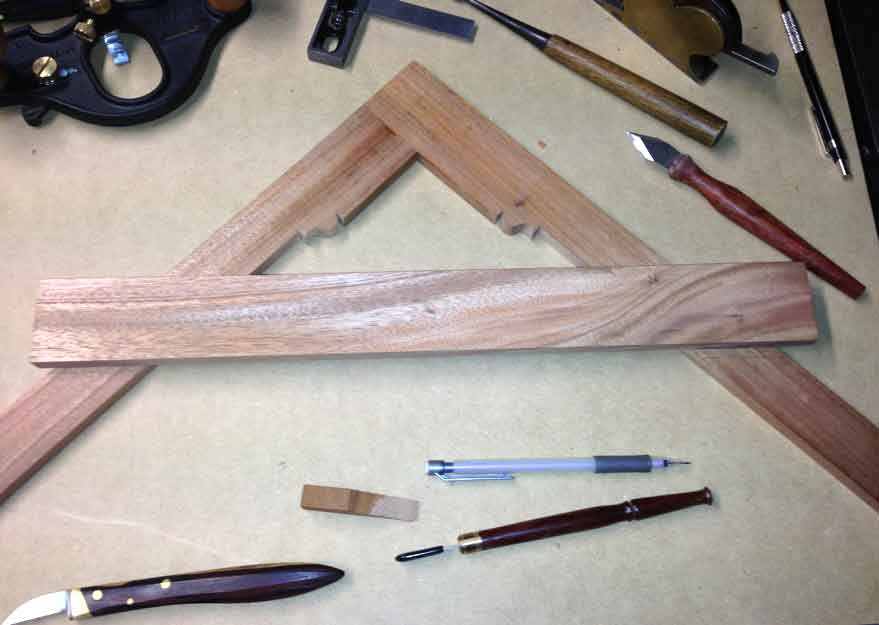
My ogee template on top of the cross member, close to actual ogee. I line up the end with the hook, with the place where the wood steps down, so the template could be longer.
This next portion is to create the ogee on the inside edge of the legs, just before the legs narrow. Measure 1 inch back towards the half-lap joint (and mark it with a pencil) from the step in the leg you created earlier when you removed the 5/8” wide section of wood. (This section is used if you did not create an ogee template.) At this mark, use a square to create a line across the thickness of the board. Using a crosscut saw, cut down approximately ¼” at your line. The ogee begins from this cut and ends at the step. To create this ogee, draw a half-circle up from the bottom of this saw cut to the same surface where the cut began, and back down. The half-circle should have a radius of approximately 3/16”. At the other end of the half-circle, create a smaller half-circle that swings in the opposite direction, or away from the inside edge of the board. The end of this second half-circle should end just short of the step, so the end isn’t overly weak.
To create the ogee shape you’ve drawn, I like to use a chisel and rasps, but you could cut them with a saw if you’d rather. Place the leg into a vise or clamp with which you can restrain the leg while you work to remove material. The section closest to the saw, cut across the board’s thickness, is where I use the chisel to remove the small corner, beginning the start of the ogee, and then follow that cut with a very fine modeller’s rasp. To help expedite the process, I also cut down to almost the very bottom of the second half-circle with my crosscut saw. A fine rat-tailed rasp and a modeller’s rasp are both very useful at removing remaining wood while providing a good amount of control. Sand the ogee surfaces, with fine grits until you are satisfied with the look/feel. Repeat this process on the other leg’s inside the ogee.

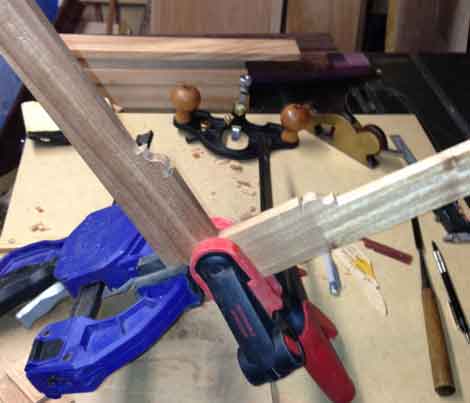
Leg with partially cut ogee, held in bench vise, ready to complete.
You probably won’t believe it, but it’s finally time to glue the half-lap joint together. Get your glue, a small brush, a couple of clamps, a rag or two, a cup of water (to use when cleaning any excess glue), and the two small slabs you removed when cutting the half-lap joint. I usually lay down some wax paper or some plastic on the surface where I plan to glue so I don’t have a lot of cleanup after I’ve finished. I also like to apply some paste wax to the faces of the wood slabs so I can use them as cauls without them accidentally getting glued to the project. I pour some glue onto a small paper plate and use a tiny brush to apply it to the joint surfaces. This can help provide a nice level of control over the volume of glue in the joint. After the glue is applied, get the pieces together in the correct orientation (make sure the nice pretty ogees are on the inside edges of the legs), and put the slabs on each side of the joint and apply a little clamp pressure. Since this is such a small joint, it doesn’t take much pressure as you’re really just trying to keep the joint solid and prevent the parts from moving around. Give it one last look to make sure nothing has gone crazy, and if it’s good, set it aside to dry.
The two legs glued and clamped.
Legs after the glue dried, and out of the clamps.
While the legs are clamped together, you can lightly offer the cross member up to them, so you can mark where the inside surfaces of the legs will mate. Once you have those marks, you can proceed to layout and create the ogees on this board (four of them), as well as the narrowing of the center section. If you aren’t in a hurry, you can always do these details later after you’ve cut the angled half-lap joints that mate the three boards together. Waiting isn’t really such a bad idea, as the center section of the cross member does get fairly narrow and with that, it’s strength is reduced. I’d hate to have you snap that board, after spending time creating the ogees and all, while cutting the joints and cleaning them up. I cut the remaining half-lap joints on the few I’ve made before moving on to the ornamentation, but in the end, its up to you. When laying out the ogees on the edge of the cross member that is closest to where the legs join, the saw cut is approximately ¾” in from where this meets the inside edge of the leg board. The overall length of these ogees are the same as those previously created on the legs. The ogees on the lower edge of the cross member are approximately 1” in from the inside edge of the leg boards. At the end of the ogees, make a saw cut across the boards thickness, down approximately 3/16”. The wood between these last cuts will be removed, leaving a lighter feel to the straight line between the ends of the ogees, while also stepped down.
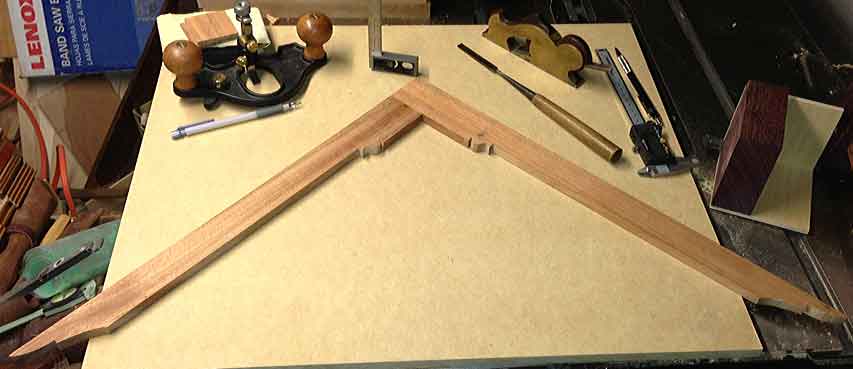
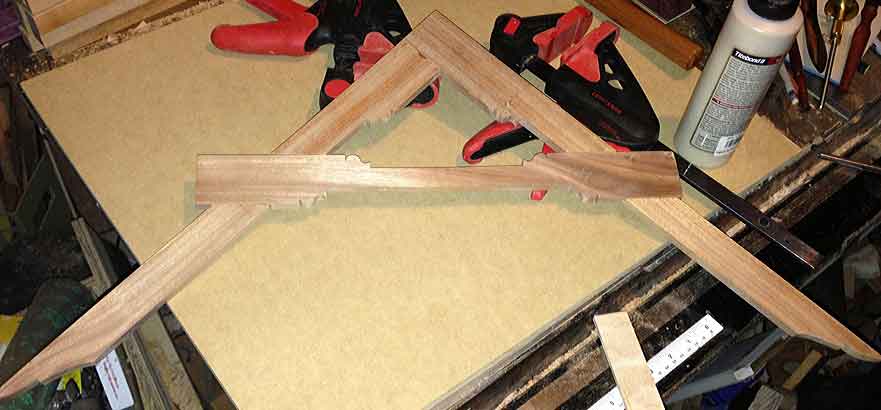
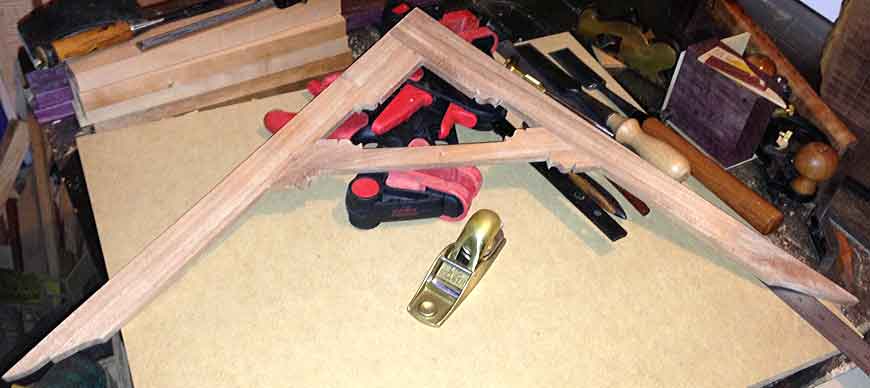
Cross member laid across the legs, to get an idea of correct look.
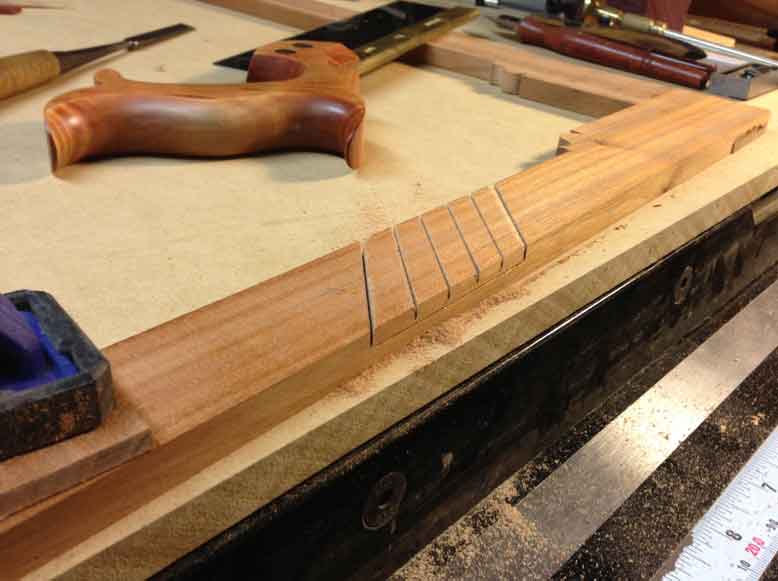
After the leg joint is dry, offer the cross member up, and when the placement looks good, clamp it in place on both legs. On my squares, I placed them so the top of the cross member was approximately 8” down from the end of the leg (the half-lap end). With the cross member clamped in place, scribe around all sides of the mating pieces. Similarly to the earlier handling of the leg’s half-lap, work the joint surfaces to just shy of fully half thickness on adjoining pieces, and then sneak up on the perfect fit. I used my crosscut saw to make multiple cuts (5-7) in each of the remaining joint areas, cutting close to half the way through the board, and then followed that with my chisels to remove the rough waste.
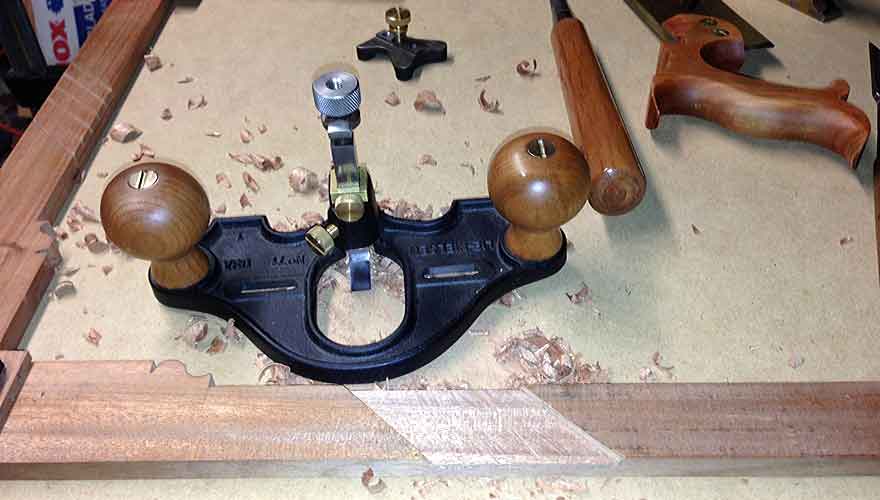
The router plane followed, as it does such a great job of creating a surface parallel with whatever the plane rides on, and if that is an already flat face, the joint surface will also be flat and in the same plane. Leave the cross member at full length until after the square is glued up and dry. Its easy to trim the remaining ends off at that time, and the outside ledges help to hold it together, mainly requiring just a little pressure over the joint. Handle the glueup in the same manner as the leg half-lap and there shouldn’t be any problems.
Saw across the joint before cleanup.
Joint cleaned up with the router plane.
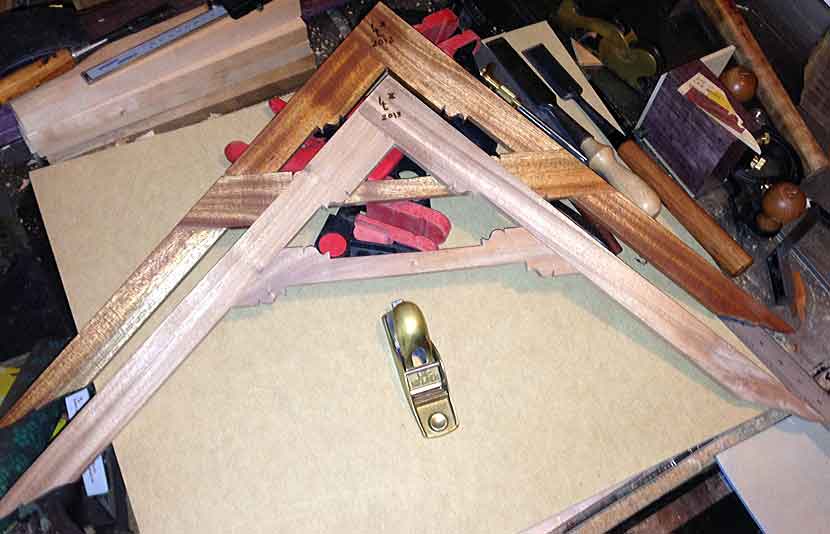
Legs and cross member glued up, with “ears” still attached.
“Ears” trimmed all around. All is complete except for sanding and oiling.
Two completed squares; one with tung oil applied and the other ready for oil.
After the glue has dried, trim off the excess ends of the cross member, as well as any little excess that protrudes at the leg-to-leg half-lap. Check your square to see that it is truly 90-degrees from one leg’s outside edge to the other. To check this, you can place it inside a known good square, or line up one leg’s outside surface with a known flat surface, like the front of your workbench. Draw a pencil line across the surface using the opposite leg’s outside edge. Flip the square over so the same leg’s outside edge is aligned with the front of the bench, and draw a second line using the outside edge of the same leg. Check to see if the two lines are parallel. If they are, you passed and the square is “Square”!
It’s not the end of the world if this isn’t the case, since you can adjust these to bring them into square. This is one of the nice things about making these from wood. If the angle between the outside edges of the legs is reading less than 90-degrees, a little material should be removed down towards the leg’s joint area on both sides. If the angle is more than 90-degrees, some material from the outside edge near the toe section should be removed. Of course, when removing any of this wood, you’d need to feather the amount removed into the full length of the same edge.
Now you can sand and finish your square in any manner you see fit. I sanded to 320 grit and followed that with some Tung Oil, which really brought the wood to life. I always mark my pieces with my burning tool (I still need to design and order one of the marking tools, so my mark is more consistent) and include at minimum the year, but sometimes the month and year. I think its cool for your family, friends, and customers to look back and recall when a piece was made.
I hope you’ve enjoyed the article and will make at least one wooden square. There are a range of techniques you’ll use during this build and like most things, the more you do, the more proficient you become. Please let me know if you have any question or comments.
Lee Laird has enjoyed woodworking for over 20 years. He is retired from the U.S.P.S. and works for Lie-Nielsen Toolworks as a show staff member, demonstrating tools and training customers. You can email him at lee@lie-nielsen.com or follow him on Twitter at twitter.com/is9582