Dec 272012


The top design calls for inlay around the edges. I want to add some complimentary inlay to the legs in order to help tie the piece together.
I start with some inlay strips taped to the leg to try out a couple of different designs. This is fast and easy to see designs in realtime – from various angles.
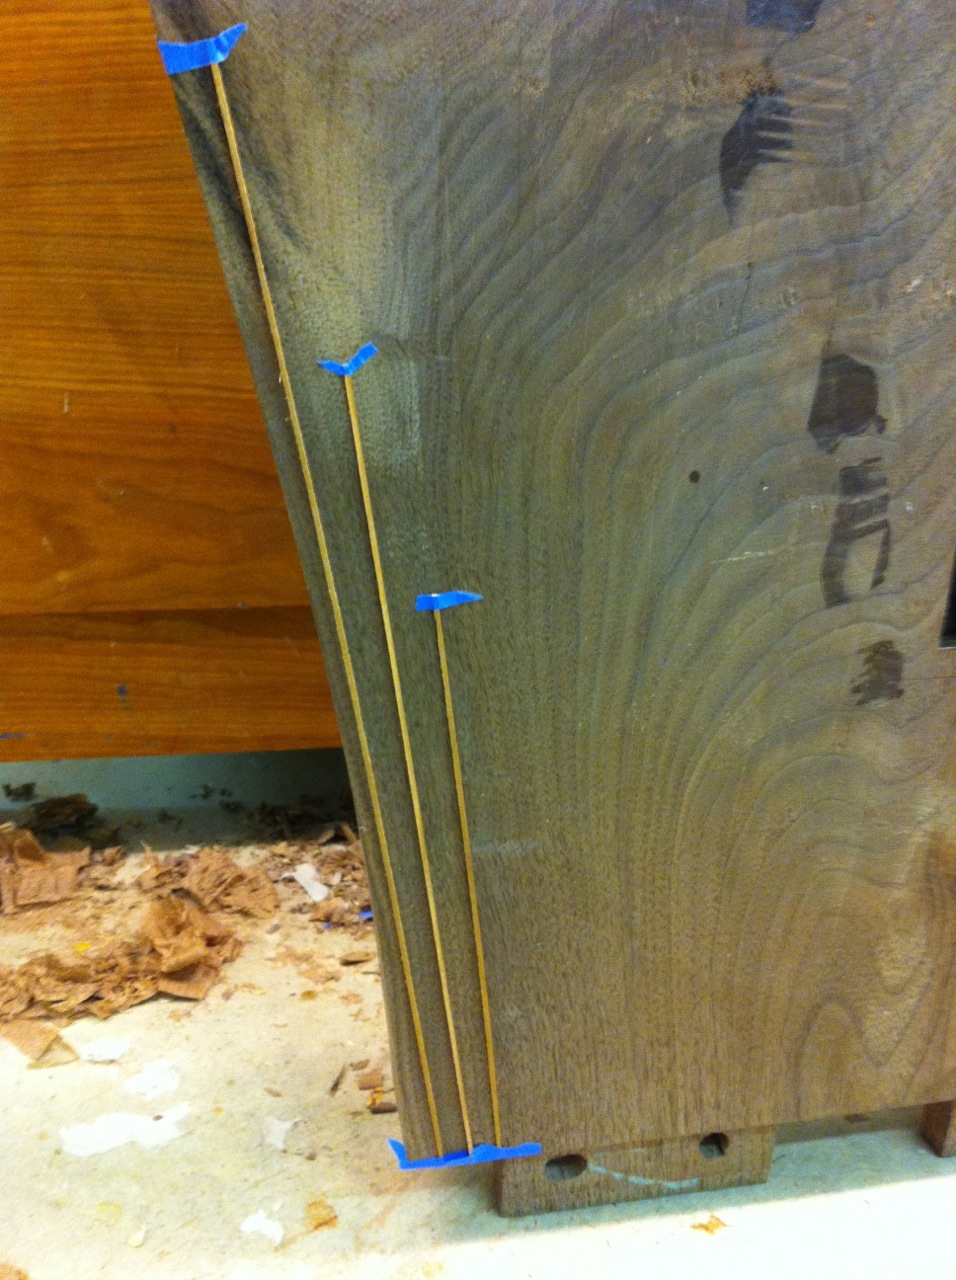
Taping inlay to the leg to see the initial design.
Once again I use a bending strip, around nails, to make the templates for the router. I love my woodpeckers 12″ precision T-square for laying out measurements.
Once the templates are made, I use them to trace out the final design onto some MDF to confirm my choices.
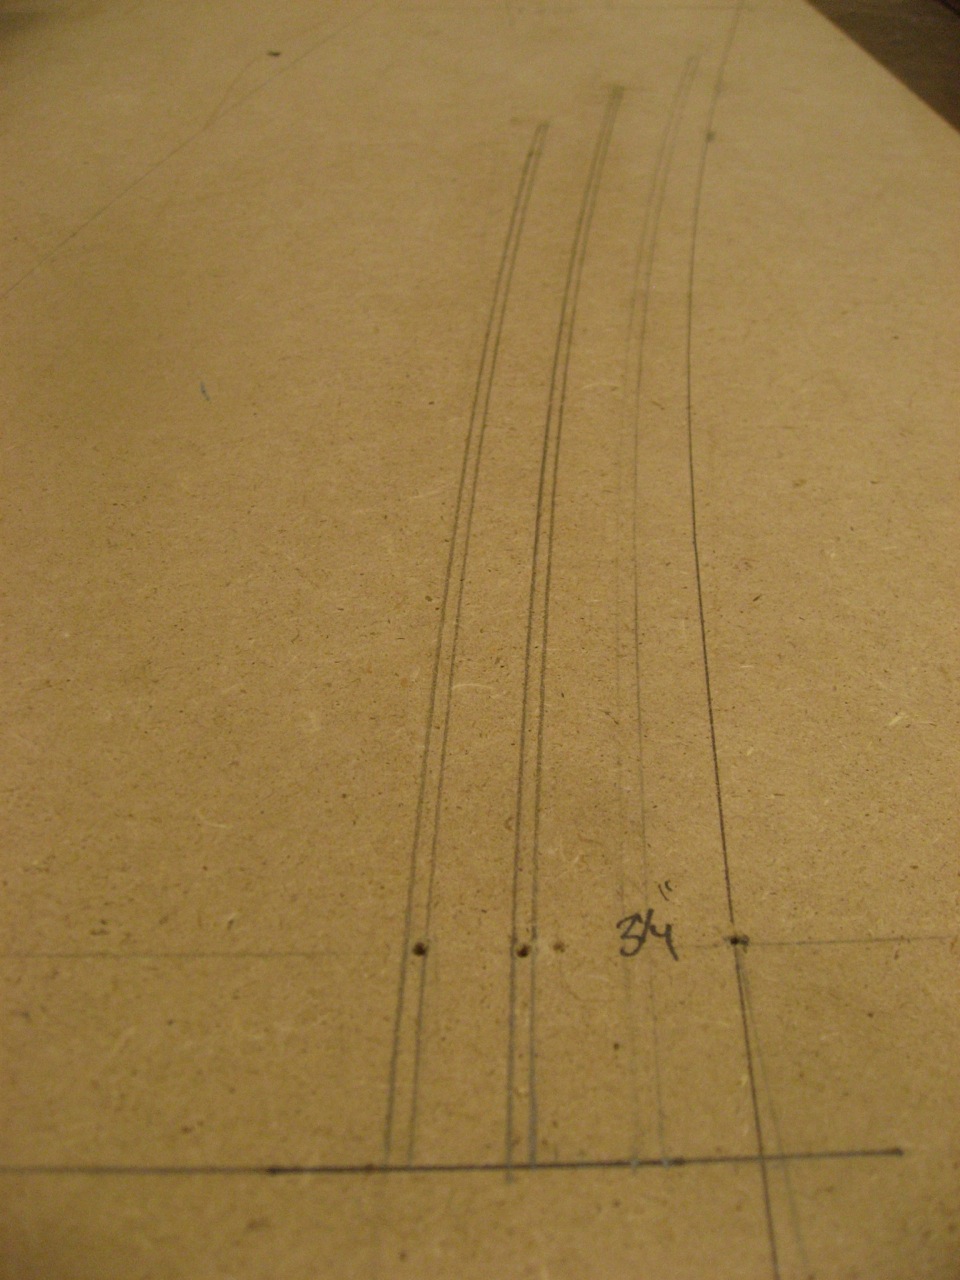
Inlay drawn off the actual templates to confirm final design
[…] and run my router tight to the template – pretty straightforward stuff once you have the design, templates and material […]