

Now that the tenons are done, time for matching mortises. Now, I could just scribe and chop them out by hand, there are only two. However, I want them to be pretty tight and being risk-adverse at this stage in the project (I can’t get two more crotch walnut legs if I really screw up!) – I went with a template.
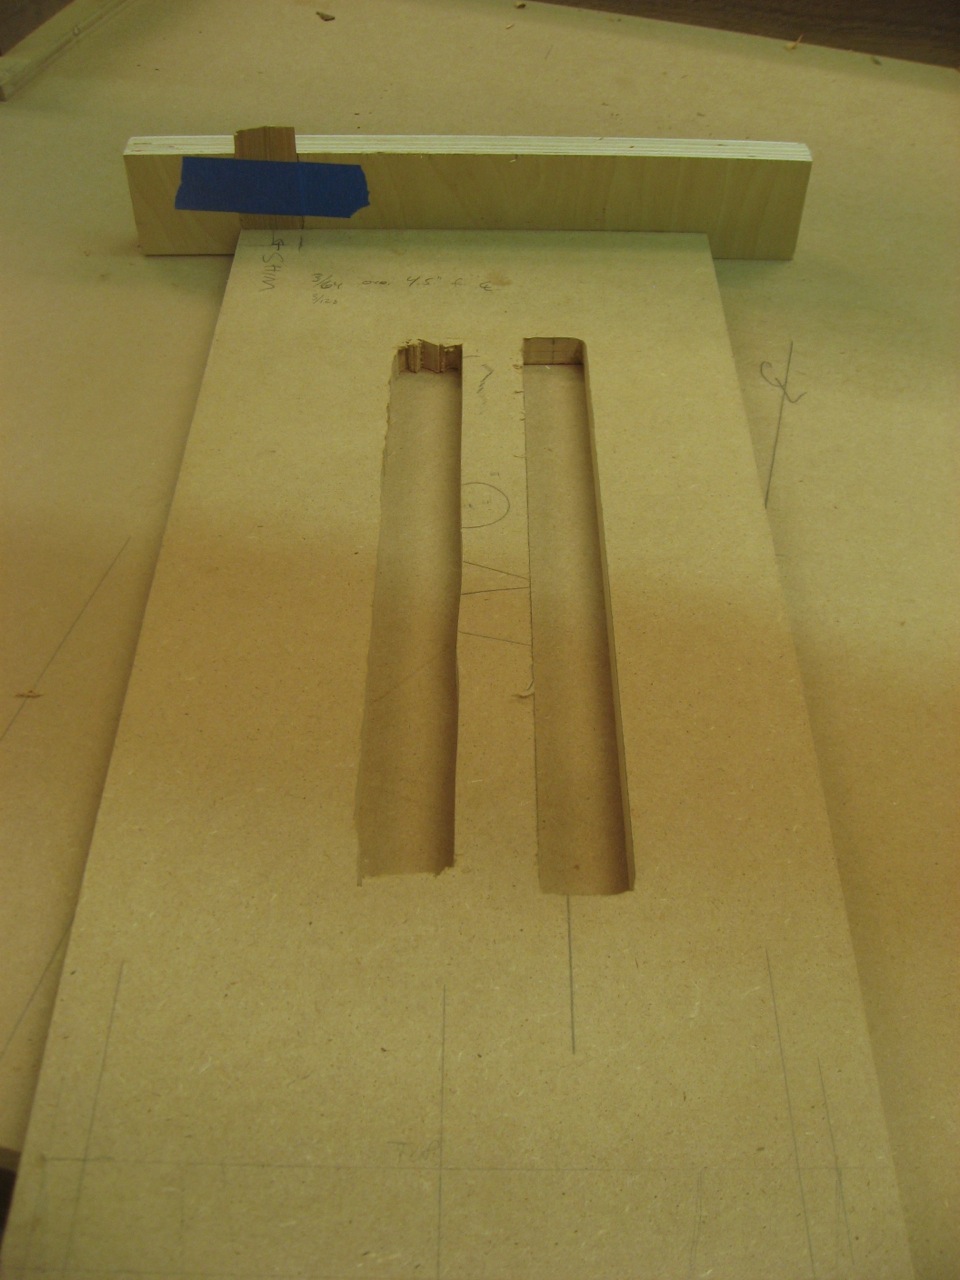
My mortise template - two attempts at the correct size and location
The other reason for making this template was to make test mortises and check the squareness of my stretcher + tenons.
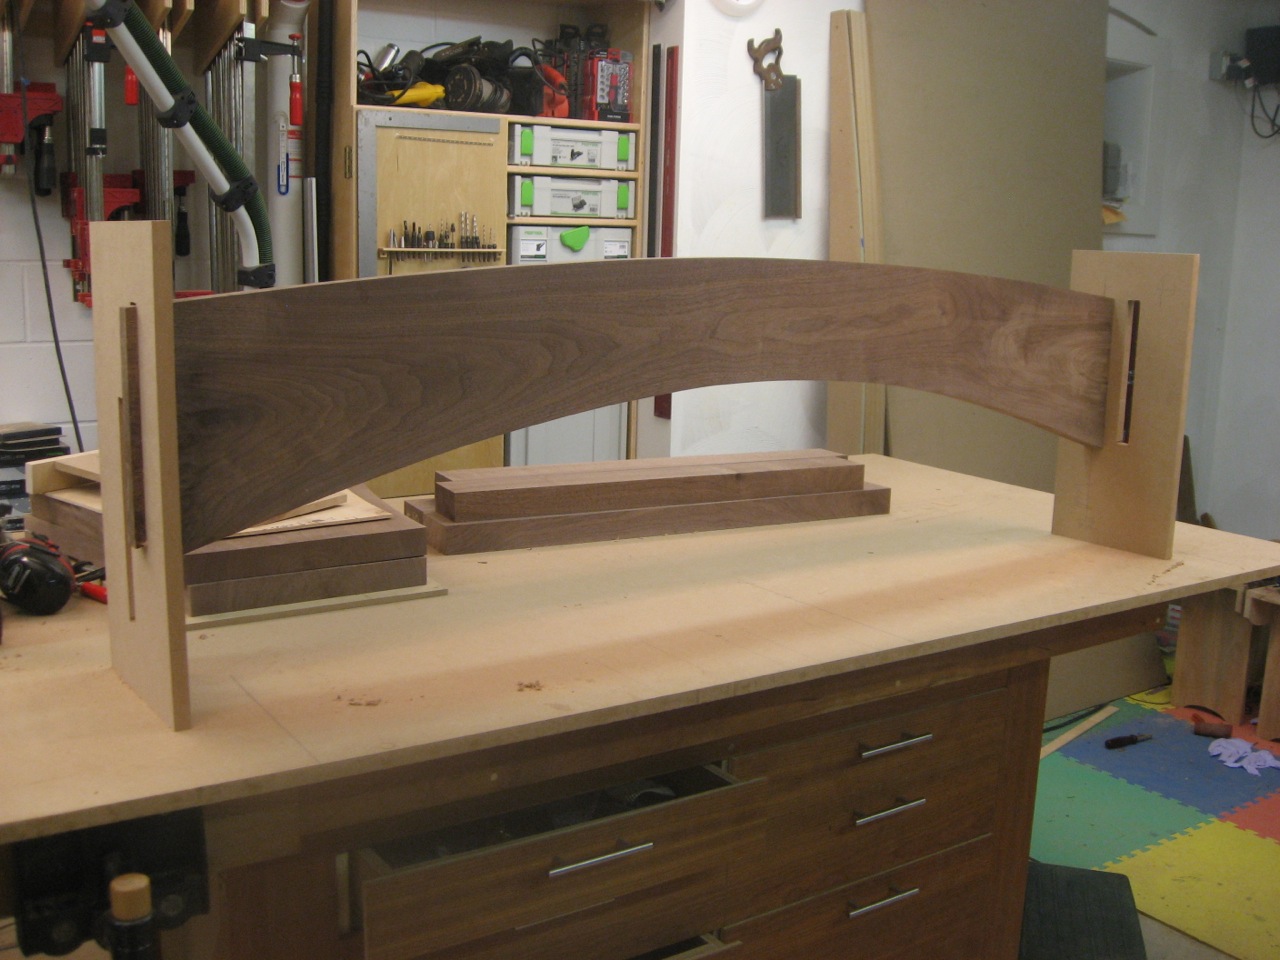
Testing the stretcher in the mortise and square to the "floor"
It turns out that my stretcher is still slightly twisted (or the tenons are) and so check out the first picture again and note a piece of veneer taped to the template. This rotates the mortise very slightly from 90 and running a second test (note two sets of mortises in the second picture) confirmed that the test legs sat firmly on the ground (my dead-flat assembly table).
Finally – I ran a layer of blue tape on the inside of the template to make it just that tiny bit tighter for the tenon to fit. Time to do the real thing.
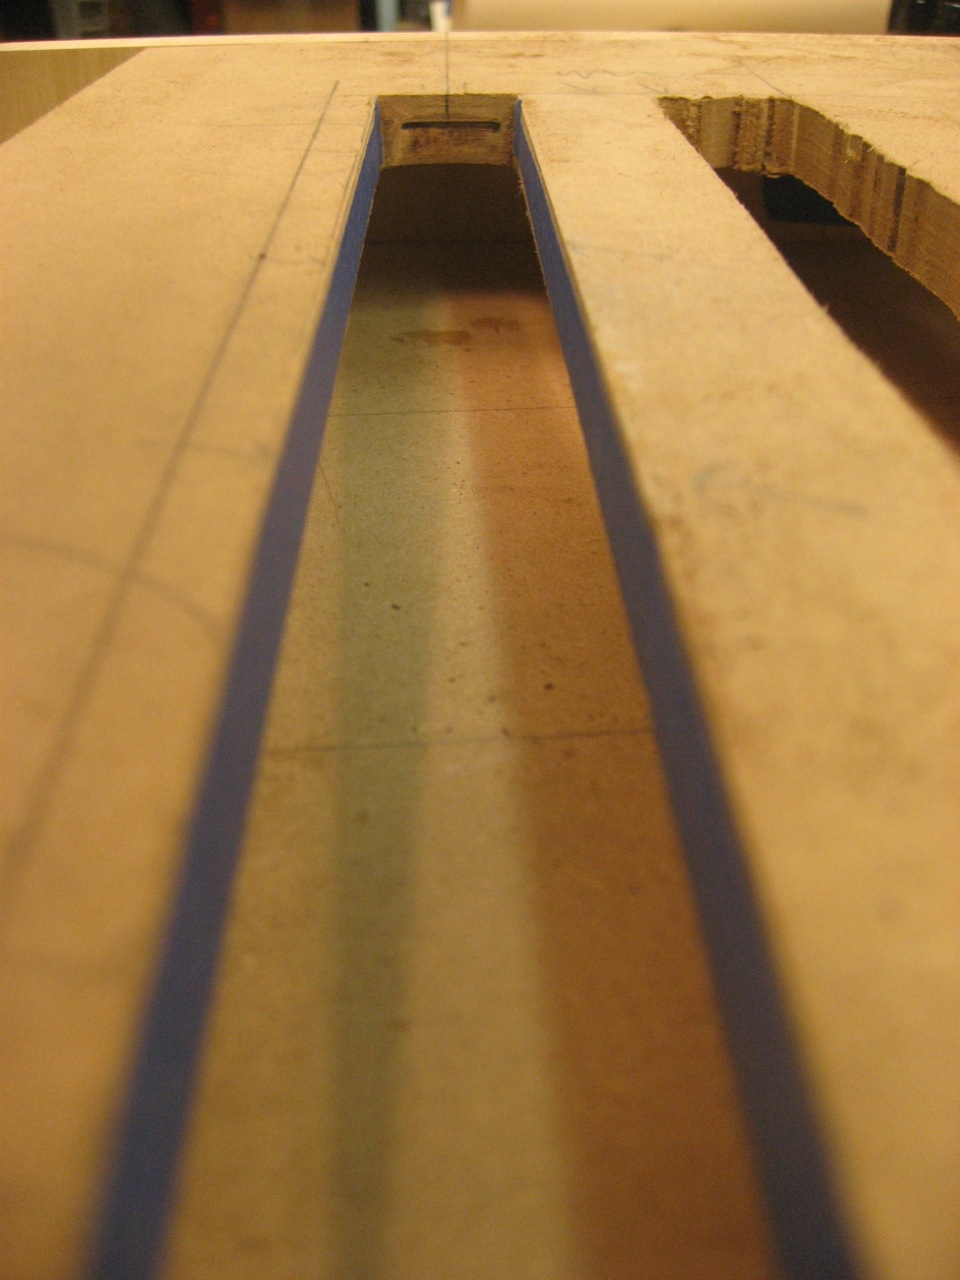
Blue tape on the inside edge snugs up the mortise that tiny amount.